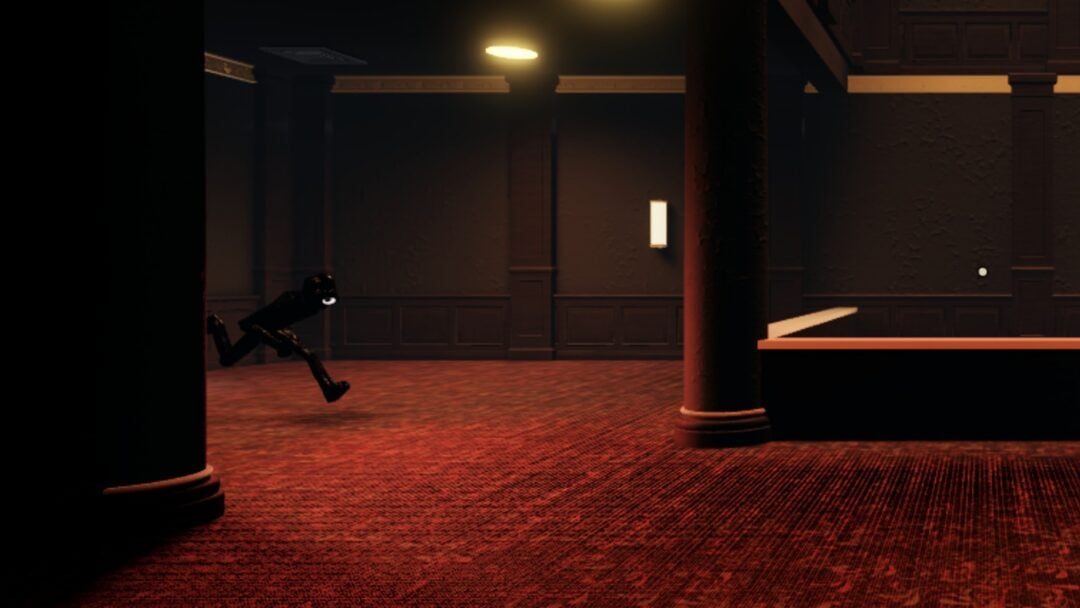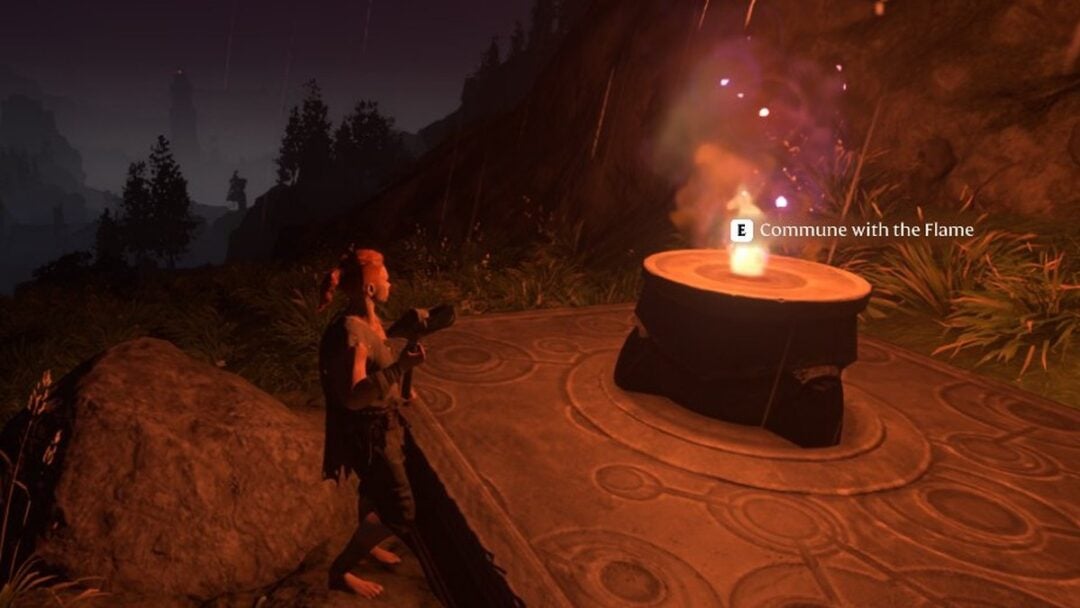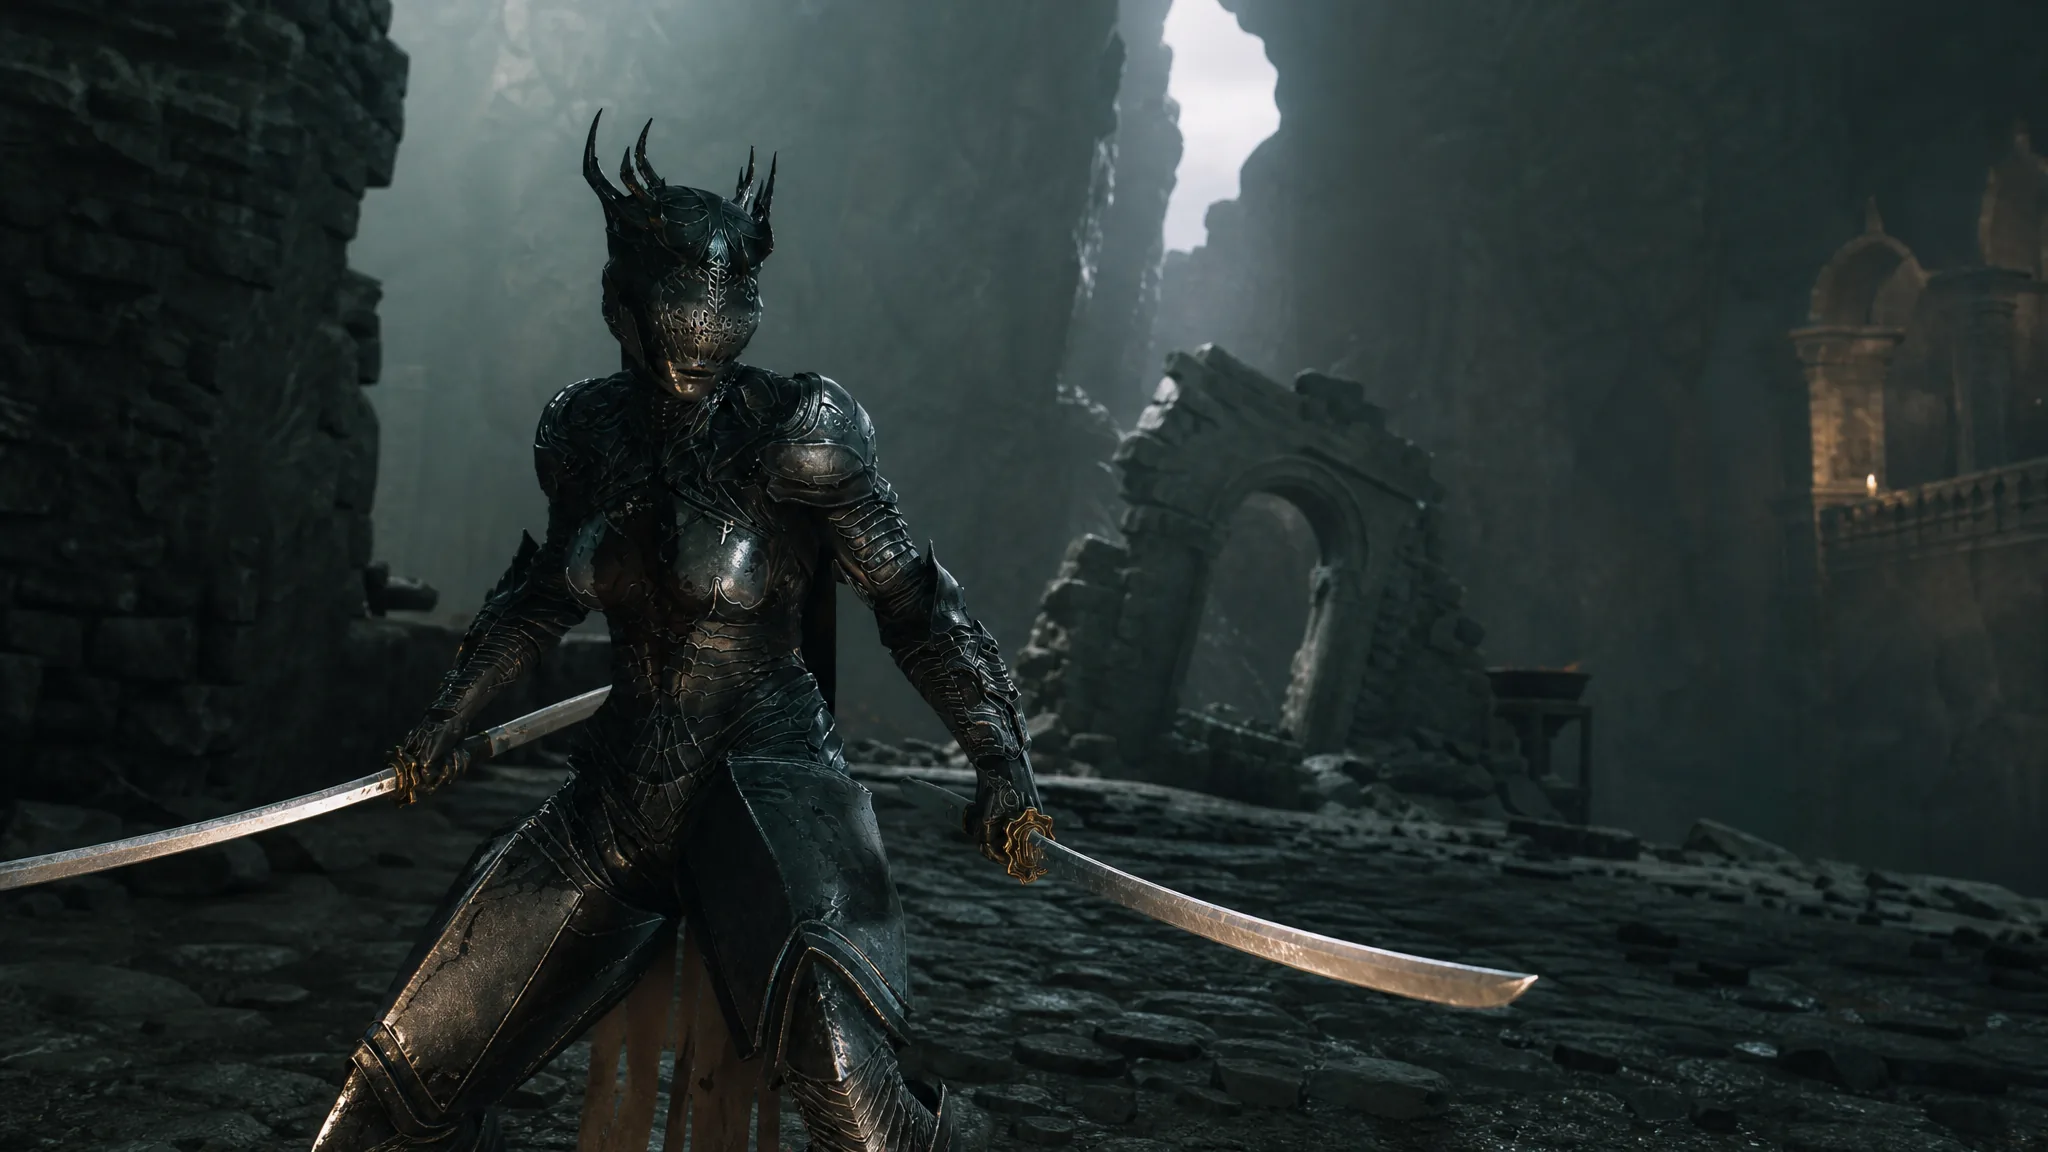
The Axatana is a dual-wielded weapon in Mortal Shell 2 that fights as a pair of twin blades and morphs into a heavy axe during its Morph Attack. It sits inside a locked room in the Forgotten Tower, a hidden pocket in the southeastern corner of the map. There is no quest or story gate on it, so you can grab it as soon as you can reach Marrow Keep.
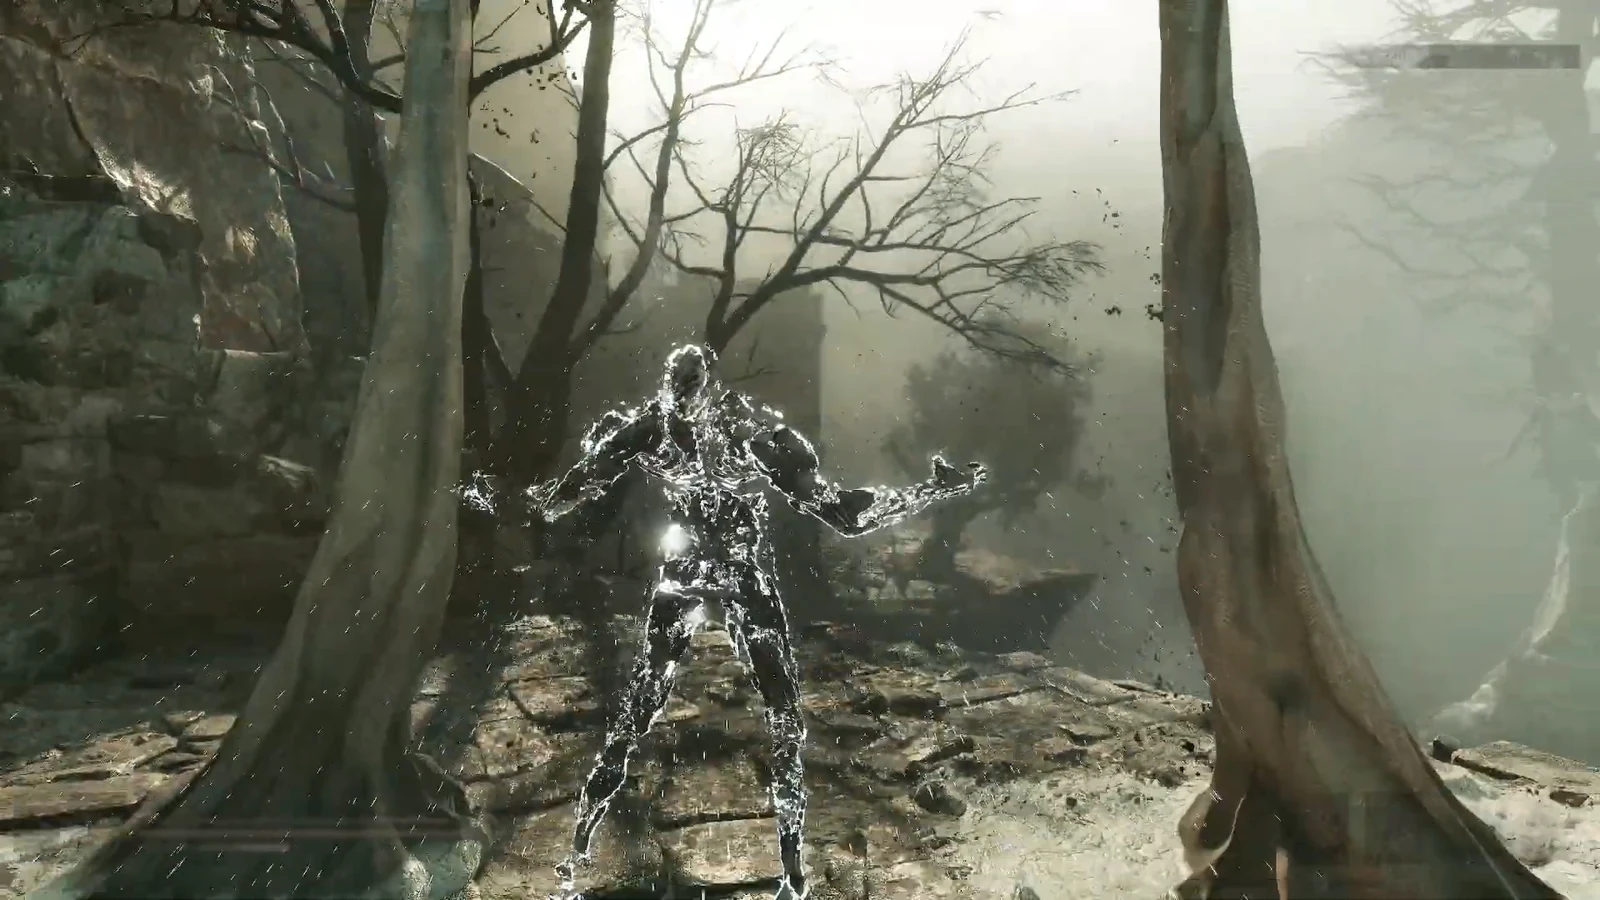
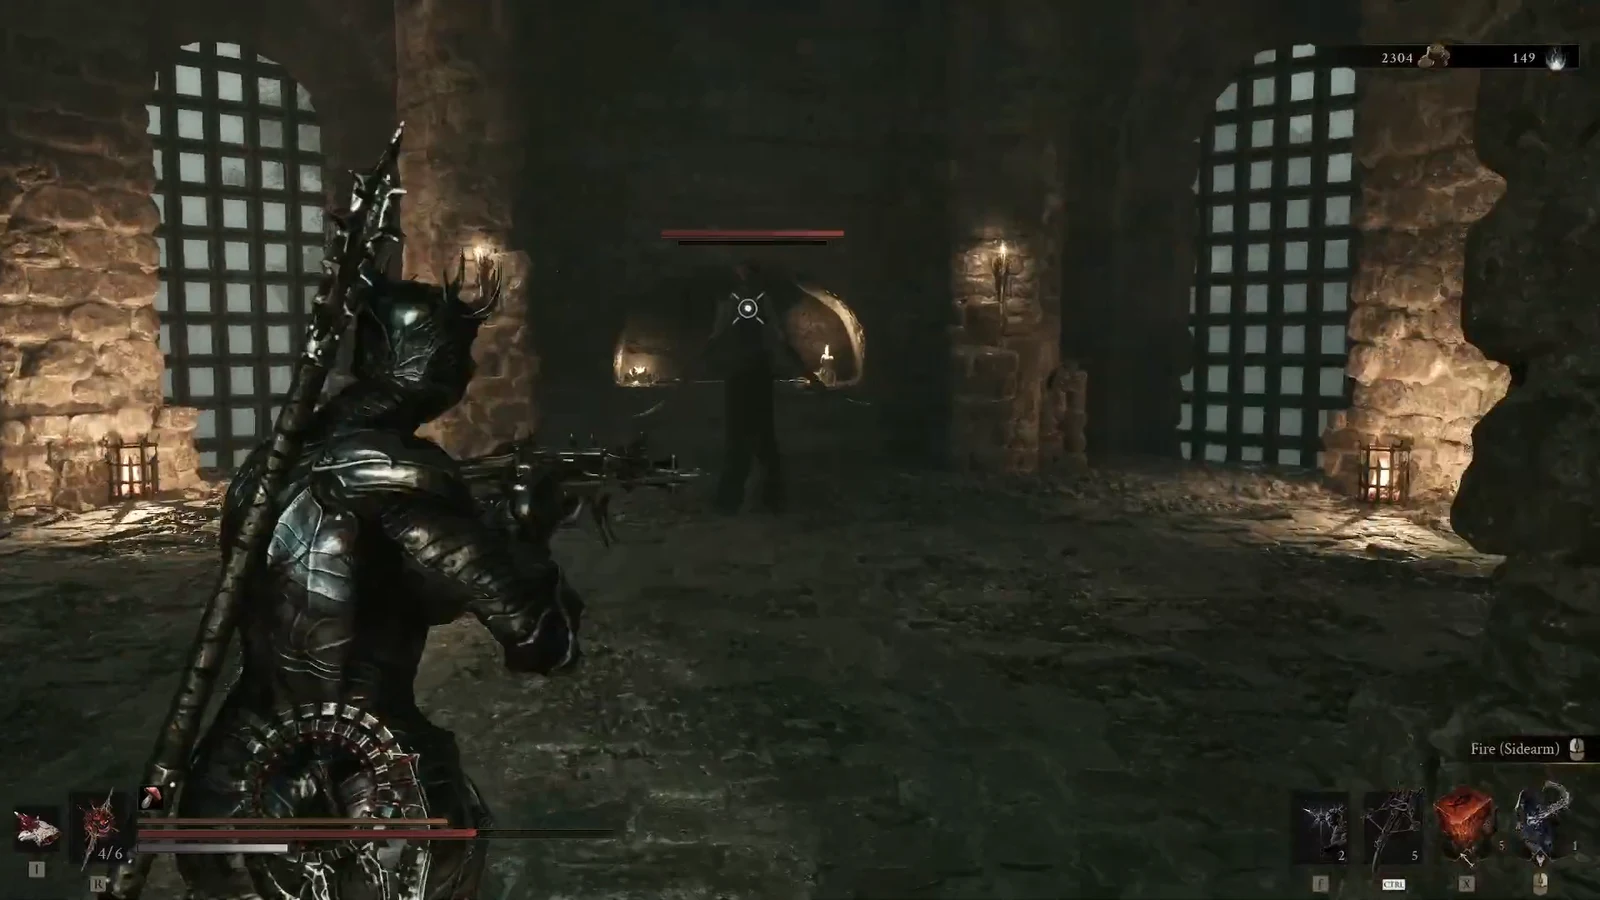
Quick answer: Teleport to the Outskirts of Mammon, chain the Bone Gates through Castigator’s Keep to the Forgotten Tower, pull the lever on the side of the final building to open the gate, then walk into the room and pick up the Axatana behind the guarding enemy.
Requirements before you set out
You do not need to level up or upgrade anything first. The only cost for dying on the run is losing Gloom, so you can retry the route as many times as you need. Most of the enemies along the way are slow, which means you can sprint past them instead of fighting.
If you would rather have the location pinned on your overworld map, Merrick sells the Axatana map at Marrow Keep for 1100 Coins. Buying it is optional. The path below reaches the weapon without it.
Route to the Forgotten Tower
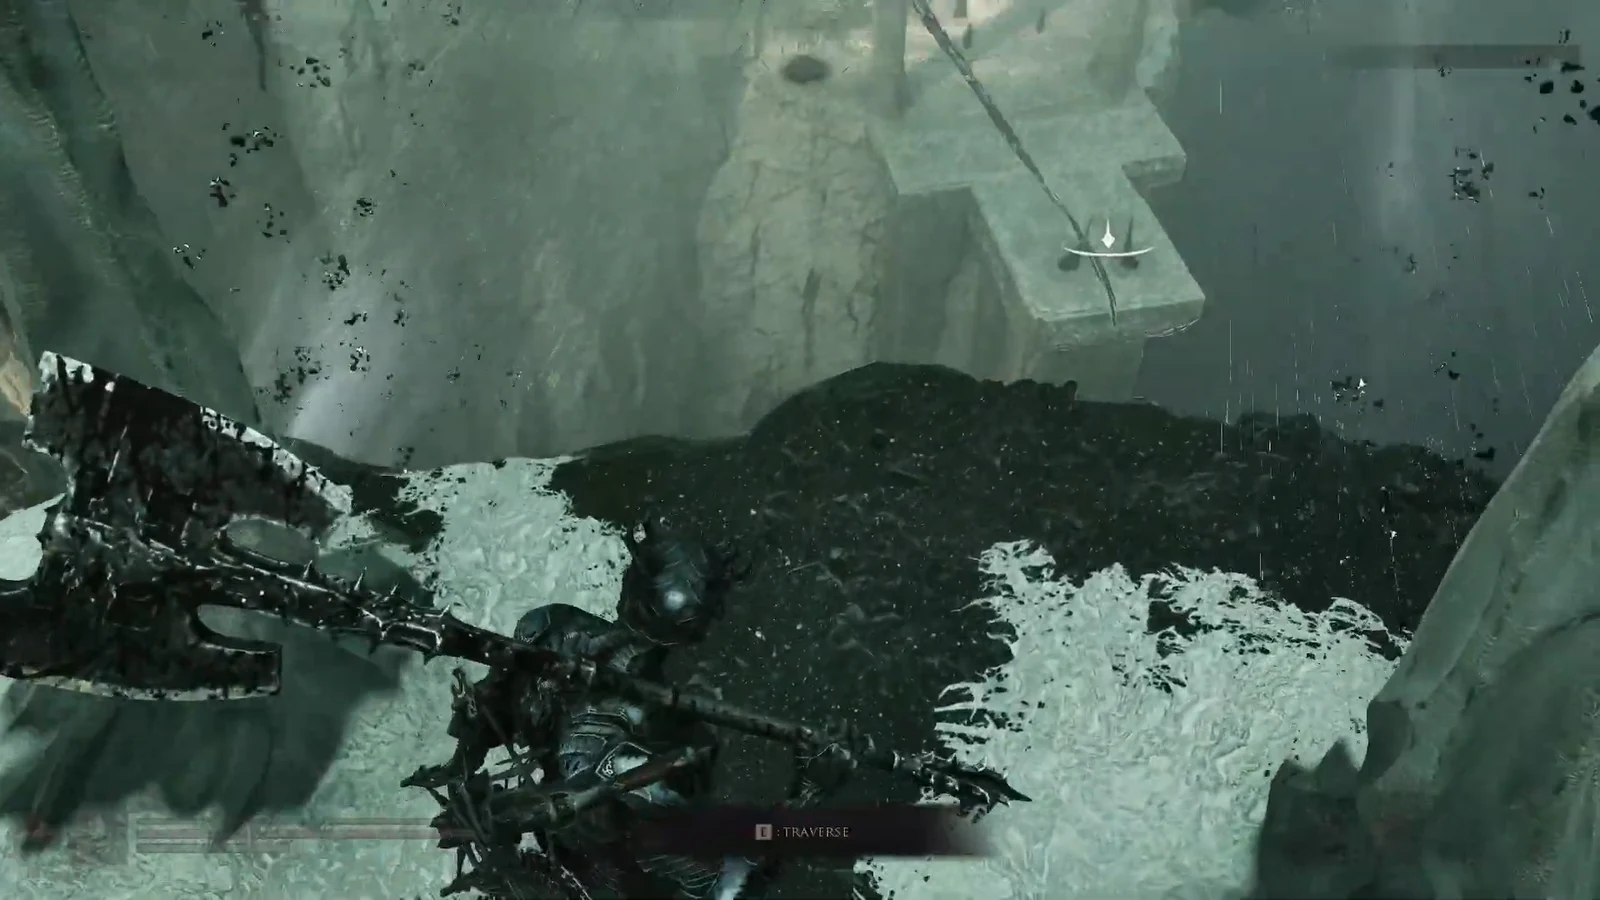
Open the gate and collect the Axatana
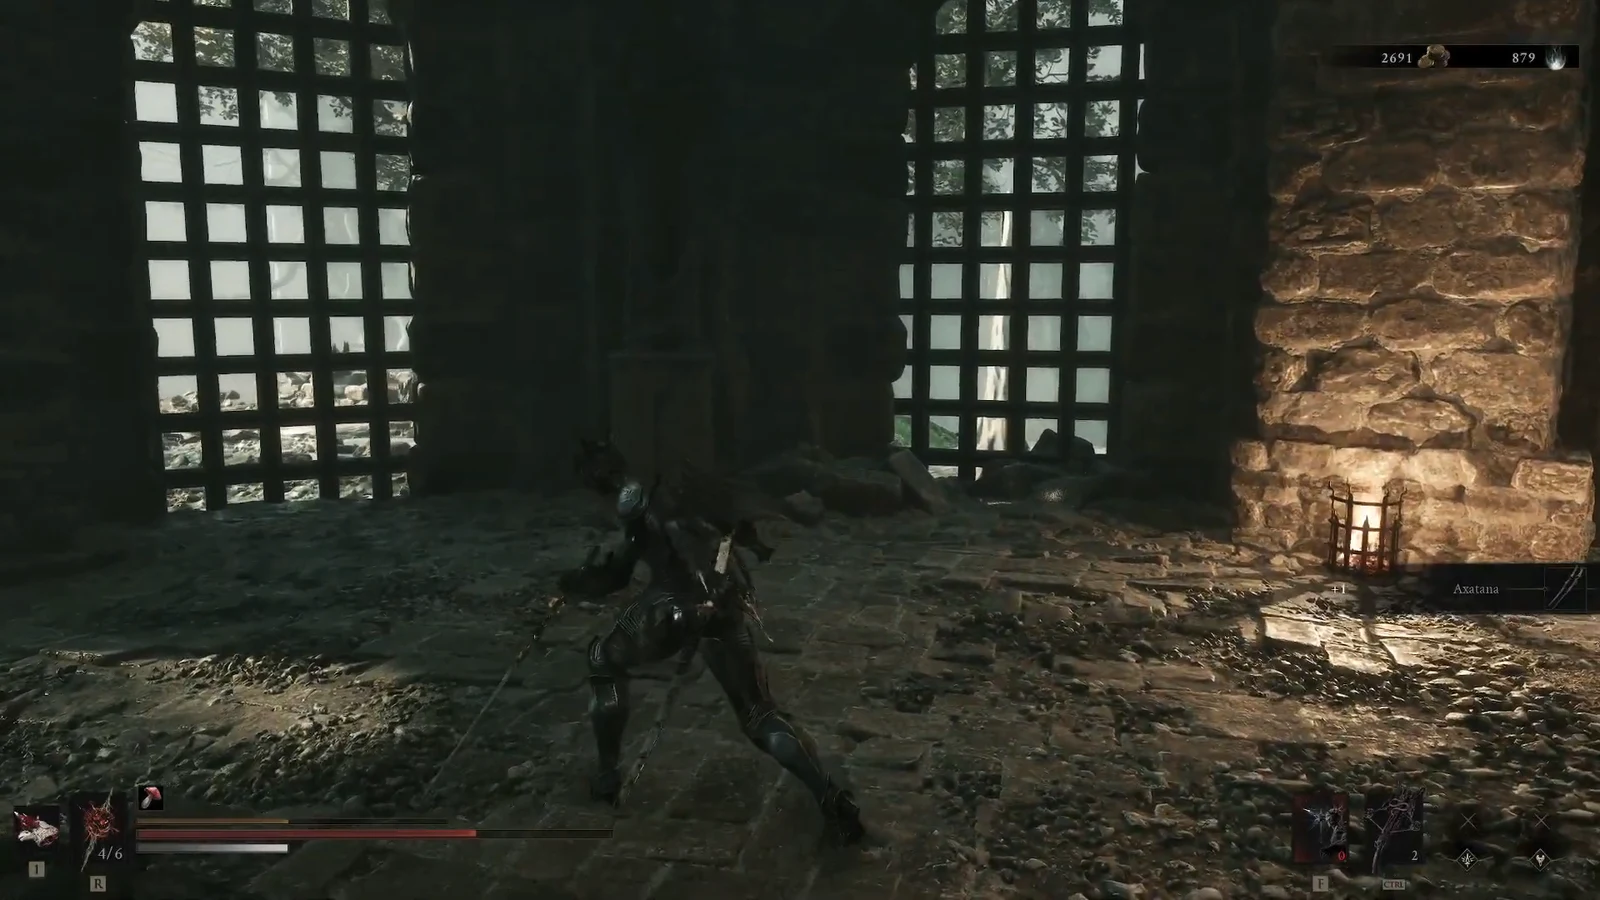
You will know the pickup registered when the Axatana appears in your weapon list with its description, “A pair of twin blades, crafted to transform into an axe.” Equip it and the Morph Attack lets its light-attack twin katanas shift into a heavy axe swing. If you try to equip it while it is already your active weapon, the game shows “Weapon Already Equipped.”
Note: If the gate does not open, you have not pulled the lever on the correct side of the building. The lever is the only trigger for that gate. Backtrack to the last Bone Gate landing and follow the wall around until you find it.
Axatana upgrade materials
Upgrade the Axatana at the Tarforge in Marrow Keep once you have the materials and Coins. Each level raises its damage multiplier, moving from Ventrium at the low end to Laterite and then Dorsalite at the top ranks.
| Level | Materials | Damage |
|---|---|---|
| +1 | Ventrium x2, Coin x100 | 105% |
| +2 | Ventrium x2, Coin x100 | 110% |
| +3 | Ventrium x4, Coin x300 | 115% |
| +4 | Ventrium x9, Coin x500 | 120% |
| +5 | Ventrium x13, Coin x1000 | 125% |
| +6 | Ventrium x18, Coin x1250 | 130% |
| +7 | Laterite x2, Coin x2750 | 135% |
| +8 | Laterite x4, Coin x2750 | 140% |
| +9 | Laterite x9, Coin x3500 | 145% |
| +10 | Laterite x13, Coin x4250 | 150% |
| +11 | Laterite x18, Coin x5000 | 155% |
| +12 | Dorsalite x2, Coin x5750 | 160% |
| +13 | Dorsalite x4, Coin x6500 | 165% |
| +14 | Dorsalite x9, Coin x7250 | 170% |
| +15 | Dorsalite x13, Coin x8000 | 175% |
| +16 | Dorsalite x18, Coin x8750 | 180% |
Recommended Tarstones for the Axatana
The Axatana slots well with a spread of Tarstones across Ability, Combat, and Infusion types. These four cover its strongest setups.
| Tarstone | Type | Why it fits |
|---|---|---|
| Hexapod Core | Ability | Spends Resolve on a rapid string of dual-blade strikes. |
| Duality Stone | Combat | Makes light-attack combos strike twice. |
| Voltaic Crown | Infusion | Infuses the weapon with Lightning damage. |
| Torpor Stone | Infusion | Optional Stasis infusion for crowd control. |
With the twin blades in hand you have one of the more flexible weapons in the game early, able to switch between fast single-target pressure and the heavier axe swing on demand. Because the run carries no progression lock, it is worth making the trip well before you would normally reach the southeastern map, then upgrading it later as your Ventrium and Laterite stocks grow.