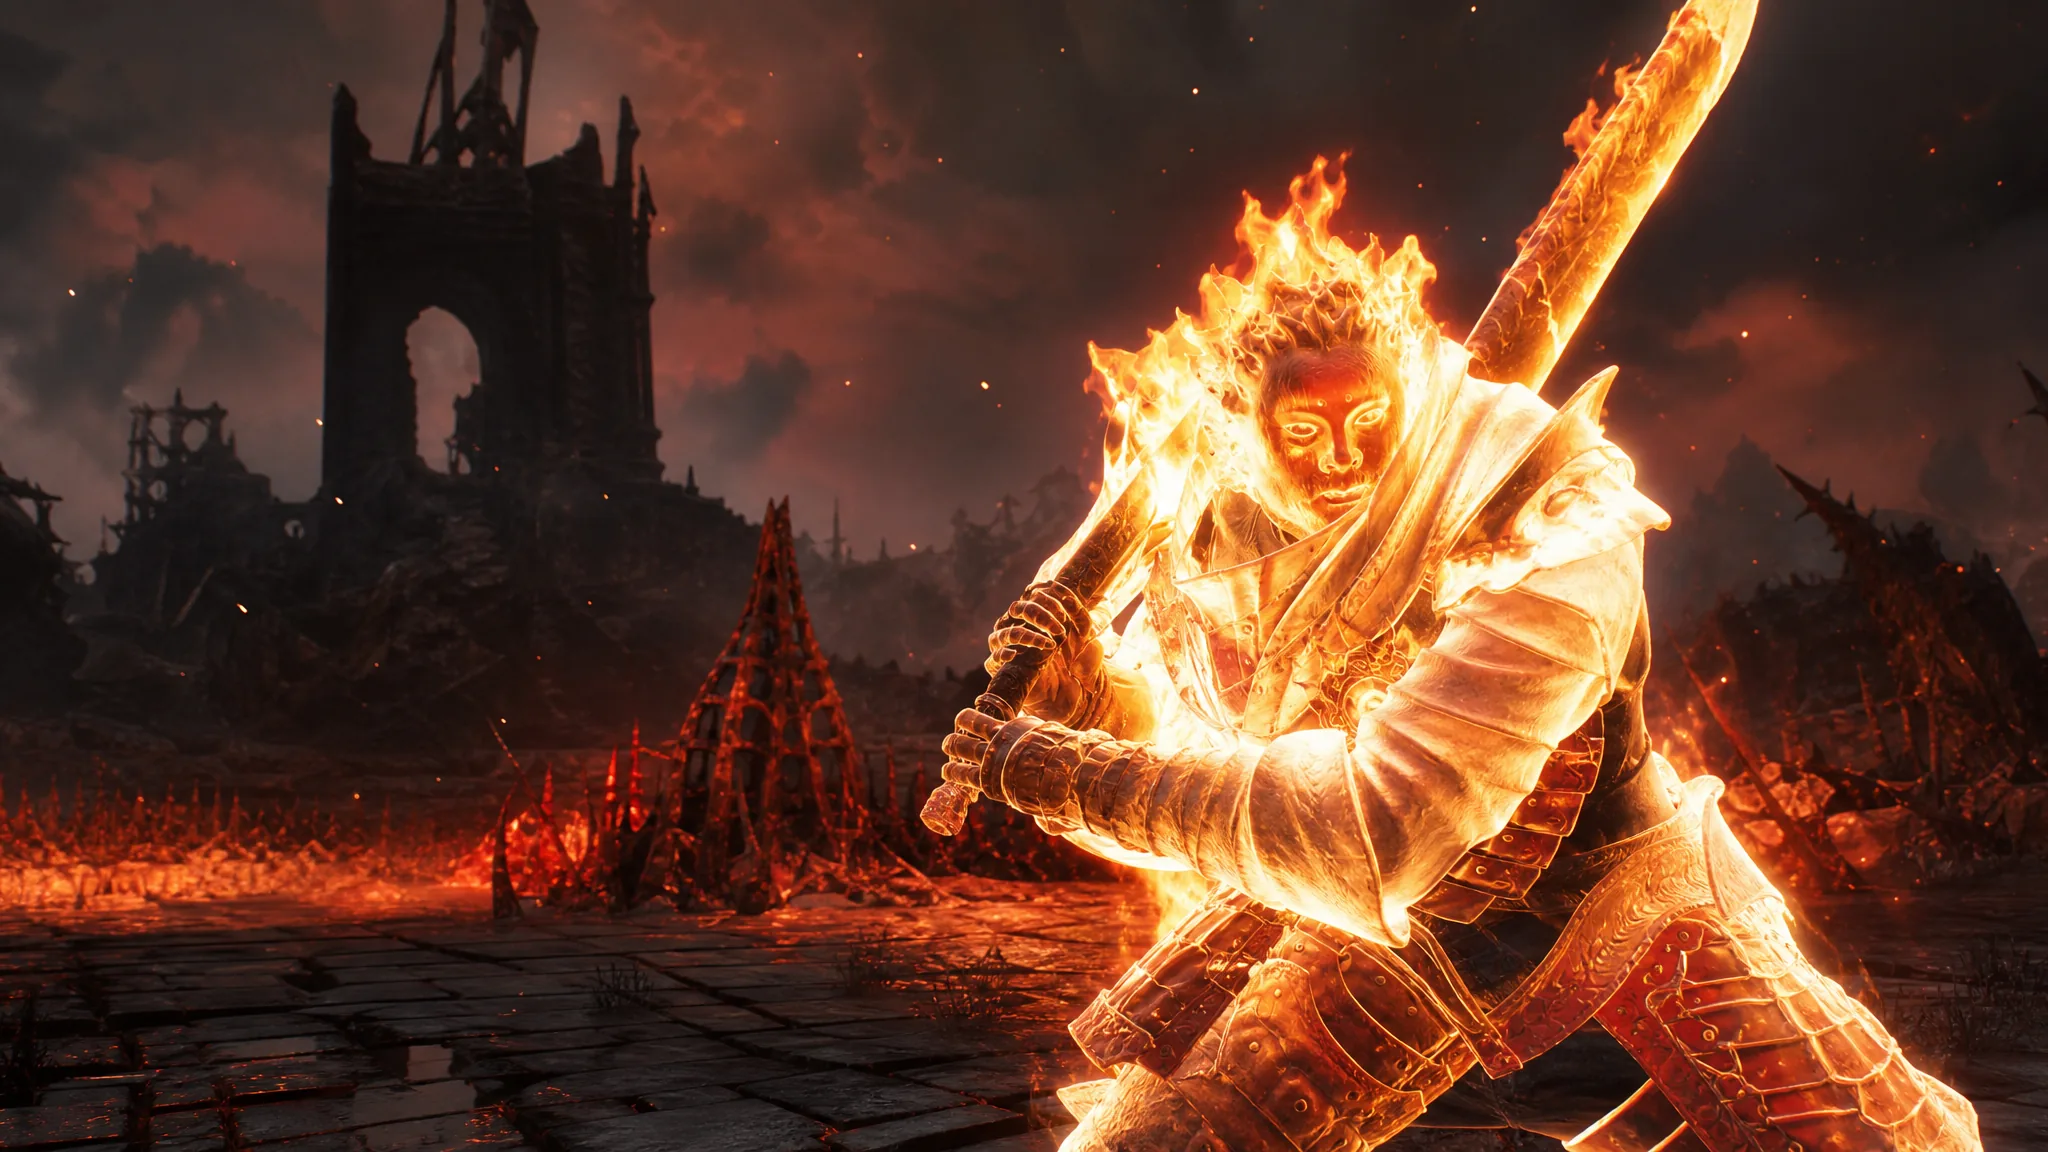
Lazlo, the Justiciar is the tankiest Shell in Mortal Shell 2, and his armor-heating kit turns that bulk into constant fire damage. The core of the build is Retribution, which pushes out a heat shockwave, fills the Heat Meter, and eventually triggers an Overheat explosion that burns everything around you. Paired with a heavy cleaving axe and a stack of critical and burn Tarstones, Lazlo can hold his ground and melt groups of enemies without needing to dodge much.
Quick answer: Equip the Veteran’s Battle Axe with the Inflamed Clawstone infusion, run Auspicious, Berserker’s, Headsman’s, and Grudge Stones for crit, spec into Worthy Armor, Warmed Up, Temperament, Furnace, and later Inflamed and Rush, then spam Retribution to enter Overheat and swing heavy attacks into burning enemies.
How Lazlo’s heat and Retribution loop works
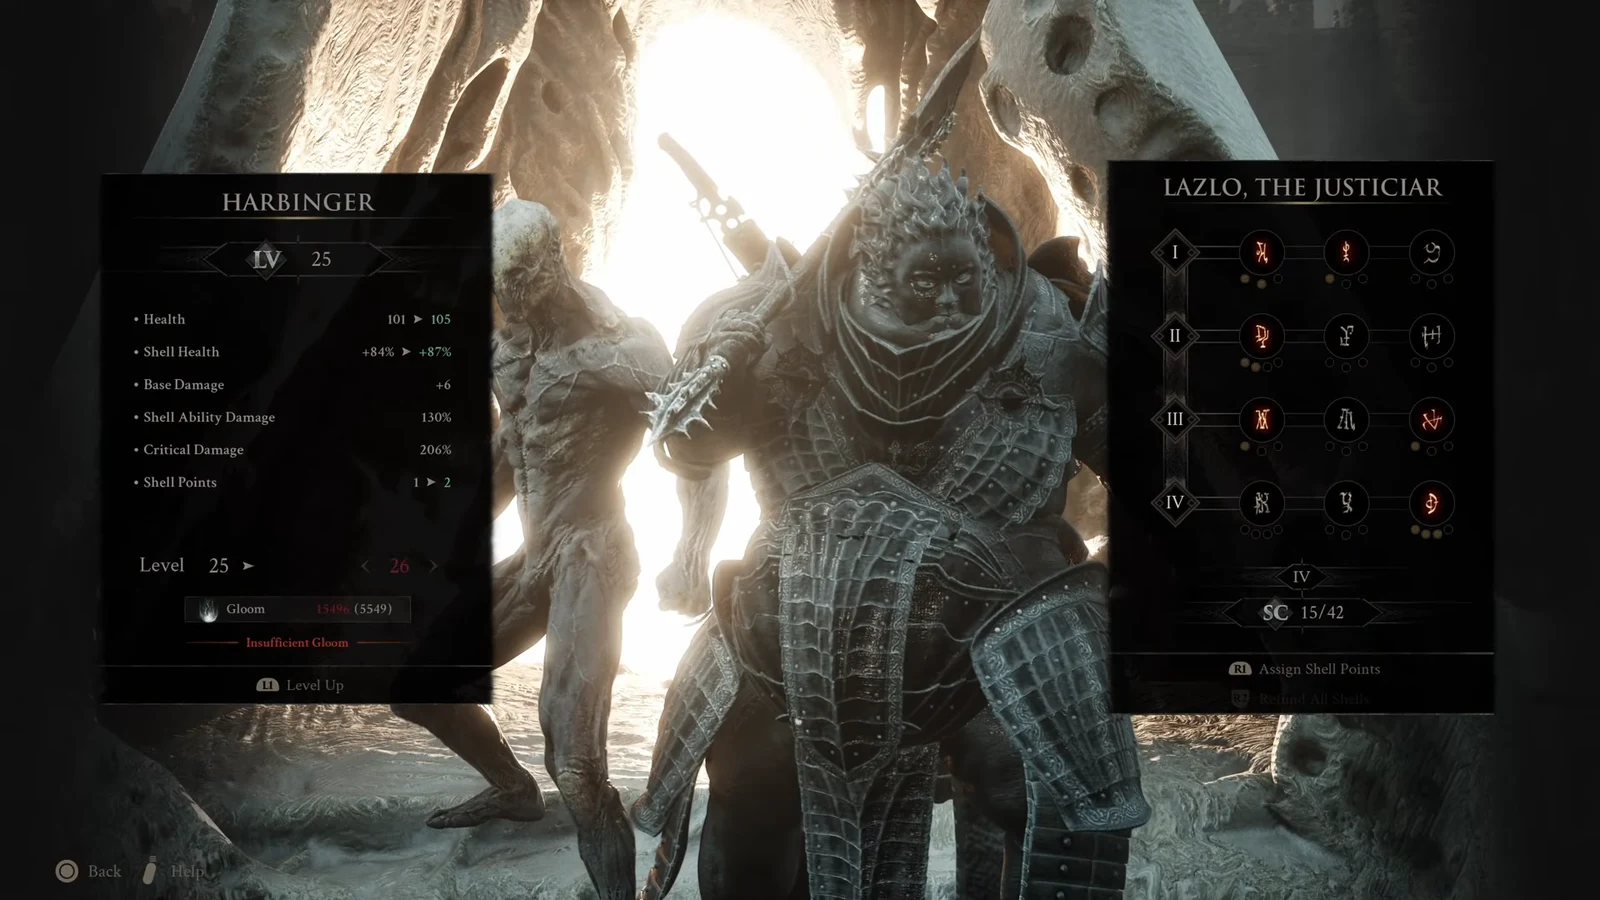
Lazlo’s Fortified Plate gives him a base 10% damage reduction before any upgrades, and the build stacks that up to roughly 34% mitigation while keeping a large HP pool. That lets him tank hits instead of spacing them out.
Retribution is the engine. Each cast sends out a heat shockwave that inflicts Burn and adds to the Heat Meter. Once the meter is full, Lazlo enters Overheat and releases a wide fiery explosion. With the right skills the meter stops draining, so you can keep the burn pressure on for as long as you keep attacking. The armor mechanic also lets you deal fire damage on death, punishing enemies even if you go down.
Weapon, sidearm, and seal
The Veteran’s Battle Axe is the anchor of this setup. Its heavy running attack sweeps a wide 180-degree arc, which is exactly what you want when Overheat is up and a pack of enemies is grouped around you. It also accepts the Inflamed Clawstone fire infusion, so every swing carries Burn. You can loot the axe from a chest in The King’s Crypt near Blackridge Pass.
For the sidearm, the Naylshotte shotgun covers enemies at range and helps interrupt anything that closes in while you rebuild heat. The Untarnished Seal is the pick for defense, giving you a Perfect Guard window that deals Break damage on a well-timed block. Round it out with Common Moonshine for extra damage reduction and the Sheephead Totem for mobility.
Tarstones and where to find them
The Tarstone package leans into critical hits and permanent fire, so your cleaves and shockwaves both hit hard. Note that Berserker’s Stone rewards low health, which fits Lazlo’s tanky, stand-your-ground style.
| Tarstone | Effect | Where to get it |
|---|---|---|
| Auspicious Stone | +18% critical chance | Mushroom Village, reached from Widow’s Overlook. Activate three lit totems to open the chest. |
| Berserker’s Stone | Melee damage up to 165% at 50% HP or below | Temple of Vatra, via a teleporter near the One Legged Wolf beacon. Light three candle pedestals. |
| Headsman’s Stone | +100% critical damage | South of the Outskirts of Mammon, across the stone bridge in a chest. |
| Grudge Stone | Guarantees a critical hit every 5 attacks | Chest inside the Citadel of Penance. |
| Retribution Stone | Increases Riposte damage | Complete the trial stone puzzle near Widow’s Overlook. |
| Inflamed Clawstone | Permanent fire Burn infusion on the axe for 30 Resolve | Holding Cells dungeon in the Citadel of Penance, after defeating the dual Rabid Grisha pack. |
| Lost Clotstone | Spin-attack ability | Reward for defeating the boss at the Cleansed Gate. |
Skill tree allocation for Lazlo
Around level 21 the build comes online with the following node spread. These skills cut Retribution’s cost, scale your damage with heat, and lock the Heat Meter so it never drains.
| Skill | What it does |
|---|---|
| Worthy Armor | Reduces Retribution’s Resolve cost by 20%. |
| Warmed Up | Scales damage and Resolve gain with the Heat Meter. |
| Temperament | Increases the Retribution shockwave damage and radius. |
| Adaptation | Reduces armor cooldown. |
| Furnace | Adds damage reduction and retaliatory Burn stacks when hit. |
As you level past that point, prioritise Inflamed to keep Overheat active longer and to stop the Heat Meter from draining, then take Rush for extra attack speed and critical hit chance whenever your armor is on cooldown.
How to play the fire loop
You know the loop is working when Retribution’s shockwave applies Burn tick damage across the group, the screen shifts into the Overheat state, and the periodic explosion goes off around Lazlo. If Overheat never triggers, the usual cause is not casting Retribution enough to fill the meter, or spending too much Resolve elsewhere before the meter is full.
How to unlock Lazlo
Lazlo is unlocked deep in the Mammon region, so you will need to work through several warp gates and a boss before the Shell is yours.
With Lazlo unlocked and the Inflamed Clawstone infusion locked onto the Veteran’s Battle Axe, the build carries comfortably through mid-game areas. Slot in the crit Tarstones as you find them, keep Retribution on the meter, and let the Burn do the rest.