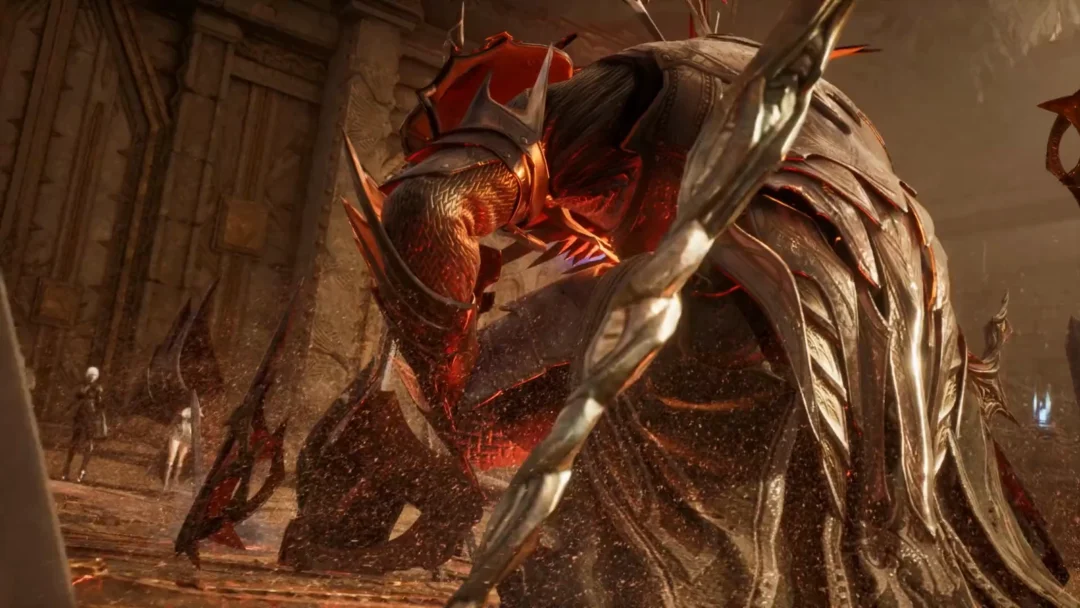
The Inflamed Clawstone is an infusion Tarstone in Mortal Shell 2 that sets your primary weapon on fire, adding burn damage to your strikes for 30 Resolve. It slots into a weapon, pairs with the Veteran’s Battle Axe, and can eventually keep the flames burning permanently instead of expiring after a set number of hits.
Quick answer: Travel from the Widow’s Overlook beacon to Blackridge Hamlet, drop down the well into the Holding Cells, grab the Feeding Room Key in the flooded level, then defeat the Rabid Grisha Pack. The stone drops on kill.
What the Inflamed Clawstone does
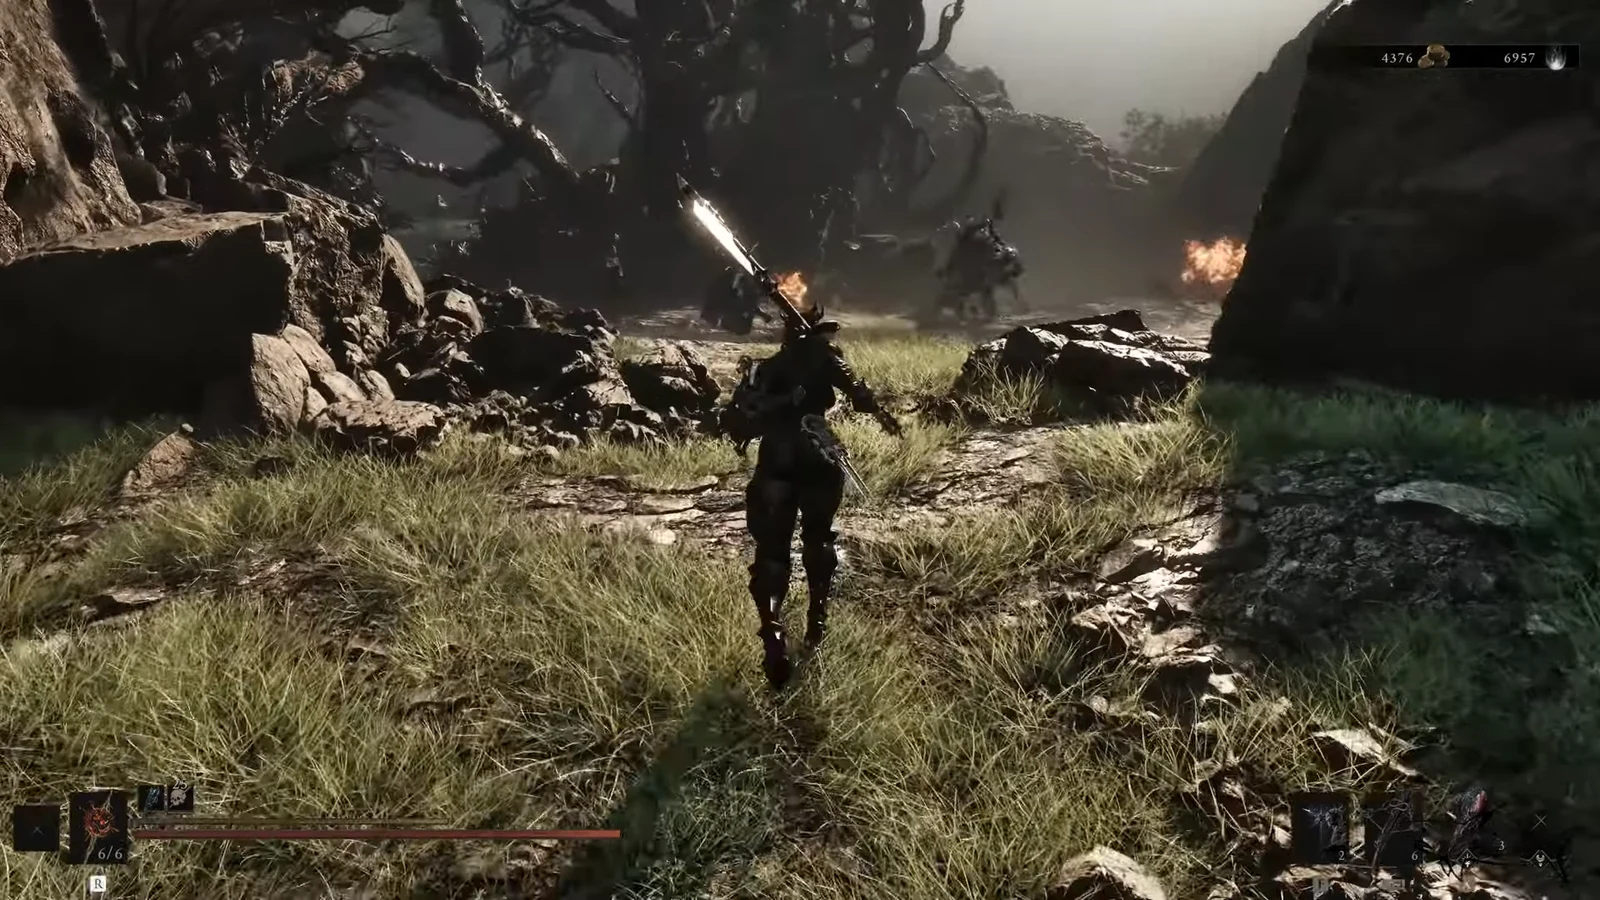
Once equipped to your primary weapon, the Inflamed Clawstone spends 30 Resolve to coat your blade in fire. Burn then ticks on the enemies you hit. Infusion stones share a slot limit, so you can only have two elemental infusions active at once. You build Resolve back by landing melee strikes, which makes it easy to re-apply the burn during a fight.
The stone has four levels, upgraded at the Tarforge in Marrow Keep. Early on the burn wears off after a few strikes, but the final level removes that limit entirely.
| Level | Effect |
|---|---|
| Level 1 | Consume 30 Resolve to infuse your weapon with Burn |
| Level 2 | Infusion lasts for 4 strikes |
| Level 3 | Infusion lasts for 8 strikes |
| Level 4 | Infusion is permanent |
What you need before the run
The path to the Holding Cells runs through a corruption barrier at Blackridge Pass. To clear it, you need Mother’s Breath, which you receive after delivering 8 ova eggs to Marrow Keep. Without it you cannot push past the corruption to reach Blackridge Hamlet, so handle that step first.
Route to the Inflamed Clawstone
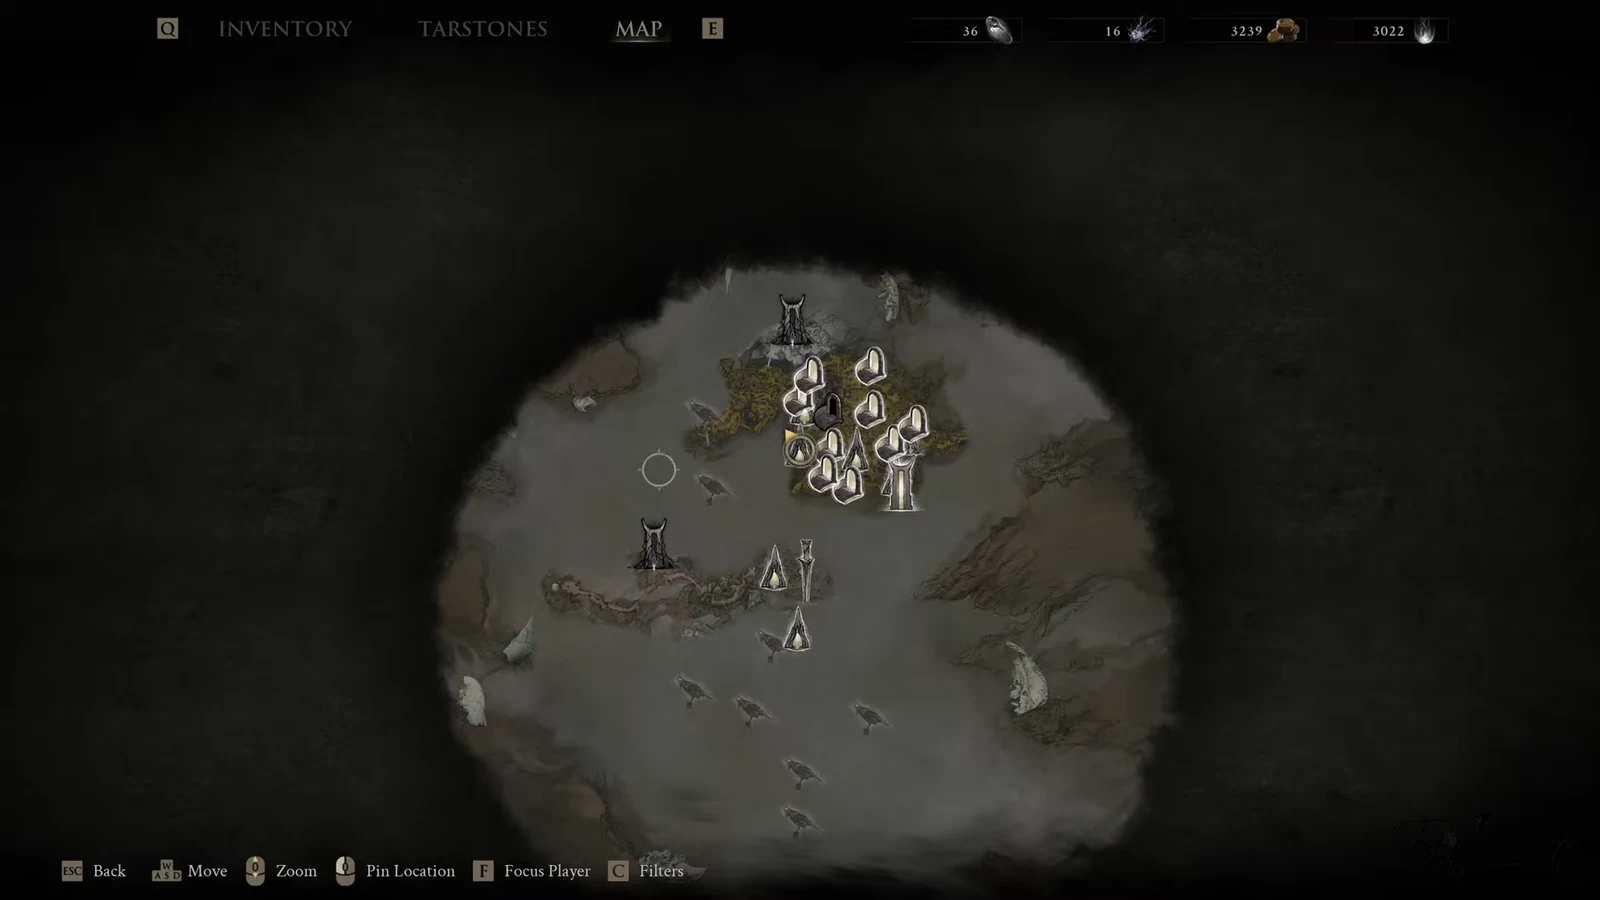
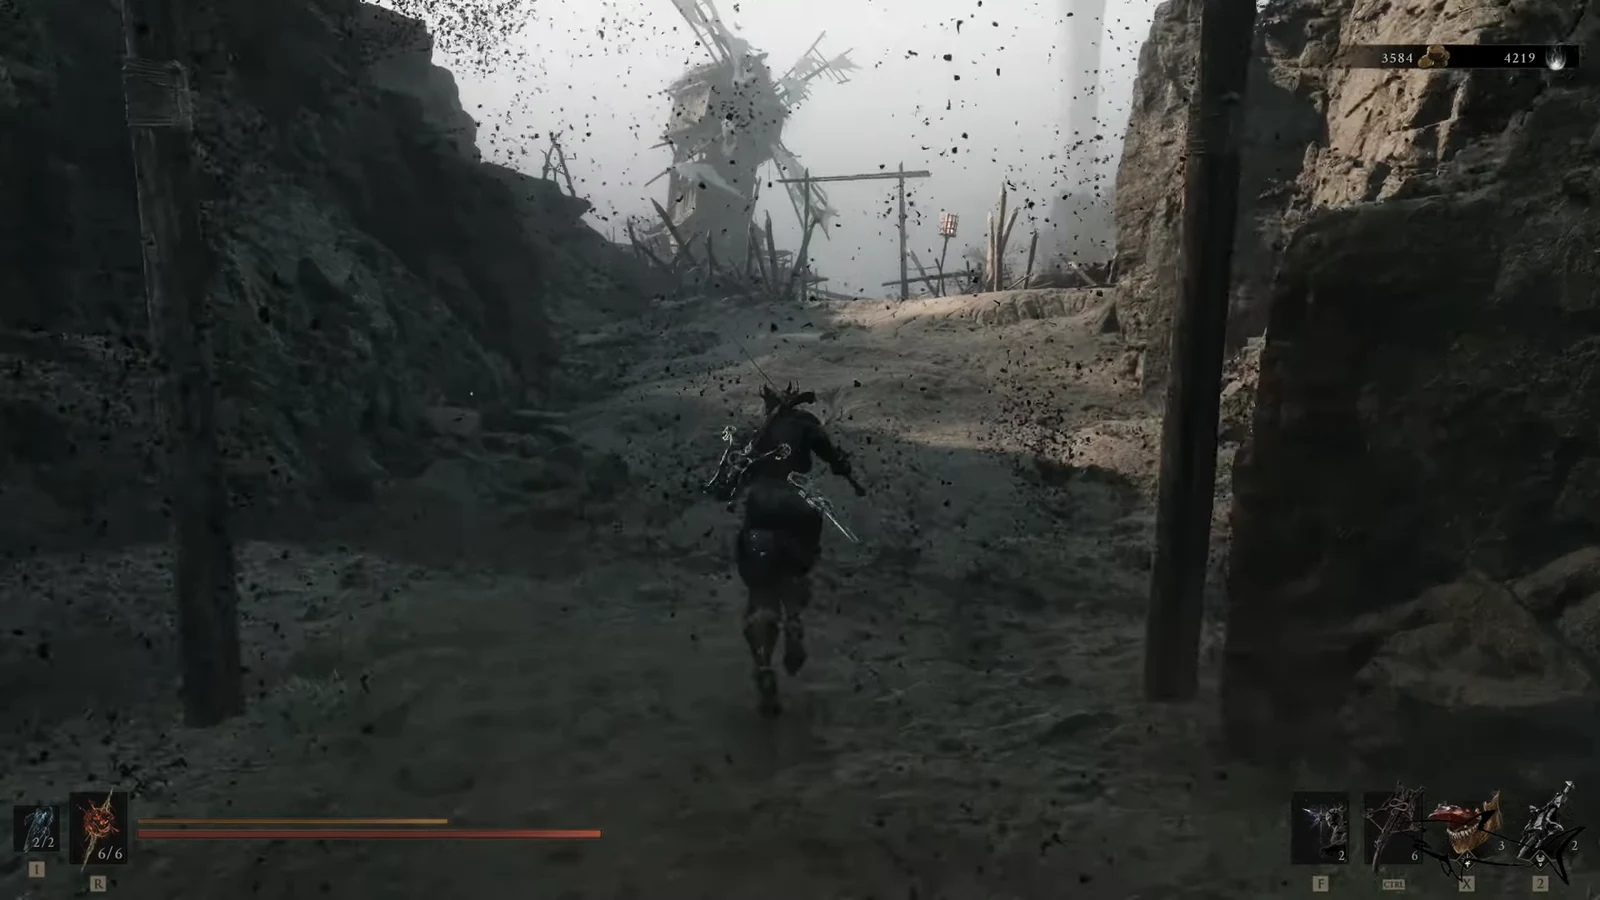

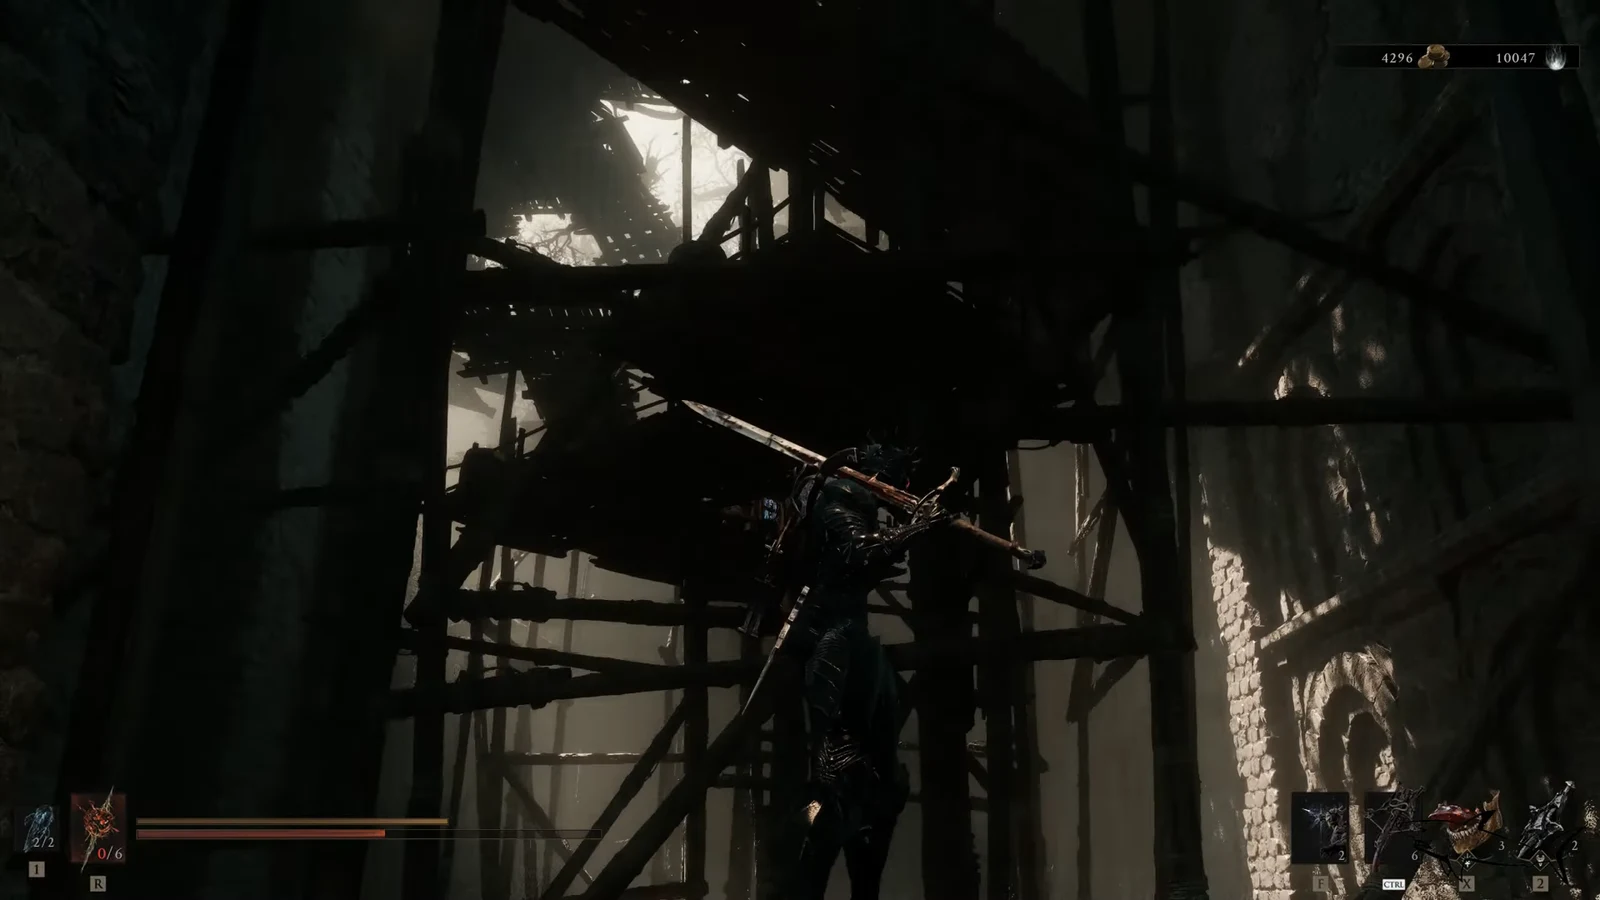
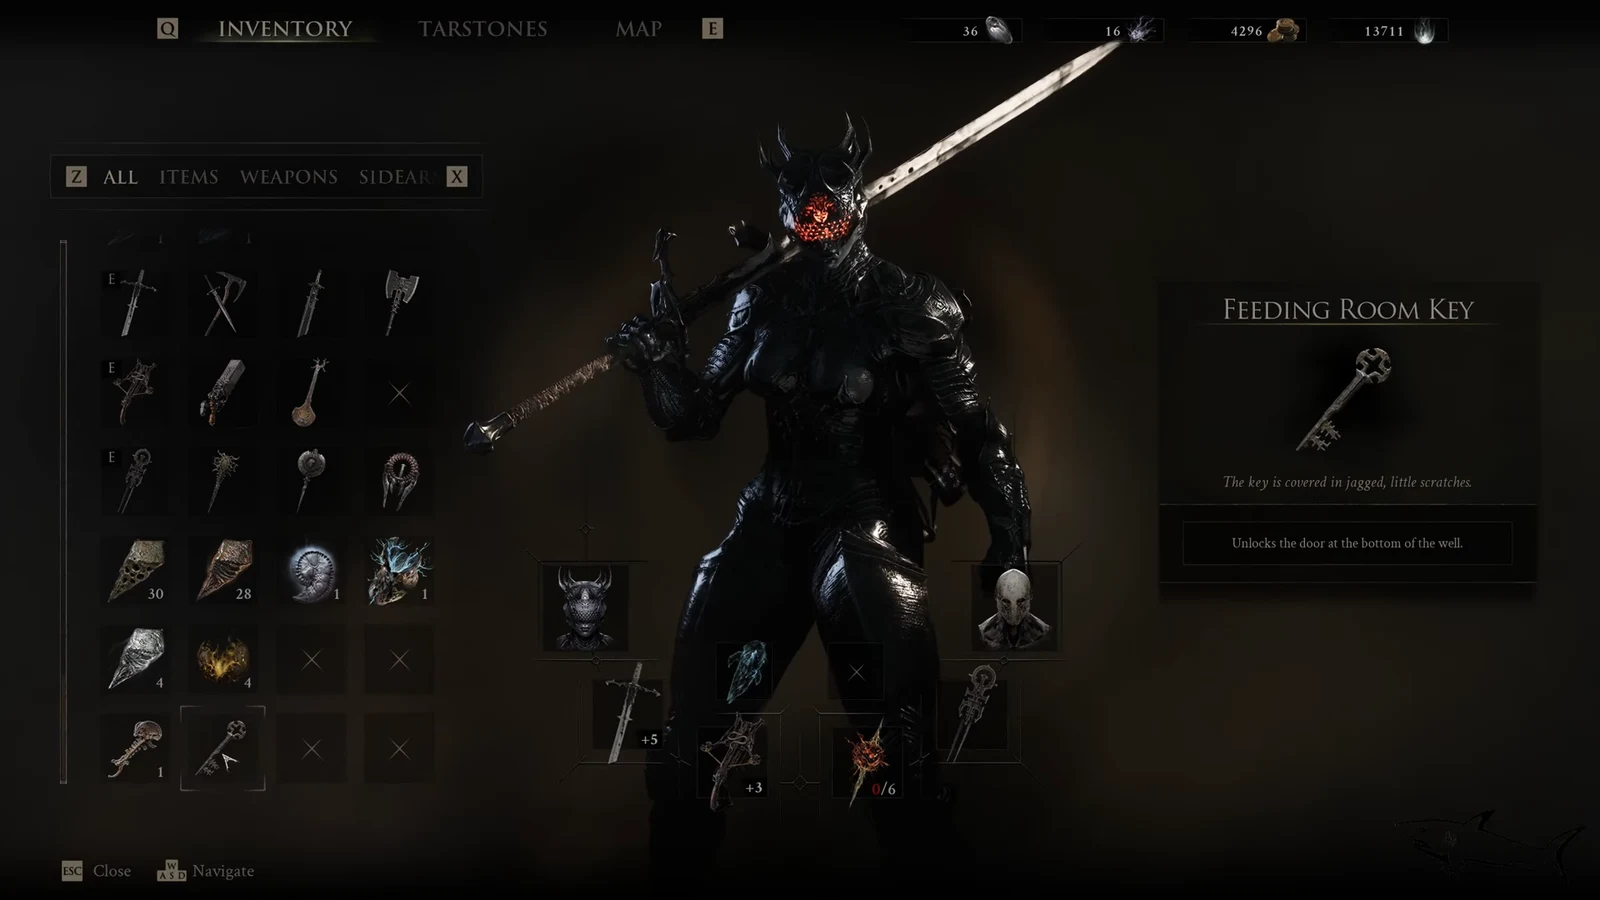
You will know it worked when the Inflamed Clawstone appears in your inventory and can be slotted into a compatible primary weapon such as the Veteran’s Battle Axe.
Upgrading the stone at the Tarforge
Upgrades happen with Franz at the Tarforge in Marrow Keep, but he can only push the stone past its base level once he has the Etching Needles. That quest item sits in a bone chest just before the Magdalena, the Lady of the Woods fight. When you spot Ruk past the bridge, drop through the opening and turn right before the tunnel to reach the small area holding the chest.
After Franz has the Etching Needles, keep the Inflamed Clawstone equipped and slay enemies to fill its experience bar. Once the bar is full, return to Franz and pay Coin to raise it to the next level. Repeat this until Level 4, where the burn infusion stops expiring and stays active permanently.
Note: The stone advances one tier at a time, so plan to farm enough kills for each level rather than expecting a single jump straight to permanent burn.