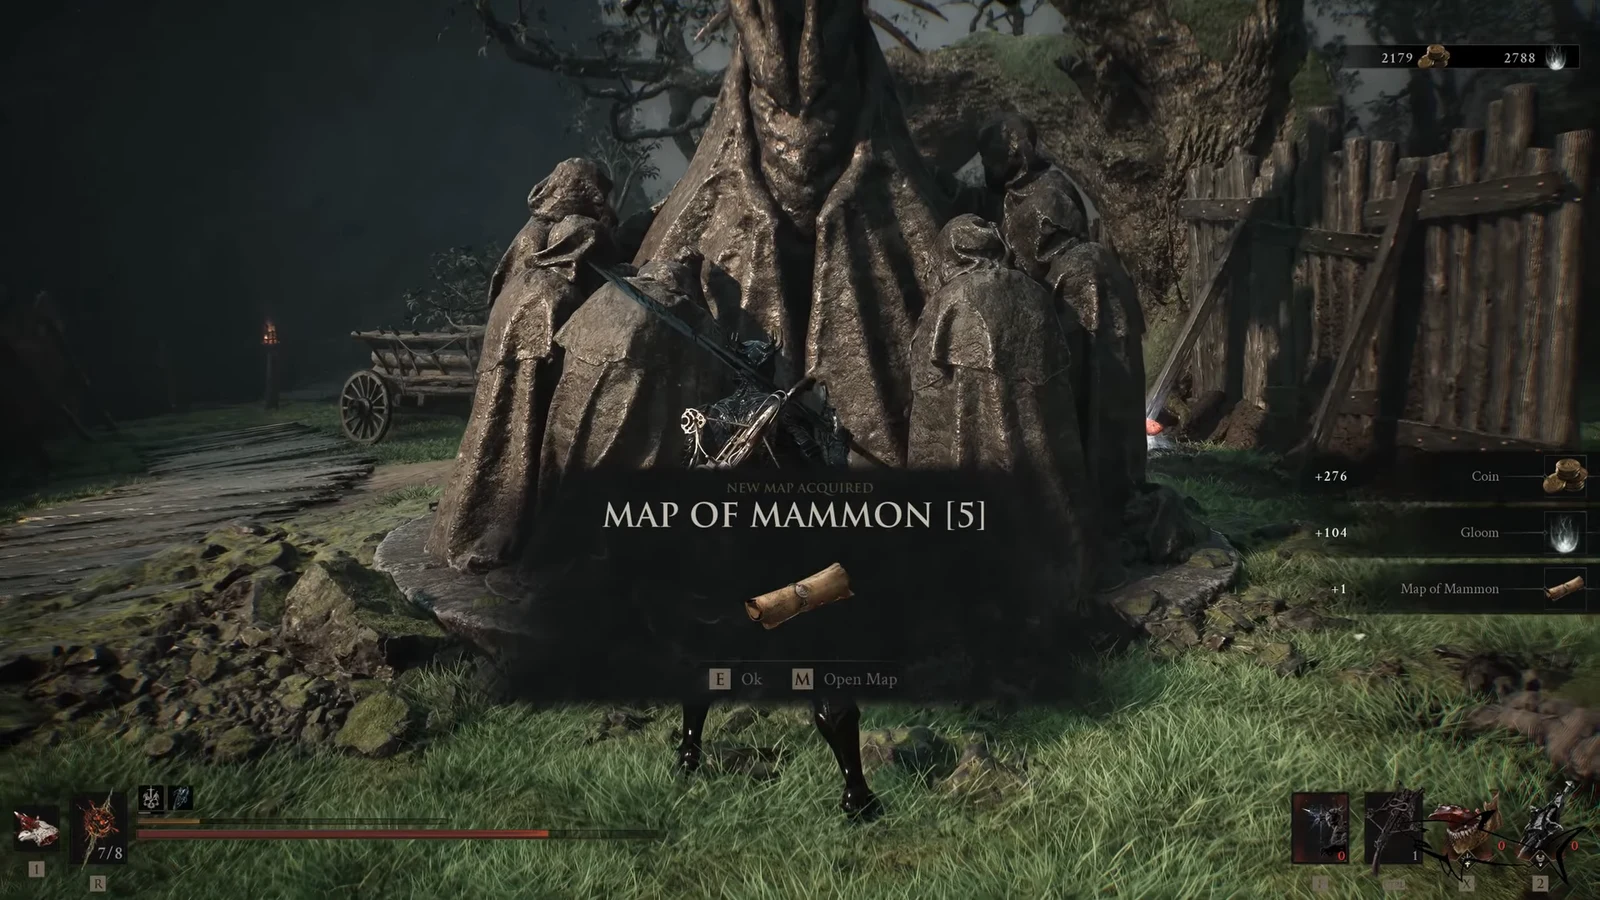
The Map of Mammon 5 is the first map fragment most players pick up in the Ruins of Mammon, and it sits close enough to a default fast travel point that the whole trip takes a couple of minutes. It rests on one of the statues where Ruk, the crow that guides you through Fallgrim, perches.
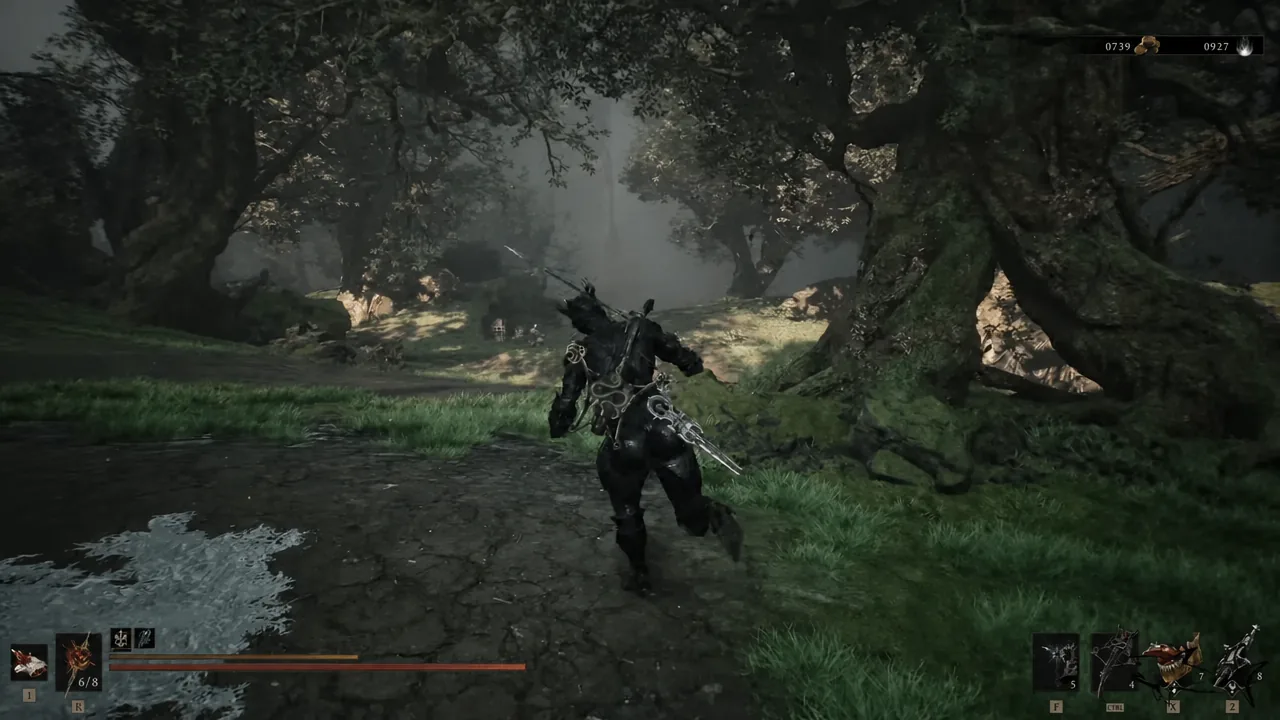
Quick answer: Fast travel to the Outskirts of Mammon beacon, head down the slope to the west past the armored soldiers, cross the wooden bridge along the cliff, and take the map from the statue monument next to the catapult.
What the Map of Mammon 5 fragment does
Fallgrim’s map never fills itself in. Walking through an area does nothing to the fog of war, so the only way to see the layout of a region is to physically collect the fragments Ruk leaves on his statues. Picking one up clears the fog around that area and also marks the Corrupted Gates nearby, which are the major dungeon entrances that lead to boss fights. In the case of this fragment, that means the Outskirts of Mammon region plus three Corrupted Gate markers.
| Detail | Value |
|---|---|
| Region | Ruins of Mammon |
| Nearest beacon | Outskirts of Mammon |
| Landmark | Stone monument ringed by cloaked statues, beside the catapult |
| Pickup prompt | Take Map |
| Reveals | Outskirts of Mammon region and three Corrupted Gate locations |
| Counts toward | 11 total fragments (5 Fainweald, 6 Mammon) and the Sat Nav trophy |
Before you go: fast travel and beacon requirements
You need fast travel switched on, which only happens after the prologue and your first visit to Marrow Keep. Collect and siphon at least five additional Ova — the UnderMether eggs — and you unlock both beacon-to-beacon travel and the ability to clear the corrupted vines that block paths in the overworld.
Outskirts of Mammon is already cleansed when you arrive, so it shows up in the beacon menu without any extra work. It is the only Mammon beacon available by default, which is exactly why this fragment is the easiest one in the region to grab early.
Route to the Map of Mammon 5 from the Outskirts of Mammon beacon
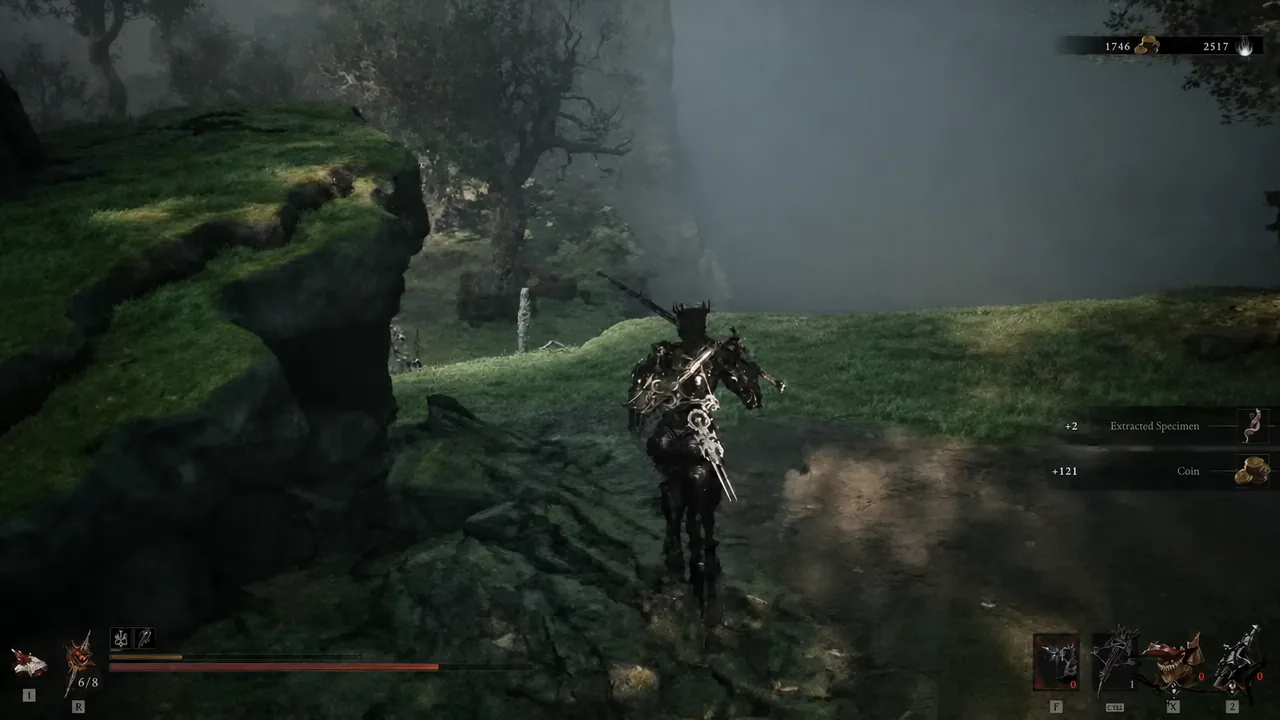
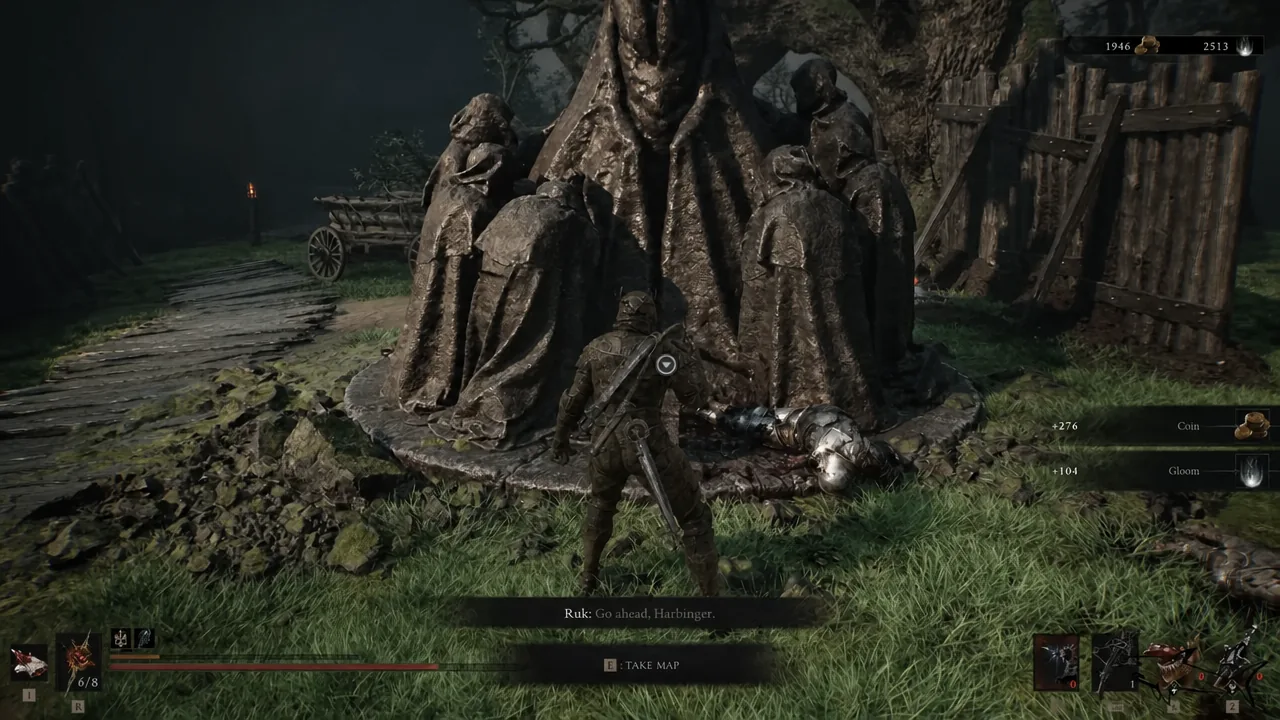
How to confirm the fragment registered
Two things happen the moment you take it. The screen shows New Map Acquired along with the item name Map of Mammon [5], and the fog over that part of the world lifts. Open the map straight away and you should see the Outskirts of Mammon area drawn in, with three Corrupted Gate icons now visible on it. If the region is still grey, you did not complete the interaction — walk back to the monument and trigger the prompt again.
Note: Ruk’s statues are not permanently marked on the map. A crow icon only appears once you have discovered the surrounding area on foot, so if you are checking your map before making the trip, expect the spot to be blank.
Once this one is in hand, the rest of the region opens up in a sensible order. The Bone Gates around the Outskirts of Mammon beacon lead toward the Abbey area, Castigator’s Keep and the Abandoned Outpost, each of which carries another fragment. All eleven — five across Fainweald, six across Mammon — clear the fog entirely and unlock the Sat Nav trophy.