

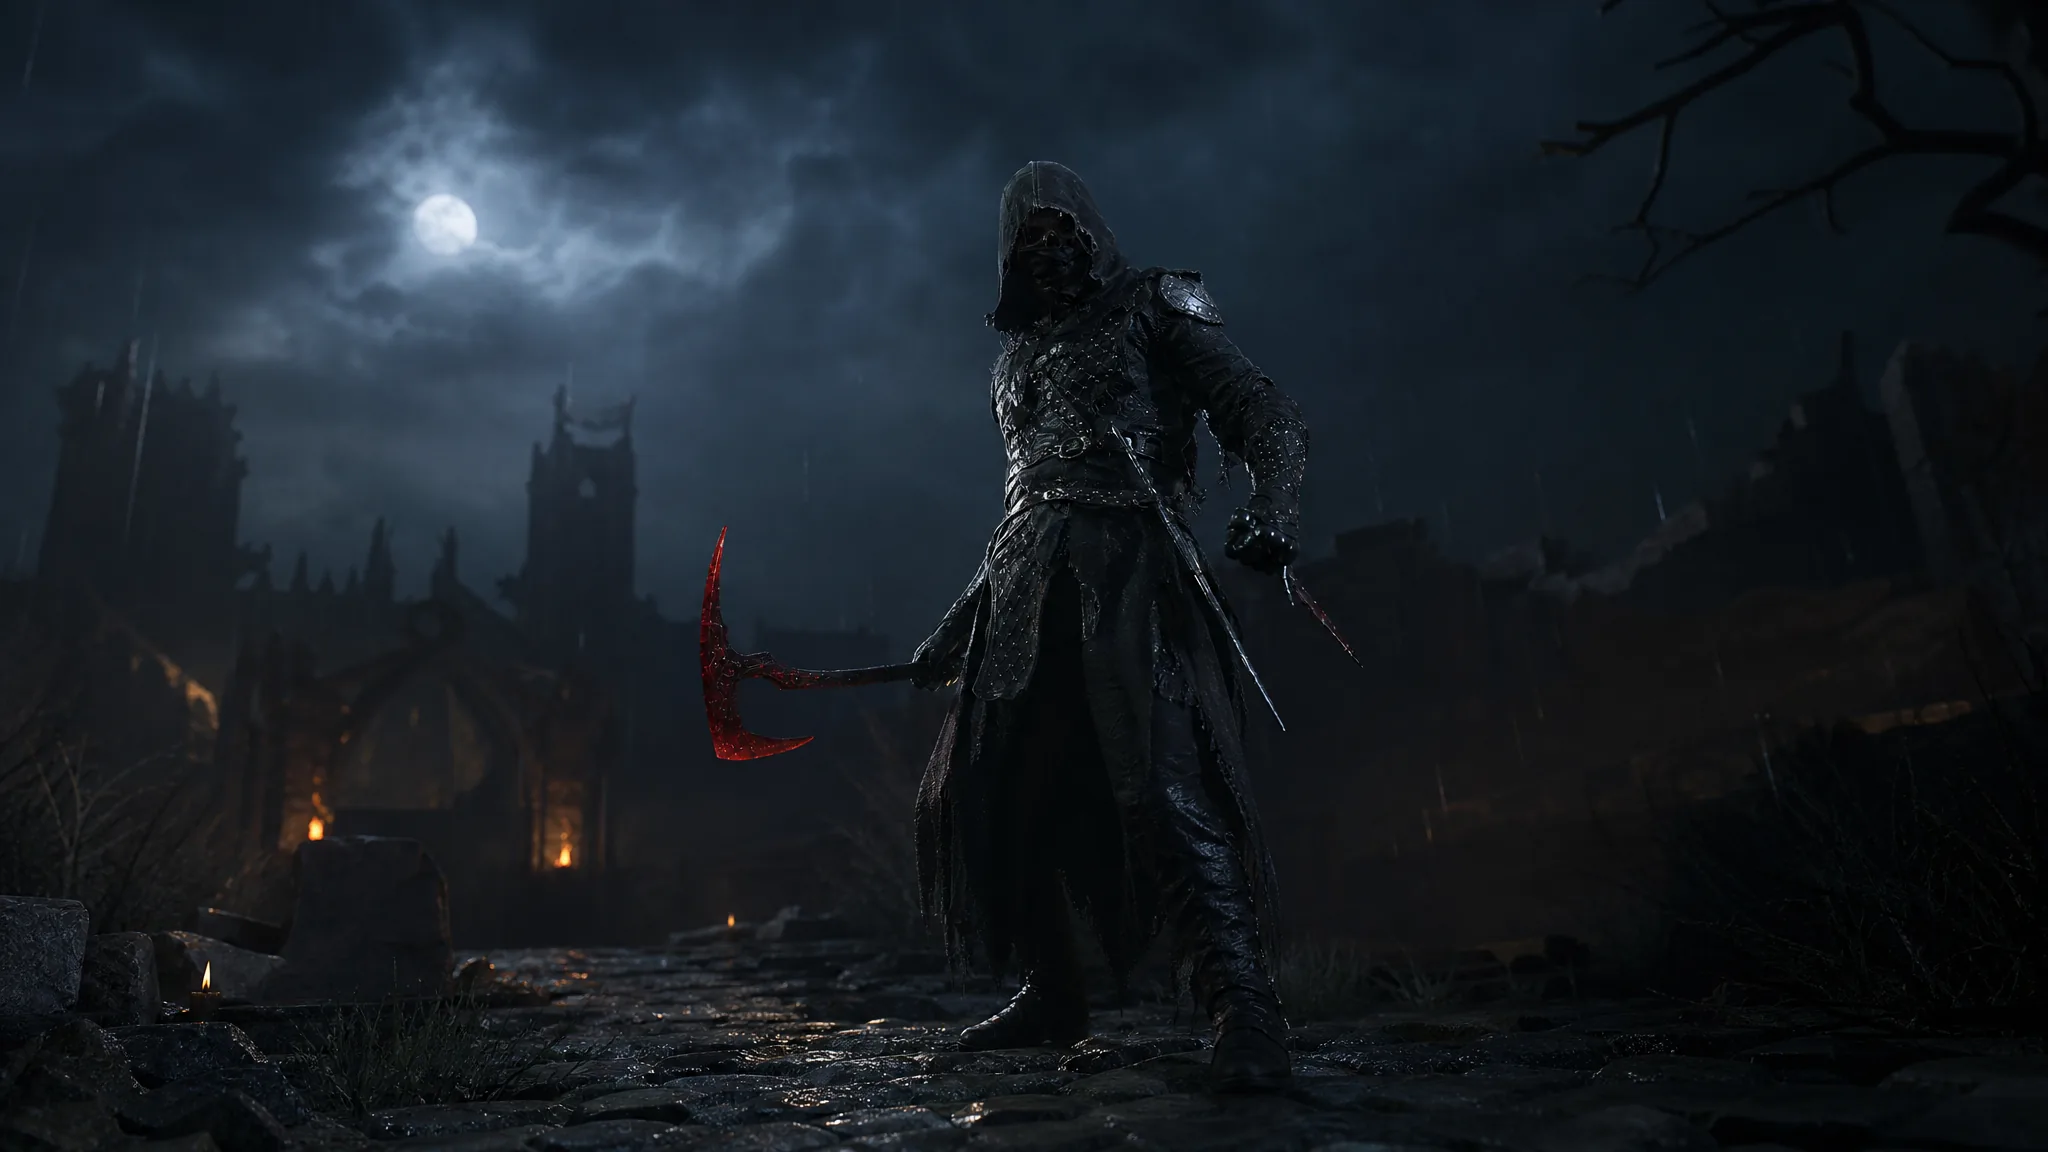
Night Mode is an optional high-difficulty setting in Mortal Shell 2 that you can switch on and off at will. It makes enemies far deadlier, but it also pays out more Gloom and opens areas, items, and encounters that stay hidden during the day.
Quick answer: Grab the Gloombound Flame near the Great Arbiter of Flesh at Widow’s Overlook, take it to the top of Marrow Keep, light the extinguished lantern, then tell Thestus to “Call forth the Night.” The screen blacks out and displays “Night Summoned” once it is active.
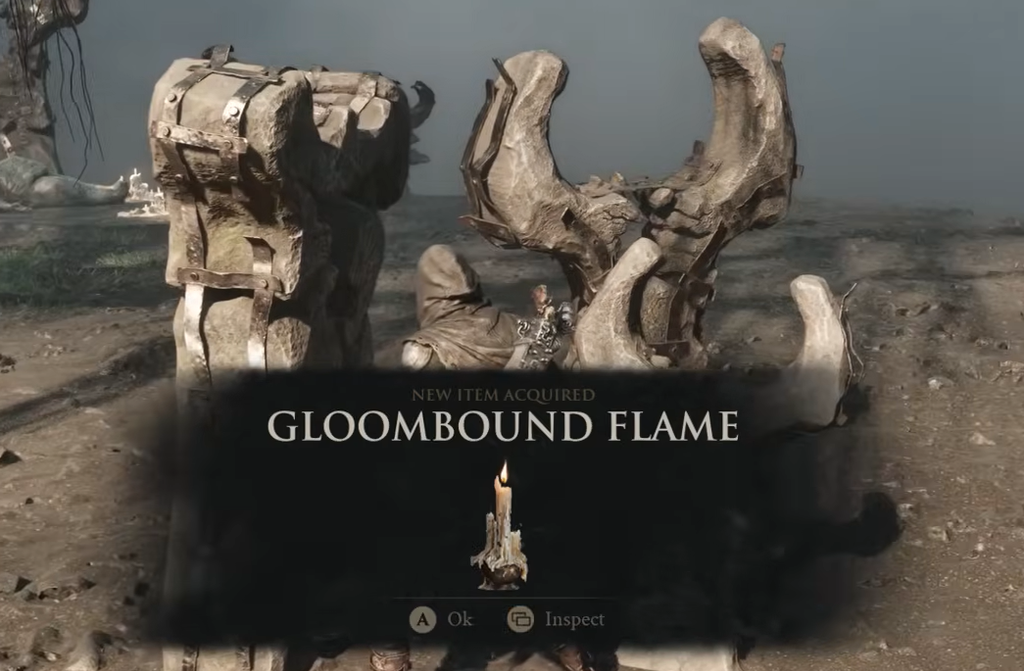
How to turn on Night Mode in Mortal Shell 2
Activating Night Mode requires a single key item and one trip back to your hub. Follow the sequence below.
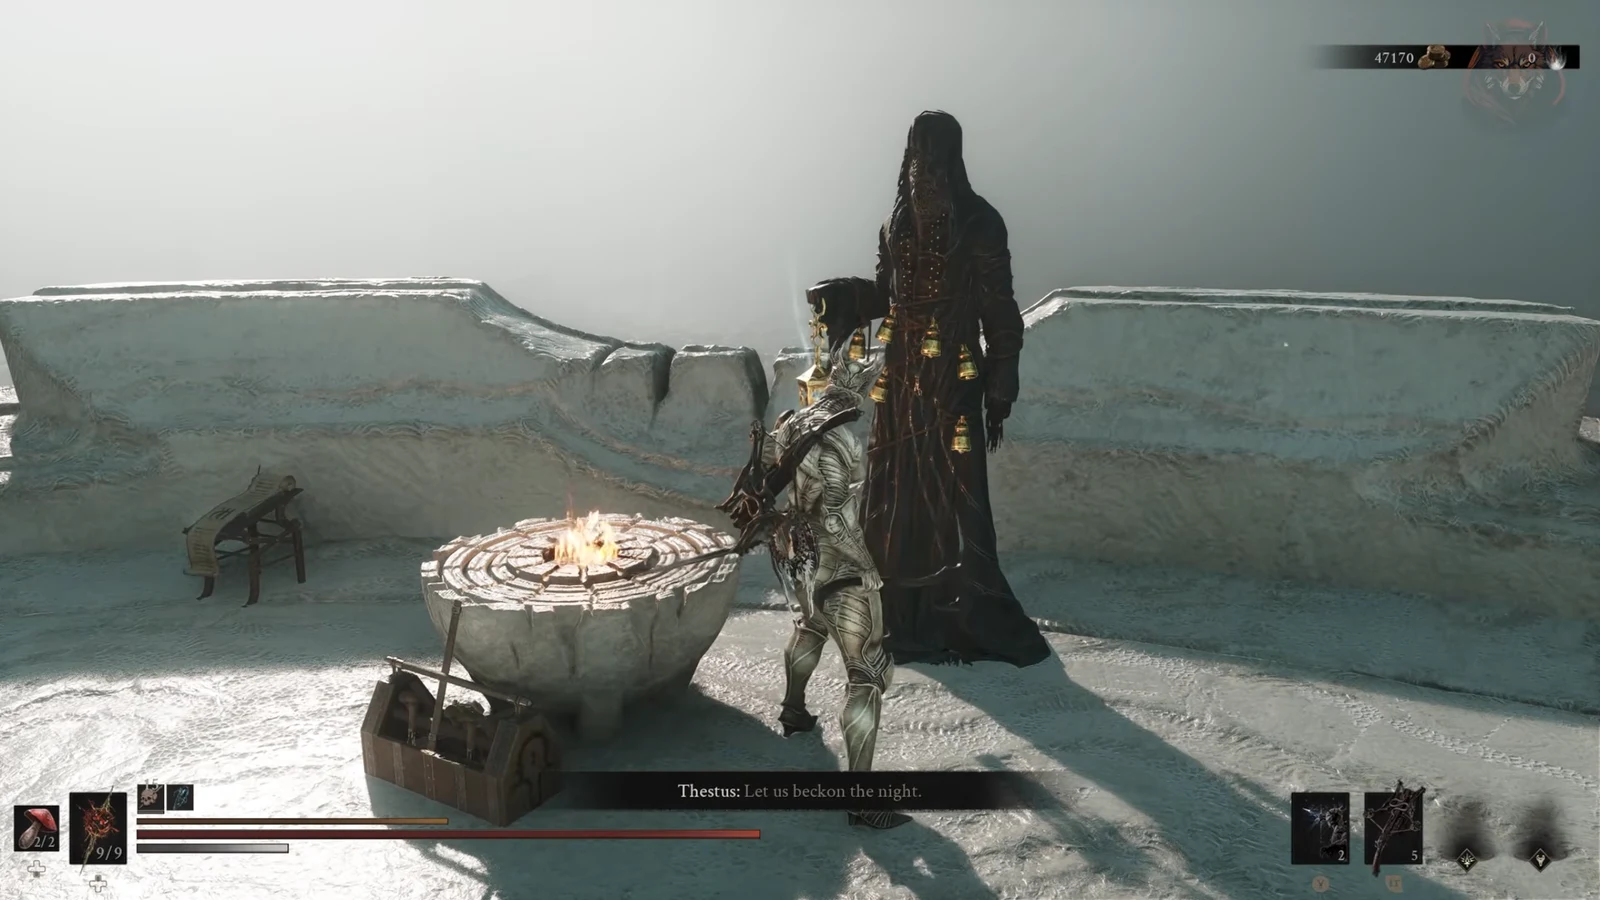
To return to standard difficulty, speak to Thestus again at the top of Marrow Keep and pick “Seek Daylight.” You can toggle between the two states as often as you like.
What Night Mode changes about combat and rewards
Night Mode darkens the world and scales up every enemy. Foes gain a large boost to health and damage, some move faster, and stronger groups can appear. In exchange, kills drop more Gloom, which makes the mode a viable way to farm resources for leveling once your build can survive the hits.
| Effect | Change under Night Mode |
|---|---|
| Enemy health | Roughly +100% |
| Enemy damage | Roughly +100% |
| Gloom reward | Around +20% per kill |
| Glimpse drops | Increased in the areas where you met each Shell |
The health and damage figures are close estimates measured in play, so treat them as a guide rather than exact values. Because a single strong attack can flatten a low-HP shell, upgrade your weapons and sidearms as much as possible before switching over.
Some areas display a riddle that reads, “By the light of day, the truth remains sealed. And yet in darkness all shall be revealed.” That message marks a secret that only becomes visible at night, such as the tattered note tucked inside Garrick’s Den in the starting cave area.
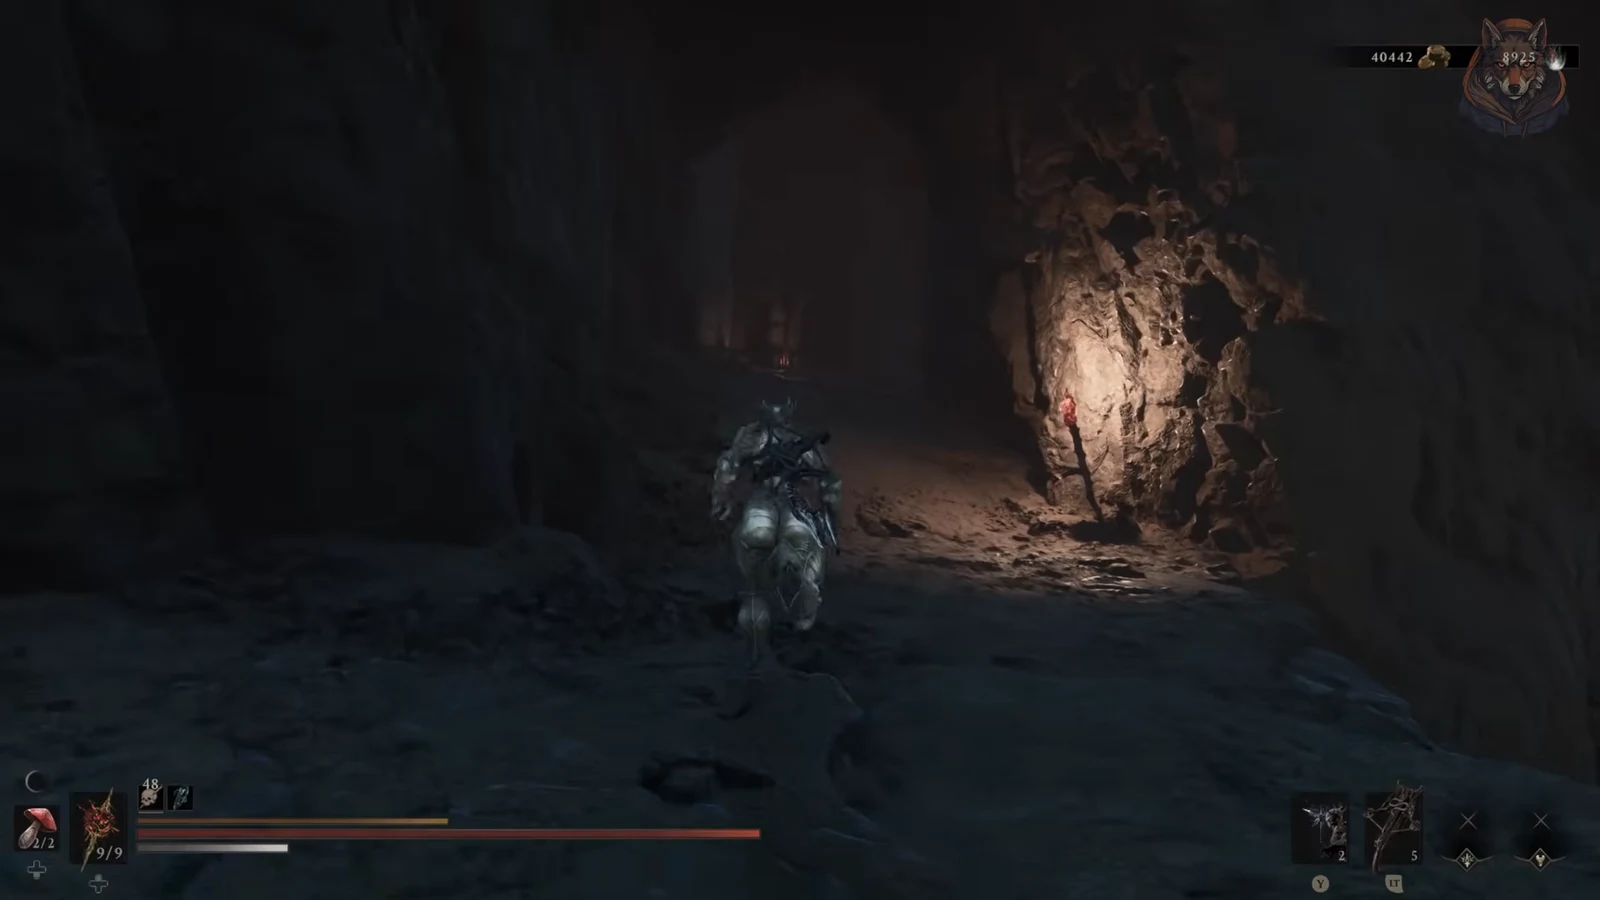
The Collector merchant at the Abandoned Outpost
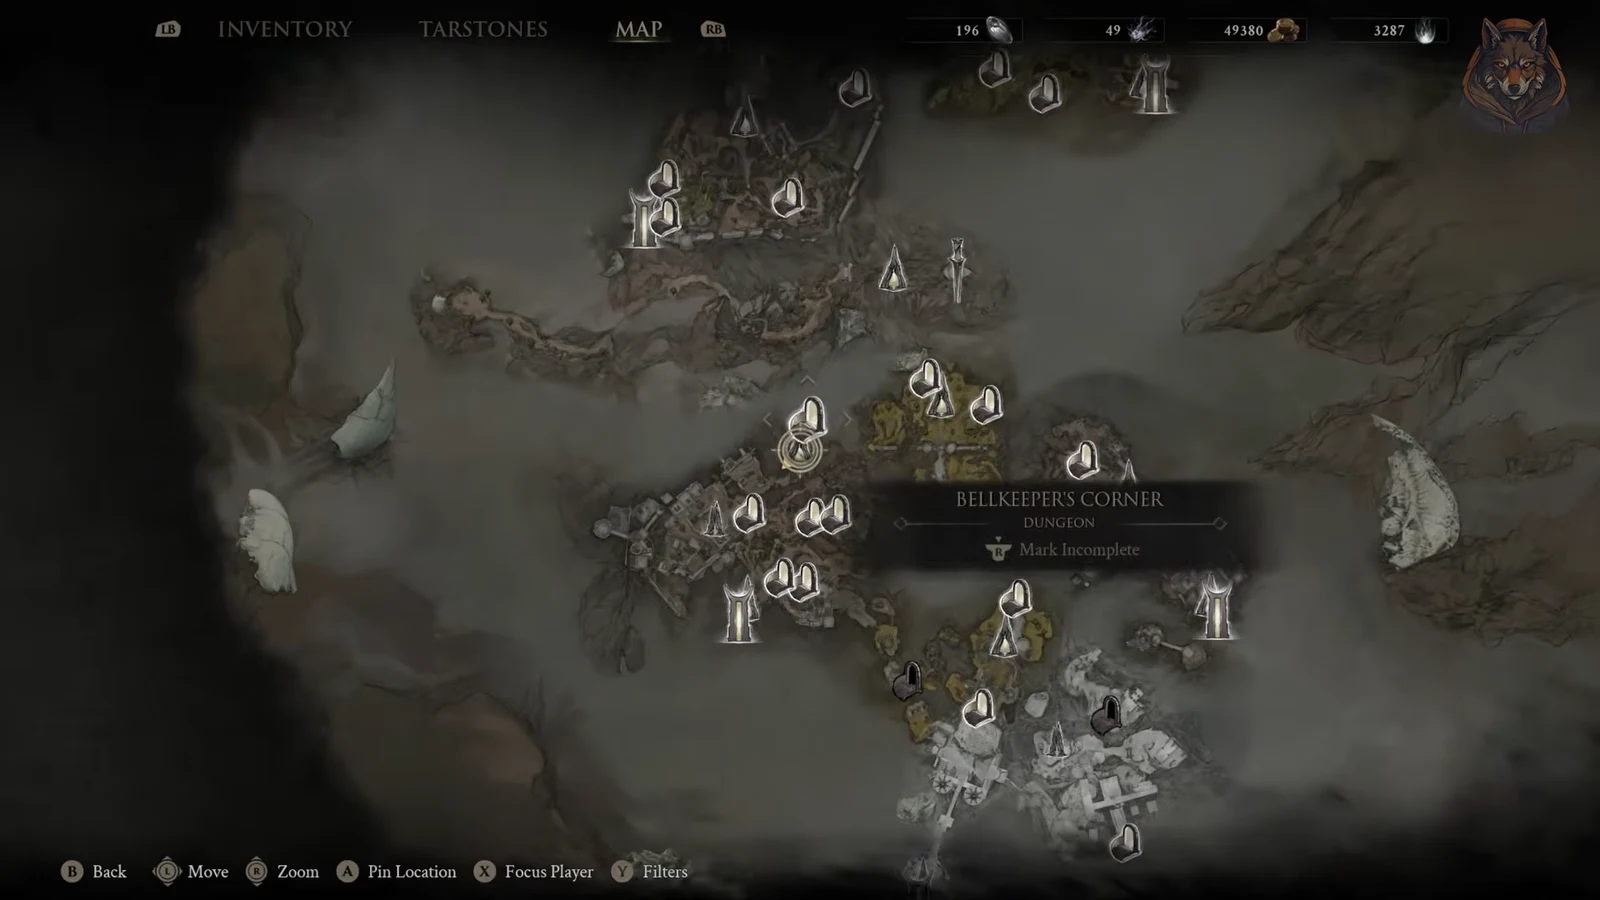
While Night Mode is active, a merchant called The Collector sets up shop at the Abandoned Outpost Beacon in the Deserted Slums. He carries four Tarstones, a stack of Glimpse, Thoracium, and a Blackmarrow Key. Nothing here is missable through normal play, but the Tarstones and key are convenient one-stop buys.
| Item | Price |
|---|---|
| Fulminant Stone | 1500 Coins |
| Infested Stone | 1500 Coins |
| Weeping Stone | 1500 Coins |
| Infused Stone | 1500 Coins |
| Glimpse (x3) | 500 Coins each |
| Thoracium (x2) | 2500 Coins each |
| Blackmarrow Key (x1) | 1500 Coins |
Gloombound Ritualists duo boss at Revenant Graves
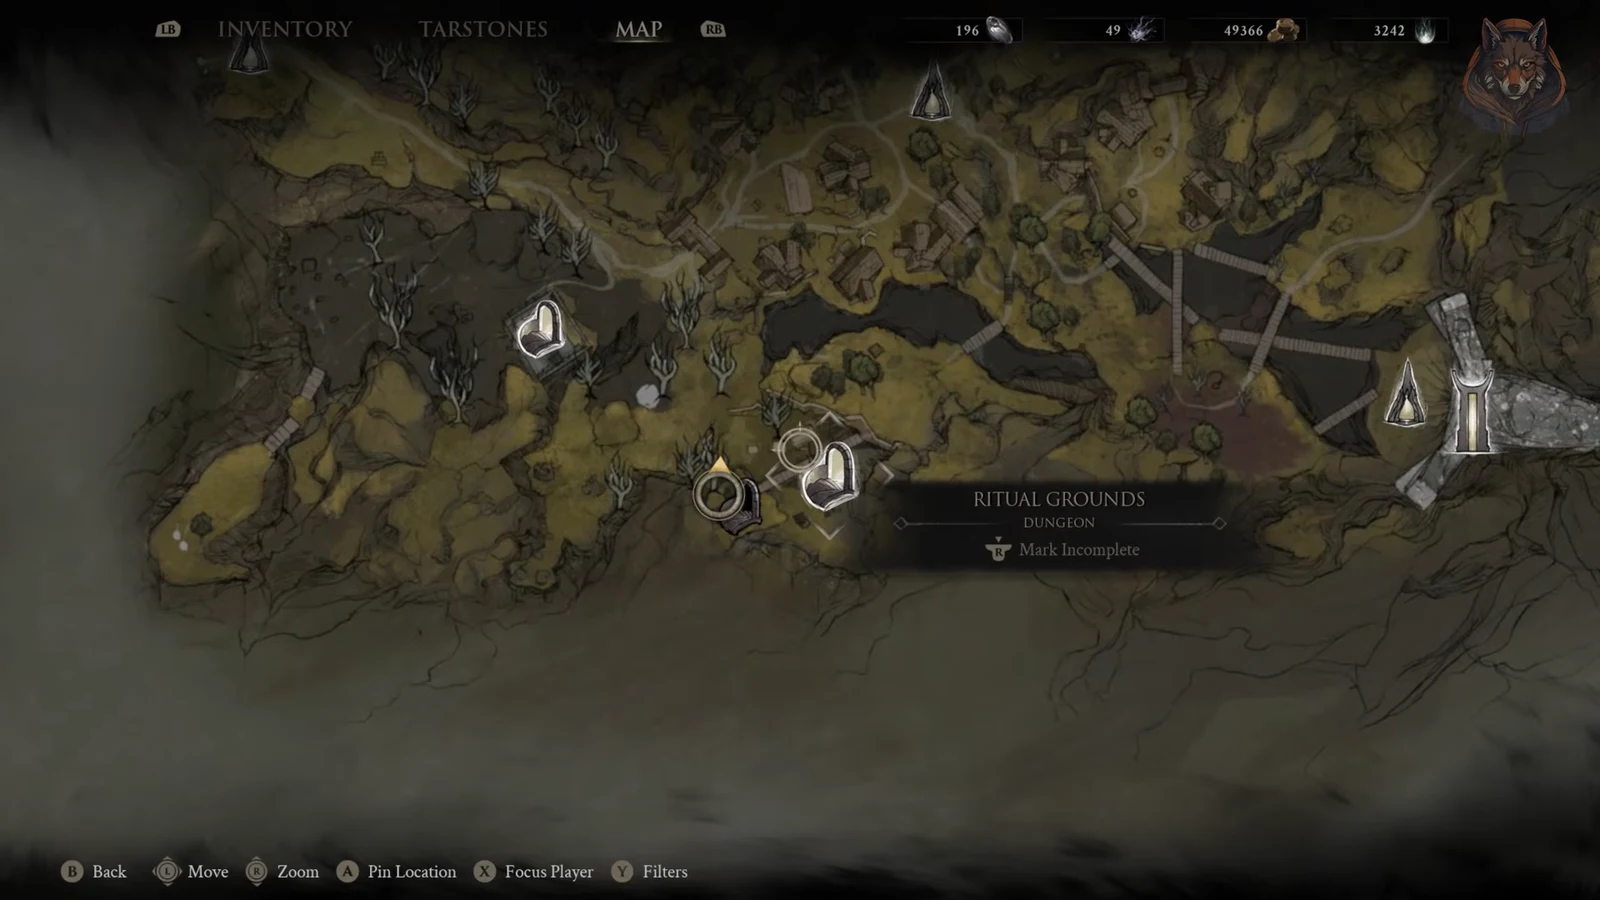
Return at night to the spot at Revenant Graves where you found Genessa’s Sester’s Sencer. The area now hosts a two-part boss fight against the Gloombound Ritualists, and clearing it also awards three extra Glimpses. Shells, weapons, and sidearms are not locked behind this fight, so it is optional challenge content rather than a progression gate.
Shrine of Sorrows dungeon walkthrough
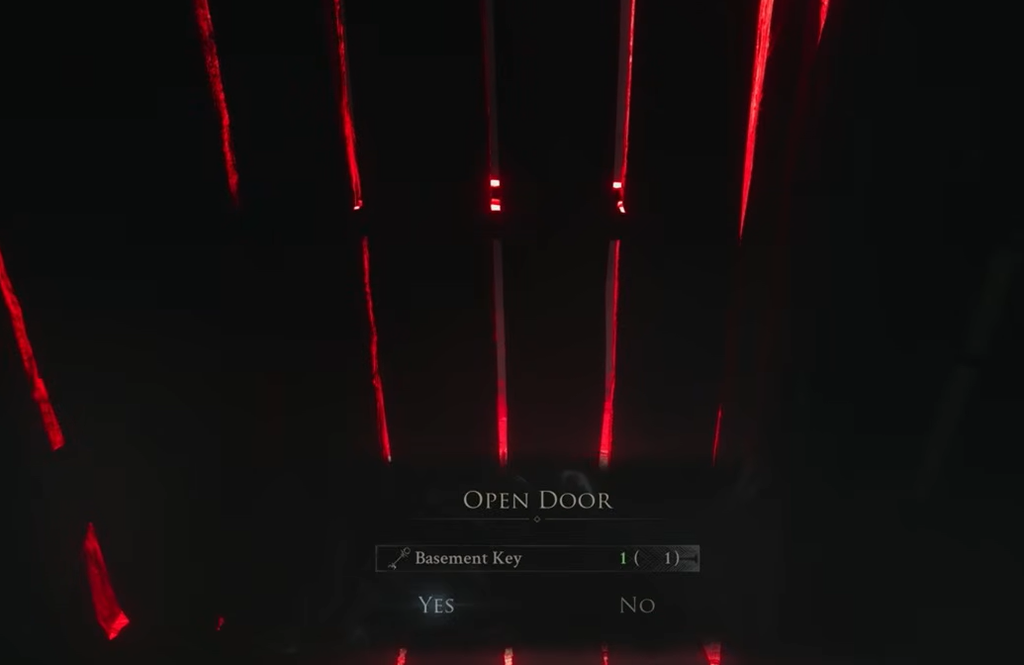
Night Mode unlocks the Shrine of Sorrows, a first-person dungeon near Mushroom Village. Interact with the giant glowing mushroom to accept the invite and drop into the misty entrance. Full completion nets a Blackmarrow Key and a Touch of Noche, plus a Dorsalite from an early side chest.
Forgotten Tower and the three gland locations
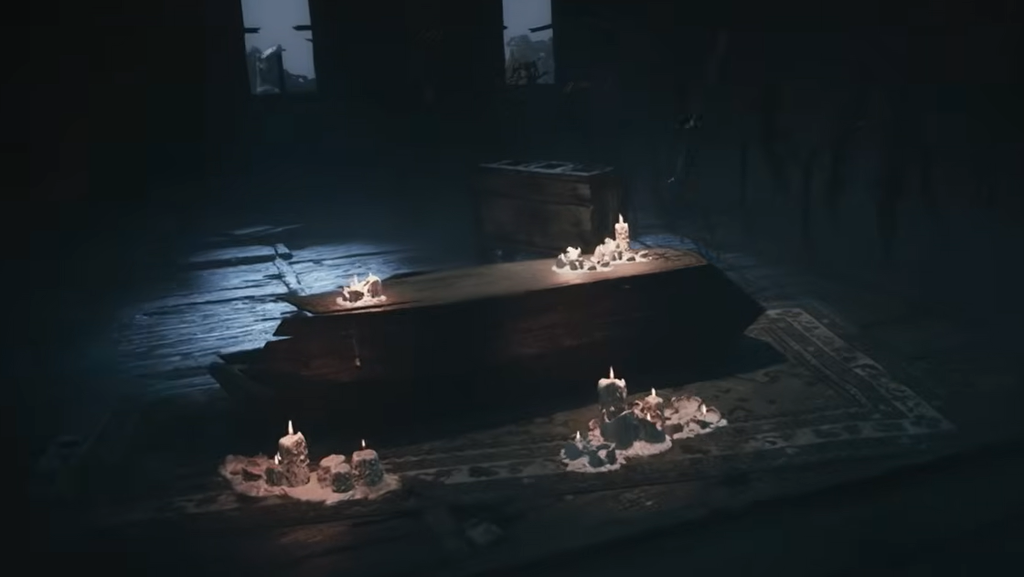
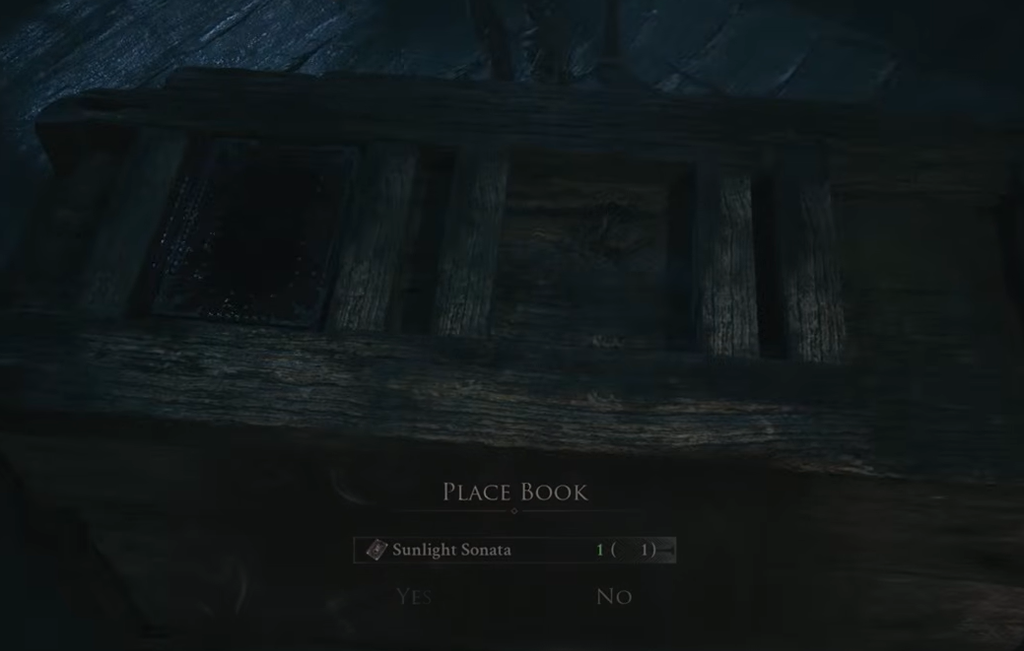
The Forgotten Tower holds a revered corpse that accepts the Thawed, Depleted, and Faded Glands. Offer all three at night and it hands over the Seedbearer’s Scripture, a permanent pickup that triggers a unique interaction during a key phase of the final boss fight. Collect every gland first, then bring them here together.
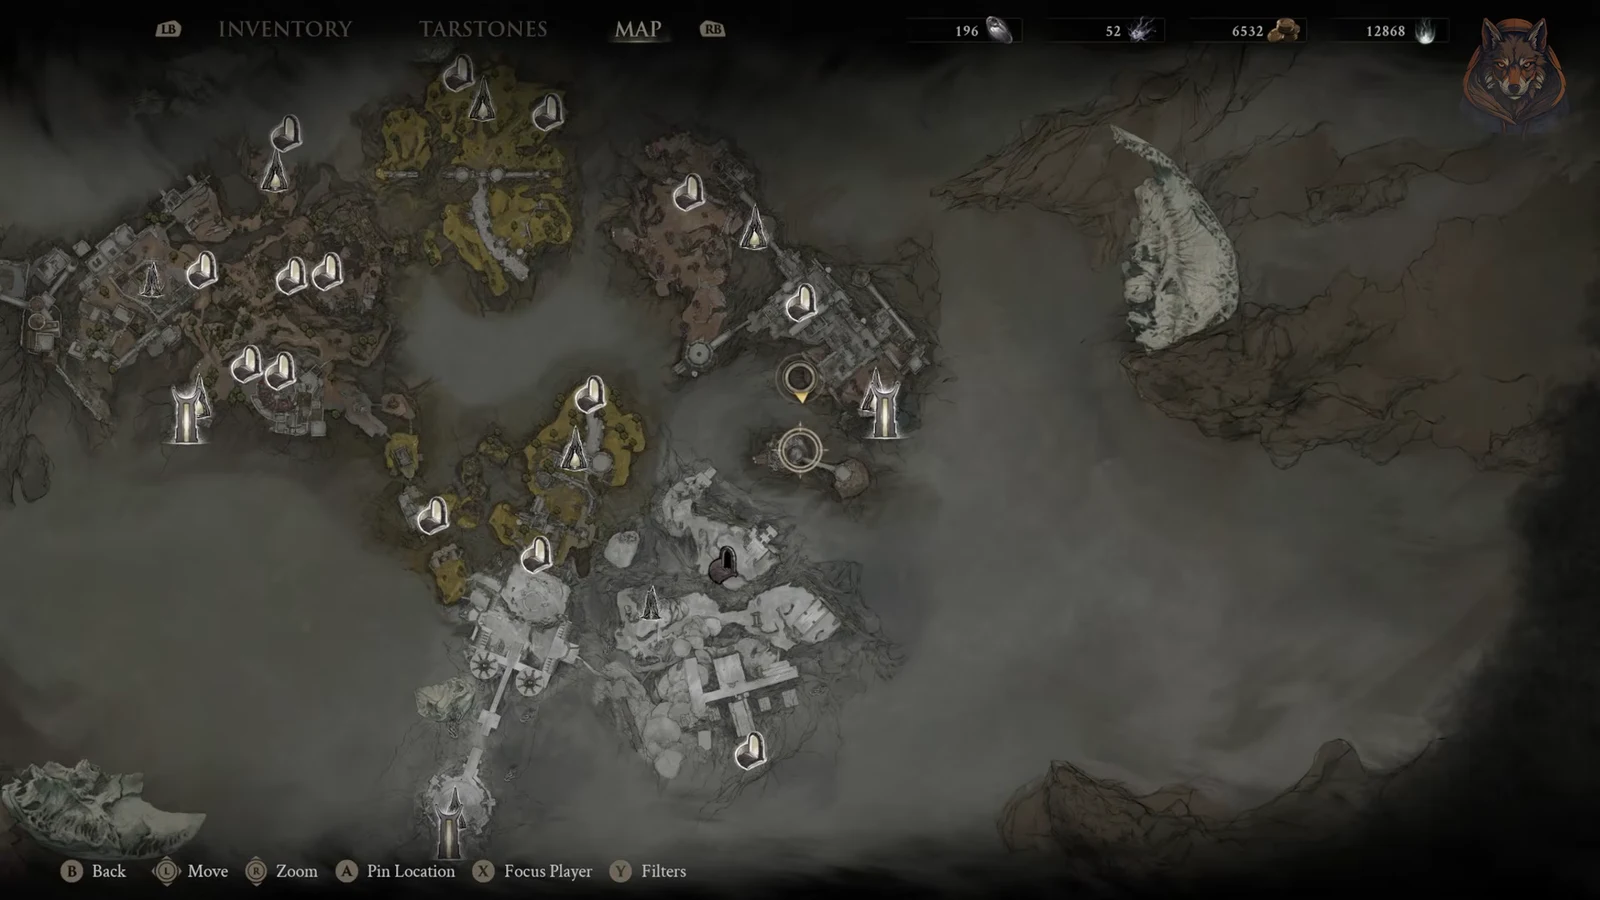
| Gland | Where to find it |
|---|---|
| Thawed Gland | Conquered Temple Gate. Follow the starting path past the traversal gate, ignore the path on the right and drop into the crevice below. Cross it and enter the room on the left by the Subjugated Sentry to find the gland on a pedestal. Frost resistance (Sester Cerresa, Tiel, or a Frost-resistant Eredrim) helps. |
| Faded Gland | On an altar below the Fated Citadel’s (Gate of Infinity) Citadel Annex Beacon. The surrounding enemies can overwhelm and one-shot low-HP shells. |
| Depleted Gland | In the Withered Shoals. Reach it by clearing the Gate of Mammon beacon, then turn around after dropping onto the platform you fall from to face the Hexapod. |
With Night Mode active, you also gain access to night-only achievements, so the mode is required for full completion. Explore each area during the day first to learn its layout, then flip to night with Thestus when you want the extra rewards, the exclusive fights, and the secrets that only surface in the dark.





