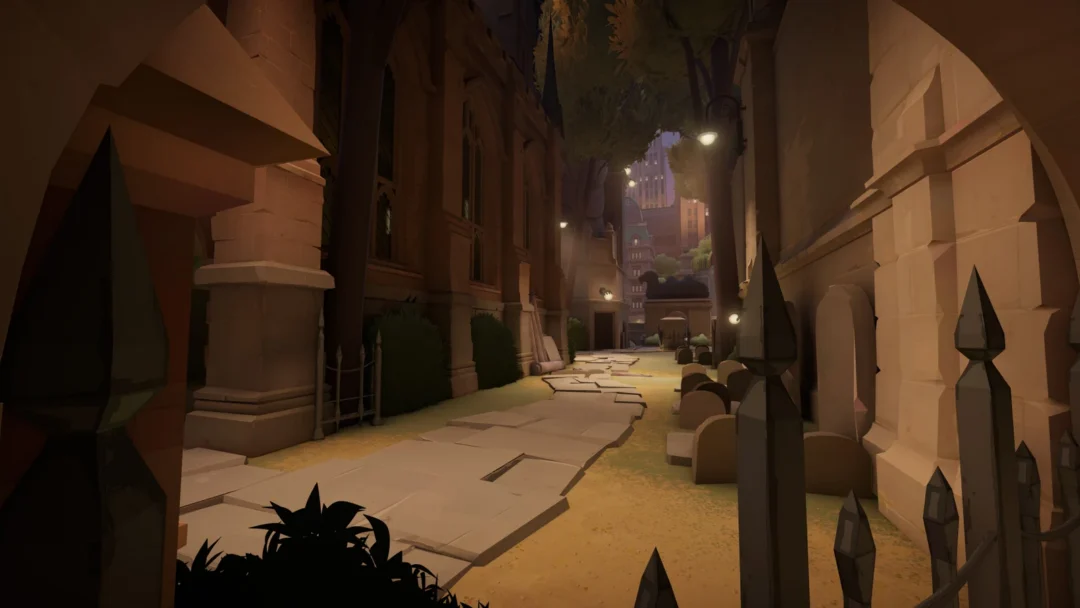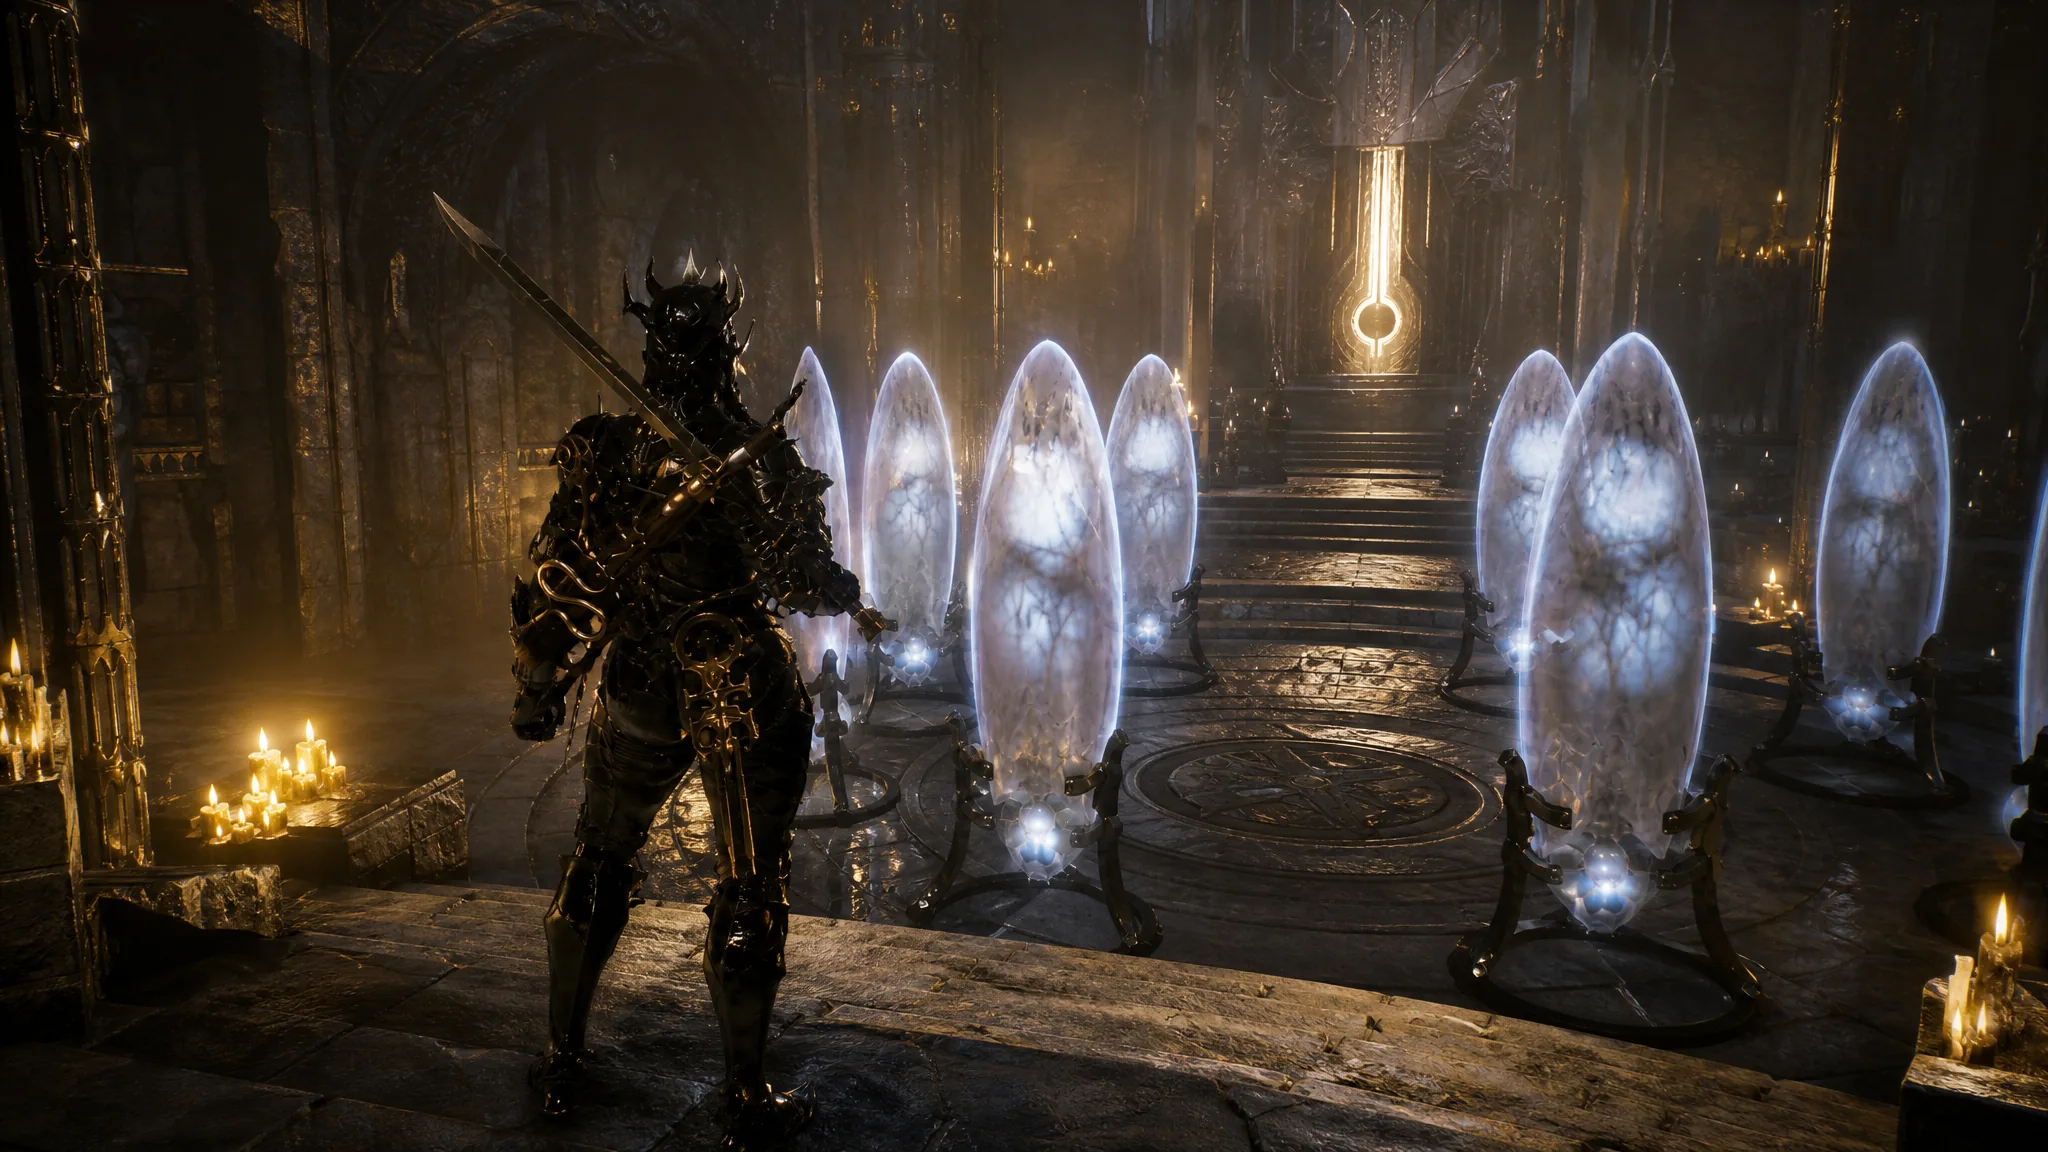
The Child’s Feeding Ground Beacon in Mortal Shell 2 holds one of the eight Blackmarrow Keys, and it sits behind the Lost Child boss at the far north of the map. Reaching it also nets +26 Ova from a cleansed corruption pocket, and the key itself lets you open a Shade chest inside the Marrow Keep elevator room to recolor one of your Shells.
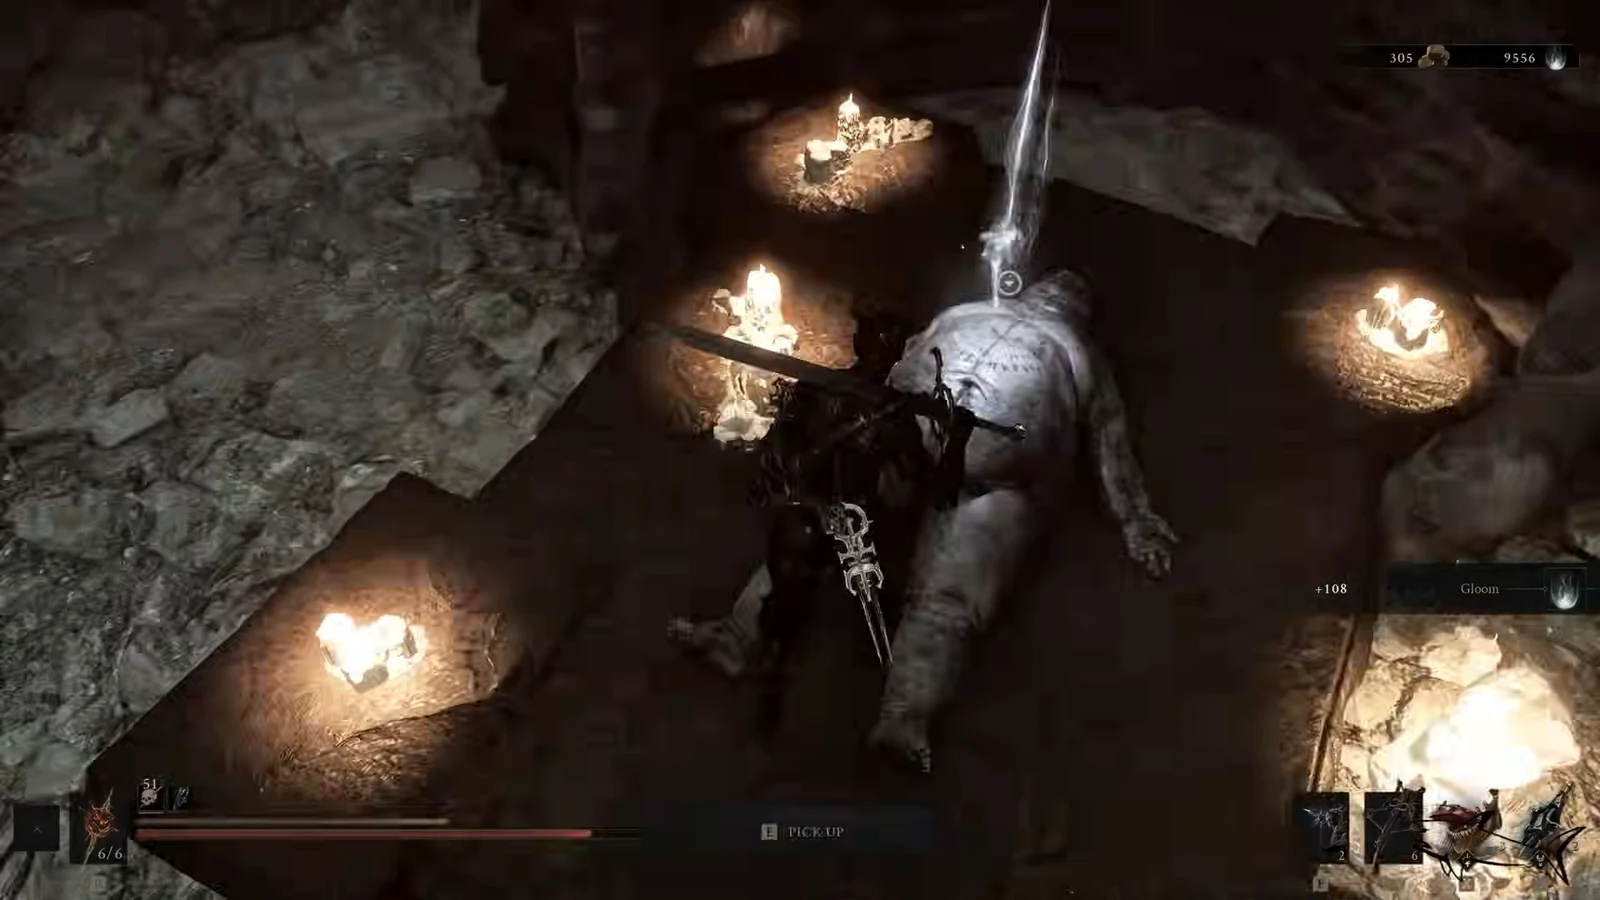
Quick answer: Beat the Lost Child in the Sanguine Caverns Corrupted Gate, cleanse the corruption around the Ova to collect +26 Ova, then fast travel back to the Child’s Feeding Ground Beacon and open the chest in the new room behind where the Ova sat to receive the Blackmarrow Key.
What you need before starting
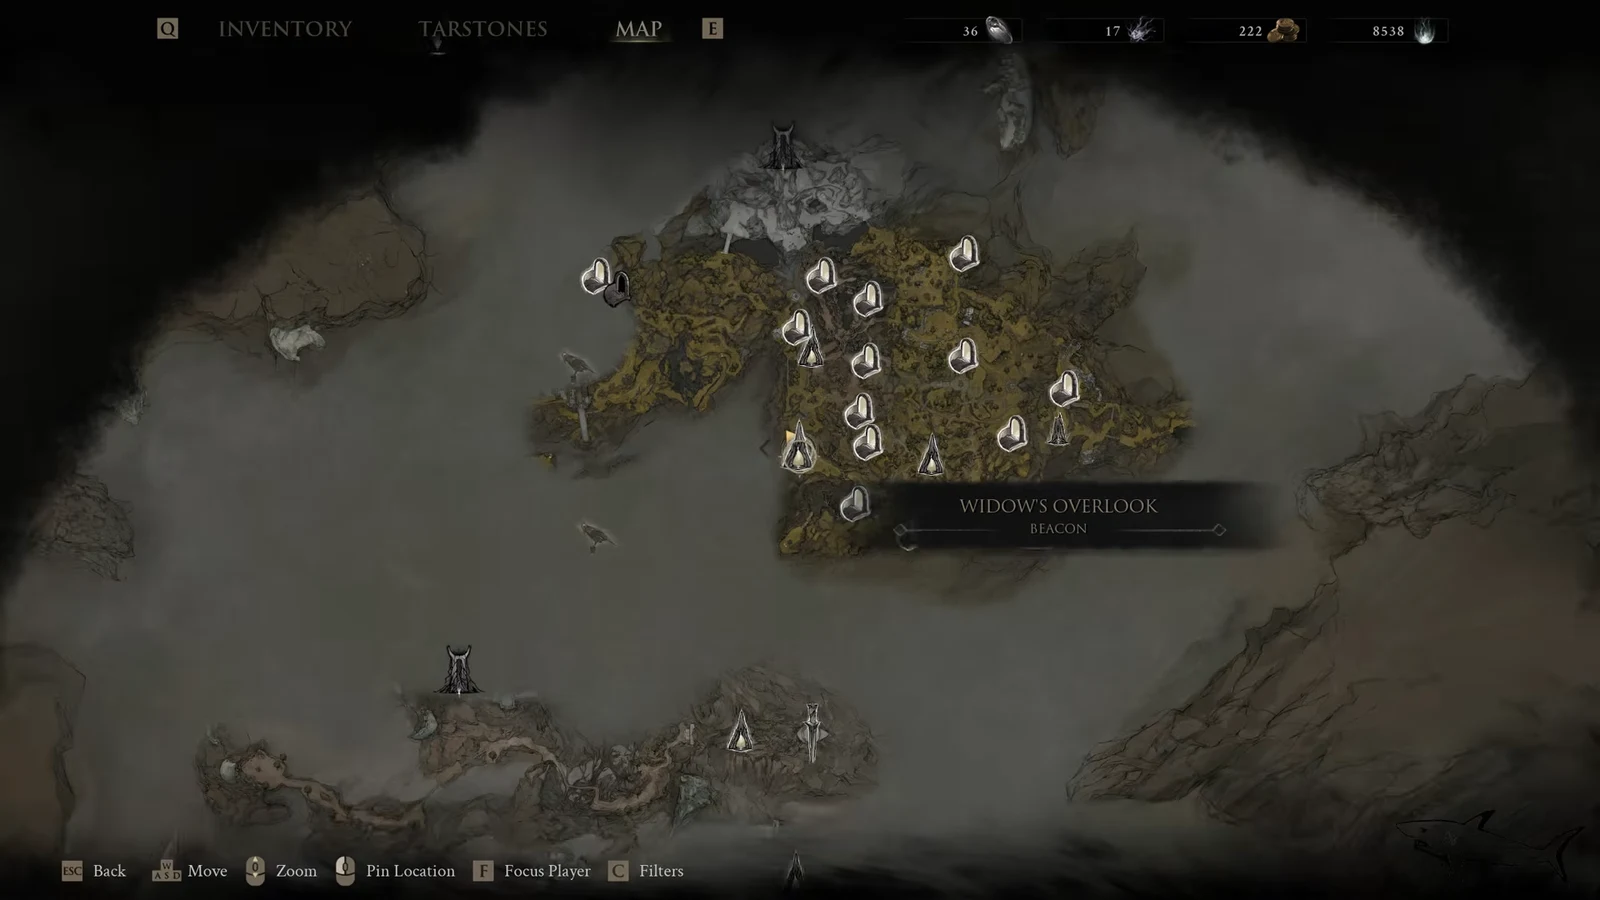
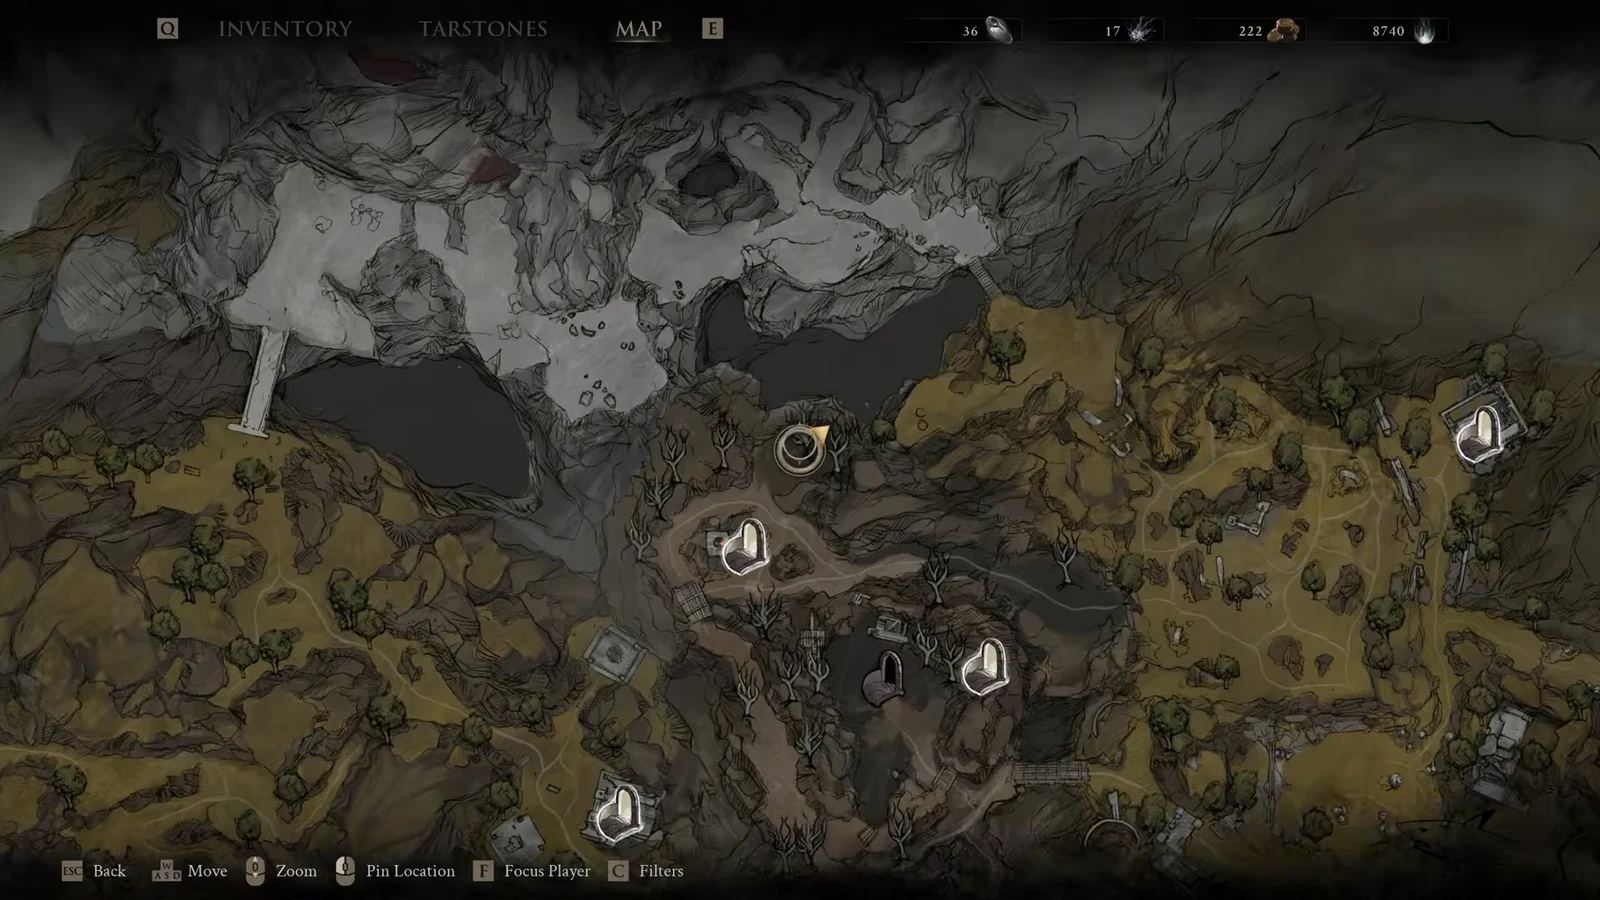
The Child’s Feeding Ground Beacon only appears after you defeat the Lost Child, so the whole detour is gated behind that fight. The Sanguine Caverns Corrupted Gate that houses the boss is located at the northernmost part of the map, and the run there begins from the Widow’s Overlook Beacon.
This key does not require Night Mode, unlike the Blackmarrow Keys sold by the Night Merchant or hidden inside the Shrine of Sorrows. You just need to survive the trek and win the boss fight.
Route from Widow’s Overlook to the Lost Child
Collect the +26 Ova and grab the Blackmarrow Key
Use the Blackmarrow Key to unlock a Shade
Blackmarrow Keys open the Shade chests in the Marrow Keep elevator room. There are eight chests there, one for each Shell, and every chest holds a unique Shade for that Shell.
You can only open a chest for a Shell you have already unlocked. If you want Eredrim’s Shade, for example, you must have unlocked Eredrim first. Opening a chest consumes the key, so each of the eight chests needs its own Blackmarrow Key.
Once a Shade is unlocked, you can equip it by resting at any Beacon and choosing the Change Shade option. Shades only recolor a Shell’s armor and clothing, so they change appearance without altering stats.
How to confirm it worked
When the collection registers, you will see a “Beacon Cleansed: Child’s Feeding Grounds” confirmation and the +26 Ova added to your totals. Picking up the key shows the Blackmarrow Key in your inventory with its use listed as opening a locked treasure in the Marrow Keep.
At the elevator room, a successful unlock triggers an “Apply Shade now?” prompt after you open the chest, confirming the Shade is yours. The one common reason a chest will not open is trying to use the key on a Shell you have not unlocked yet.
Because there are eight chests and eight keys spread across a single playthrough, hold onto every Blackmarrow Key you find if you plan to recolor all of your Shells. The one from the Child’s Feeding Ground is only a single piece of that set.