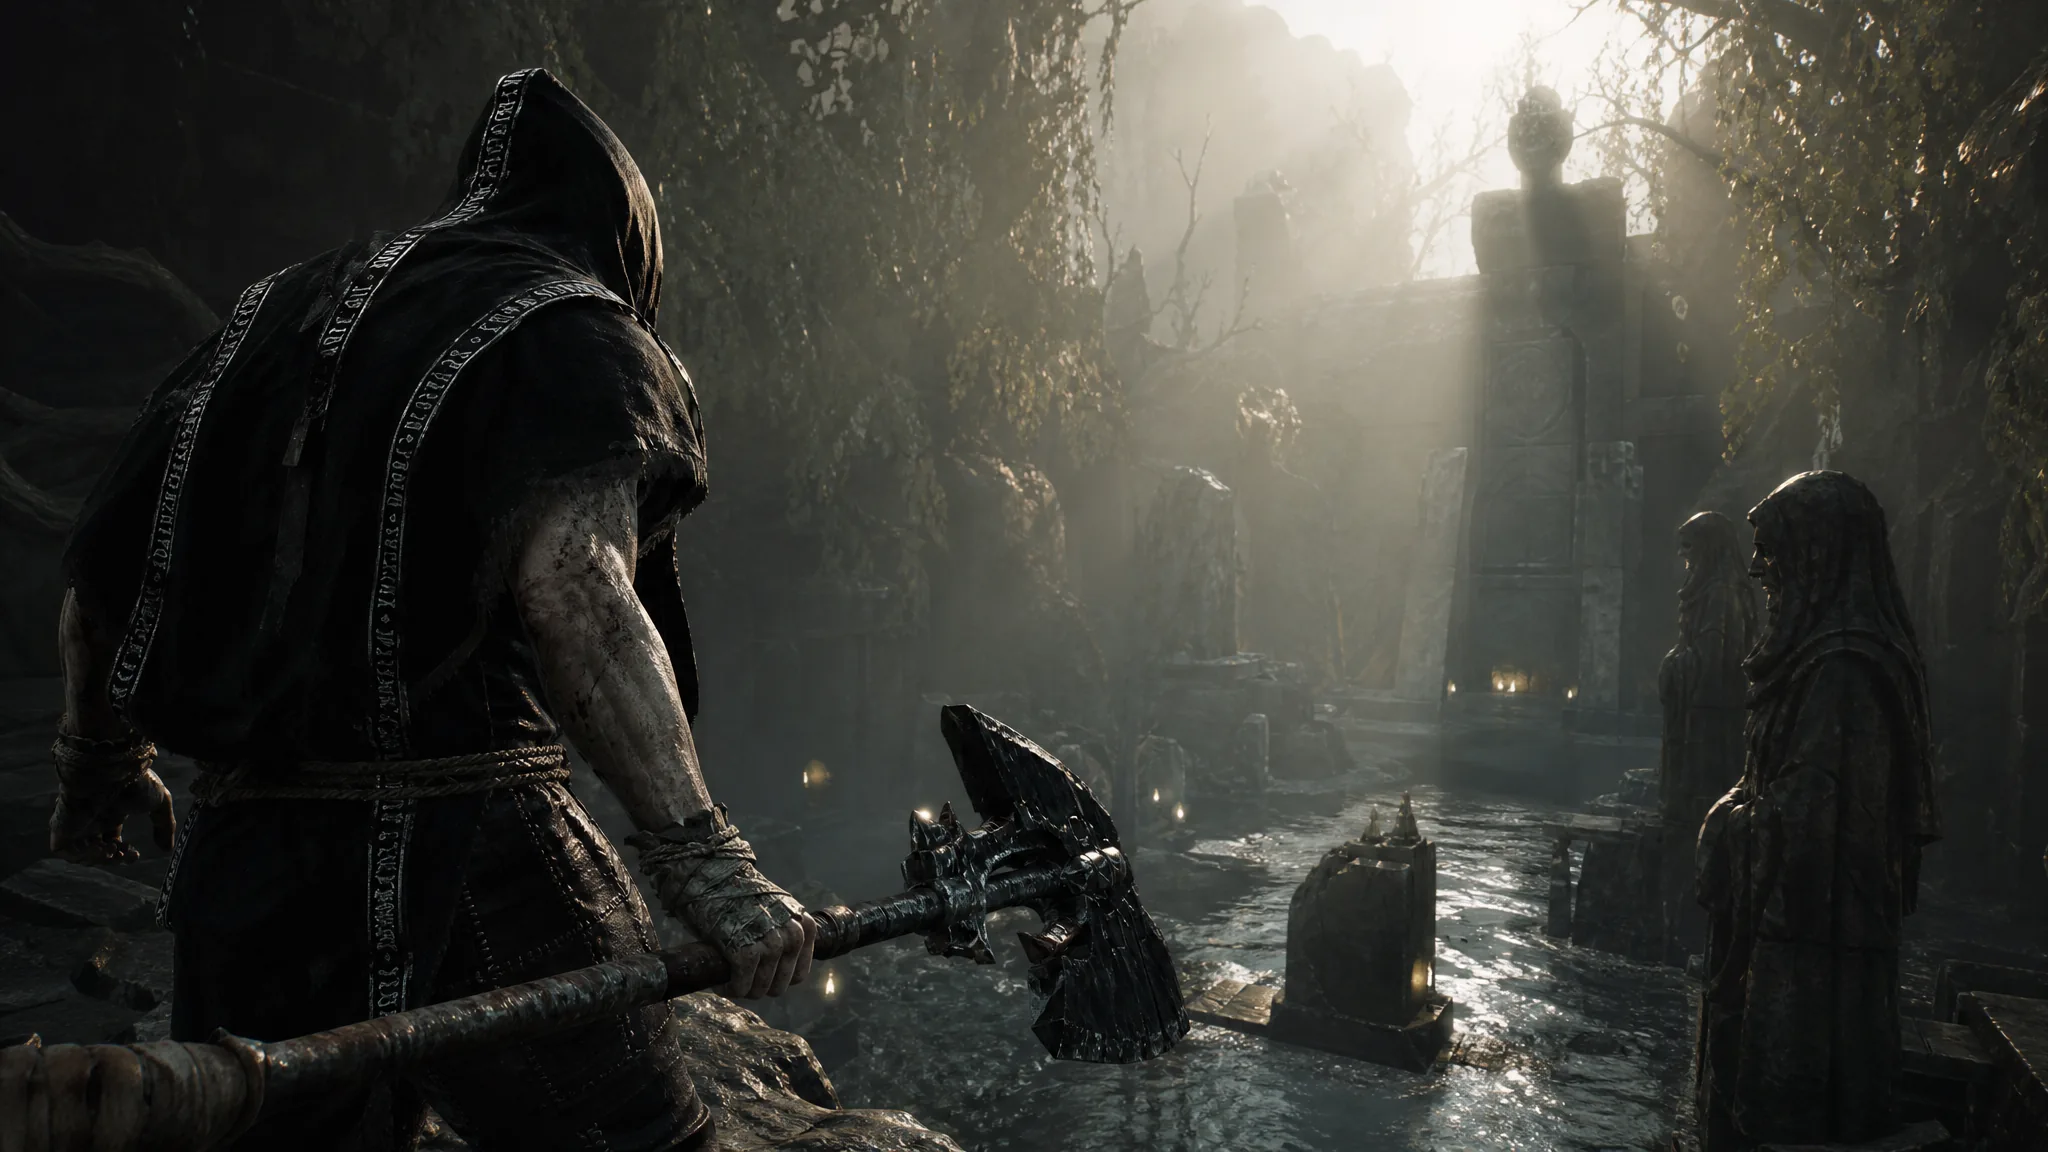
The Ravaged Tomb keeps its main gate shut until a stone pillar sits on a pressure plate. That lock is the whole dungeon. Clear it and the Duality Stone is sitting in a bone chest by the stairs.
Quick answer: Drop to the ruins under the Nochtean Gate Beacon, pull the entrance lever, walk into the silver fog, and drop down the shaft. Press the wall switch to free the pillar, push that pillar onto the pressure plate, then loot the Duality Stone from the bone chest near the stairs.
Ravaged Tomb location below Nochtean Gate
Start at the Nochtean Gate Beacon. Head southeast and take the elevator down to the lower grounds of the ruins. The dungeon mouth is in the room at the bottom, set in a small building on those lower floors.
A lift just outside the entrance runs back up to the Nochtean Gate Beacon. Use it when you leave so you do not have to climb the ruins again.
Entrance lever and fog drop
Pull the lever on the gate. The bars lift and the building opens. Walk into the silver pool of fog at the doorway, then drop down the shaft to the lower level.
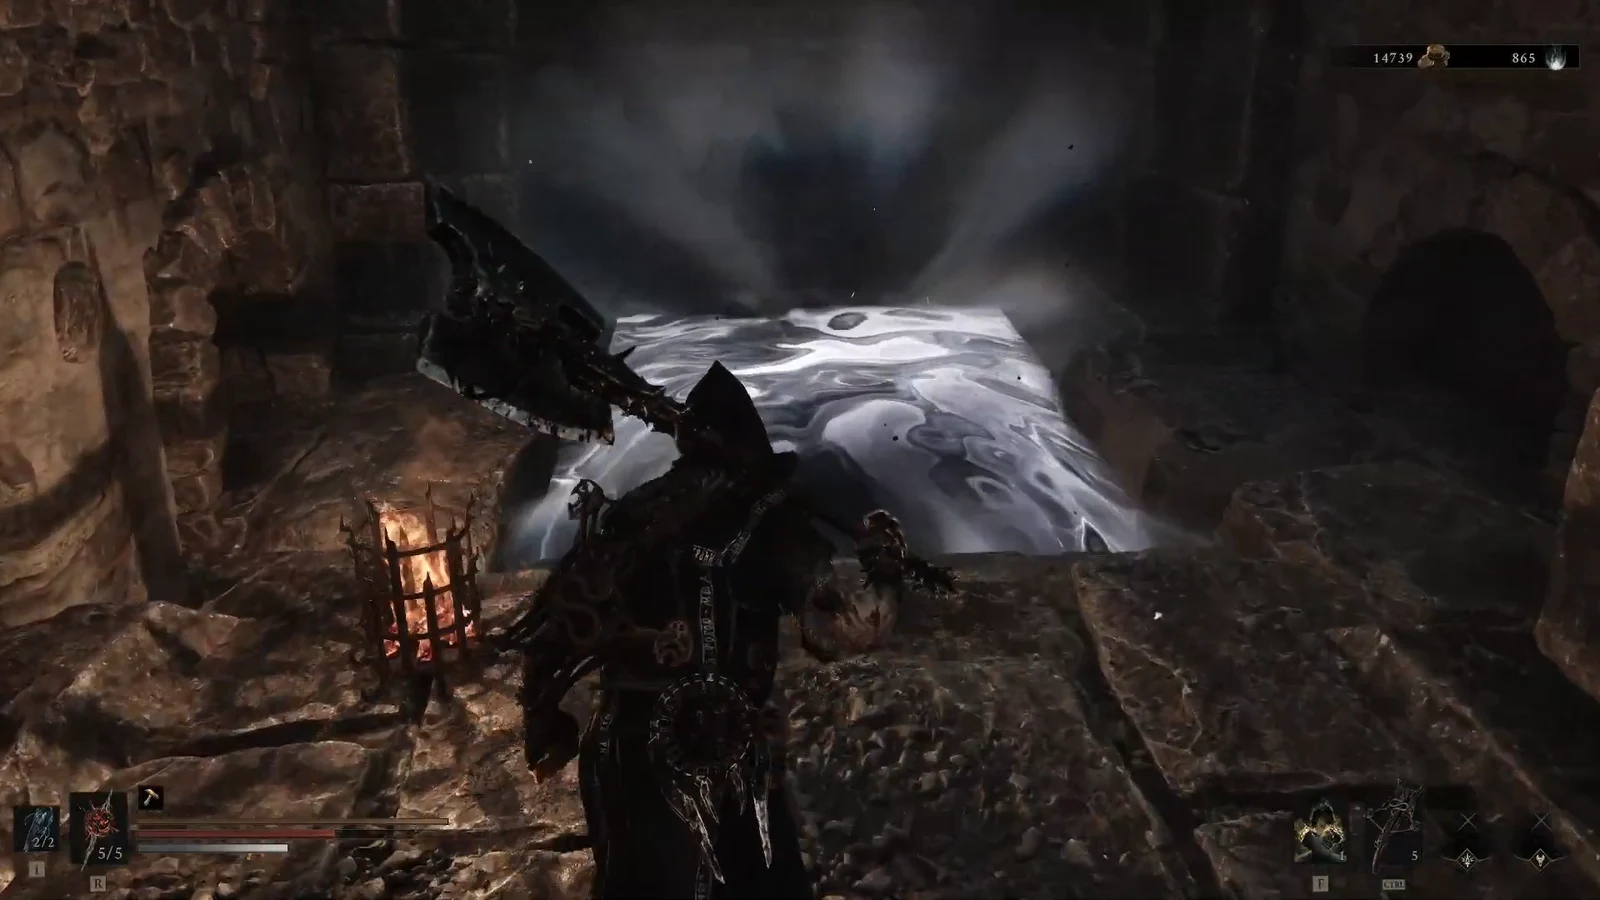
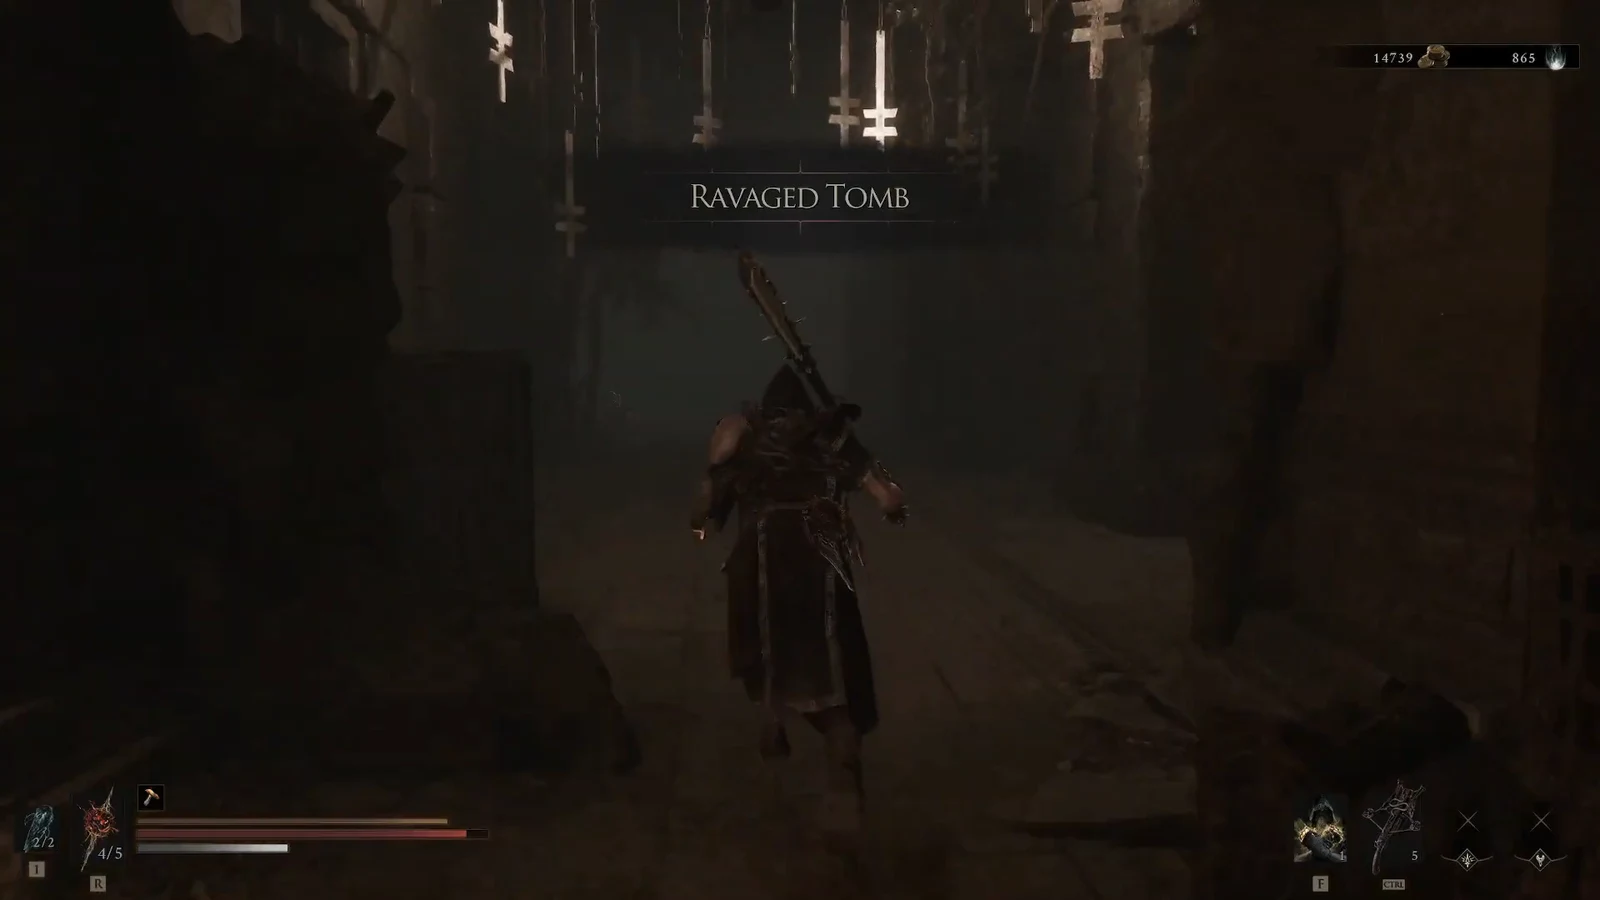
When you land, you are inside the tomb proper. The area name comes up as you step into the dim hall with the crosses on the walls.
First chamber fights and pickups
The first hall is not empty. Several enemies wait in the tomb, so clear them before you start shoving stone. Gloom and Coin drop from those fights.
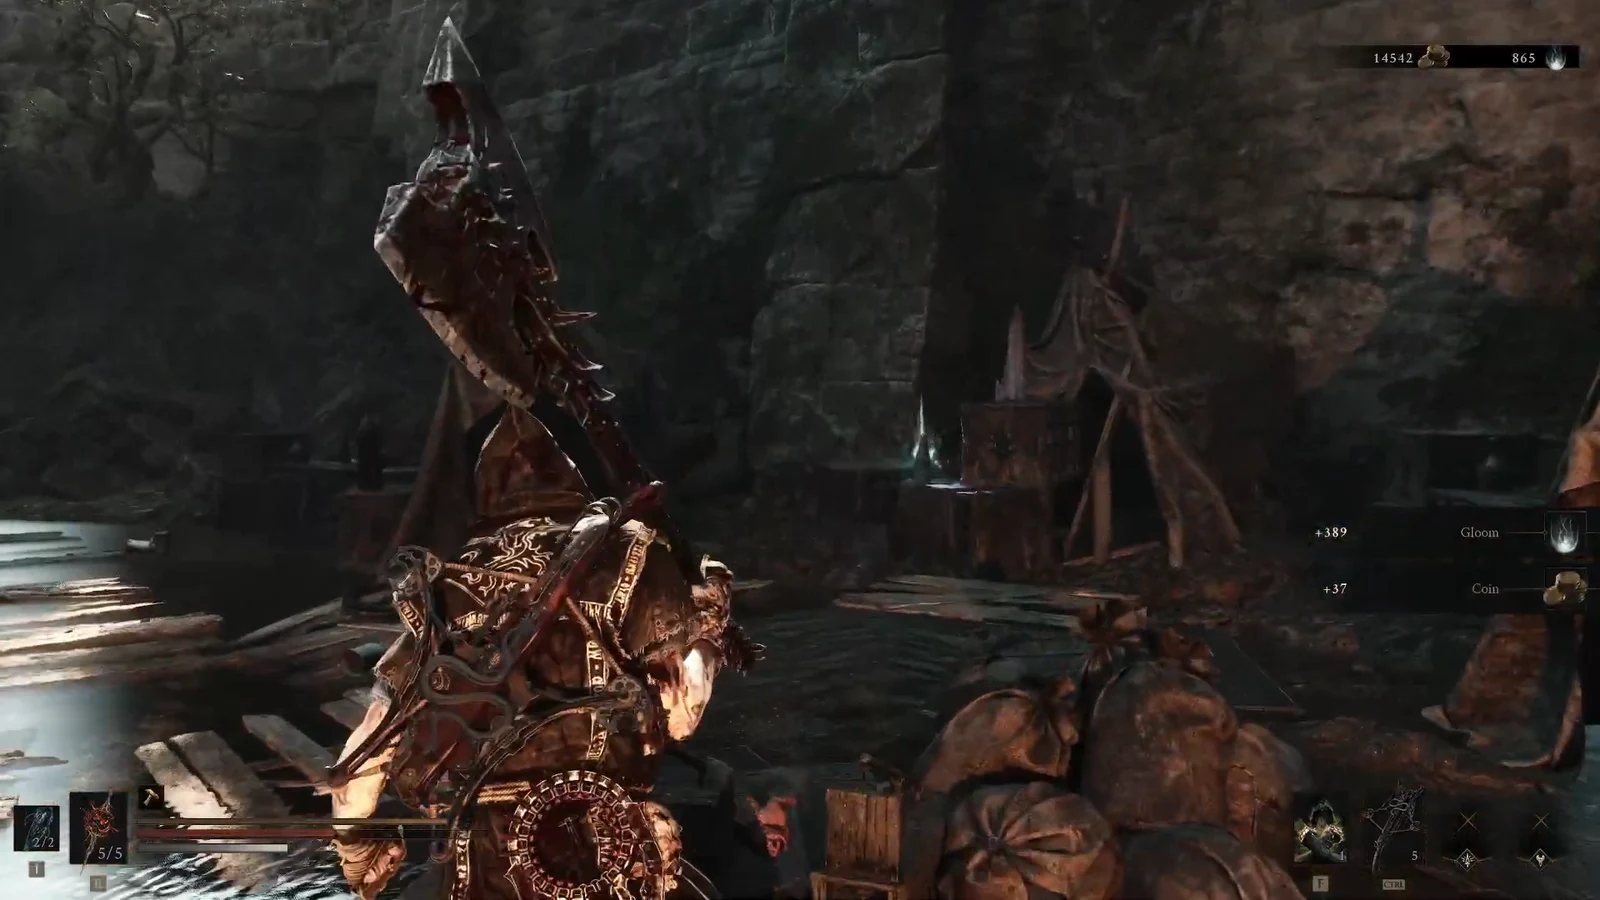
Check the side corridors while you sweep the room. Ventrium and more Gloom sit in those halls and are easy to miss if you rush the plate.
Pressure plate puzzle in Ravaged Tomb
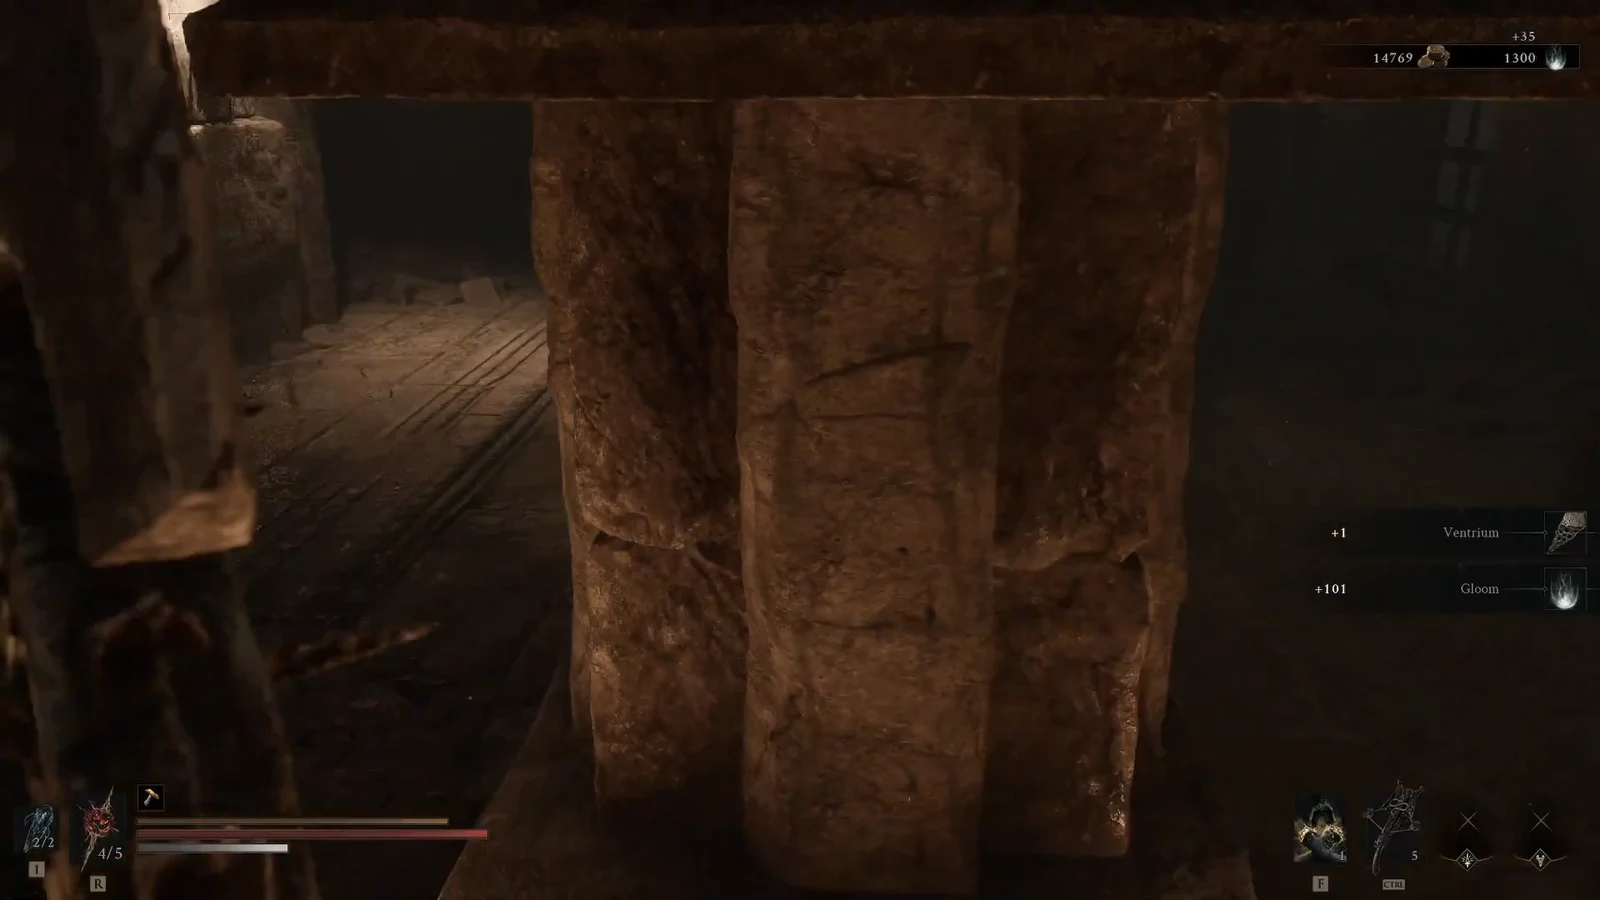
The main gate needs weight, not a button. A pressure plate sits on the floor. The stone pillar that can hold that plate down starts behind a second, smaller gate across the room.
| Piece | What it does |
|---|---|
| Wall switch | Opens the side gate that hides the pillar |
| Stone pillar | Supplies the weight the plate needs |
| Pressure plate | Opens the main gate once the pillar rests on it |
The plate wants the pillar. Standing on it yourself does not count as the weight this lock is built for.
Duality Stone bone chest
Once the main gate is up, look near the stairs. The Duality Stone is in the bone chest there, just before the second gate. Take it and the Tarstone is yours.
You know the run worked when two things happen. The main gate stays open with the pillar on the plate, and the Duality Stone is in your Tarstones after you open that chest.
Ride the lift outside back to the Nochtean Gate Beacon when you are done.