The Rupturing Stone is a Combat Tarstone in Mortal Shell 2 that turns your sidearm into a stance-breaking tool. Instead of adding raw damage, it feeds Break Damage into enemies when your shots land as critical hits, which cracks their poise and opens them up for a punish. It sits in a single chest in Prisoner’s Domain, and the path there runs through one mini-boss.
Quick answer: Travel to the Nochtean Gate beacon, cleanse the Executioner’s Pulpit beacon, kill Tishina’s Confessor in the circular arena below it, then follow the ledge above the Nameless Captive’s boss arena in Prisoner’s Domain and open the stone chest there.
Rupturing Stone location in Prisoner’s Domain
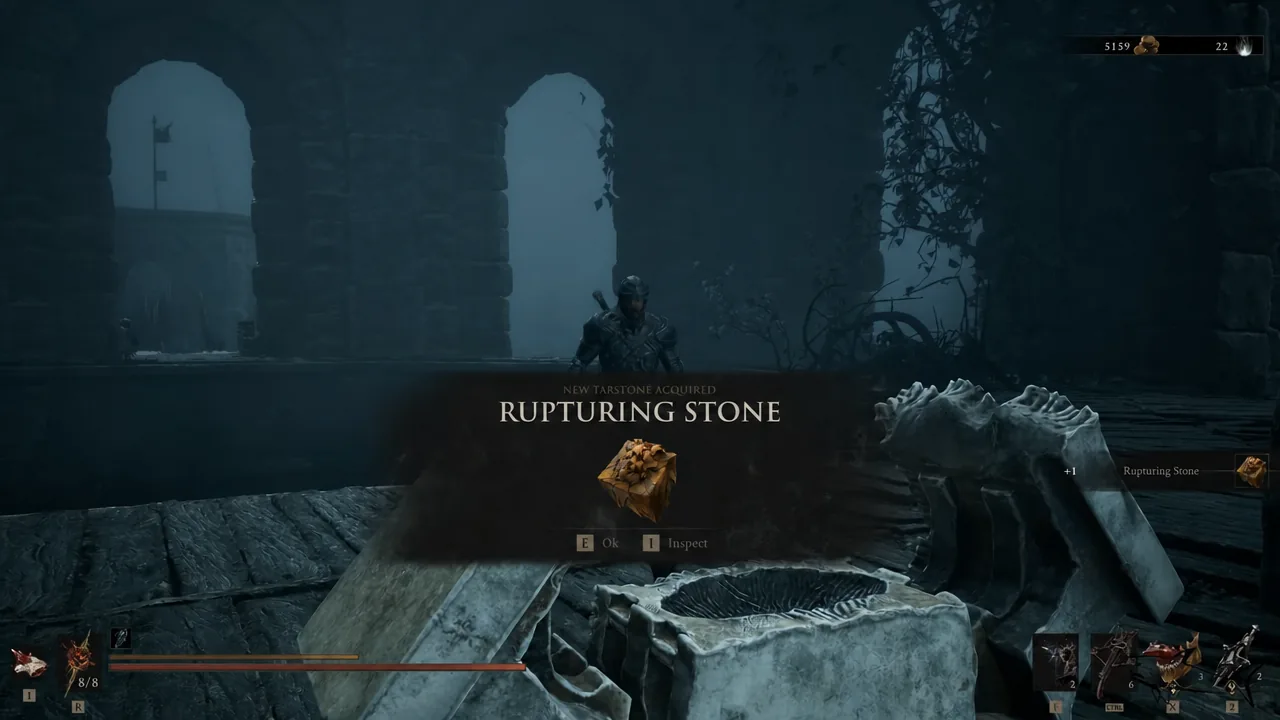
The chest is not hidden behind a puzzle, but it is easy to miss because it sits on a ledge right before a boss arena. Once you drop into that arena, you are committed to the fight, so grab the Tarstone on the way in.
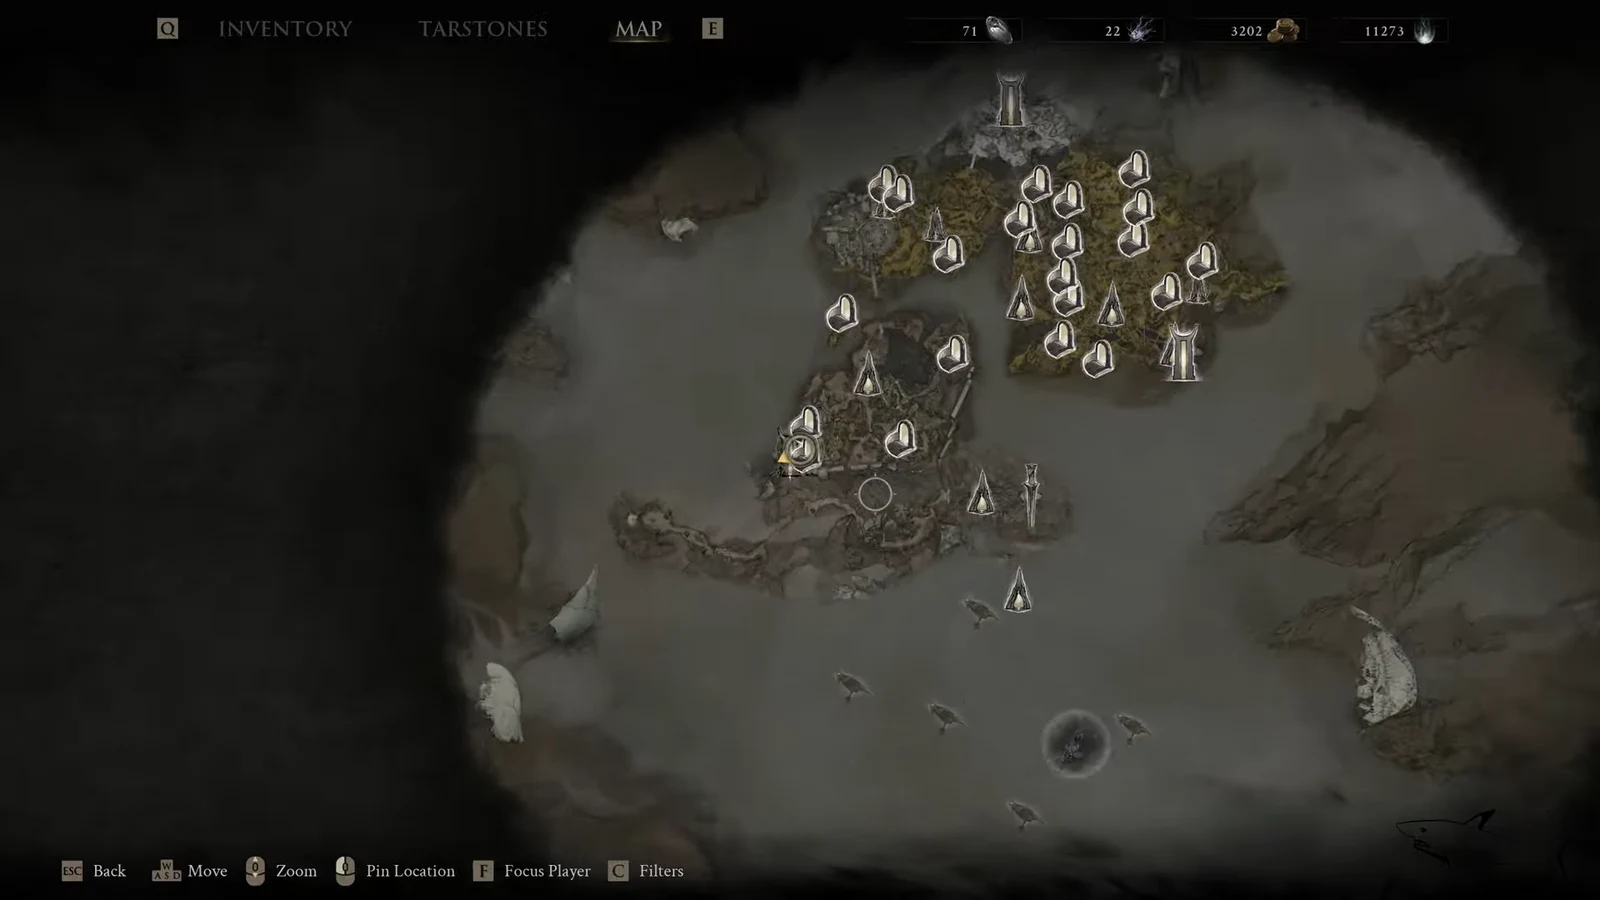
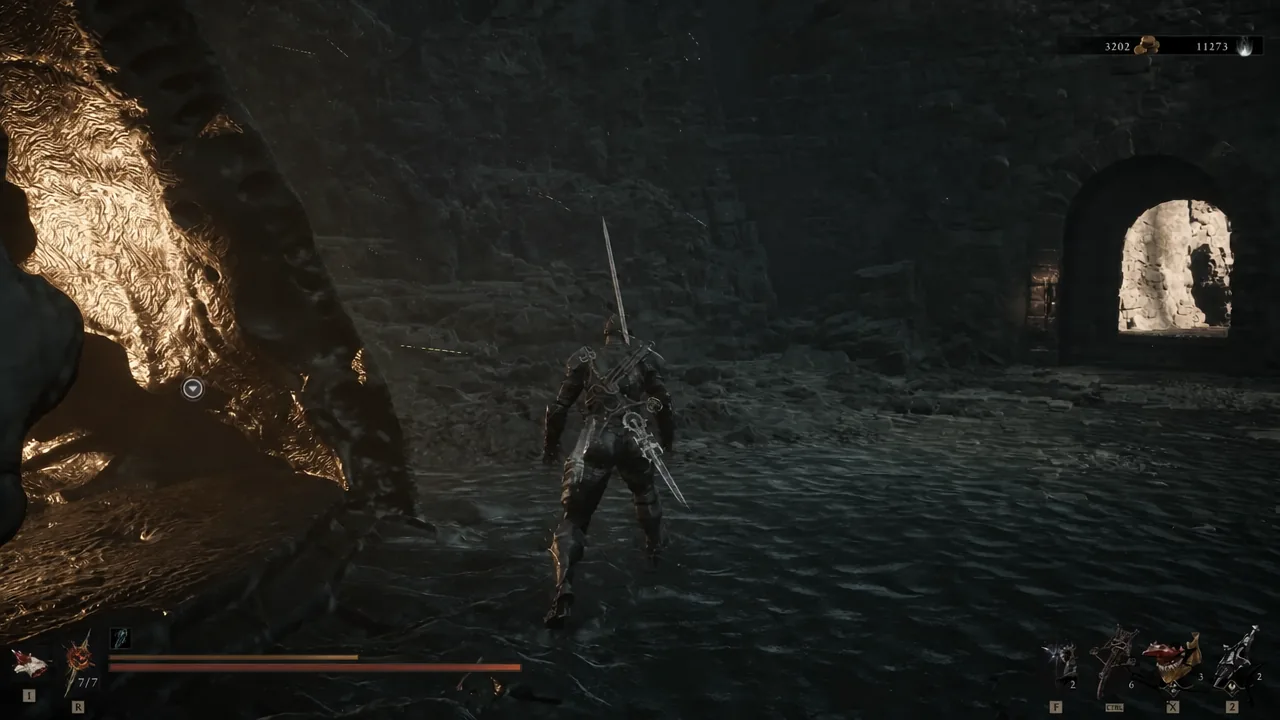
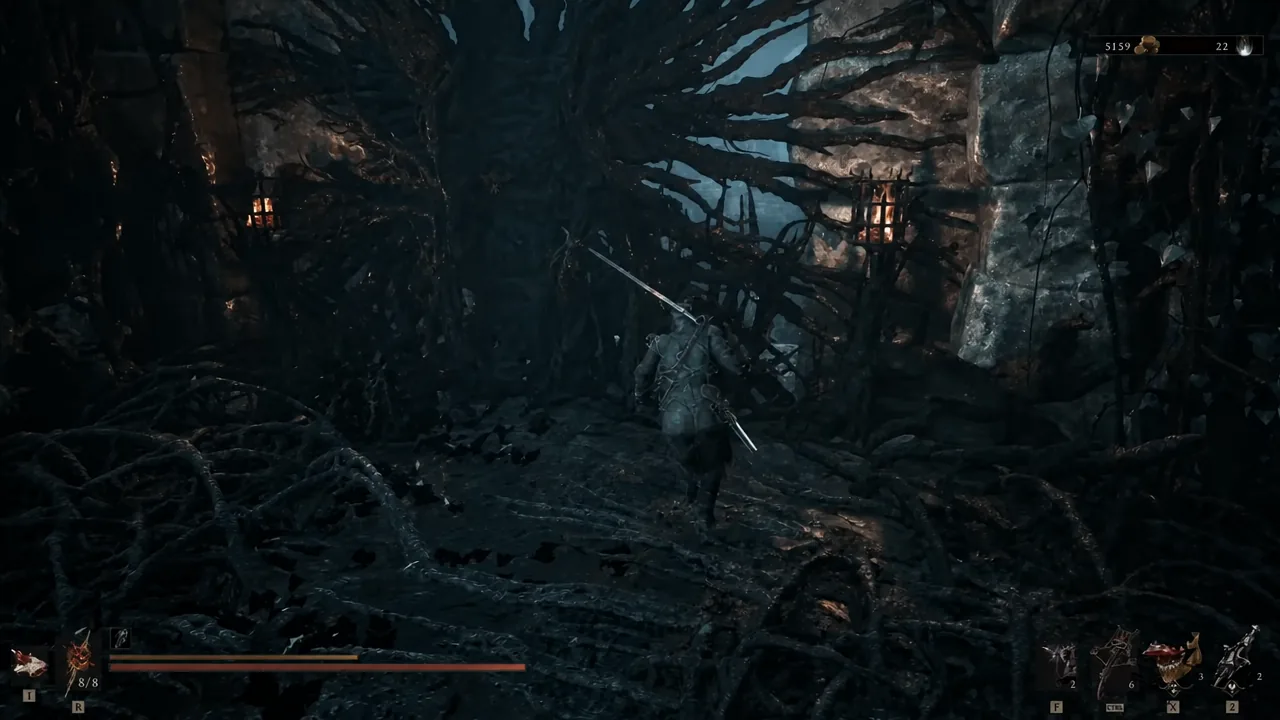
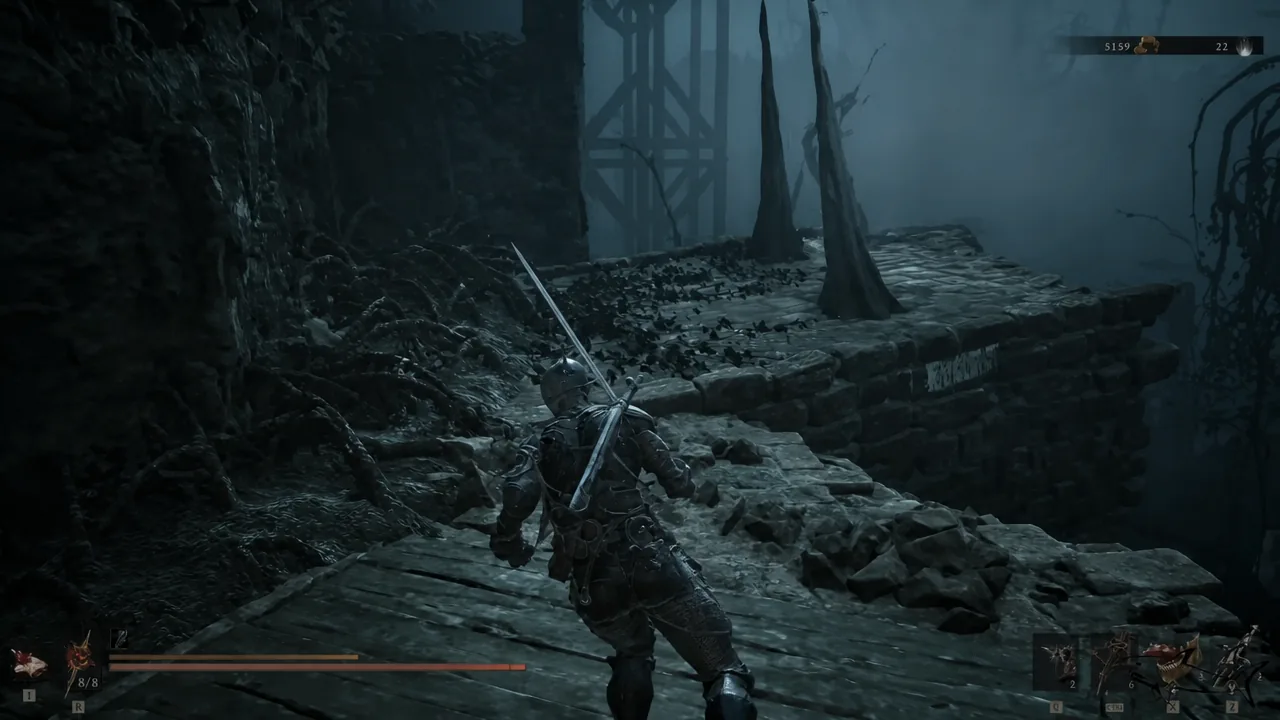
How to confirm you picked up the Rupturing Stone
The pickup prompt names the item on screen when the chest opens. To double-check, open the Tarstones menu and look under the Combat category, where the Rupturing Stone will now be listed at Level 1 with its description line about critical projectile hits dealing Break Damage.
If it does not appear in your slot list when you try to equip it, you are almost certainly on a primary weapon rather than a sidearm. The stone will not show up as an option on anything except a compatible sidearm.
Rupturing Stone effects and Break Damage scaling
Break Damage is the stat that destabilizes an enemy’s stance. Stack enough of it and the target’s guard collapses, leaving a window where your melee hits land cleanly. Because the Rupturing Stone only triggers on critical projectile hits, it pairs well with anything that raises ranged critical chance.
| Level | Effect |
|---|---|
| Base effect | Projectiles that strike critically deal Break Damage |
| Level 1 | Projectiles deal 8 Break Damage |
| Level 2 | Projectiles deal 15 Break Damage |
| Level 3 | Projectiles deal 20 Break Damage |
Sidearms that can equip the Rupturing Stone
This is a sidearm-only Tarstone. Eight sidearms accept it, and it cannot be slotted into a primary weapon or a shell.
| Sidearm | Sidearm |
|---|---|
| Ballistazooka | Caged Hystrix |
| Cursed Child | Forgotten Crossbow |
| Naylshotte | Salvaged Trebuchaxe |
| Triarch Repeater | Troubadour’s Lute |
How to upgrade the Rupturing Stone at the Tarforge
Upgrades happen through Franz at the Tarforge in Marrow Keep, but the higher upgrade options stay locked until you hand him the Etching Needle. That quest item sits in a bone chest just before the Magdalena, the Lady of the Woods boss fight. When you spot Ruk past the bridge, jump down through the opening and turn right before the tunnel to reach the small alcove holding the chest.
After Franz has the needle, keep the Rupturing Stone equipped and kill enemies to fill its experience bar. Once the bar is full, return to Franz and pay Coin to push it to the next level. Each Tarstone can be upgraded twice.
The stone gains no experience while it is sitting in your inventory. If the bar has not moved after a long stretch of fighting, check that it is still slotted into the sidearm you are actually shooting with.
Since the chest sits directly above the Nameless Captive, the cleanest approach is to clear the route, loot the Rupturing Stone, slot it into whichever sidearm you plan to use, and only then drop into the arena. The extra Break Damage gives you a way to crack the fight open from range before you ever close the distance.