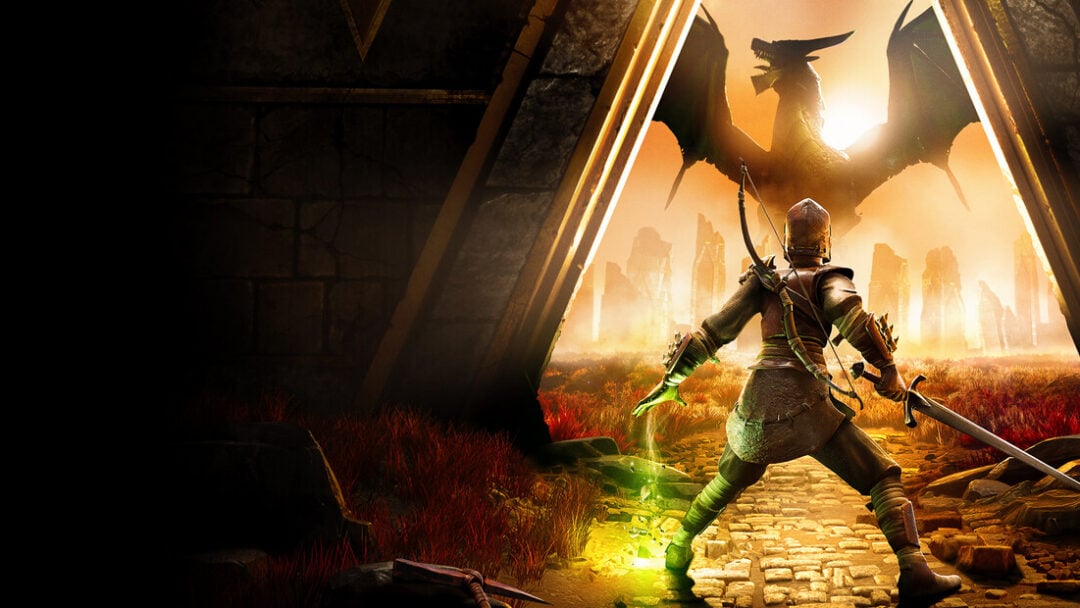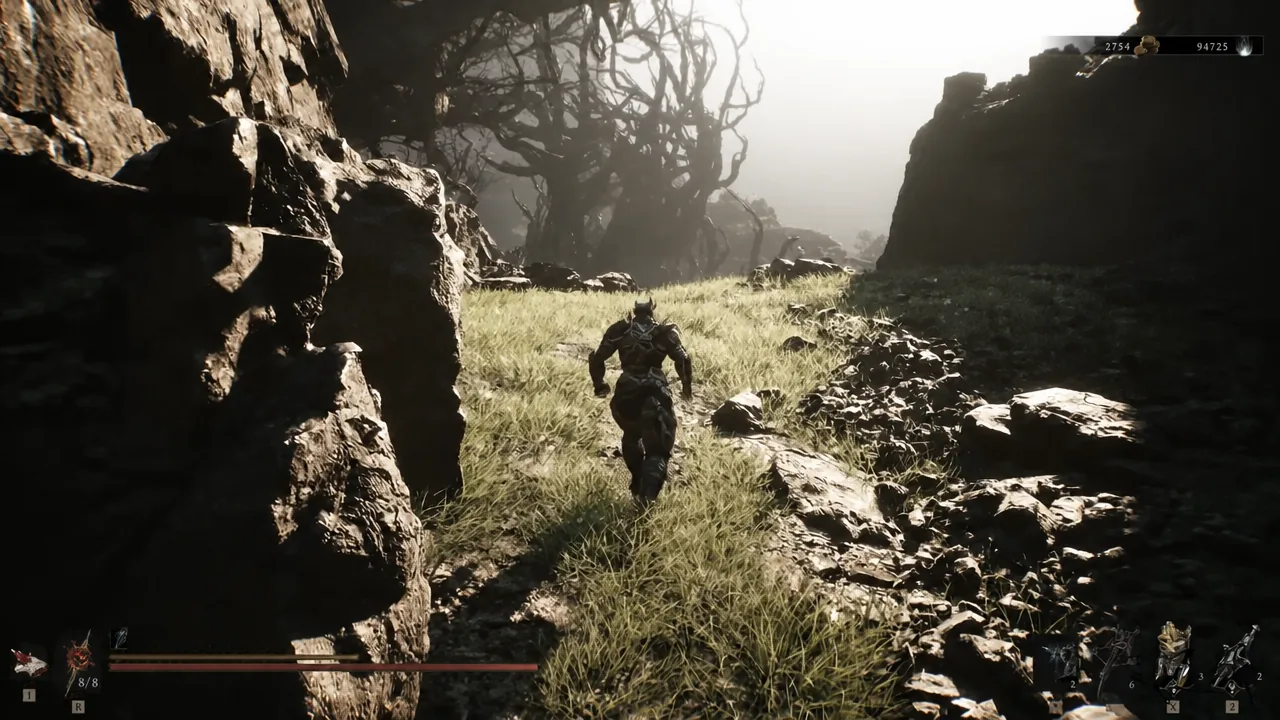
The Devout Stone is one of the few Tarstones in Mortal Shell 2 that makes your sidearm worth carrying for something other than chip damage. It sits in a chest behind a gated alcove in Sester’s Refuge, and the gate only opens once you find the mechanism bolted to the wall beside it.
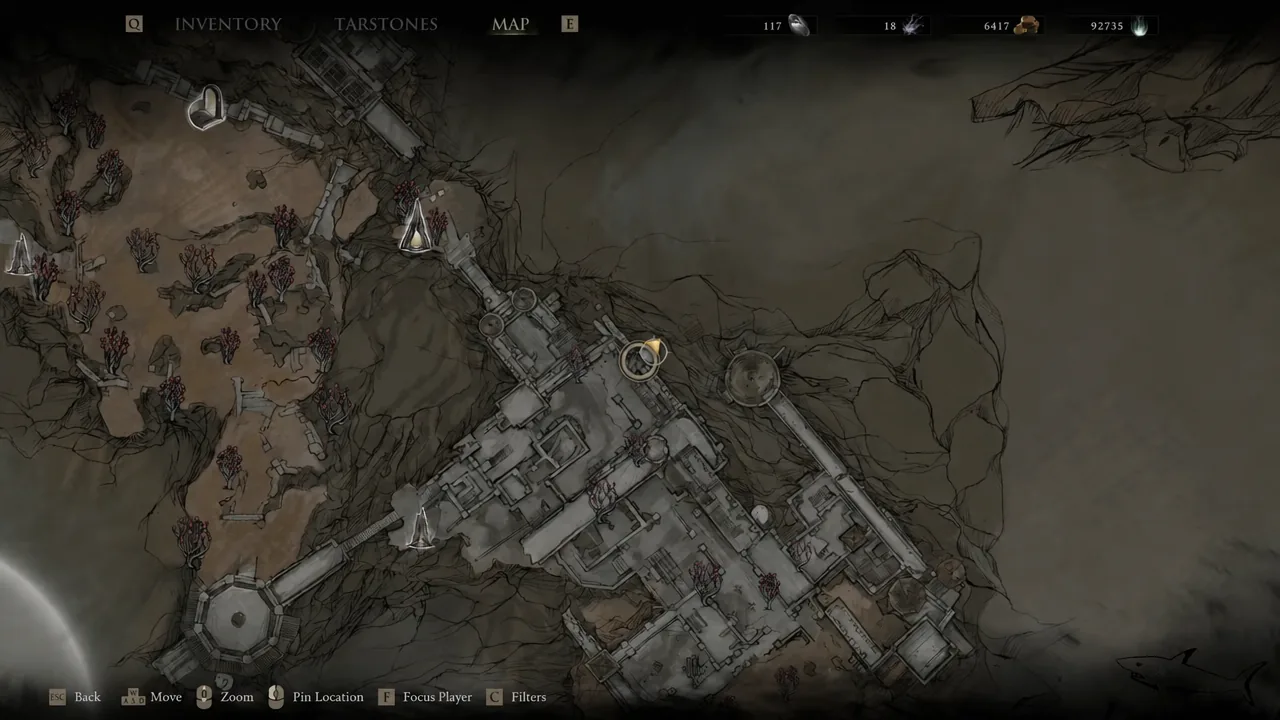
Quick answer: From the Sester’s Gate beacon, head north and up the steps toward the pair of ranged enemies. Touch the mechanism on the wall to open the gate next to it, then loot the chest inside for the Devout Stone.
Devout Stone effect and Resolve values
Devout Stone is a Support Tarstone, which means it slots into the Harbinger rather than a weapon. That is the important part of how it works, because a Support stone applies no matter which melee weapon or sidearm you have equipped. Its single condition is simple: kill an enemy with your Sidearm and you get Resolve back.
| Upgrade tier | Resolve per sidearm kill |
|---|---|
| Base | Sidearm kills begin generating Resolve |
| First upgrade | 7 Resolve |
| Second upgrade | 14 Resolve |
| Max | 28 Resolve |
Fully upgraded, a single sidearm finish hands back 28 Resolve, which is enough to keep a weapon ability cycling without waiting on melee hits. The most reliable way to farm that is to whittle an enemy down with your main weapon, then swap to the sidearm for the last shot so the kill is credited to it.
Because the stone lives in a shell slot, it is compatible with every weapon in the game, including the Axatana, Axe and Dagger, Black Needle, Clockwork Scythe, Great Martyr’s Blade, Obsidian Hammer, The Iconoclast, and Veteran’s Battle Axe.
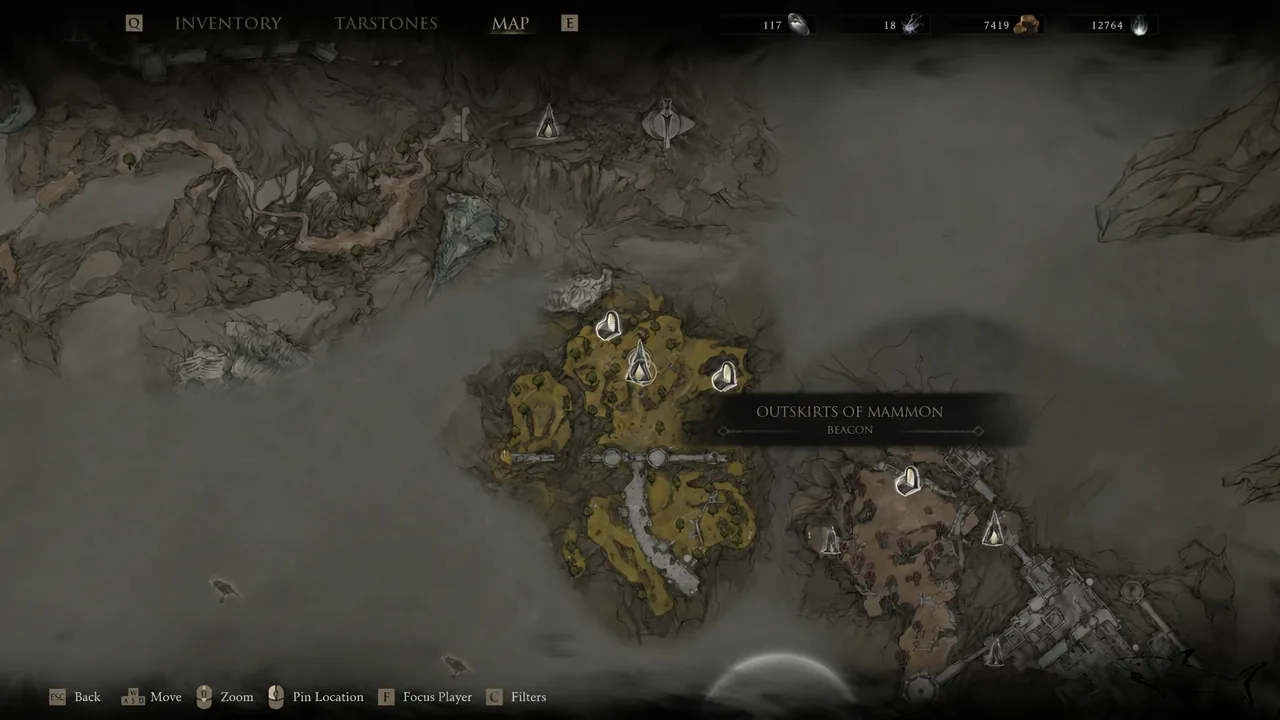
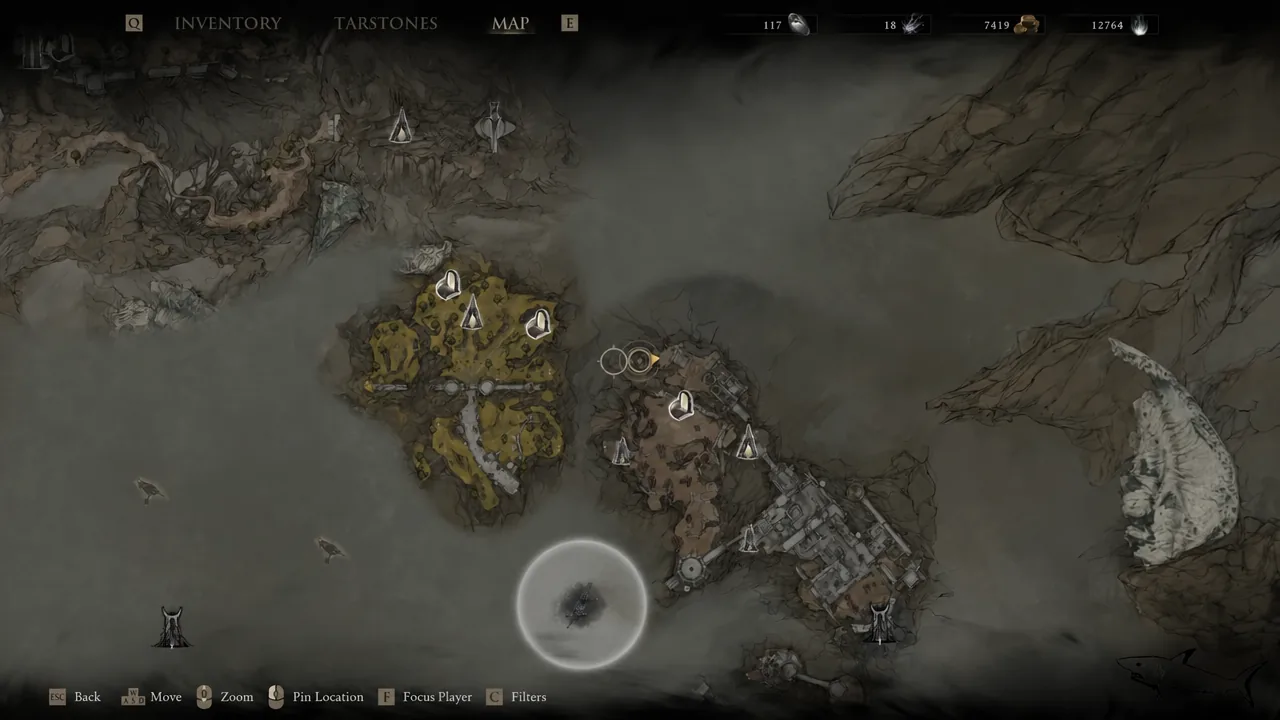
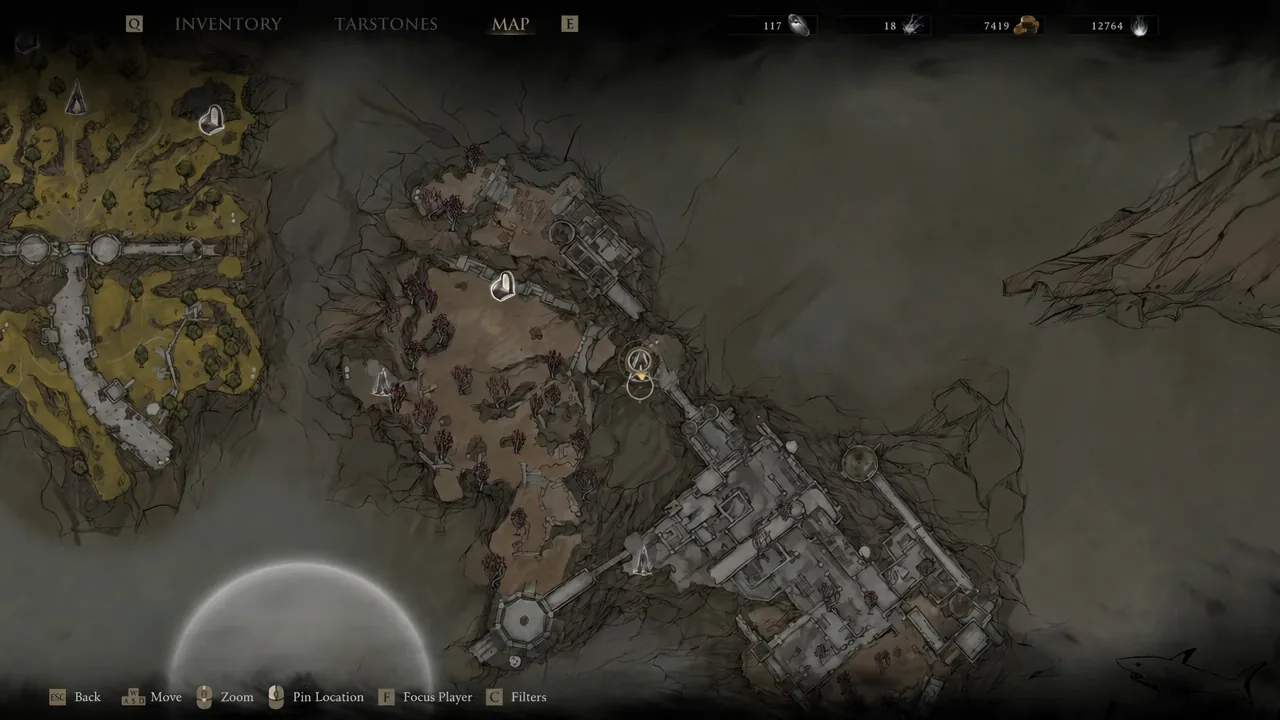
Route to Sester’s Gate from the Outskirts of Mammon
If you have not unlocked the Sester’s Gate beacon yet, the cleanest approach starts one region back. The whole run takes a couple of minutes and picks up two beacons on the way.
Optional: Reverent Gland in the cavern
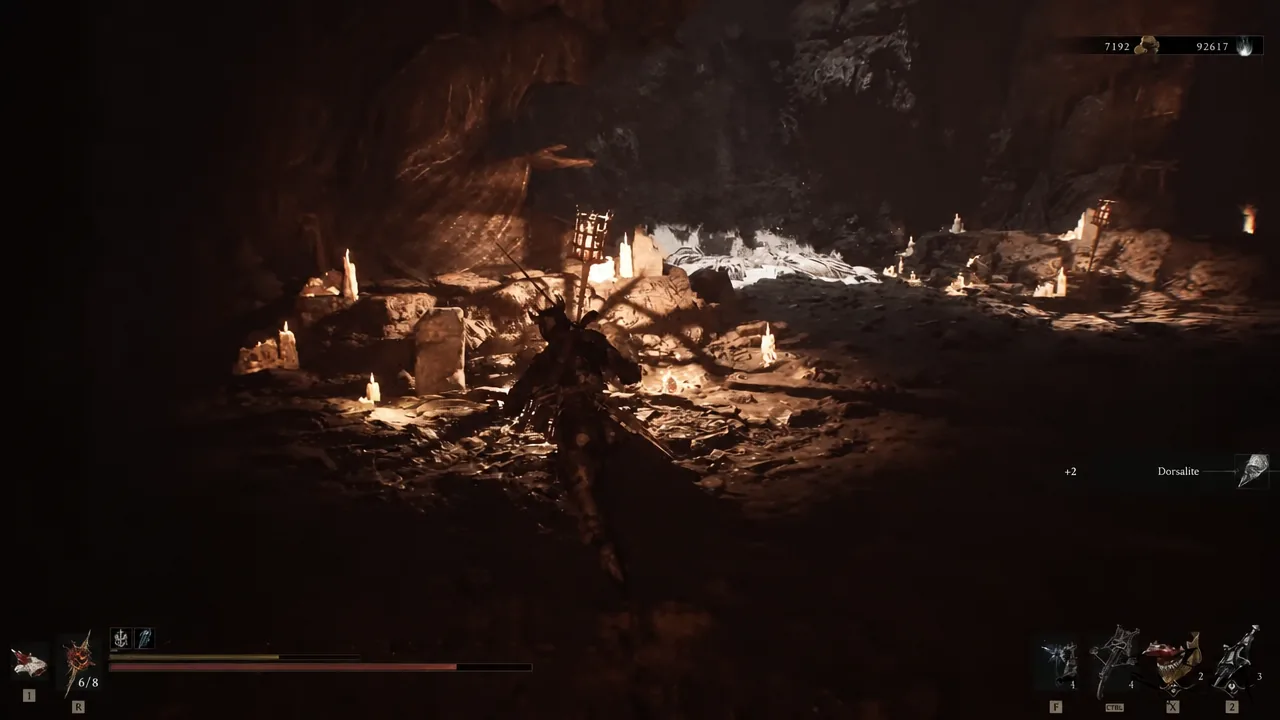
Down in the cavern there is a locked gate with three glowing stone statues placed around the chamber. Smash all three and the gate opens, letting you grab the Reverent Gland. It has nothing to do with the Devout Stone, but you are already standing there, so it costs you almost nothing.
Opening the gated chest north of Sester’s Gate
The chest itself is a short backtrack from the beacon, in the direction of the red trees you just came through.
You will know it landed when the acquisition prompt names the Devout Stone on screen, and the stone shows up under Support in your Tarstones list. If the gate is still shut, you are almost certainly at the wrong wall. The mechanism sits at the same level as the gate, not below the steps, and there is no timer on it once pulled.
Note: this one is not missable. If you walk past it, you can come back for the chest later in free roam, including after the final boss.
Upgrading the Devout Stone at the Tarforge
At base level the Resolve return is small enough that you may not notice it. The upgrades are handled by Franz at the Tarforge in Marrow Keep, but he cannot do the higher tiers until you bring him the Etching Needles.
The payoff is worth the trips back to Marrow Keep. A maxed Devout Stone turns your sidearm from an opener into a Resolve battery, and it pairs neatly with a finishing habit rather than a whole ranged build.