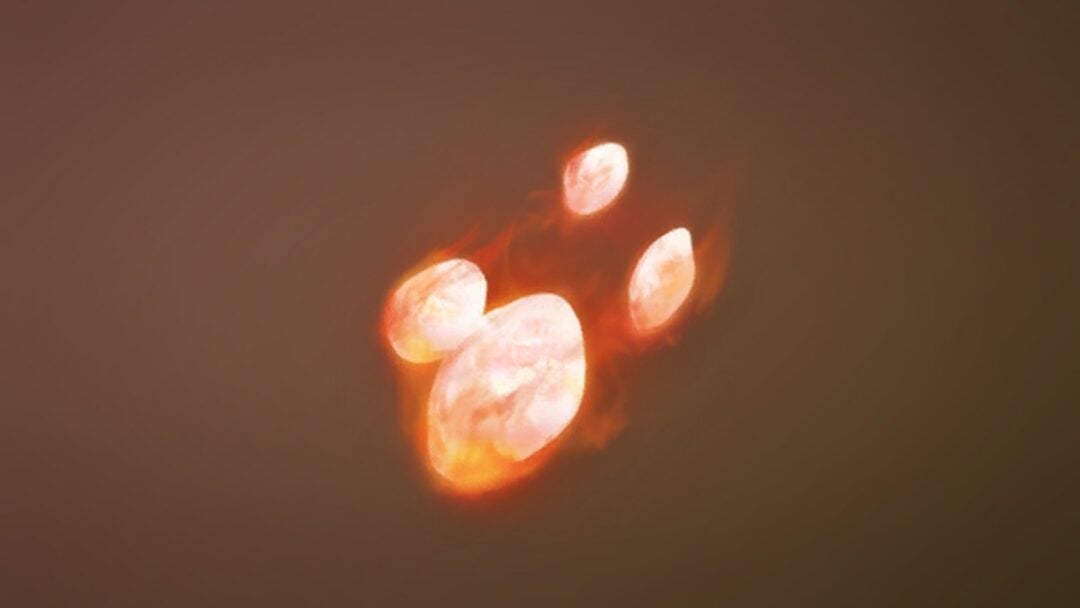
The Solnir Shard turns a sidearm into something closer to a grenade launcher. Instead of firing a standard bolt, it spends Resolve to lob a heavy round in an arc that bursts on impact for splash damage, which makes it one of the few ways to hit clustered enemies in Mortal Shell 2 without closing distance. It is a single-drop item, and there is only one way to get it.
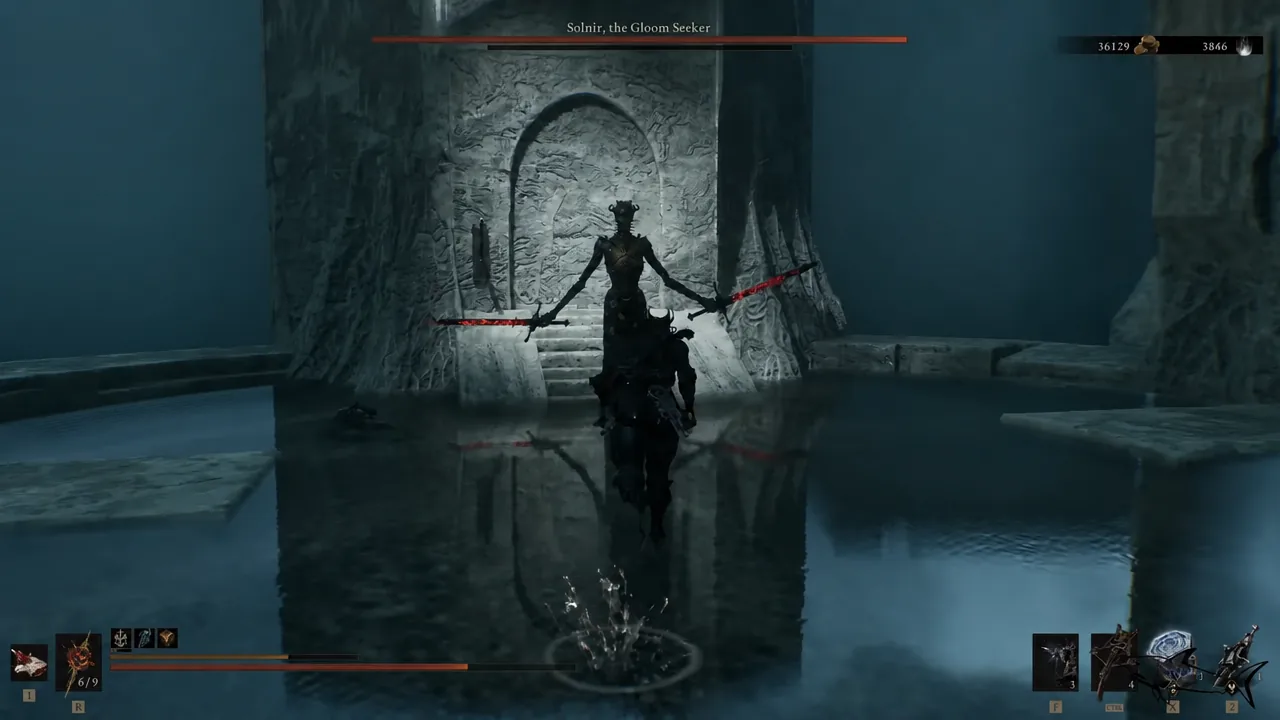
Quick answer: Defeat Solnir, the Gloom Seeker, a boss found past the Citadel Annex beacon in the Mammon region. The Solnir Shard drops the moment the fight ends.
What the Solnir Shard does
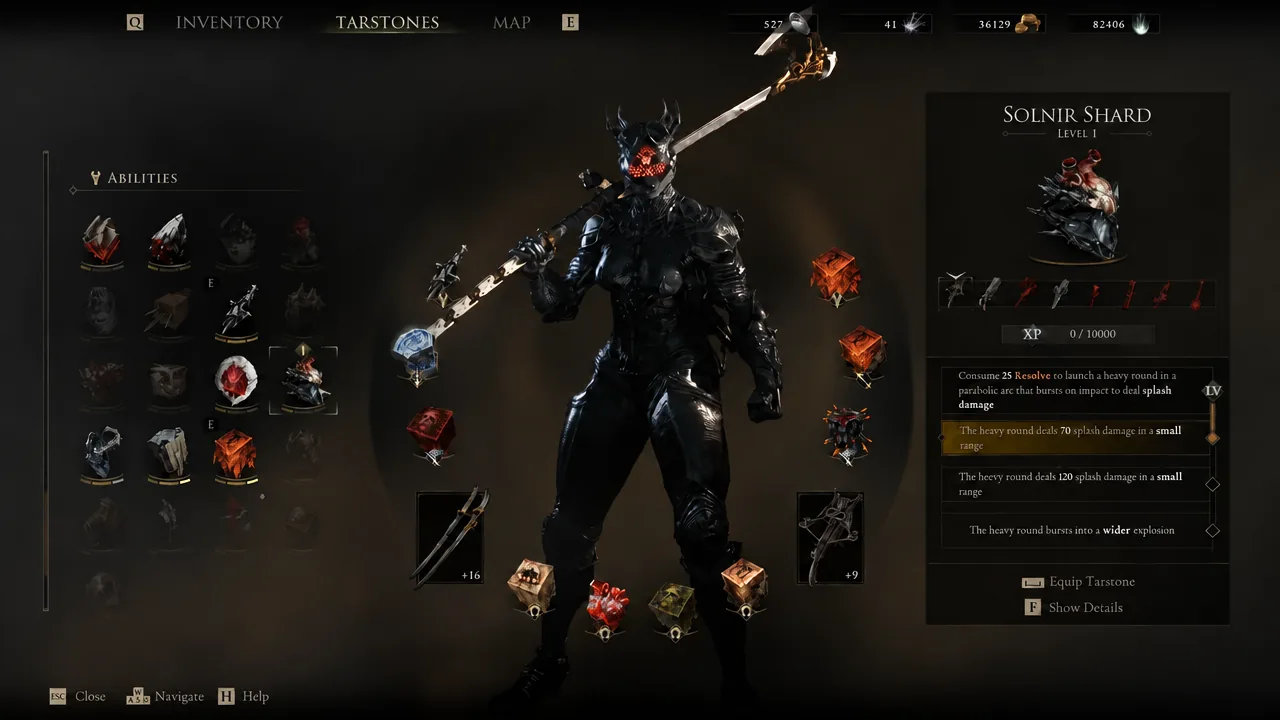
It is an Ability Tarstone, so it slots into a sidearm rather than a melee weapon or the shell itself. Firing it consumes 25 Resolve per shot, and the round air bursts when it lands, damaging everything caught in the blast rather than a single target.
| Level | Effect |
|---|---|
| 1 | 70 splash damage, small range |
| 2 | 120 splash damage, small range |
| 3 | Wider explosion range |
Compatibility is limited to three sidearms, so check what you are carrying before you make the trip.
- Forgotten Crossbow
- Caged Hystrix
- Naylshotte
Getting to the Citadel Annex beacon
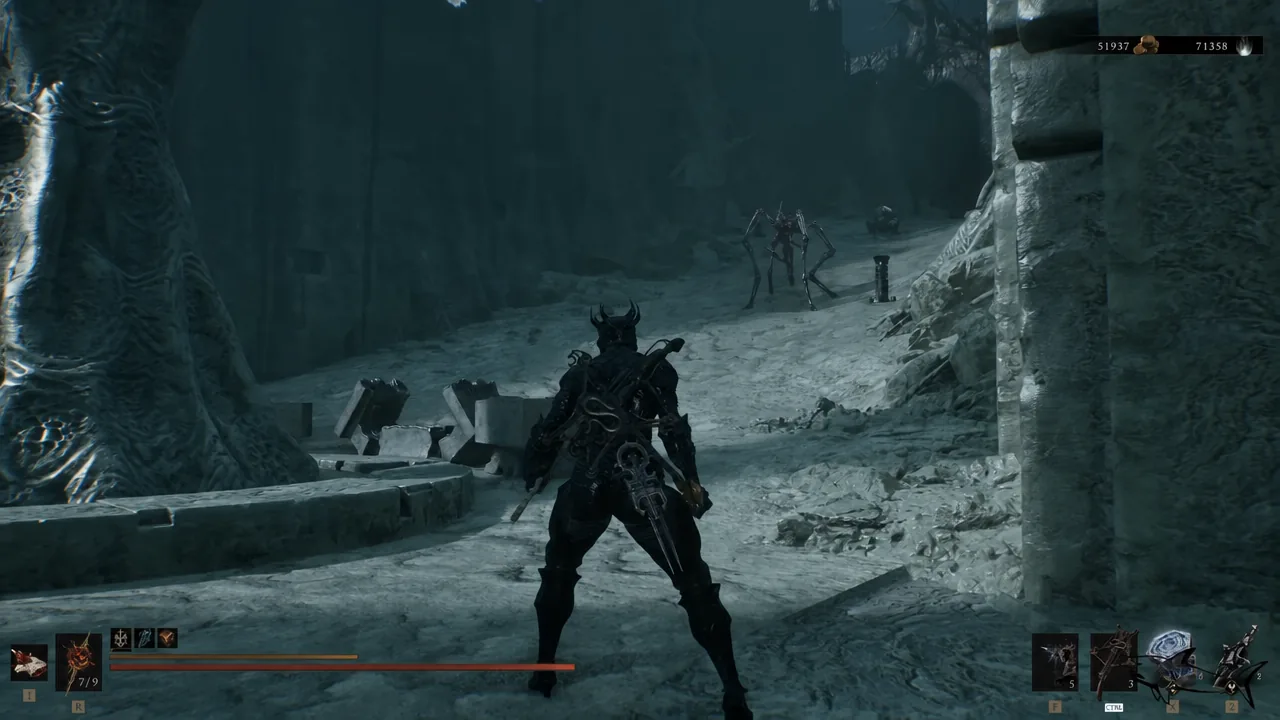
The drop sits deep in the southern Mammon territory, past the Gate of Infinity. Reaching that beacon means travelling south from Marrow Keep to the Outskirts of Mammon, crossing the Road to Absolution, taking the transporter to Castigator’s Keep and beating the gatekeeper boss Starved Herodion on the snowy approach. Once the Gate of Infinity beacon is revitalised and cleansed, the route below is short.
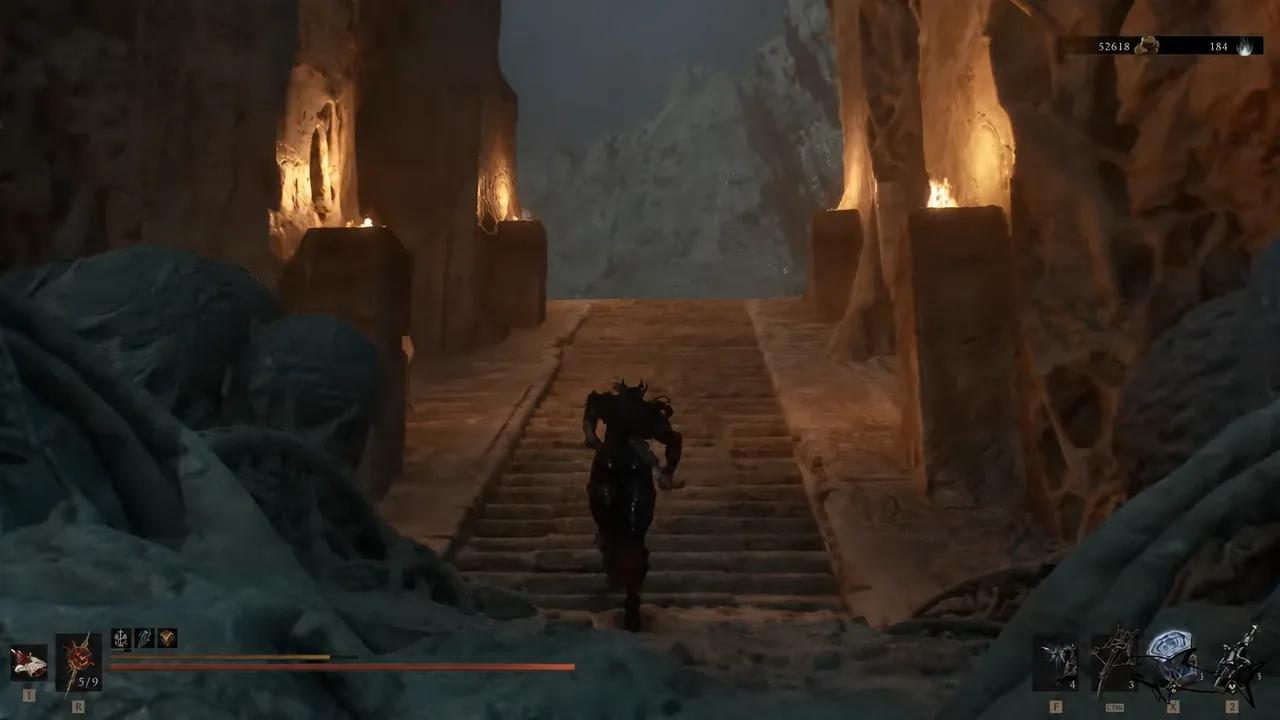
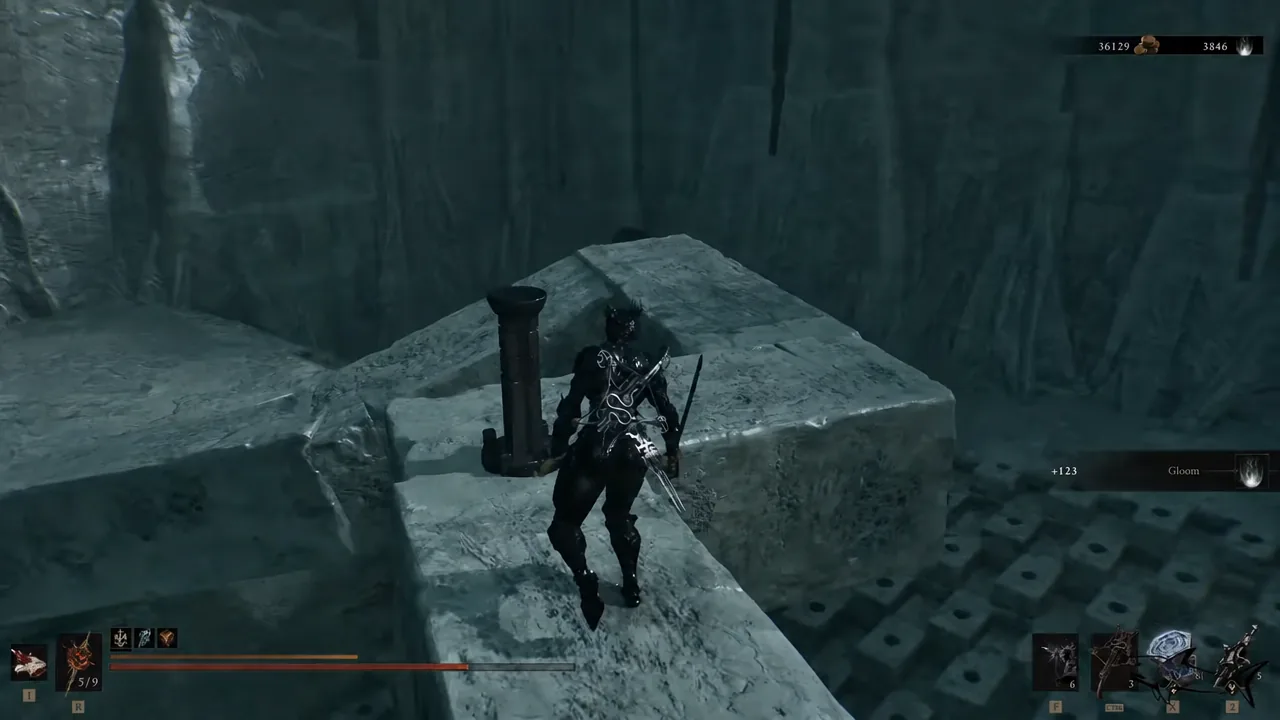
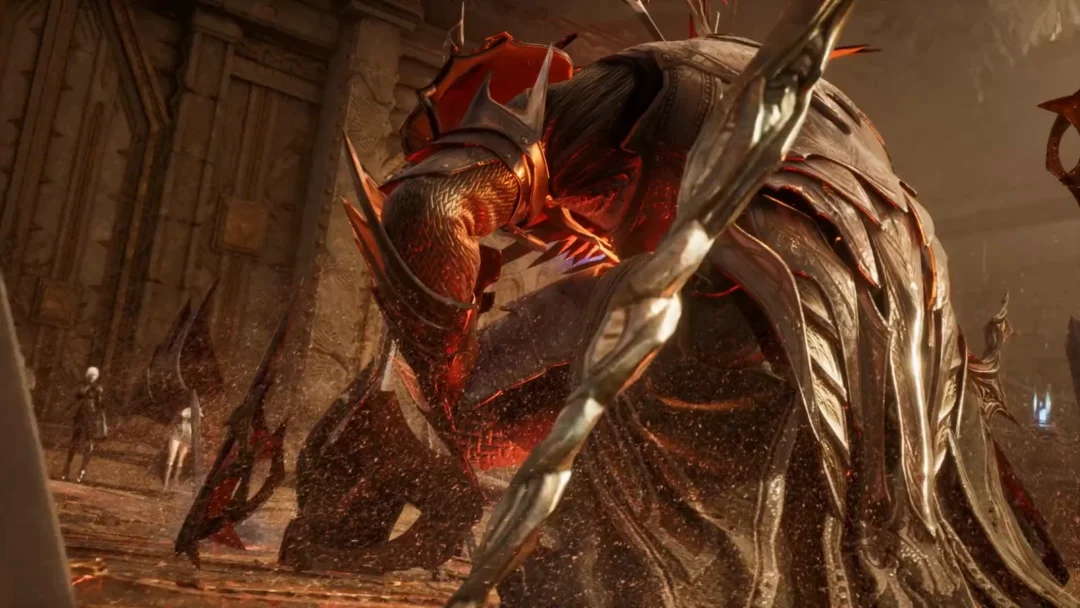
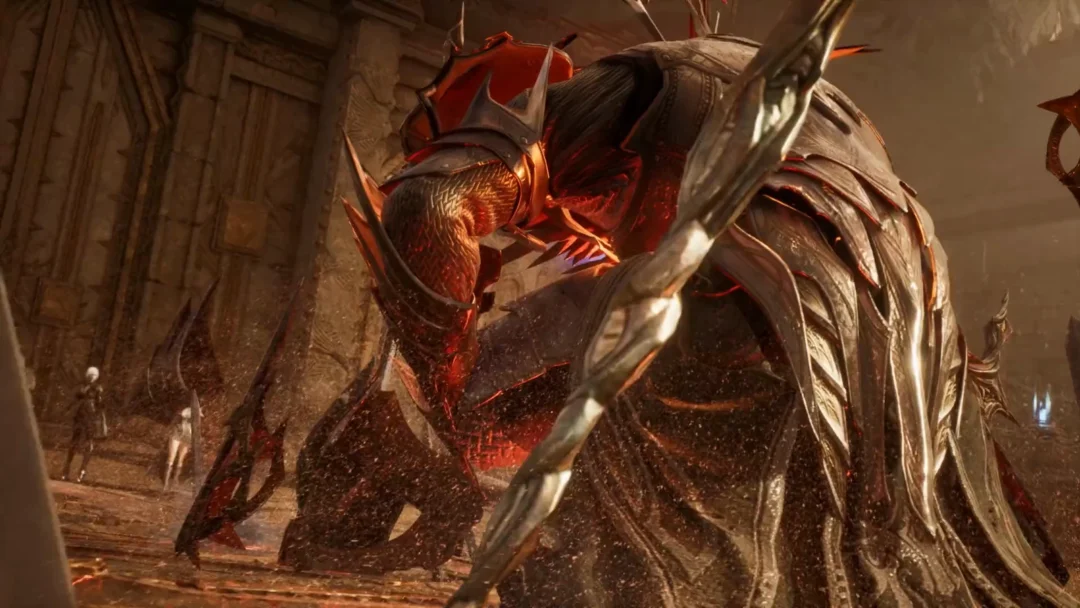
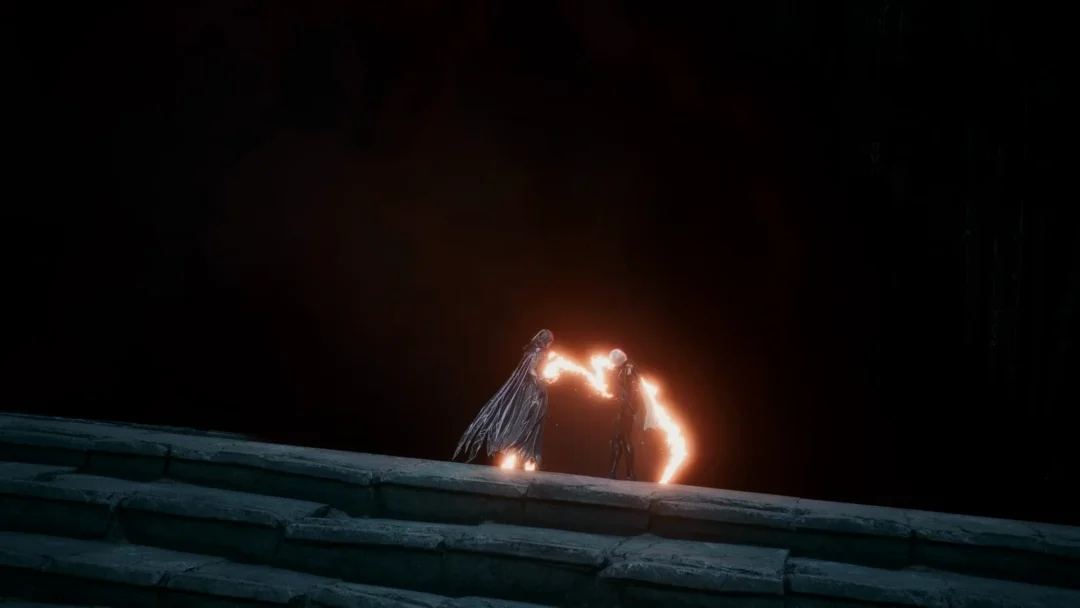
Starting the Solnir, the Gloom Seeker fight
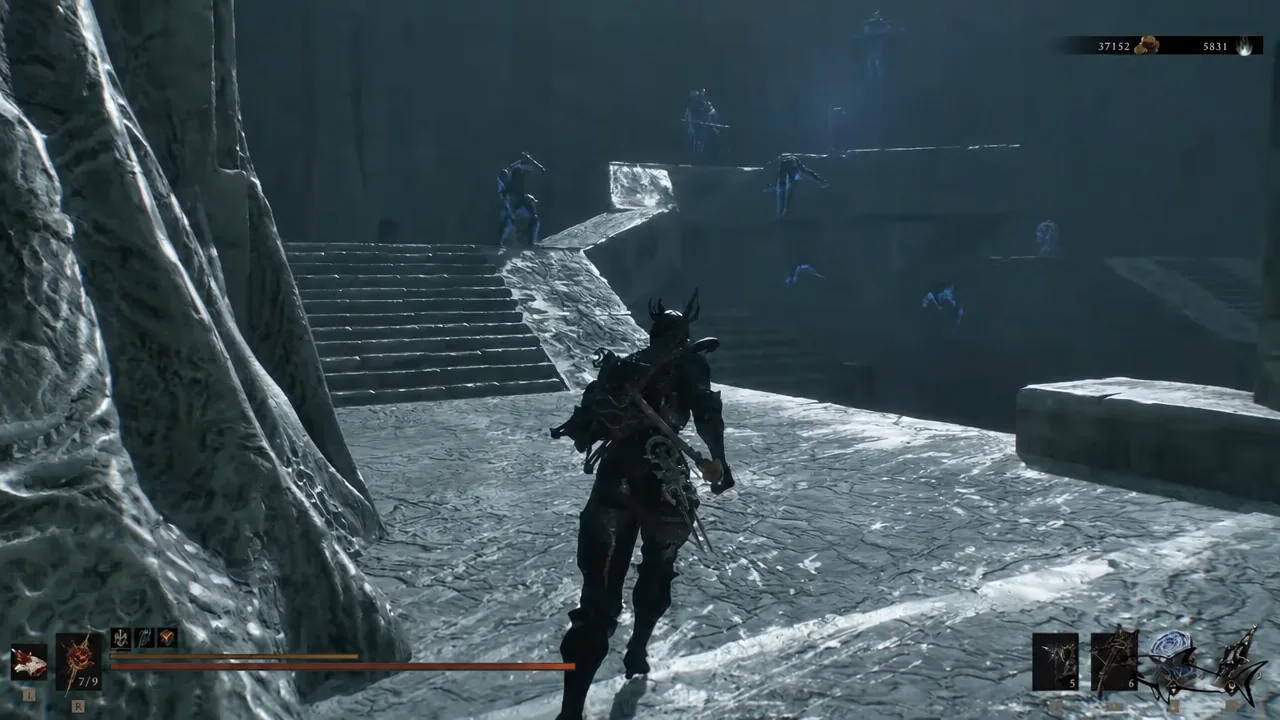
You stand in the hall of Lord Isaar, the Scholar Prince, the one true heir to the throne of Mammon. May his reign be as eternal as words etched in this stone.
Confirming you picked up the Solnir Shard
A NEW TARSTONE ACQUIRED banner reading Solnir Shard appears the instant Solnir falls, alongside the Glimpse and Gloom the kill awards. Open the Tarstones menu to check it: a fresh drop reads Level 1 with an XP bar at 0 / 10000. Equip it to a compatible sidearm and the heavy round replaces your normal shot while you hold the ability input.
Upgrading the Solnir Shard at the Tarforge
Levelling it is a two-part job. First, the Tarforge in Marrow Keep needs its upgrade options unlocked, which means handing Etching Needles to Franz. That quest item sits in a bone chest shortly before the Magdalena, the Lady of the Woods boss fight, tucked into a small side area off the path beyond the bridge where Ruk stands.
Second, the shard has to earn its own experience. Keep it equipped and kill enemies as you explore until the XP bar fills, then return to Franz. The Level 2 upgrade costs Coin, while Level 3 also requires Tarcore.
Pairing the shard with Devout Stone, which raises Resolve gain from melee attacks, keeps the 25 Resolve cost topped up between shots so you can fire it far more often.
Once it is slotted, the Solnir Shard mostly changes how you open fights rather than how you finish them. The arc takes some adjusting to, but a single burst into a group of the Mammon region’s packed enemies clears far more than a conventional bolt ever will.