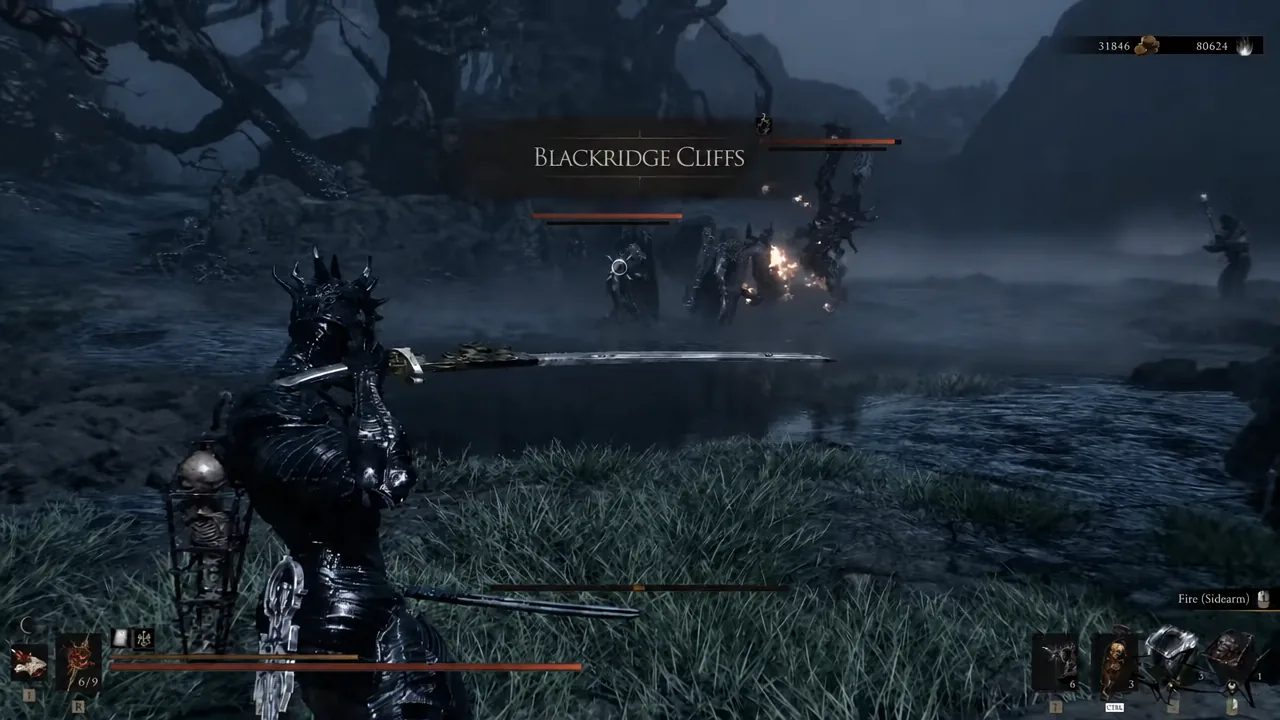
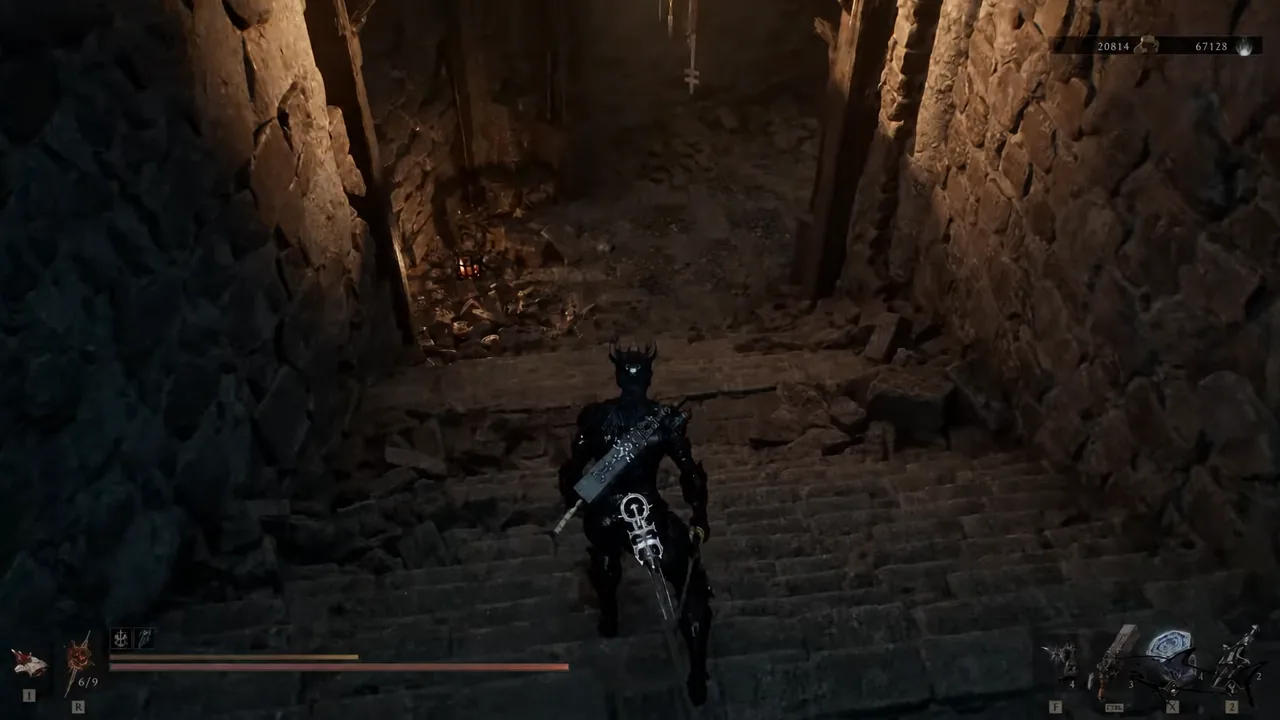
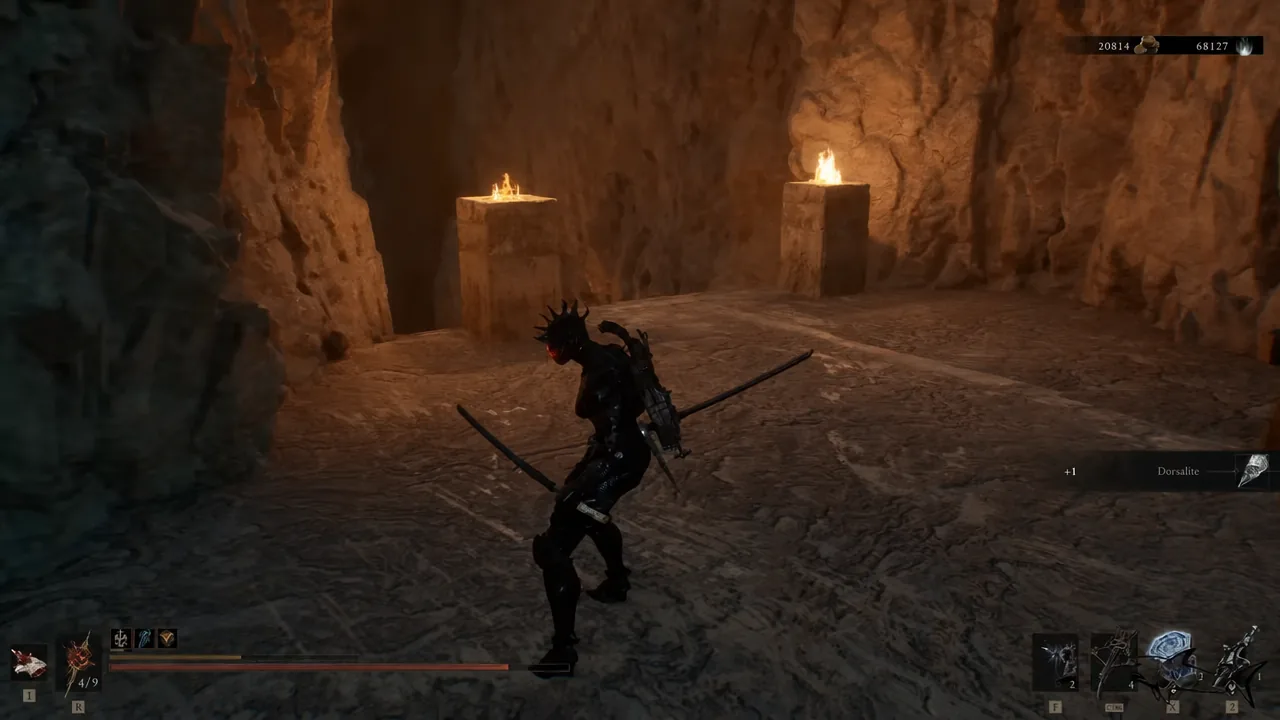
The Summoning Stone is one of the more entertaining Ability Tarstones in Mortal Shell 2. Slot it into a compatible sidearm and it turns whatever you just killed into a temporary ally, at the cost of a sizable chunk of Resolve. Getting it means a short run past the Gate of Infinity beacon and a small puzzle involving two flame pillars.
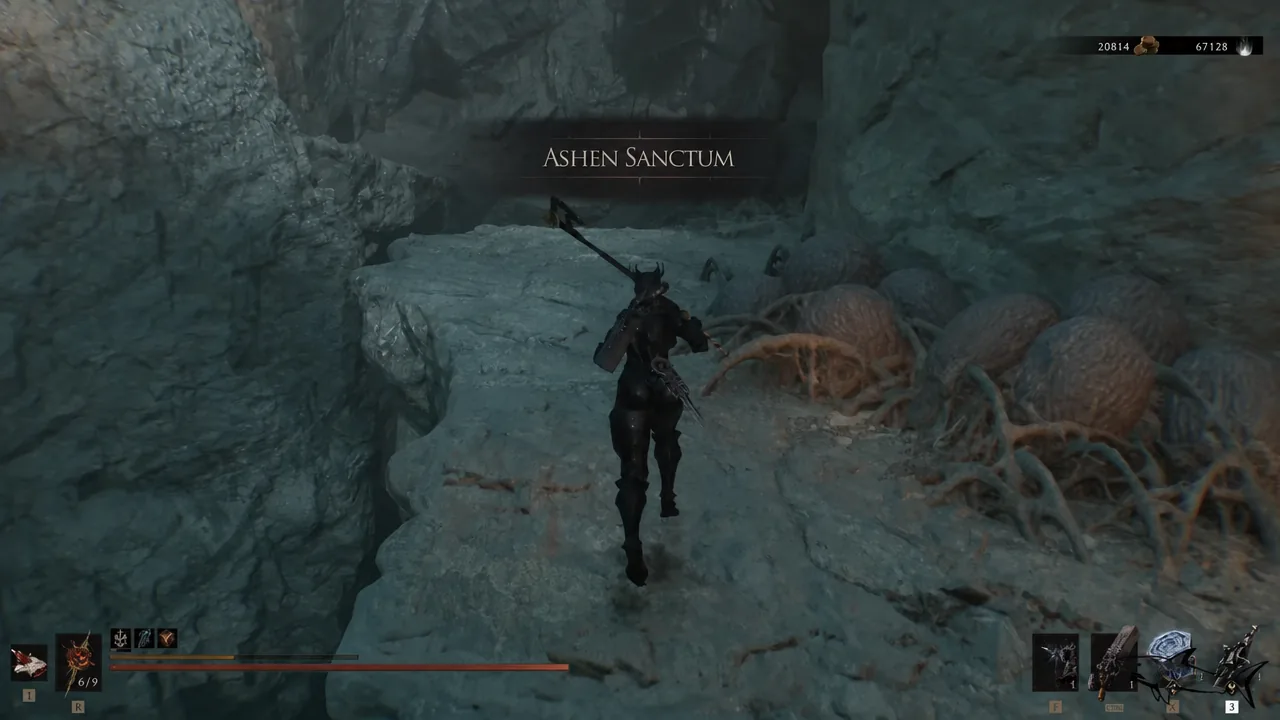
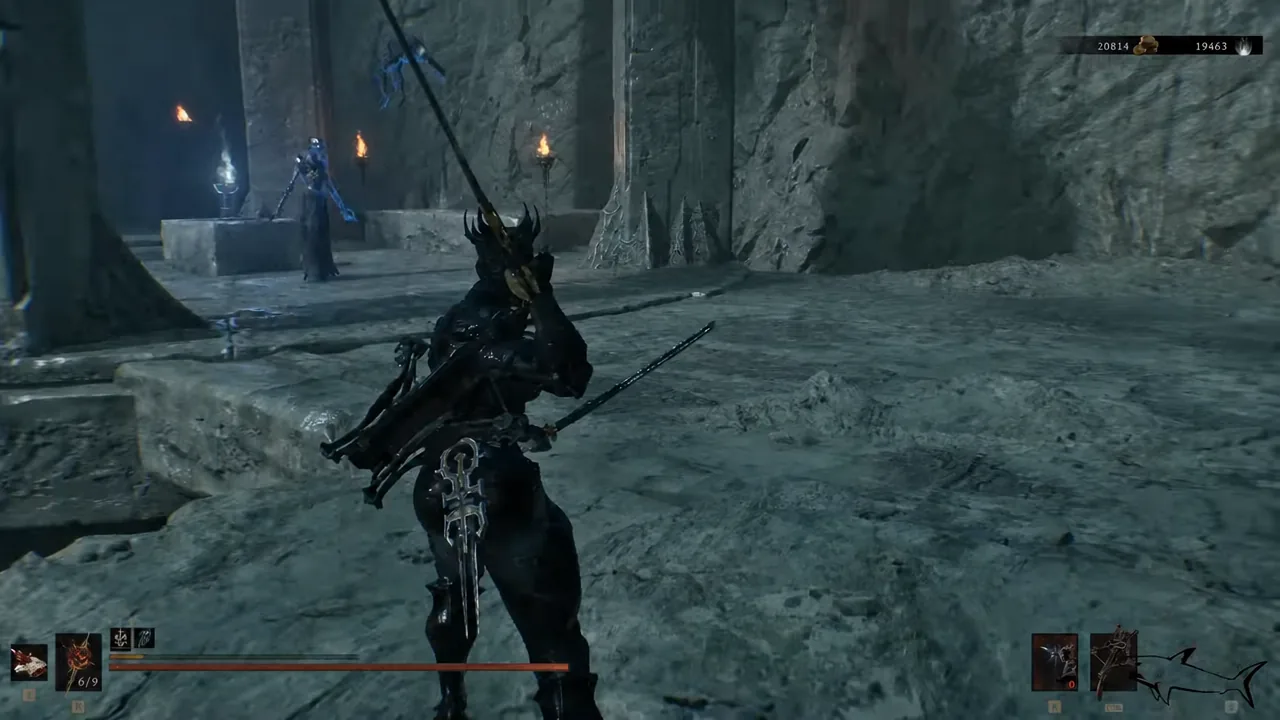
Quick answer: Take the Gate of Infinity portal to the Corrupted Gate, push through to the Ashen Sanctum, light both flame pillars in the large chamber, then loot the Summoning Stone from the altar behind the opened door.
What the Summoning Stone does
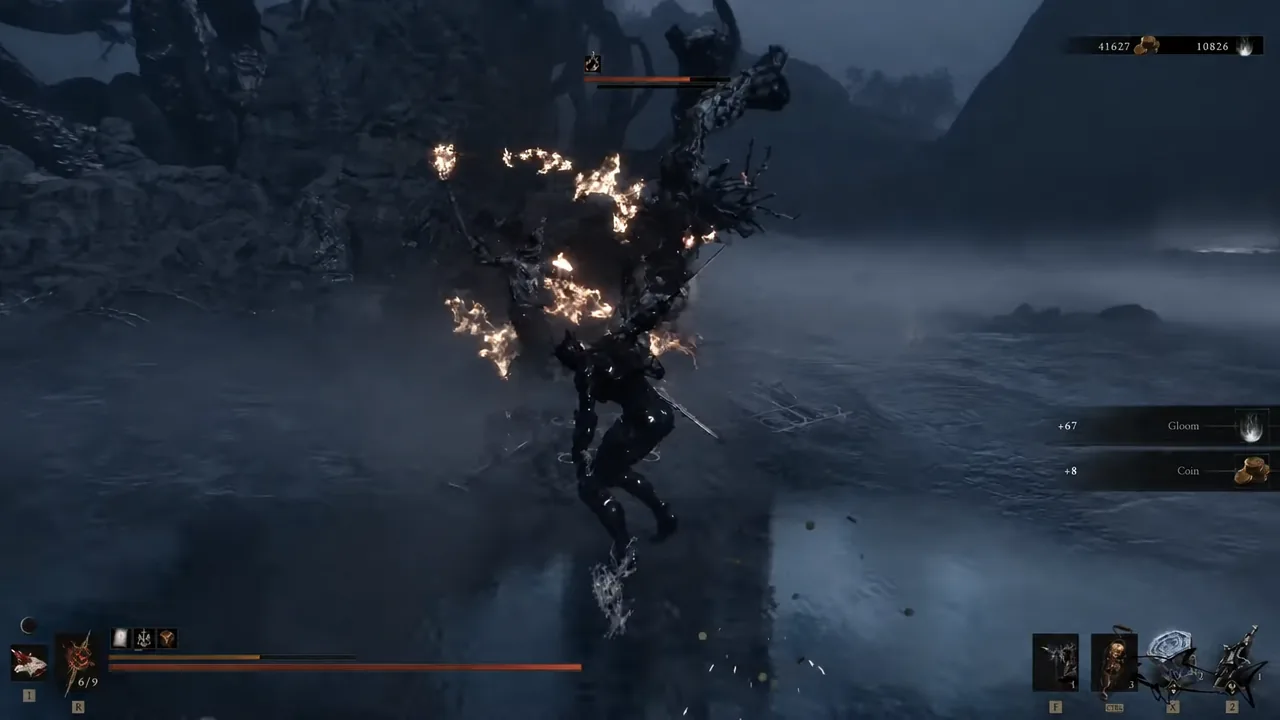
This is an Ability Tarstone, so it goes on a sidearm rather than your shell or primary weapon. Activating it costs 70 Resolve and calls back the last enemy you killed to fight on your side. The summon is not permanent. It swings a set number of times and then disappears, and the number of swings is tied to the stone’s level.
| Level | Effect |
|---|---|
| 1 | Summoned foe attacks 2 times before vanishing |
| 2 | Summoned foe attacks 5 times before vanishing |
| 3 | Summons 2 foes instead of one |
The Resolve cost stays at 70 across levels, so the practical upgrade is duration first, then quantity. Because the stone copies whatever died last, its value swings wildly with the area you are in. Heavier enemies give you a meaningful body to hide behind, while weaker trash mobs mostly buy you a second or two of aggro.
Before you go: what you need
- A cleansed Gate of Infinity beacon, since the run starts from that fast travel point.
- Access to the Faded Citadel gate, which is how you reach the Ashen Sanctum.
- A sidearm you can shoot with, for lighting the two pillars from a distance.
- Enough Resolve headroom to actually use the stone once you equip it.
The Summoning Stone only fits sidearms. The Cursed Child is a confirmed compatible option, so check your sidearm slot before assuming the stone will equip.
Summoning Stone location: the route through the Ashen Sanctum
Equipping and firing the summon
Open the Tarstones menu, pick the Summoning Stone, and choose Equip Tarstone to bind it to your sidearm. From there the ability fires the same way any other sidearm ability does, drawing 70 Resolve each time. Kill something first, then trigger it, otherwise there is nothing for the stone to copy.
Choose your last kill deliberately in mixed groups. Finishing off the biggest enemy in a pack before you trigger the summon gives you a far more useful ally than finishing off a straggler.
Upgrading the Summoning Stone at the Tarforge
Upgrades run through Franz at the Tarforge in Marrow Keep, but his higher upgrade tiers stay locked until you hand him the Etching Needle. That quest item sits in a bone chest just before the Magdalena, the Lady of the Woods boss fight. When you spot Ruk past the bridge, drop through the opening and turn right before the tunnel to reach the small side area holding the chest.
After that, levelling is a matter of use. Keep the Summoning Stone equipped and kill enemies as you explore to fill its XP bar, then return to Franz and pay coin for the next level. Each upgrade is a separate cost, so the jump to two simultaneous summons takes a while.
How it fits into the Tarstone collection
Mortal Shell 2 has 75 obtainable Tarstones, and 73 of them are required for the Stoned trophy and achievement. The Summoning Stone is not missable, so you can pick it up in free roam after the final boss if you skipped past the Ashen Sanctum earlier. Only the Berserker’s Stone is currently at risk of being permanently lost, and the two spare Tarstones mean the trophy survives even that.
You can carry ten Tarstones at once, split between four shell-compatible slots and two each for Combat, Infusion, and Ability. Since the Summoning Stone occupies one of those two Ability slots, it competes directly with the rest of that category, and players have been swapping combinations around to find pairings that hold up in longer fights.
Treated as a panic button rather than a core damage source, the Summoning Stone earns its slot. A single extra body swinging at a boss buys you the window to heal or reposition, and once it reaches the level that spawns two, the distraction lasts long enough to matter.