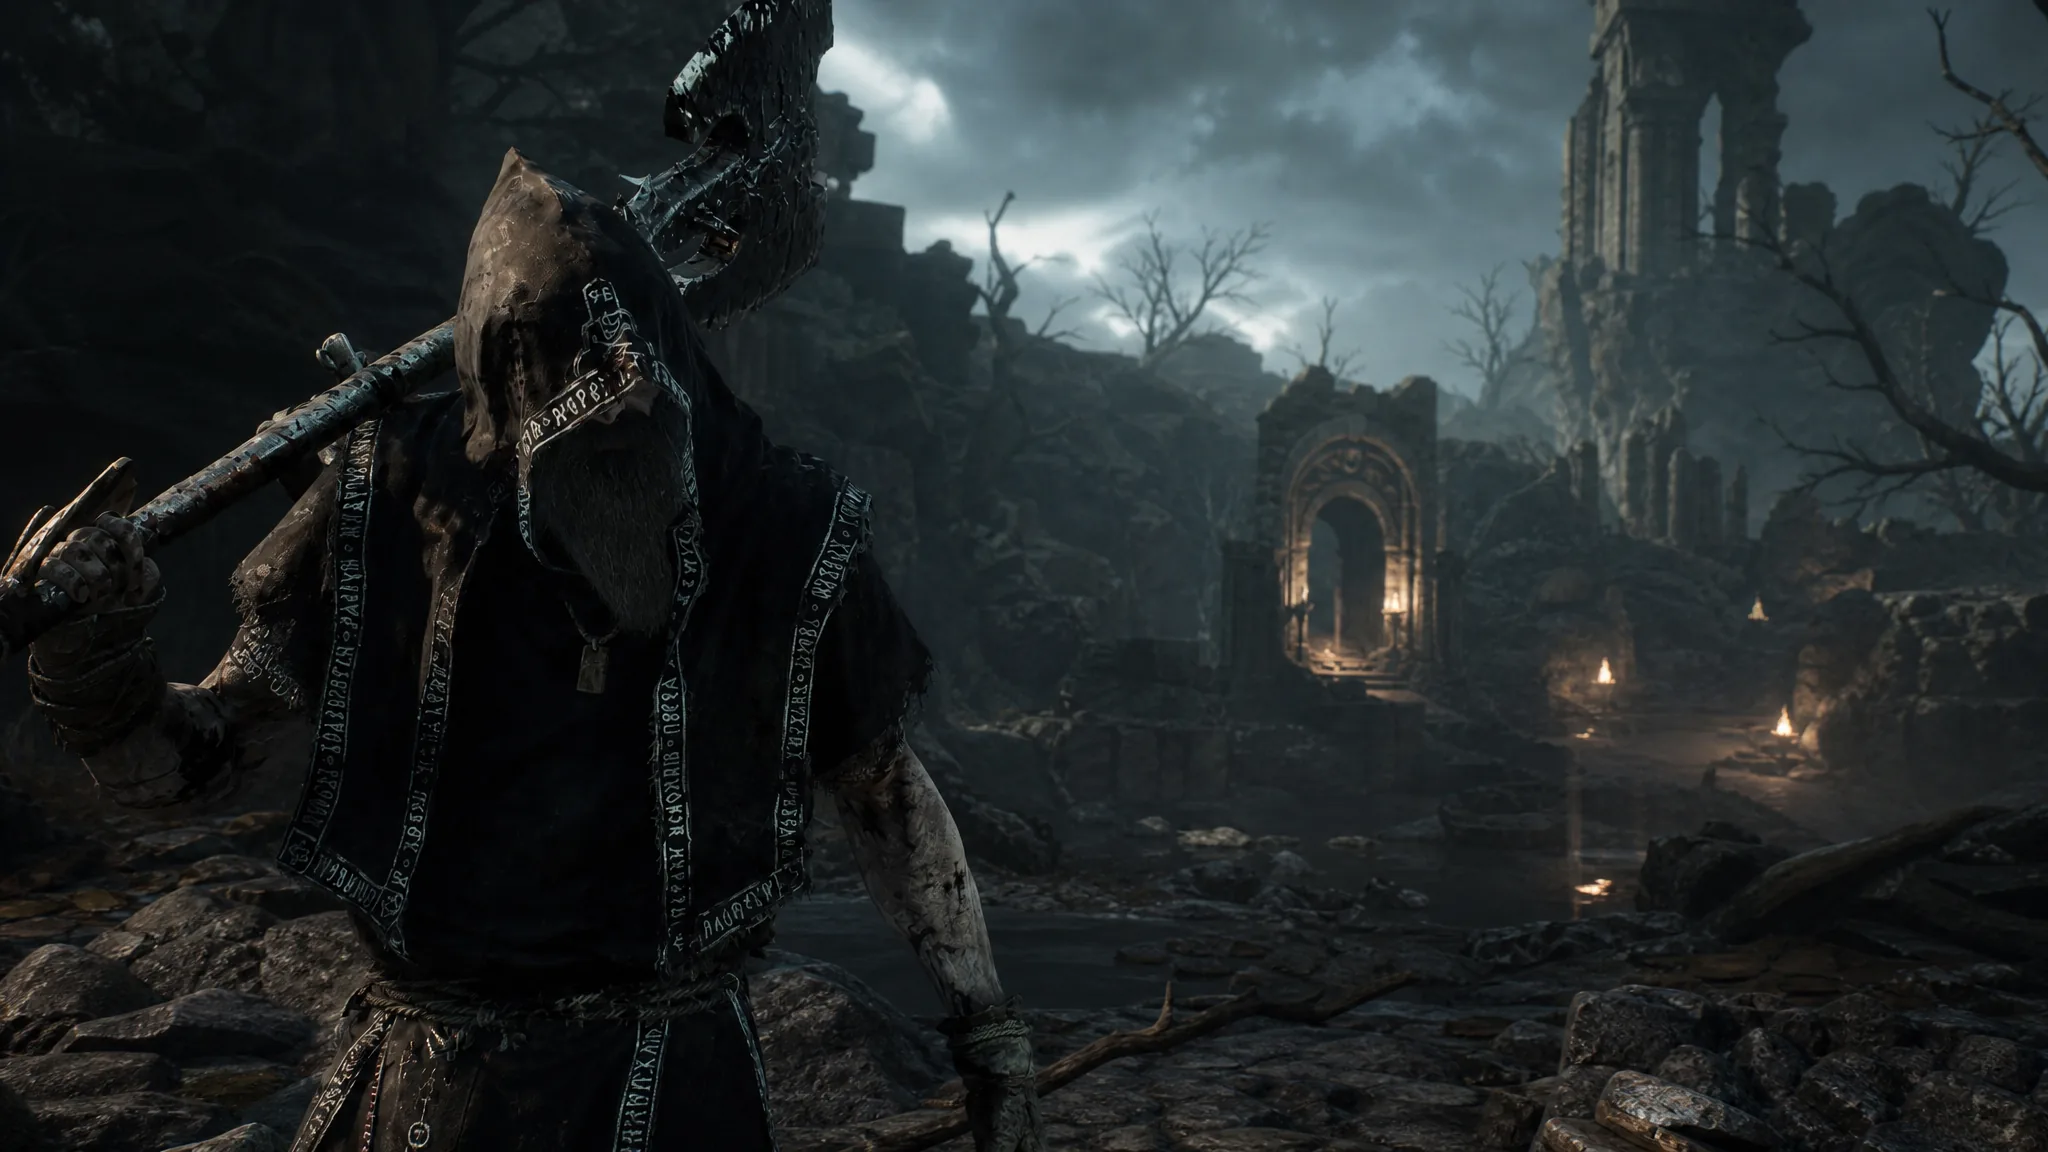
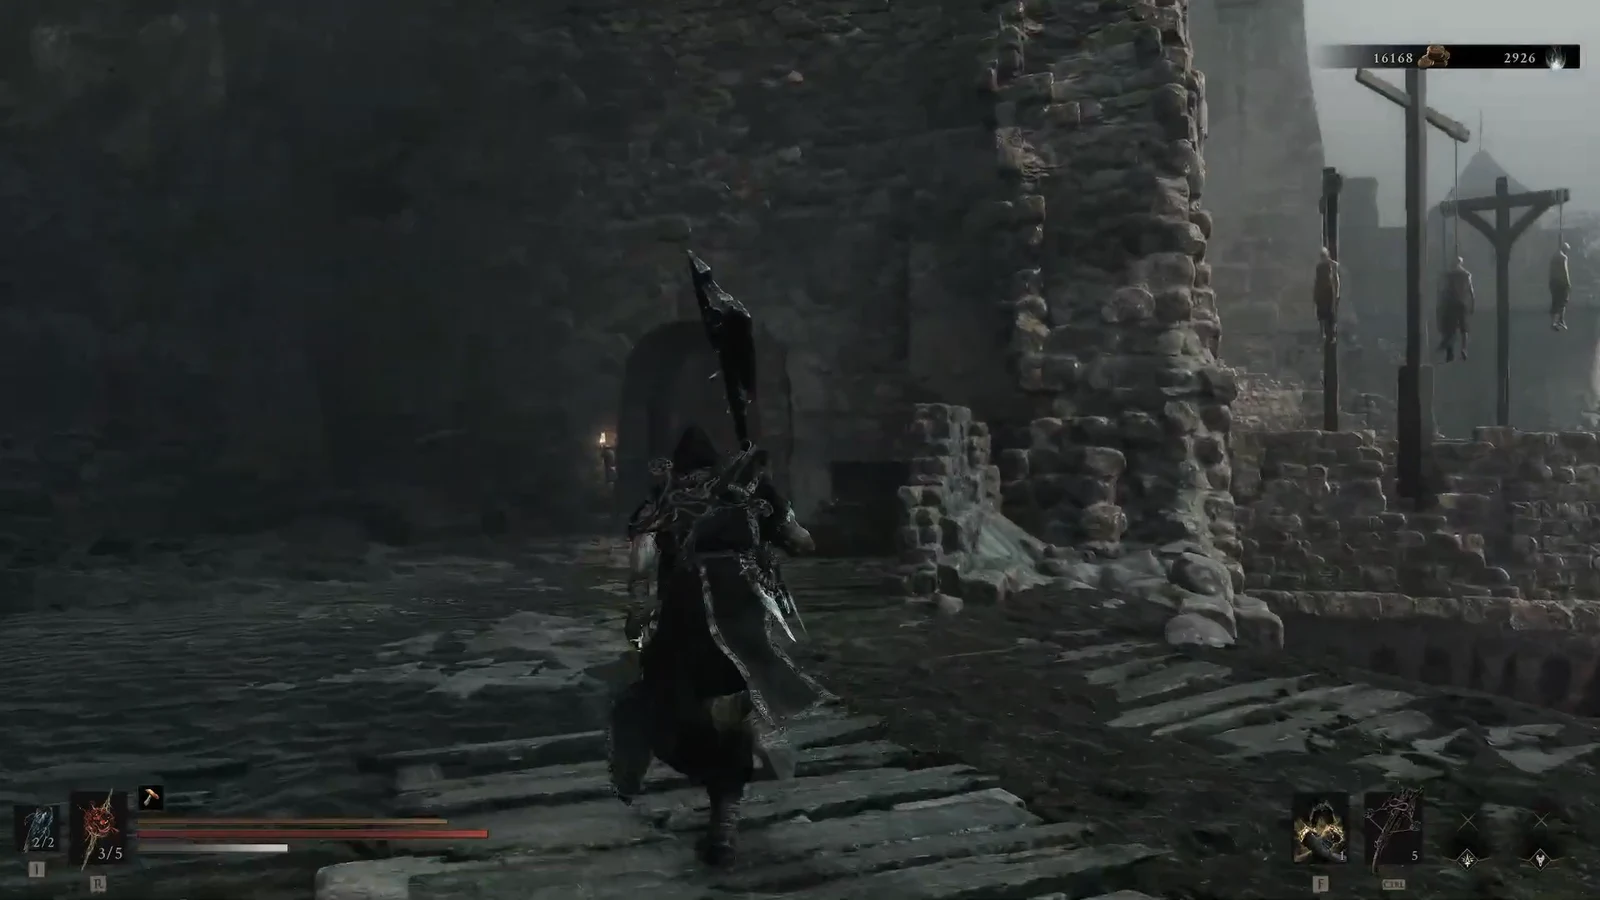
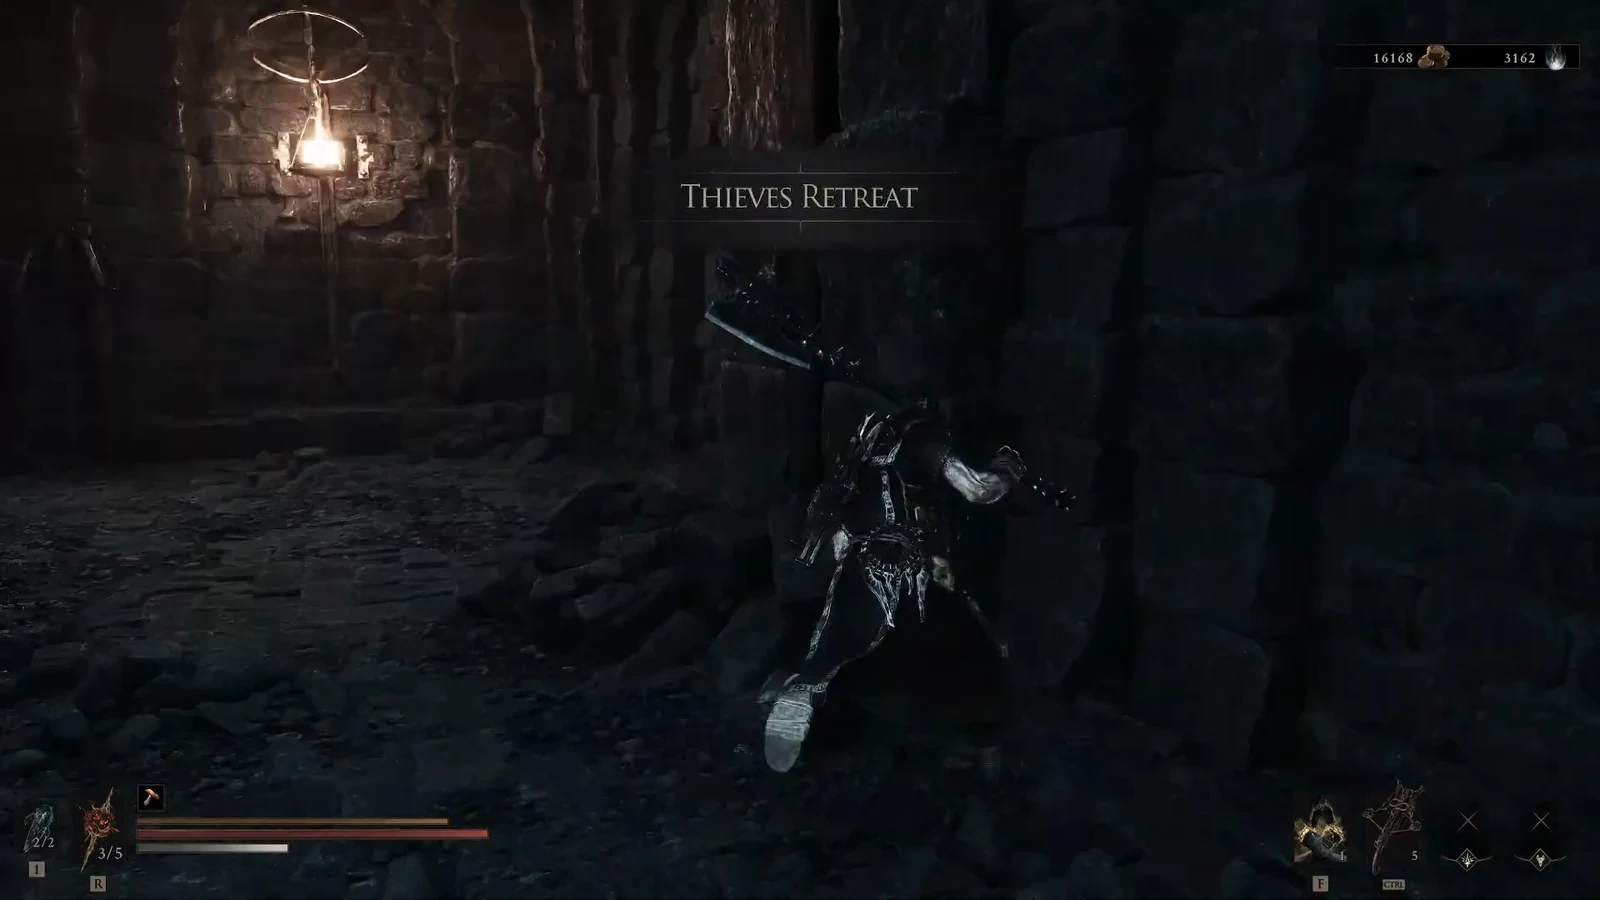
Thieves Retreat sits on the north side of the castle around the Nochtean Gate Beacon in Fainweald. The room you want is not a normal hallway. It is a broken bridge over a flooded pit, and most of the crossing is a floor you can barely see.
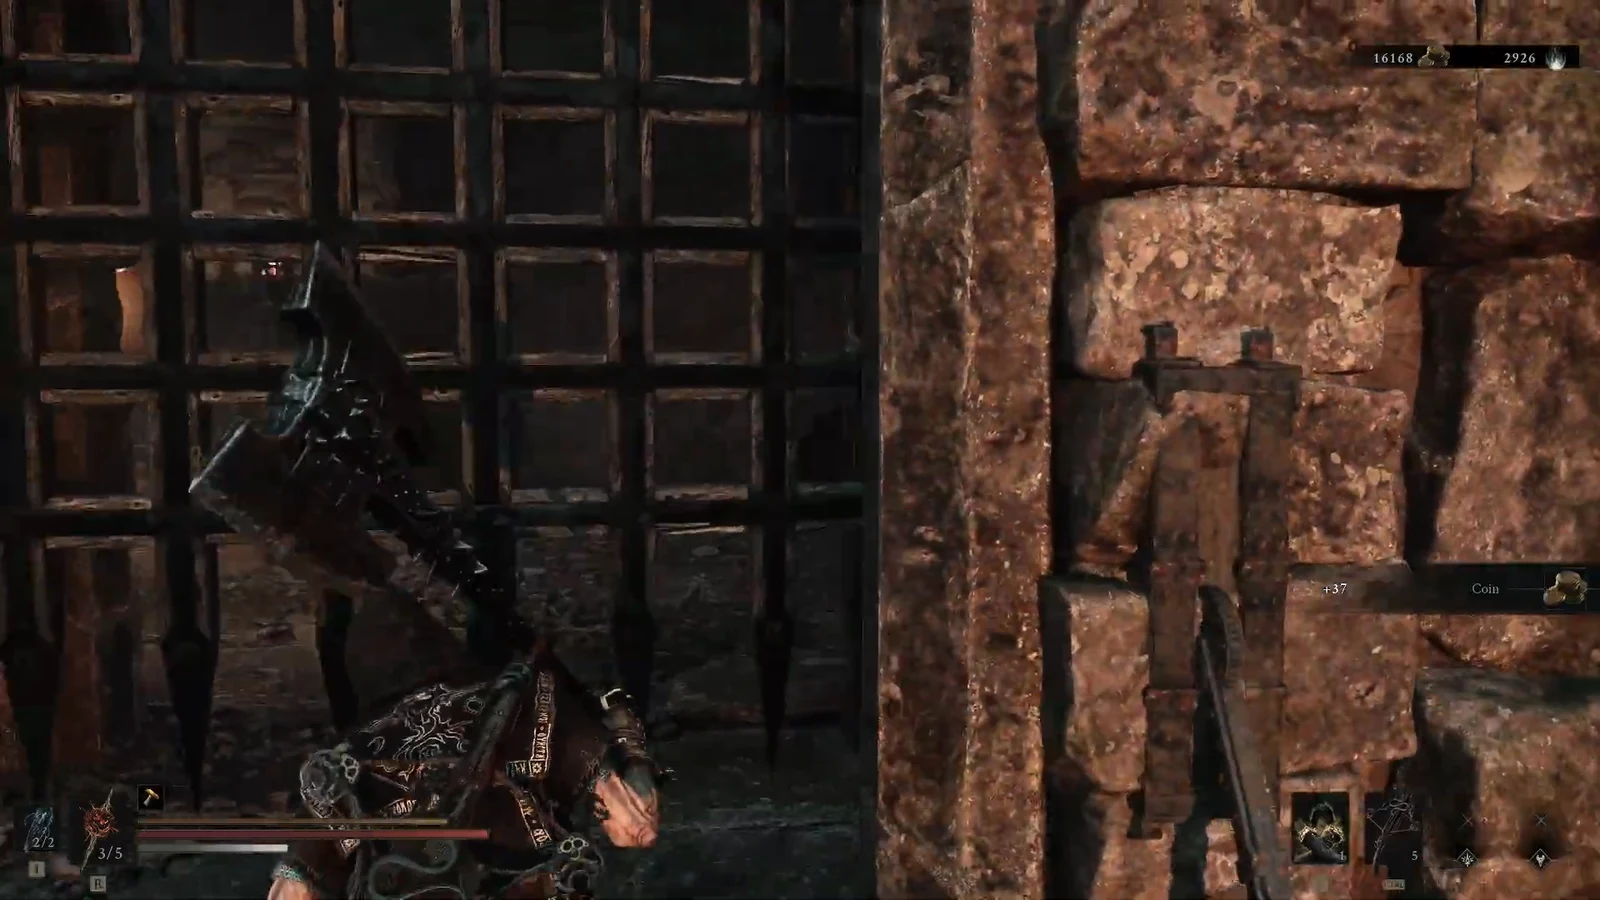
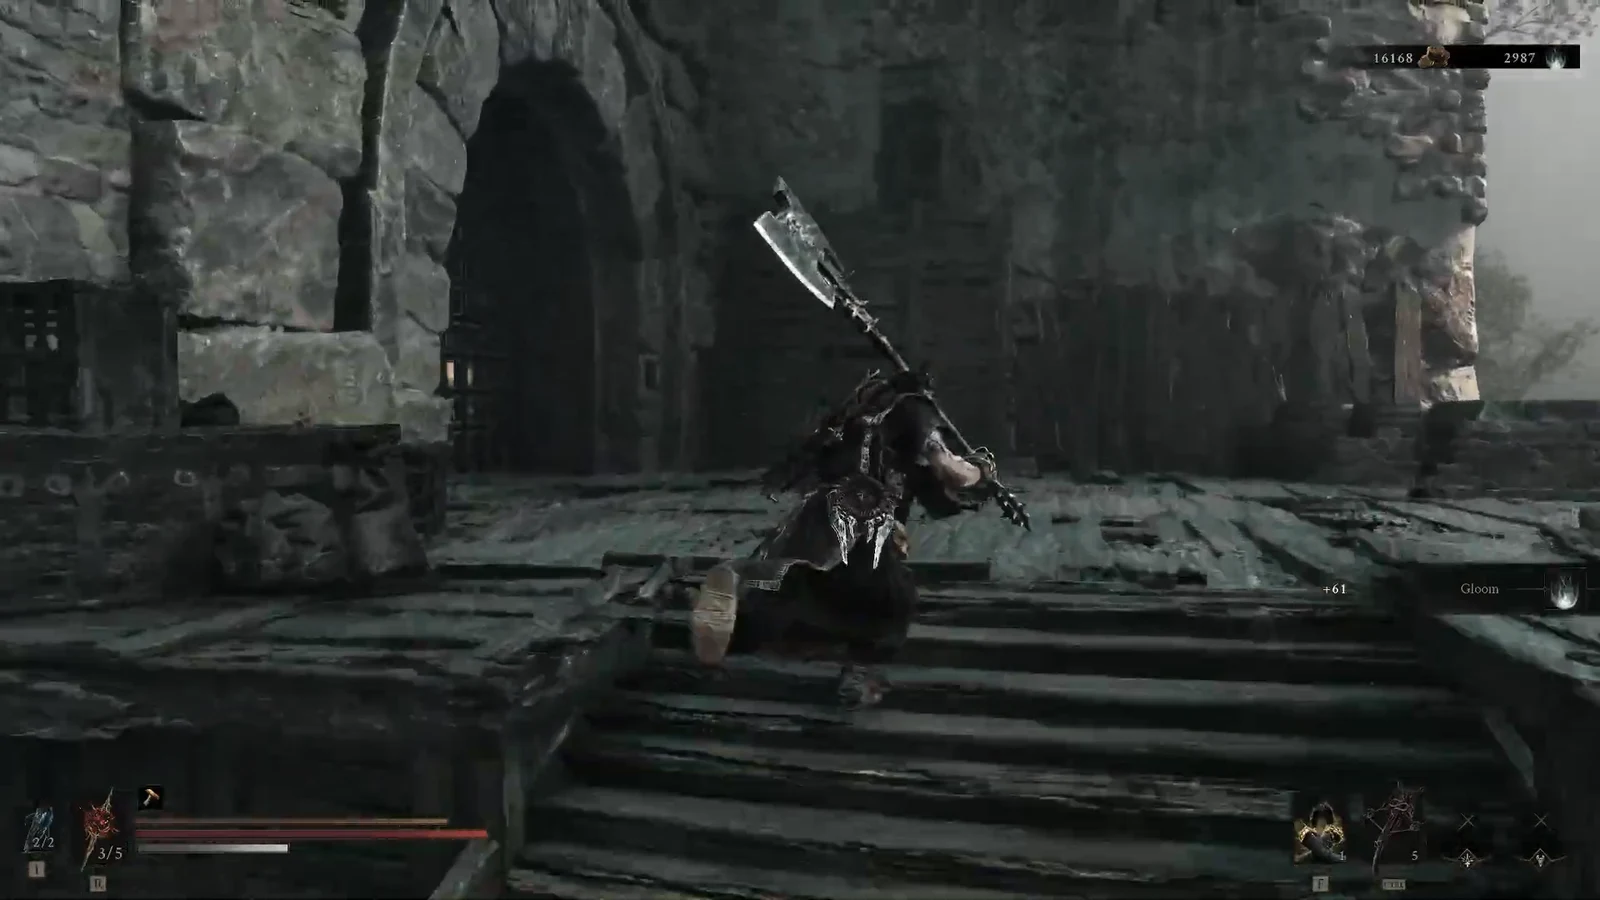
Quick answer: From the Nochtean Gate Beacon, go north, drop one level, press the switch to open the metal gate, then take the lift down and walk the invisible floor to the two lit torches.
Lightning resistance before you enter
The dungeon is packed with flying skeletal ghosts that throw shock and lightning. Those hits do not block. If you walk in with no resistance, the thin path becomes a place you die before you can even see the next ledge.
| Loadout | What it does here |
|---|---|
| Proxima, Ampereon at two levels | Lowers lightning damage and stops the lightning status |
| Galvanic Shard in the passive slot | Adds more lightning mitigation on top of Ampereon |
| Proxima’s Biosampler | Pulls ghosts in so they stop spamming from mid-air |
Fight on the front foot. The walkway is too narrow for a long defensive fight, and every extra spell makes the next invisible step harder to read.
Thieves Retreat location from Nochtean Gate
The map marker sits near Nochtean Gate. The door itself is one drop below the northern castle walk, behind a switch-controlled metal gate, then a portal lift that drops you into the dungeon.
How the invisible floor works
The first chamber is a ruined bridge over mist and standing water. Solid stone runs out fast. The far exit is a doorway with two lit torches. Everything between those points is a floor that only shows itself if you look for it.
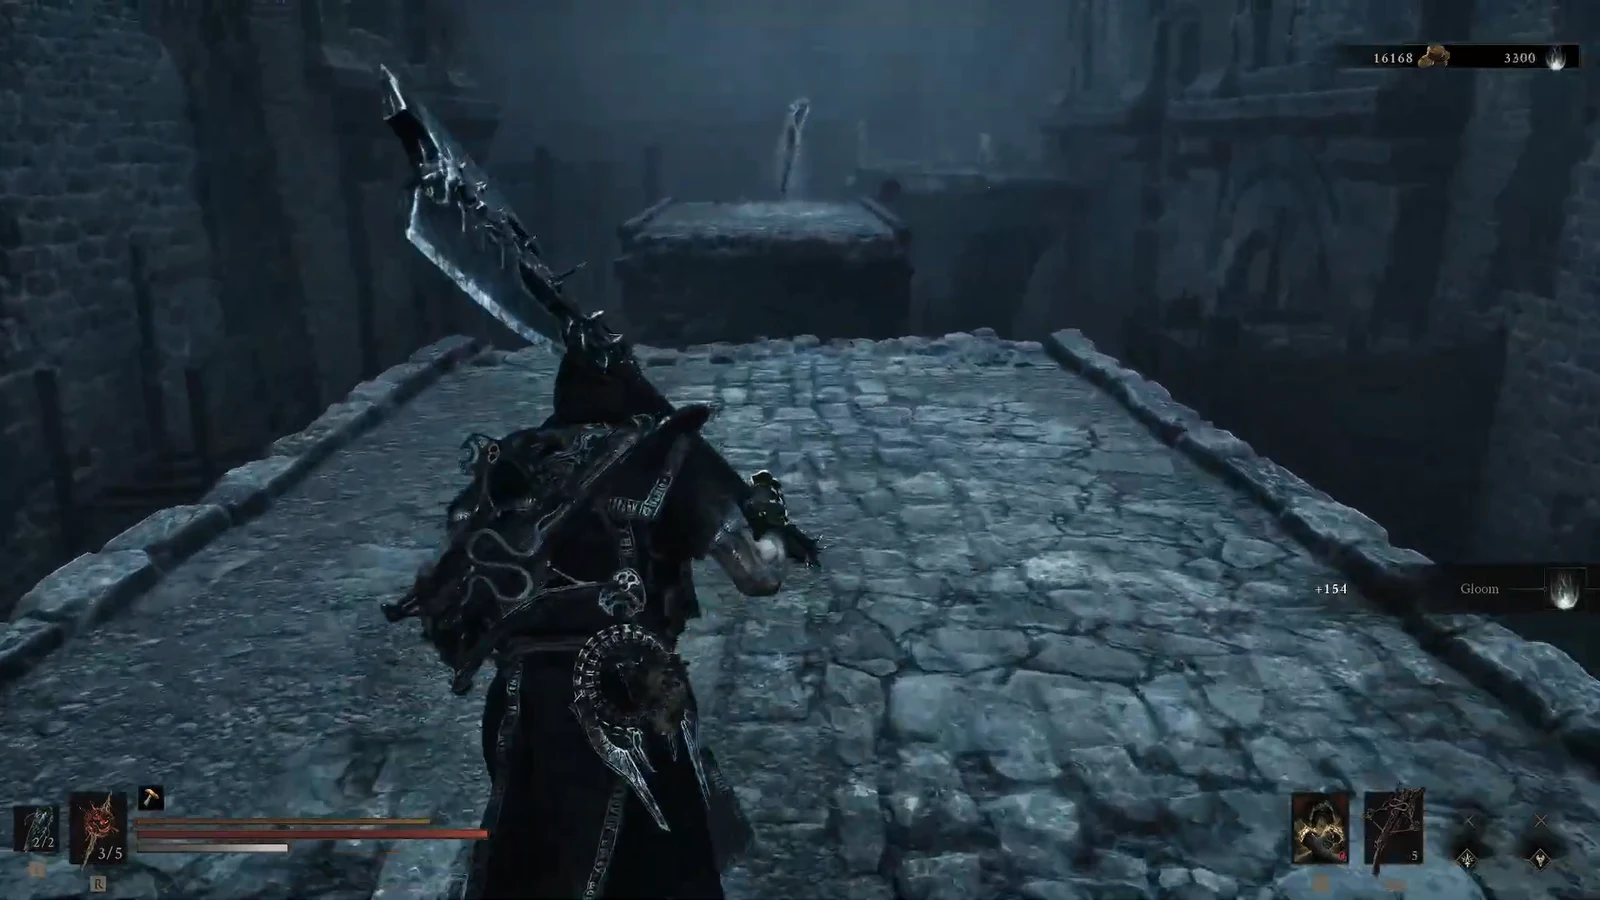
Stand at a shattered edge and look down. A faint, smoky outline of flooring appears over the drop. Stay on that outline and you will not fall. Step off it and you drop into the pit.
| Cue | Meaning |
|---|---|
| Wispy floor outline when you look down | That strip is solid |
| A dead body resting in empty air | The corpse is sitting on the hidden path |
| Two lit torches by a doorway | You have reached the far exit |
| Mist and floodwater below | A fall, not a shortcut |
Use the corpse as a physical marker when the outline gets hard to see. Walk slowly. Sprinting is the usual reason people miss a turn and fall. Clear ghosts before you commit to a long stretch, because a lightning hit on a blind corner will shove you off.
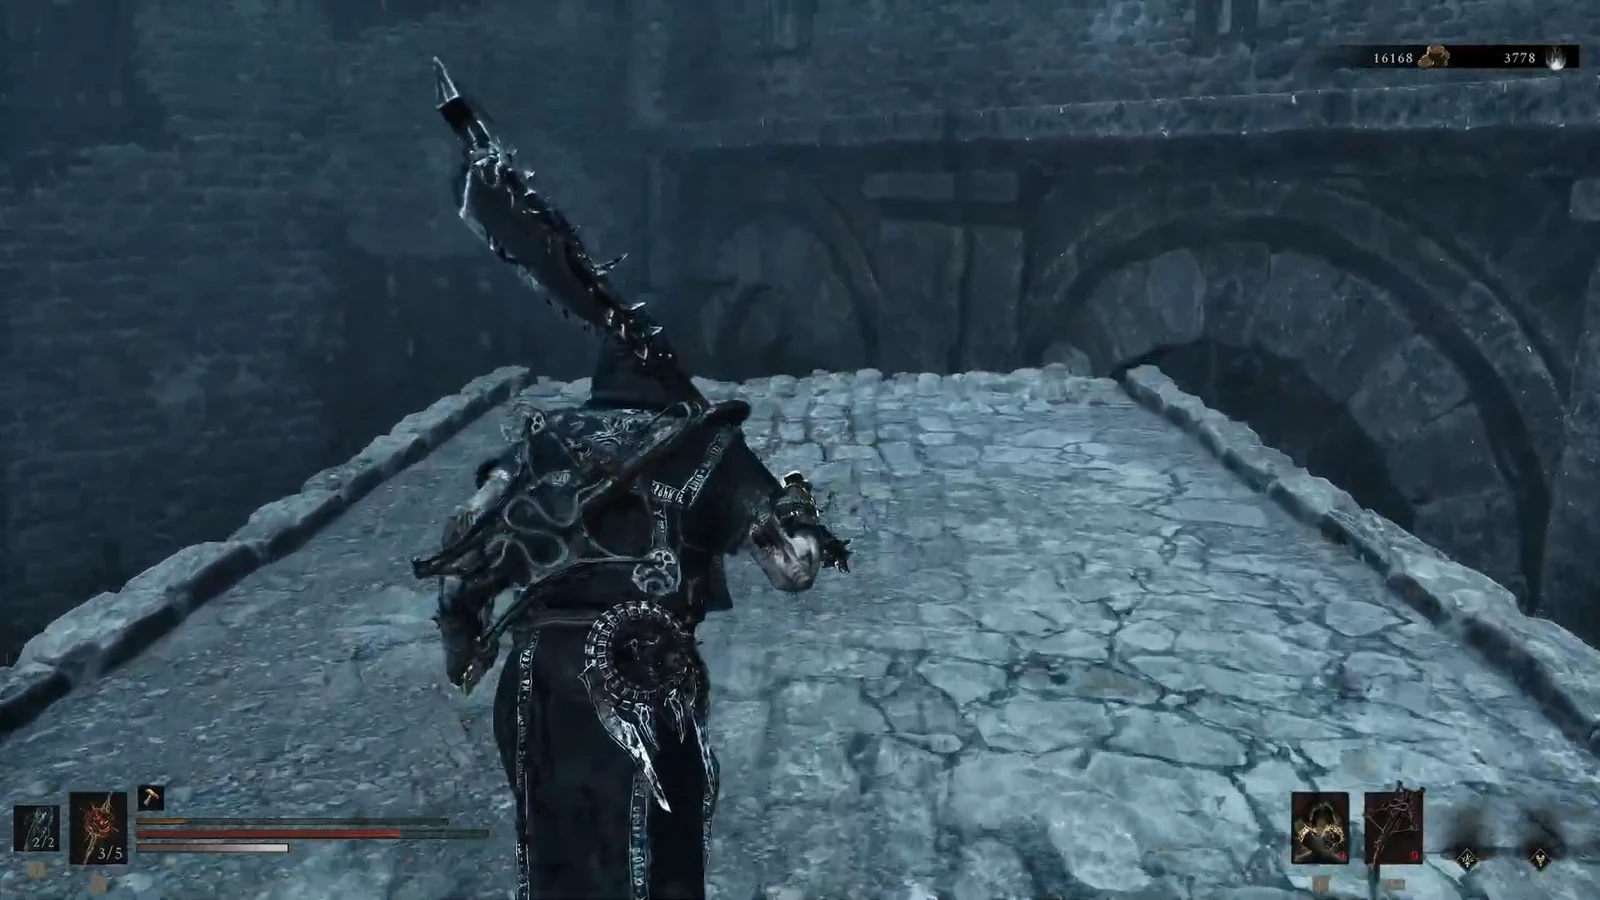
There is also an invisible floor near the dungeon entrance on the left. That strip leads into a trapped hallway, not to the torchlit exit. Save it until after you know the main crossing.
If you fall into the pit
A fall is not a dungeon reset. The pit is a flooded yard full of monsters, plus a lift that returns you to the bridge. Either kill the pack or pull it away from the lever, then ride back up and resume the crossing from solid stone.
While you are down there, check the rundown shacks. One of them has a Ventrium totem for weapon upgrades. Resolve roots also sit in the pit. They are easy to miss if you only sprint for the lever.
Thieves Retreat rewards
The far side of the invisible path returns you to solid ground. Climb the stairs into the last chamber. Statues and candles mark the pickup. Take the Revered Gland and a portal opens back to the dungeon entrance. That portal is the completion check.
| Reward | Where it drops |
|---|---|
| Revered Gland | Final room with statues and candles |
| Ventrium totem | Near a shack in the pit |
| Coin and Glimpse | Combat and pickups on the route |
Left-side trapped hallway
Just inside the entrance, an invisible floor on the left leads into a hallway of traps and enemies. Resolve roots are in that hall as well. No extra named prize is confirmed at the far end of that route. If you only came for the Gland, you can skip it and still finish the dungeon.
Once the portal is up, you are done. Take the Gland, step through, and leave the bridge behind.