

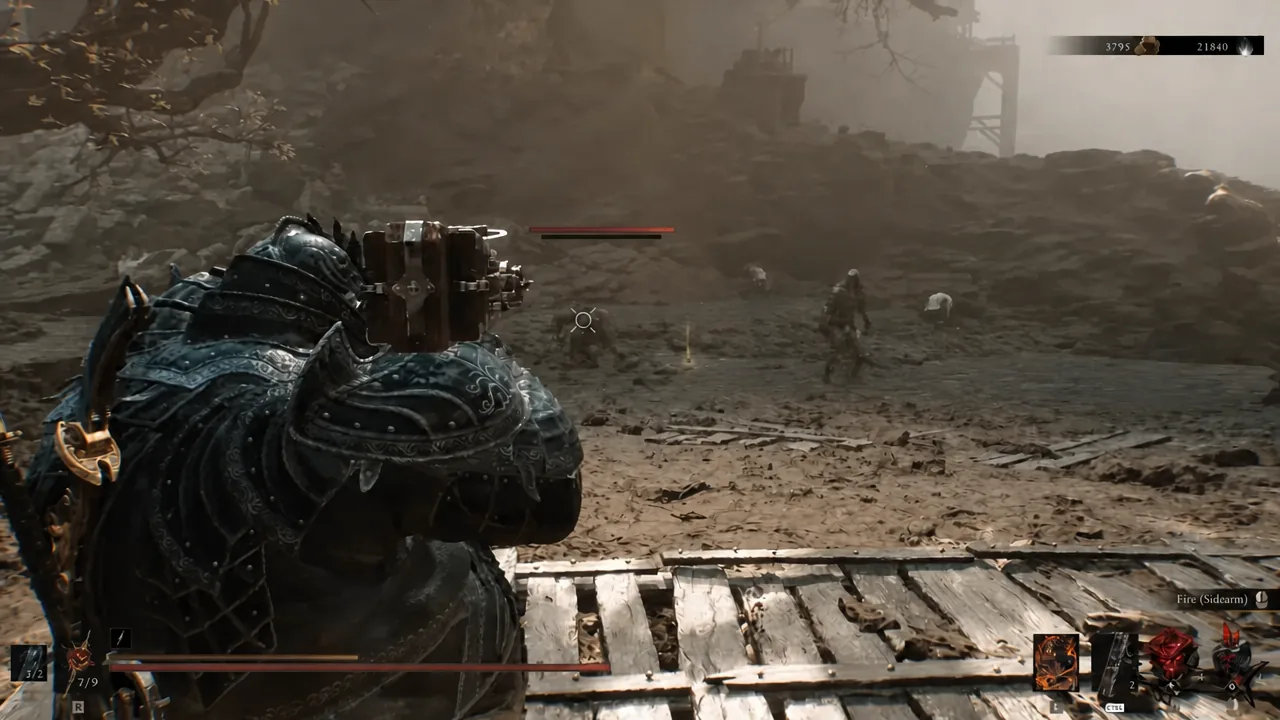
The Weeping Stone is one of the few Tarstones in Mortal Shell 2 that you cannot pull out of a chest or earn from a boss. It sits in a merchant’s inventory, that merchant only exists after dark, and the stall is a short run from a beacon most players have already lit. Once it is yours, your Sidearm stops being a chip-damage tool and starts stacking a status effect.
Quick answer: Summon the night by speaking to Thestus on the roof of Marrow Keep, fast travel to the Abandoned Outpost beacon in the Outskirts of Mammon, then buy the Weeping Stone from The Collector for 1,500 Coin.
What the Weeping Stone does to your Sidearm
The Weeping Stone is an Infusion-type Tarstone, so it only fits a Sidearm slot — it will not go onto a melee weapon. With it equipped, you spend 20 Resolve to infuse your Sidearm with Trauma. Trauma deals Break damage over time, meaning your shots feed into posture breaking rather than just shaving off health.
Triggering it happens mid-combat rather than in a menu. While aiming, press the infusion input to apply the effect and trigger abilities. Resolve is the same resource you sacrifice for talents, so the infusion competes with everything else drawing from that pool until you upgrade the stone.
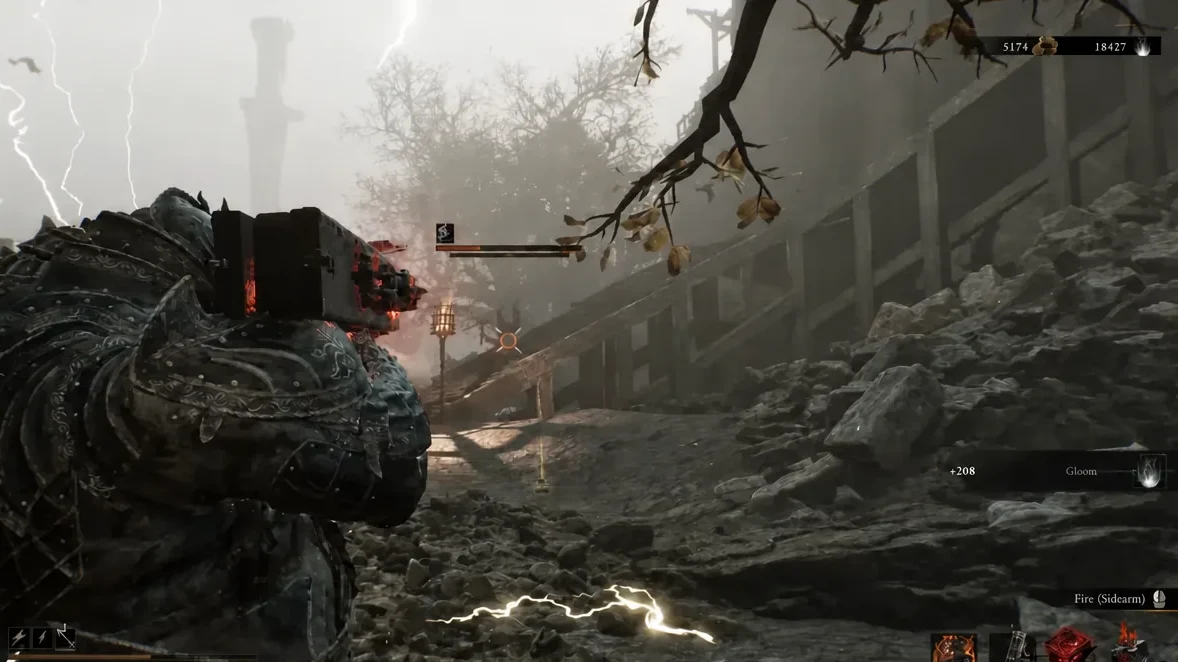
The stone is compatible with the Ballistazooka Sidearm. If you are running a different Sidearm, the stone will not slot in.
Switch the world to night before you travel
The Collector is a night-only merchant. Arrive during the day and there is simply nobody at the spot, which is where most failed trips come from. Night mode itself is gated behind the Gloombound Flame from the Great Arbiter of Flesh boss area, so if you have not reached that point yet, the stone is out of reach for now.
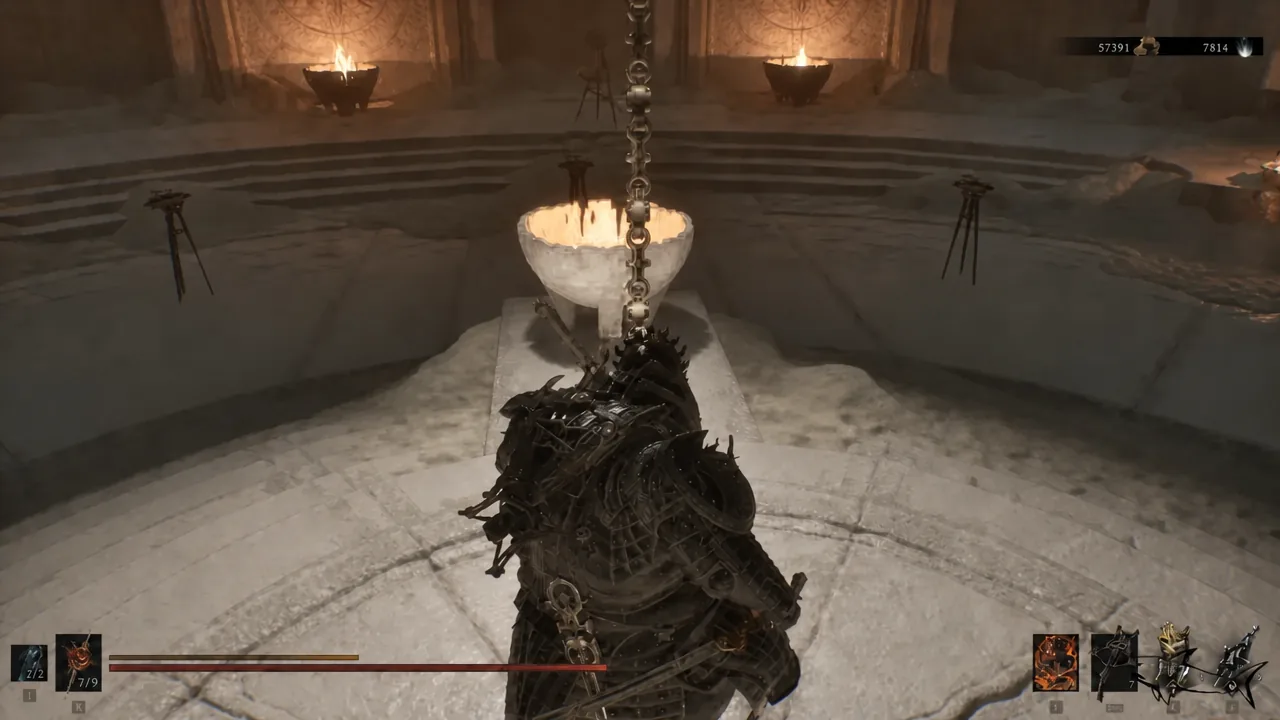
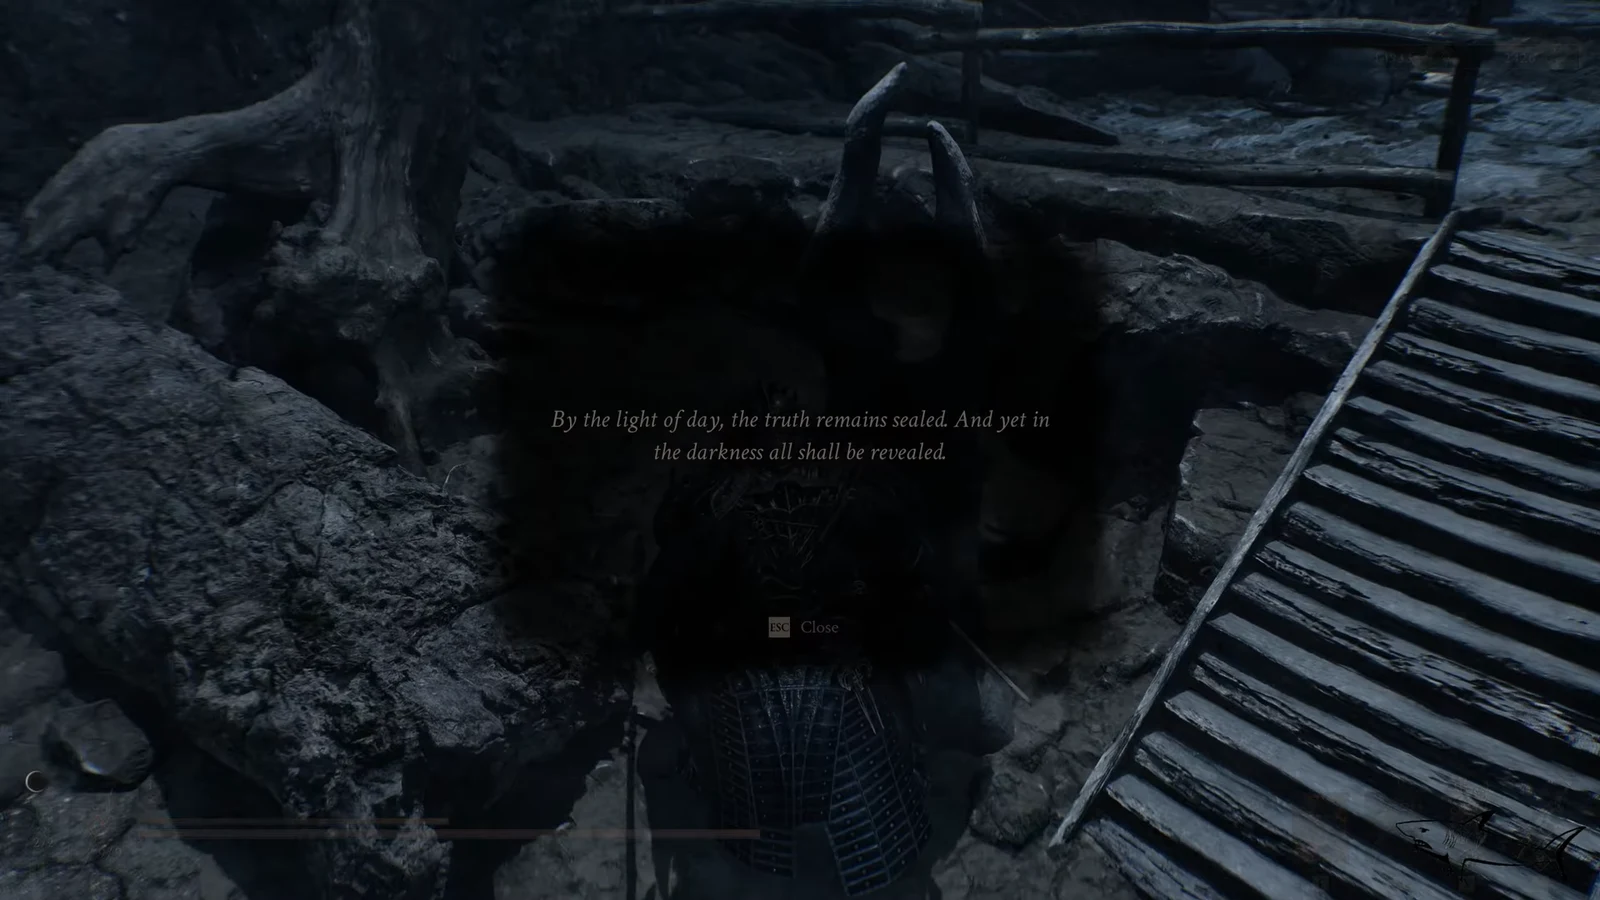
Weeping Stone location: The Collector at the Abandoned Outpost
With night active, the merchant appears near the Abandoned Outpost beacon in the Outskirts of Mammon. The stall is a short walk from the beacon itself, tucked up a set of stairs.
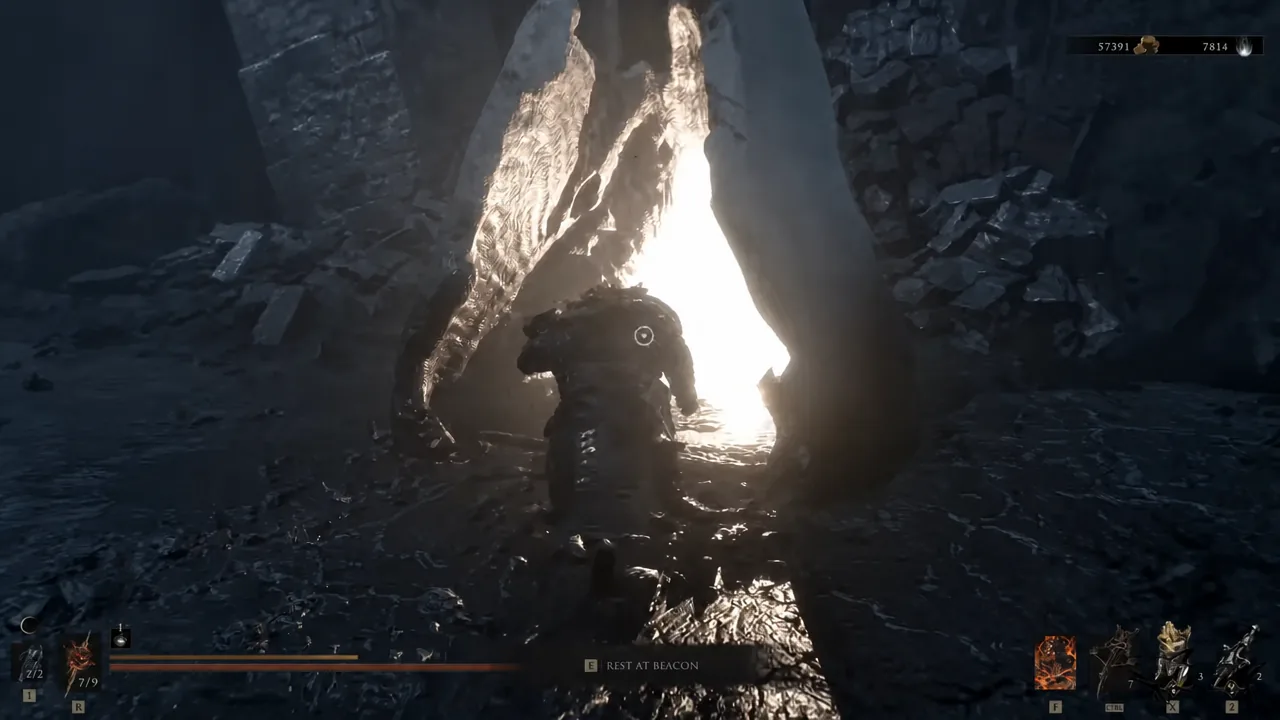
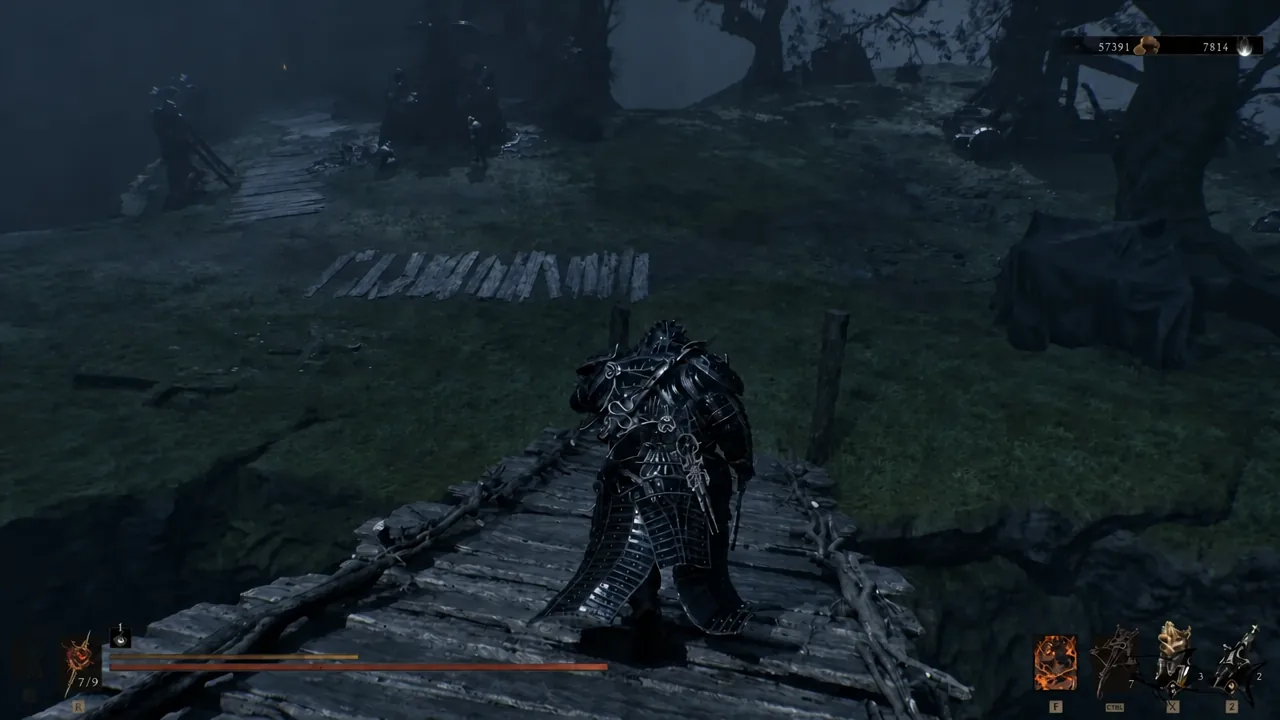
The Collector’s inventory is worth scrolling through while you are there, since several other rare Tarstones sit at the same 1,500 Coin price point.
| Item | Notes |
|---|---|
| Weeping Stone | 1,500 Coin, one in stock, Sidearm infusion |
| Fulminant Stone | Sidearm Tarstone |
| Infested Stone | Sidearm Tarstone |
| Infused Stone | Tarstone |
| Blacknarrow Key | Key item |
| Glimpse, Thoracium, Tarcore | Consumables and materials |
Weeping Stone upgrade levels and Trauma uptime
At its base level the infusion is short-lived, and every upgrade buys you more uptime rather than more damage. The final tier removes the Resolve juggling entirely by making the effect permanent.
| Tier | Effect |
|---|---|
| Base | Consume 20 Resolve to infuse your Sidearm with Trauma |
| First upgrade | Infusion lasts for 4 shots |
| Second upgrade | Infusion lasts for 8 shots |
| Third upgrade | Infusion is permanent |
Note: some level numbering in the game counts the base effect as Level 1, so the permanent tier can show up as either Level 3 or Level 4 depending on where you are reading it. The progression of effects is the same either way.
How to upgrade the Weeping Stone at the Tarforge
Tarstone upgrades are not available at the Tarforge by default. You have to unlock that option first, and the key is a quest item called the Etching Needle.
Why the Weeping Stone or The Collector may not appear
There are only a handful of reasons this goes wrong, and all of them are easy to check before you make the trip.
- The world is still in its day state — the stall will be empty until you summon the night through Thestus.
- You have not obtained the Gloombound Flame yet, so the night option is not available to you.
- You are under 1,500 Coin, since the stone has a fixed price and no cheaper alternative.
- The Tarforge shows no upgrade option because Franz has not received the Etching Needle.
- The stone gained no experience because it was sitting in your inventory instead of equipped.
Confirmation that everything worked is straightforward. After the purchase, the Weeping Stone shows up in the Tarstones menu at Level 1 with an XP bar attached, and once equipped to your Sidearm the Trauma effect appears on enemies as ticking Break damage after you infuse. If enemies are taking hits but no Trauma is building, the infusion has either run out of shots or was never triggered while aiming.





