Moving in the Shadows Walkthrough in Stalker 2 Cost of Hope
Every objective from the Sultansk briefing to the SIRCAA exit, including the centrifuge puzzle and Karma's PDA.
Every objective from the Sultansk briefing to the SIRCAA exit, including the centrifuge puzzle and Karma’s PDA.
by AllThingsHow Staff
Moving in the Shadows kicks off the second half of Cost of Hope, and it drops you straight back into SIRCAA — this time as a flooded, half-collapsed ruin full of anomalies, mutants, and mercenaries. It is less a firefight and more a traversal puzzle with guns, and the centrifuge section in the middle is where most runs stall out.
Quick answer: After Distant Mirage, wait four in-game hours, meet Zulu and Mavka at Sultansk, then take a Guide to SIRCAA. Follow the glow sticks to the bandits, shoot the blue spheres to open doors and retract the centrifuge platforms, press the red button to lower the centrifuge, kill Karma and loot his PDA, talk to Suslov and Mavka, then fight your way back to the wall gap you entered through.
What triggers Moving in the Shadows
The mission starts on its own once Distant Mirage wraps up and the Duty and Freedom situation boils over. Zulu radios in and asks you to meet him at Sultansk.
If the call does not come, it is almost always a timing issue. Players who jumped in through the Advanced Start option need to let four in-game hours pass before the transmission fires, and sleeping at a hub is the fastest way to burn through them. Staying away from Sultansk itself while that timer runs also helps — the game wants distance from the hub, roughly 500 meters or more, before it hands you the next thread.
Use a Guide at any hub to fast-travel to the Sultansk base in Zaton. Paying for the ride is far quicker than walking, and you will be spending your ammo elsewhere.
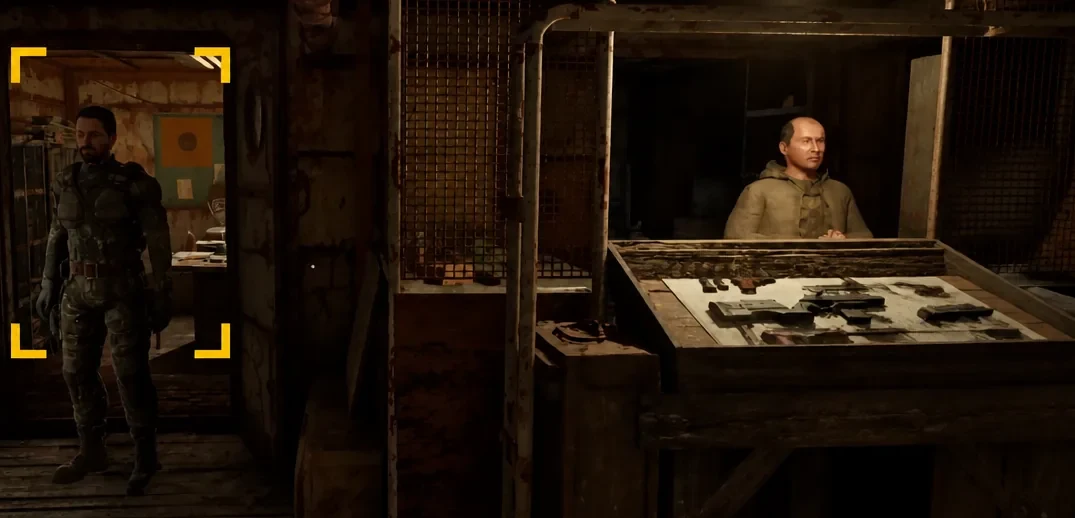
Head upstairs inside the base and turn right. Zulu and Mavka are waiting near Owl’s shop, so restock here if you are short on medkits — you will want at least two spare.
The meeting spot sits just past the trader counter upstairs at Sultansk. (Image: GSC Game World)
Work through the conversation with the prompts “What did you find out about the mercs?”, “What do I need to do?”, “Sounds like a plan.”, and finally “[Guide] Sure.” That last option books you a ride to SIRCAA’s entrance.
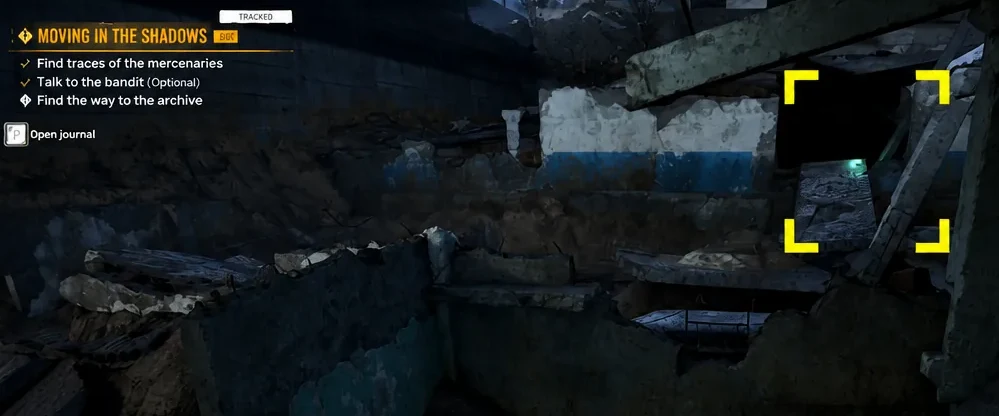
Push toward the objective marker until you spot a cluster of floating rocks. These act as breadcrumbs — follow them from one cluster to the next and keep bearing right.
The trail of floating debris leads through a collapsed opening deeper into SIRCAA. (Image: GSC Game World)
An Armored Elk ambushes you along this stretch, usually with a couple of weaker mutants in tow. Fight it from a doorway or behind rubble so it cannot line up a charge, and clear the smaller mutants first.
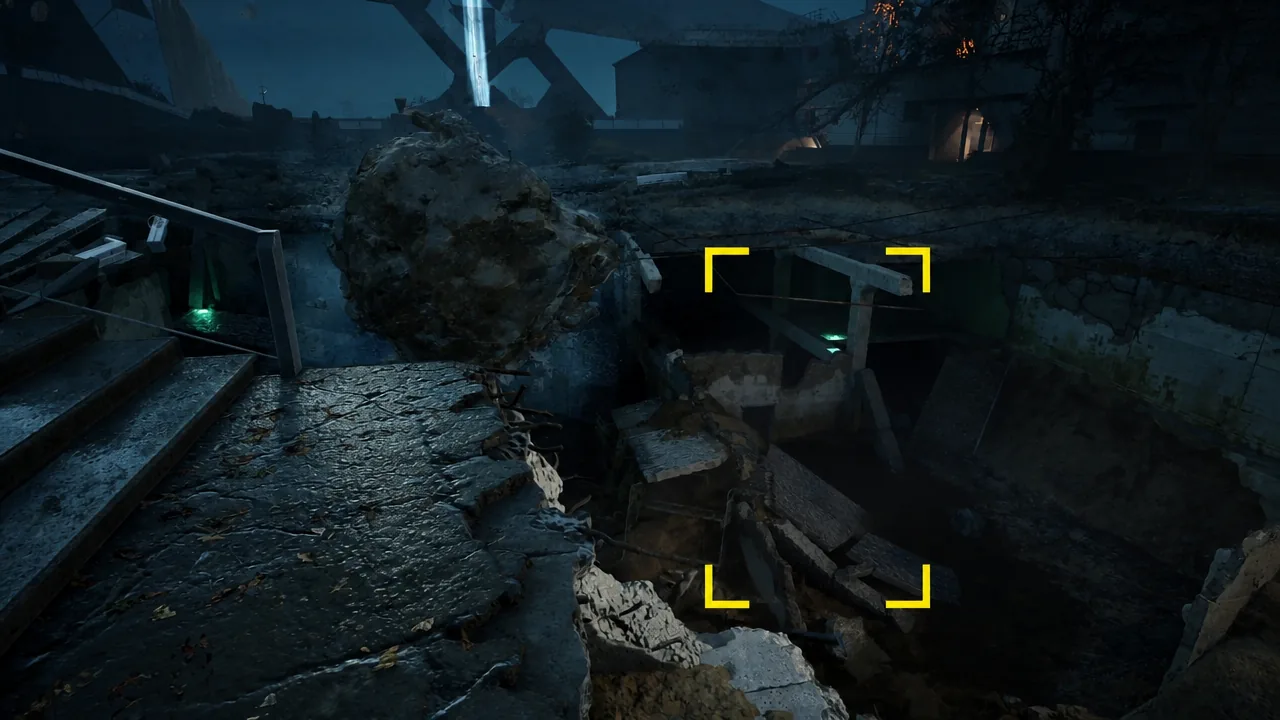
Continue into the destroyed section where a giant floating bubble of water drifts around. When the walkway runs out, drop to the level below and use the platforms to follow the glow sticks scattered on the ground.
Where the path collapses, drop off the broken ledge instead of looking for a way around. (Image: GSC Game World)
The bubble roams the area and periodically sucks the standing water off the floor. Move only during those gaps. Touching the bubble or stepping into the water kills you outright, no matter how much armor you are wearing.
Talk to the bandits holed up nearby to learn what they know about the mercs. Handing them two medkits completes an optional objective, so pack them beforehand if you want it.
Keep tracking the glow sticks and wait for the floor to clear of water before each move. Use the crates to hop the gaps until you reach a section lit with red lights and blocked by a locked door.
Stand to the left of the door and shoot the two blue spheres in quick succession. Both have to be hit within the same short window or the door stays shut and the spheres reset.
Go through the door and climb into the circular vent. Before you drop out the far end, deal with the Rat mutants waiting underneath — landing in the middle of them is a fast way to lose a chunk of health.
Turn right, take the stairs, and keep climbing until you hear growling. Open the white door, follow the glow sticks, and a Bloodsucker jumps you. Keep your back to a wall so it cannot cloak and flank.
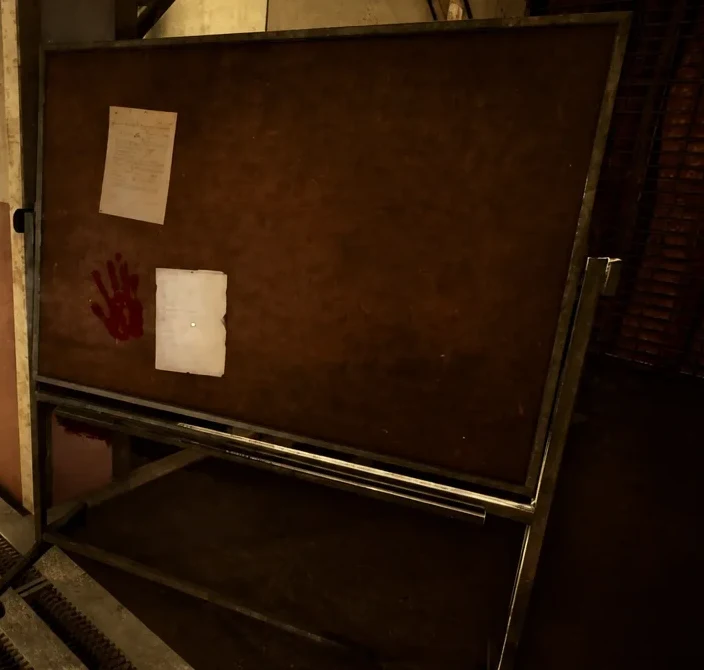
With it dead, carry on deeper into the building past a scientist’s corpse until you reach a control room. Grab the note pinned to the board — it explains how the centrifuge is powered up.
The note on the control room board spells out the centrifuge startup procedure. (Image: GSC Game World)
How to turn on the centrifuge and reach the lower levels
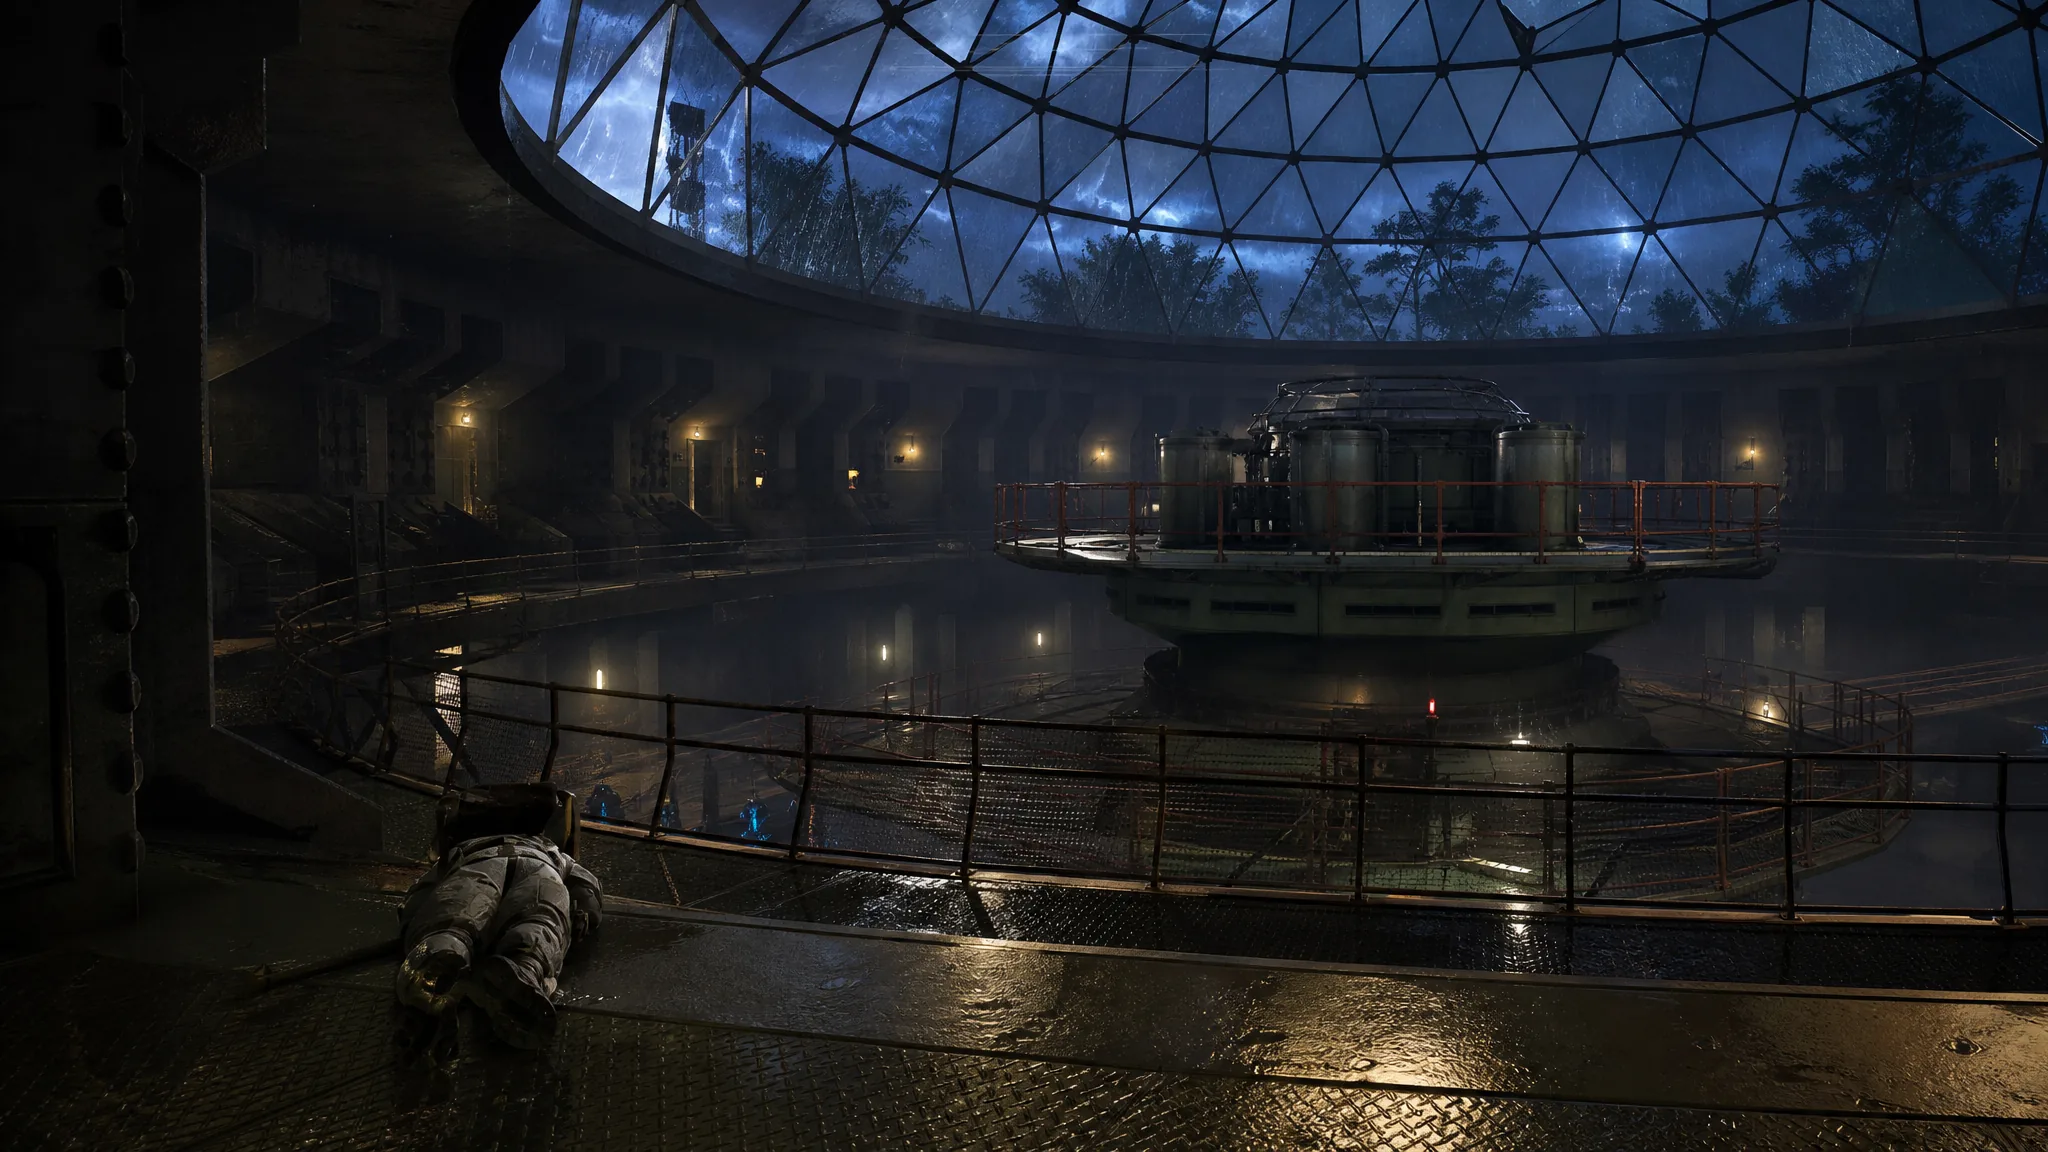
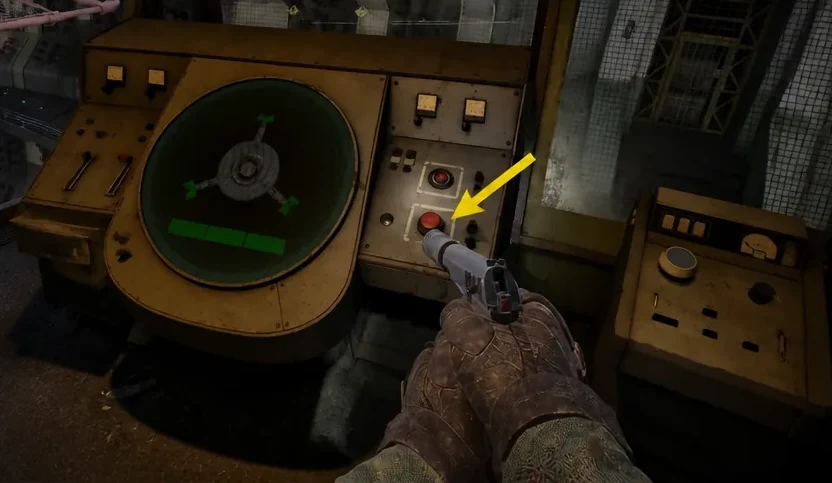
The centrifuge chamber is enormous, which makes it look more complicated than it is. The whole task boils down to two things: retract three platforms so the centrifuge can move, then switch it on so it descends and gives you a path down.
Flip the three levers spaced around the structure. One can be pulled by hand; the other two are locked until you shoot the blue spheres attached to them, so line the shots up before you commit.
Ride it down, then use the surrounding platforms to reach the bottom of the chamber. Enter the chamber below, climb the stairs, and cross the platforms on the right to find the elevator. Another red button sends it down.
At the bottom, go left to a staircase. An anomaly guards it, so sprint up without stopping, duck into the broken part of the wall at the top, then drop down to the right and crawl through the vents. That puts you at the archive.
A cutscene plays, then the archive fills with mercenaries. Use the shelving and crates as cover and pick them off one at a time rather than pushing into the open floor.
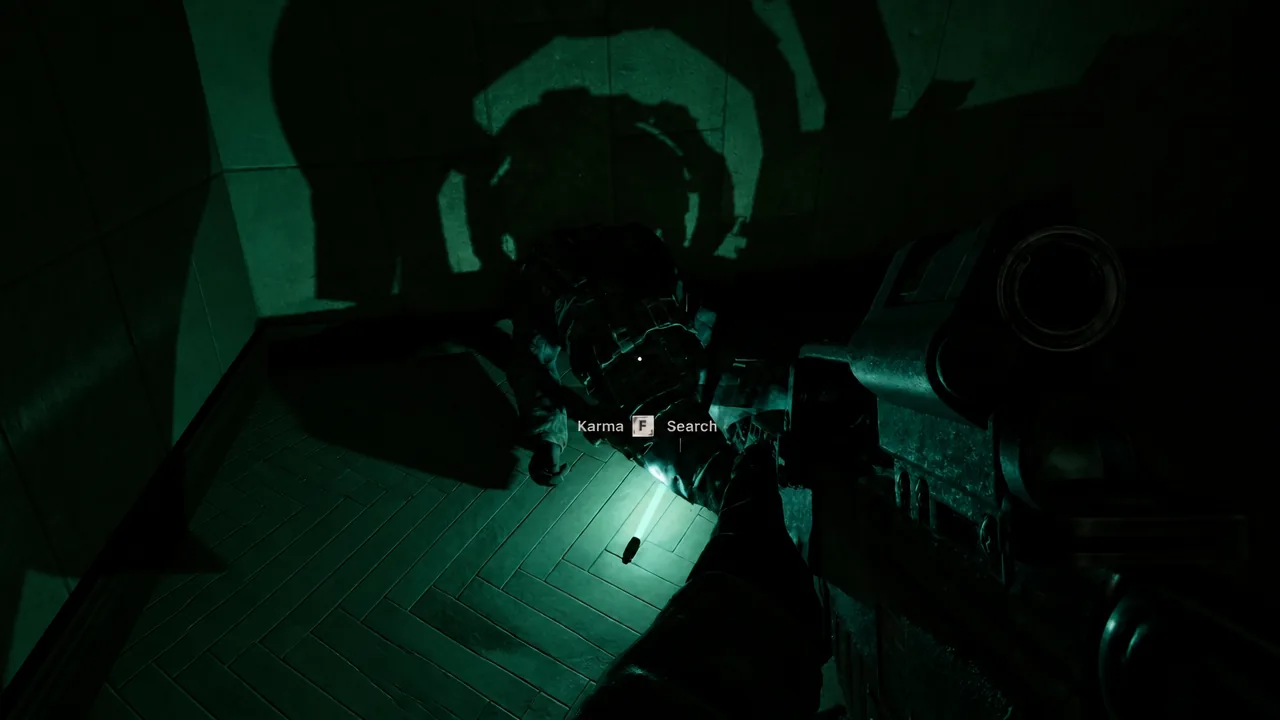
Find Karma’s body once the room is quiet. Where he lands depends on where you killed him, so sweep the area — the glow sticks on the floor make a decent reference. Search him and take Karma’s PDA to tick off the objective.
The search prompt over Karma’s body is what hands you the PDA. (Image: GSC Game World)
Follow the glow sticks to the stairs beside Karma and go up to floor 2. Suslov, the hostage, is waiting ahead — talk to him and let the conversation finish.
Past Suslov, take the broken stairs to floor 3, cross to the other side, and climb the ladder to floor 4. Jump the gap, follow the last glow stick, and speak to Mavka, choosing “[Karma’s PDA] Take a look at this.”
How to leave SIRCAA
The exit route sends you back up the outside of the centrifuge shaft, and this is the trickiest stretch of the mission. Rotating platforms sweep the walkways and mercenaries shoot down at you from above.
From Mavka, walk forward and turn left to a glow stick on the ground. Go through the grey door with red handles, then through the white door, and exit toward the centrifuge.
Head right toward the glow stick and take the right-hand stairs up. Mop up any remaining gunmen from range, then turn left toward the glow stick sitting at the edge of the walkway.
Time a jump onto the rotating platform, ride it across the gap, and hop back onto the outer ring where the next glow stick is waiting. Take the stairs there to the level above.
On this level, wait for two yellow platforms to sweep past, then sprint to the next cover on the left. Repeat that pattern — wait, run, take cover — until you spot the marking for floor -3, then climb the stairs on the left.
Follow the balcony to its end, turn left, climb down the ladder, and go through the door on the left. Clear whatever is left, then head to the objective marker and slip back out through the same wall gap you used on the way in.
Hazards to watch for in SIRCAA
Hazard
How to handle it
Floating water bubble
Instant death on contact, and so is the standing water. Wait for it to drain the floor, then move.
Armored Elk
Fight from cover or a doorway so it cannot charge you down.
Bloodsucker
Keep a wall behind you and watch for the cloak shimmer.
Stairwell anomaly (bottom level)
Do not stop to fight or loot. Sprint up and duck into the broken wall.
Rotating platforms
Let two yellow platforms pass, then run to the next cover on the left.
You will know the mission is finished the moment you step through the wall gap you originally entered by. Zulu comes over the radio almost immediately and asks you to head to Tachenko’s memorial, which starts the next Cost of Hope quest, Shadows of the Past.