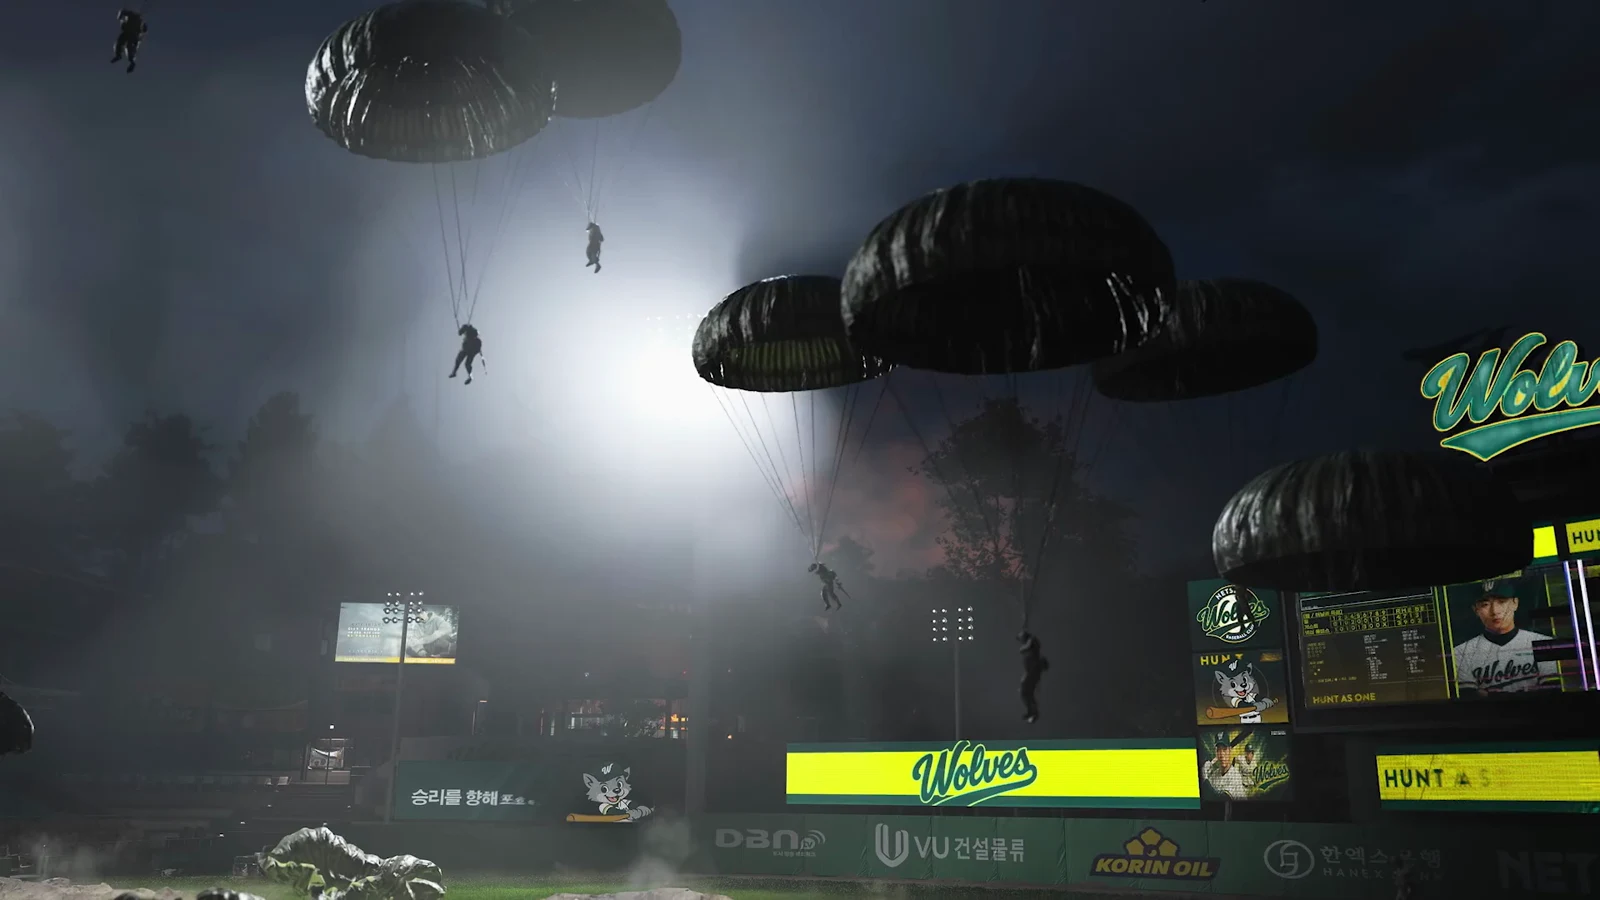
Call of Duty: Modern Warfare 4 DMZ does not open with a menu. The first time you select the mode, it plays a scripted onboarding mission called Breaking New Ground. It lasts roughly ten minutes and teaches looting, self-revives, stealth and exfil, and then it takes all of that away in a cutscene. The mission is separate from the six DMZ story missions in the Story Missions menu. You can’t pick it from a list. It simply runs once, before the rest of DMZ opens up.
Quick answer: Breaking New Ground ends in a scripted capture after the black box upload. If you see “RECRUIT AN OPERATOR” and then arrive at FOB Zulu, the mission counts as complete. It is not a failure.
Breaking New Ground setup: A drone, a dog, and Hajin
The premise is small. An ISR drone has gone down inside the DMZ, and your job is to recover its black box. You fly in under the callsign Falcon 4-3, a handler called Watcher talks you in over the radio, and a military working dog named Rex comes along. The first radio lines set the tone. Falcon 4-3 reports that it is nearing the drone’s last known position, and the operator jokes that he and Rex are ready to “go play some fetch.”
The cargo ramp opens, a crew member calls green lights in 15, and the mission begins once the light turns green.
The jump is a high-altitude HALO drop through cloud cover. A “HAJIN 하진” overlay appears on screen before you deploy the parachute over the North Korean Wilderness. During the fall, a countdown timer shows in the top-left of the HUD. Drift too far from the play space and a red “RETURN TO COMBAT AREA” banner appears.
You start with an M4 rifle and a suppressed Sang 9mm pistol. Your objective text sits on the left side of the screen under “MISSION: BREAKING NEW GROUND,” and a yellow diamond marker with a distance in meters points to the next location.
Crash site and Deadtown: What the first half teaches
After landing, you meet up with Rex on a rocky hillside, and the dog leads you down toward the wreck. The pacing here is deliberately gentle. One guard stands next to the fuselage in a stream bed, and dealing with him triggers the “Clear the Area” objective.
The operator opens the drone’s access hatch, and on PC the prompt reads [F] OPEN HATCH. The black box is missing. Watcher picks up a signal from a nearby village, and a handheld Tac Map shows the route.
An ambush follows right away. An explosion and gunfire knock you down, and the game introduces its self-revive by having you hold “Sacrifice Health to Revive” to apply a tourniquet. Rex is wounded in the same attack. You carry him off the open riverbank and set him down in foliage, and the operator promises to come back for him.
Deadtown arrives with a grim visual cue. As you walk in along the railway tracks, you pass executed bodies hanging from an overhead gantry.
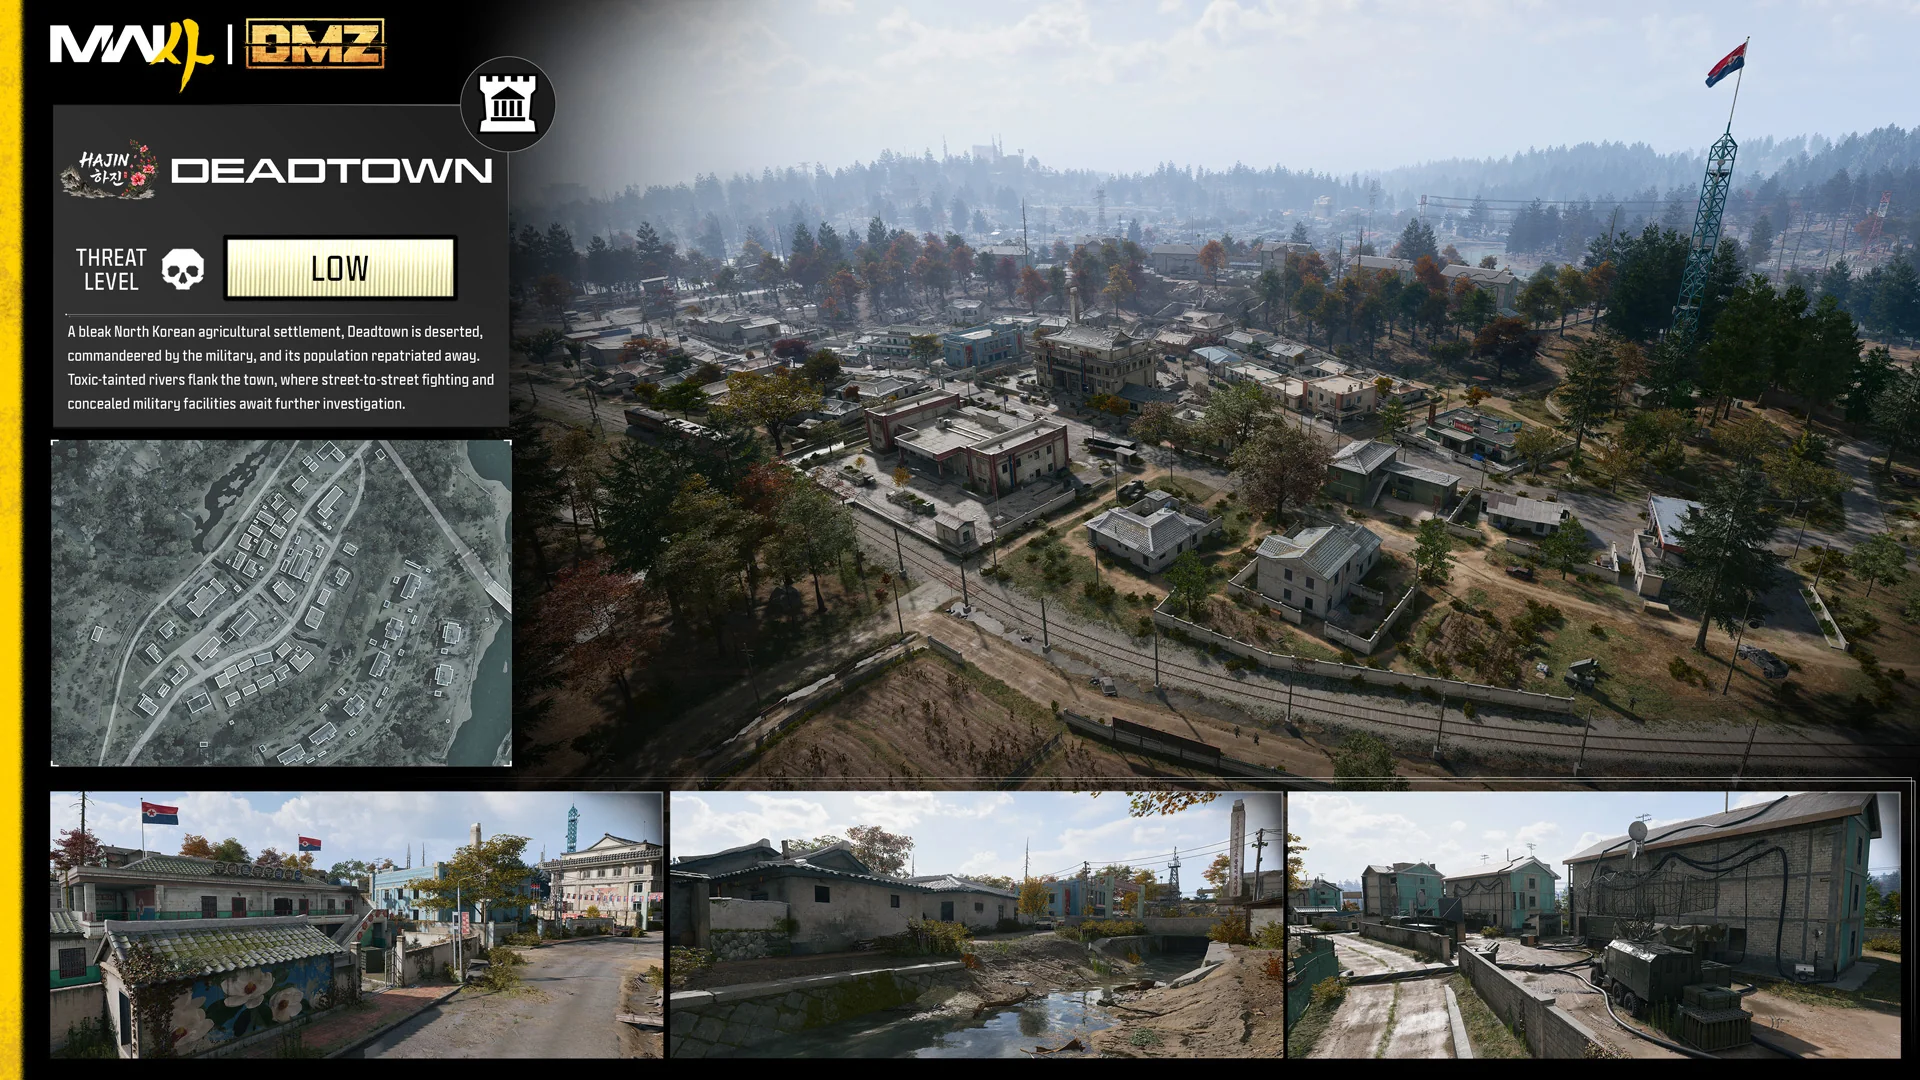
The village handles the healing and looting lessons. Inside a house, you take out a soldier sitting in front of a TV and open a green MEDICAL BAG. The Medkit inside “repairs your wound, restoring max health,” and the bag also tells you to find a bandage for a temporary patch. Other parts of the house hold Pain Killers in a bathroom cabinet, Energy Drinks in the fridge, and Armor Plates in a military bag.
From there, Deadtown is about not being seen. Patrols cover the alleys and the area around the town square. The route involves a lot of crouching in bushes and climbing over compound walls rather than fighting.
The final village objective has you climb onto a tiled rooftop and use the spotting view, which includes zoom and thermal. From that roof you can see the guarded Re-education Facility across the bridge and the canal entrance below it.
Re-education Facility: Canal entry and the black box upload
The intended route skips the bridge. You drop into the water underneath it and follow drainage tunnels into the compound. Inside the culvert lie dead soldiers, and one of them carries a Dog Tag. It shows both the victim, Rim Jong-gil, and the killer, Han Man-su.
Brick sewer pipes bring you up into the facility basement. A guard in a tiled interrogation room goes down quietly, and military lockers and caches along the corridors contain Throwing Knives and other loot.
The stolen drone parts are in a server room, connected to a desktop PC that shows Korean text. The prompt is [F] BEGIN THE UPLOAD. A drive goes into the machine, and an on-screen loading bar counts from 14 percent up to 100. An alarm starts once the upload finishes. You grab a shotgun and armor, then use a door breacher charge when “USE DOOR BREACHER CHARGE TO BREAKDOWN DOOR” appears on a barricaded door. After that comes a fight through a prison cellblock and up toward the surface.
The facility corridors are narrow, and several guards hold them, so taking it room by room works better than charging ahead.
Breaking New Ground objectives by area
The HUD lists the mission’s objectives in a fixed order across three areas. A short “Find Rex” prompt can also appear right after landing, before “Follow Rex.”
| Area | HUD objectives |
|---|---|
| North Korean Wilderness | Follow Rex, Clear the Area, Search Drone, Use a Tourniquet, Move Rex To Safety |
| Deadtown | Head into the Village and Look for Medical, Find and Use a Medkit, Head Towards the Signal, Find a Vantage Spot to Scout |
| Re-education Facility | Sneak into the Canal, Infiltrate the Re-education Facility, Find the Drone Black Box, Access the Black Box, Get to Exfil |
Loot in the DMZ tutorial mission
The tutorial works as a quick tour of DMZ item types: consumables, armor, lethals and valuables. Values for a few items, including the Medkit, vary, so they aren’t listed here.
| Item | Type | Effect or note |
|---|---|---|
| MEDKIT | Consumable | Repairs wound, restores max health |
| PAIN KILLERS | Consumable | Faster health regen, temporary max health |
| ENERGY DRINK | Consumable | Infinite Stamina |
| ARMOR PLATE | Armor | Protection against ballistic damage |
| THROWING KNIFE | Lethal | Retrievable, lethal to unarmored and head |
| 3-Plate vest | Plate Carrier | Three armor plate slots |
| Ballistic Flight Logs | Valuable | Found in a Deadtown house |
| SANCTIONED ASSASSINATION LIST | Valuable | Facility military locker |
| W.M.D. MANIFEST | Valuable | Facility military bag |
| Dog Tag | Collectible | Taken from bodies in the canal |
Pain Killers also reduce visual damage effects. The armor vest found during the escape appears under two names, 3-PLATE ARMOR VEST and 3-PLATE BALLISTIC GEL VEST, depending on the build shown.
The Breaking New Ground ending is scripted
There’s no way to reach exfil. At the top of the stairwell, as daylight comes into view, a masked soldier tackles you down the stairs and disarms you. His mask and uniform carry the Korean text “살귀” and an “MP-0” marking. In the cutscene that follows, he checks your identity, speaks to his command, and shoots you at point-blank range, and one version ends with your body being kicked into a pit. No mission reward screen follows. That’s expected, and it doesn’t mean you did something wrong.
Next comes a narrated briefing that explains the setting. North Korea invaded Hajin, and a catastrophic nuclear meltdown followed. The fallout contaminated the tri-point border where Russia, North Korea and South Korea meet, and that zone became the new DMZ. Map overlays mark the reactor, Hajin City and experimental chemical, biological and nuclear assets. Rogue military factions, contractors and specialized hunter teams are all competing for them. The sequence closes with night-vision shots of hunter squads in a snowy forest, ending on a skull-masked figure, Ghost.
After the intro: Operator recruitment and FOB Zulu
After the cinematic, a transport helicopter drops personnel at Forward Operating Base Zulu on the DMZ perimeter. Then the game shows a gate: “RECRUIT AN OPERATOR — YOU MUST RECRUIT AN OPERATOR TO ENTER THE DMZ.” The SELECT OPERATOR roster includes Blix, Valeria, Reece and Park, organized under unit labels such as KSK Amphibious and Army SF Airborne.
Once you pick an operator, you spawn into FOB Zulu in third person, and a CIA Operator contact talks you through the base. The hub includes:
- Stash/Loadout locker, with a “Stash Unlocked” notice
- Survival Kit station offering a Deployment Kit
- 3D Printer
- Gunsmith bench
- Vendor counter
The Deployment Kit includes a 2-Plate Armor Vest, a Medium Backpack, a Fulton Drop Marker, a Weapon Insurance Contract and an Operator Rescue Beacon.
The opening of DMZ Orders page 1 at the FOB is the confirmation that onboarding is finished. It lists three orders.
| Order | Name | Task |
|---|---|---|
| 01 | GEAR UP | Equip a Weapon, a Backpack, an Armor Vest, and a Medkit from Your Stash |
| 02 | CRACKSHOT | Knock Down 3 Firing Range Targets |
| 03 | FIRST OP | Deploy to DMZ in Dynamic Ops |
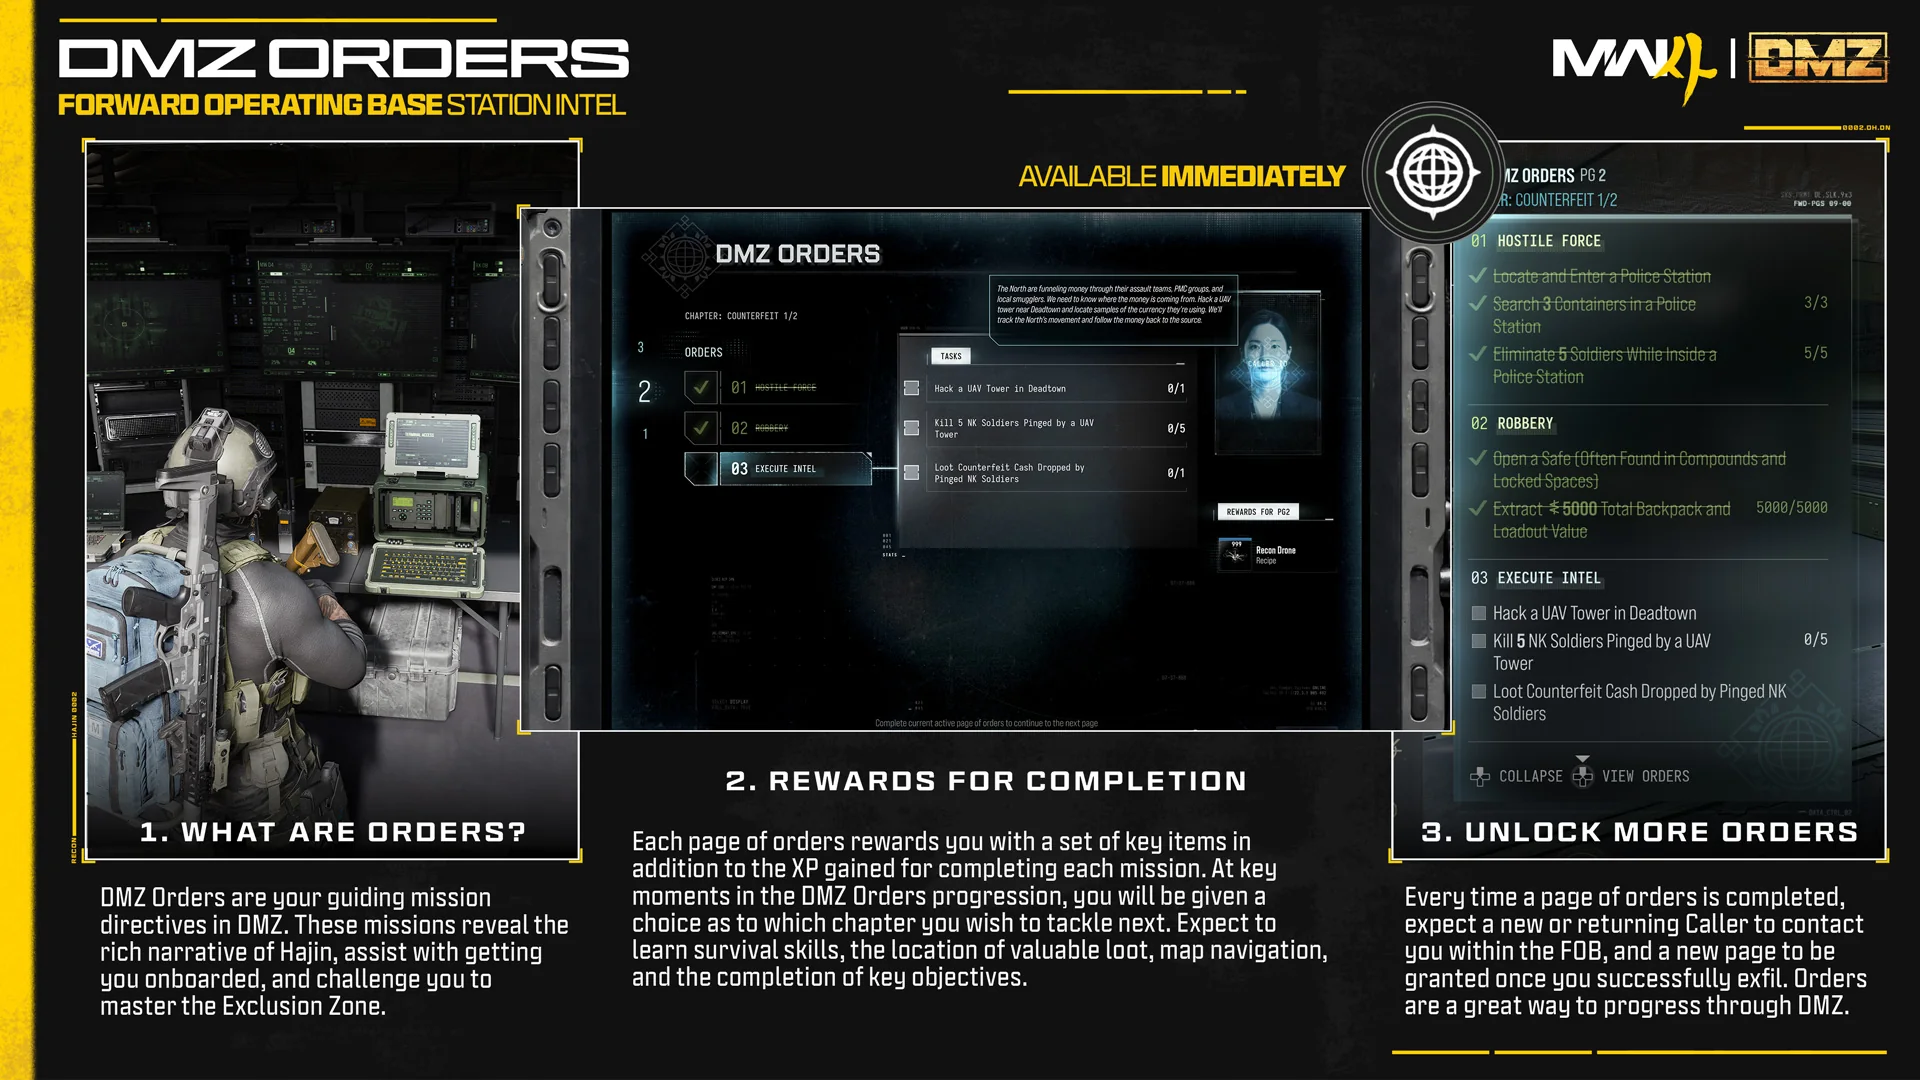
Completing all three on page 1 gives you a Medkit, a 2-Plate Armor Vest and Cash. That’s the real handoff. The tutorial leaves your first operator dead, and the FOB gives the next one a stash, a loadout and a first deployment.