Mysterious Presence is one of the trickier side quests in Aniimo because it barely tells you what to do. Objective markers point you to an area, but the actual Voxel Cube usually only appears after you solve a puzzle, ride a playground activity, or talk to the right NPC. The quest lives entirely in Astra’s Northside, running you through nine cube pickups before it opens a portal for a three-phase boss fight.
Quick answer: Use the malfunctioning sign by ChillBeanz Cafe in Astra, talk with Reno, Dr. Bohr and Nova, and pick up nine Voxel Cubes across Northside. Then enter the Holo-Lab portal and defeat the Voxelic Panpanta, Geoclaw and Stellarys.
How to start Mysterious Presence in Astra
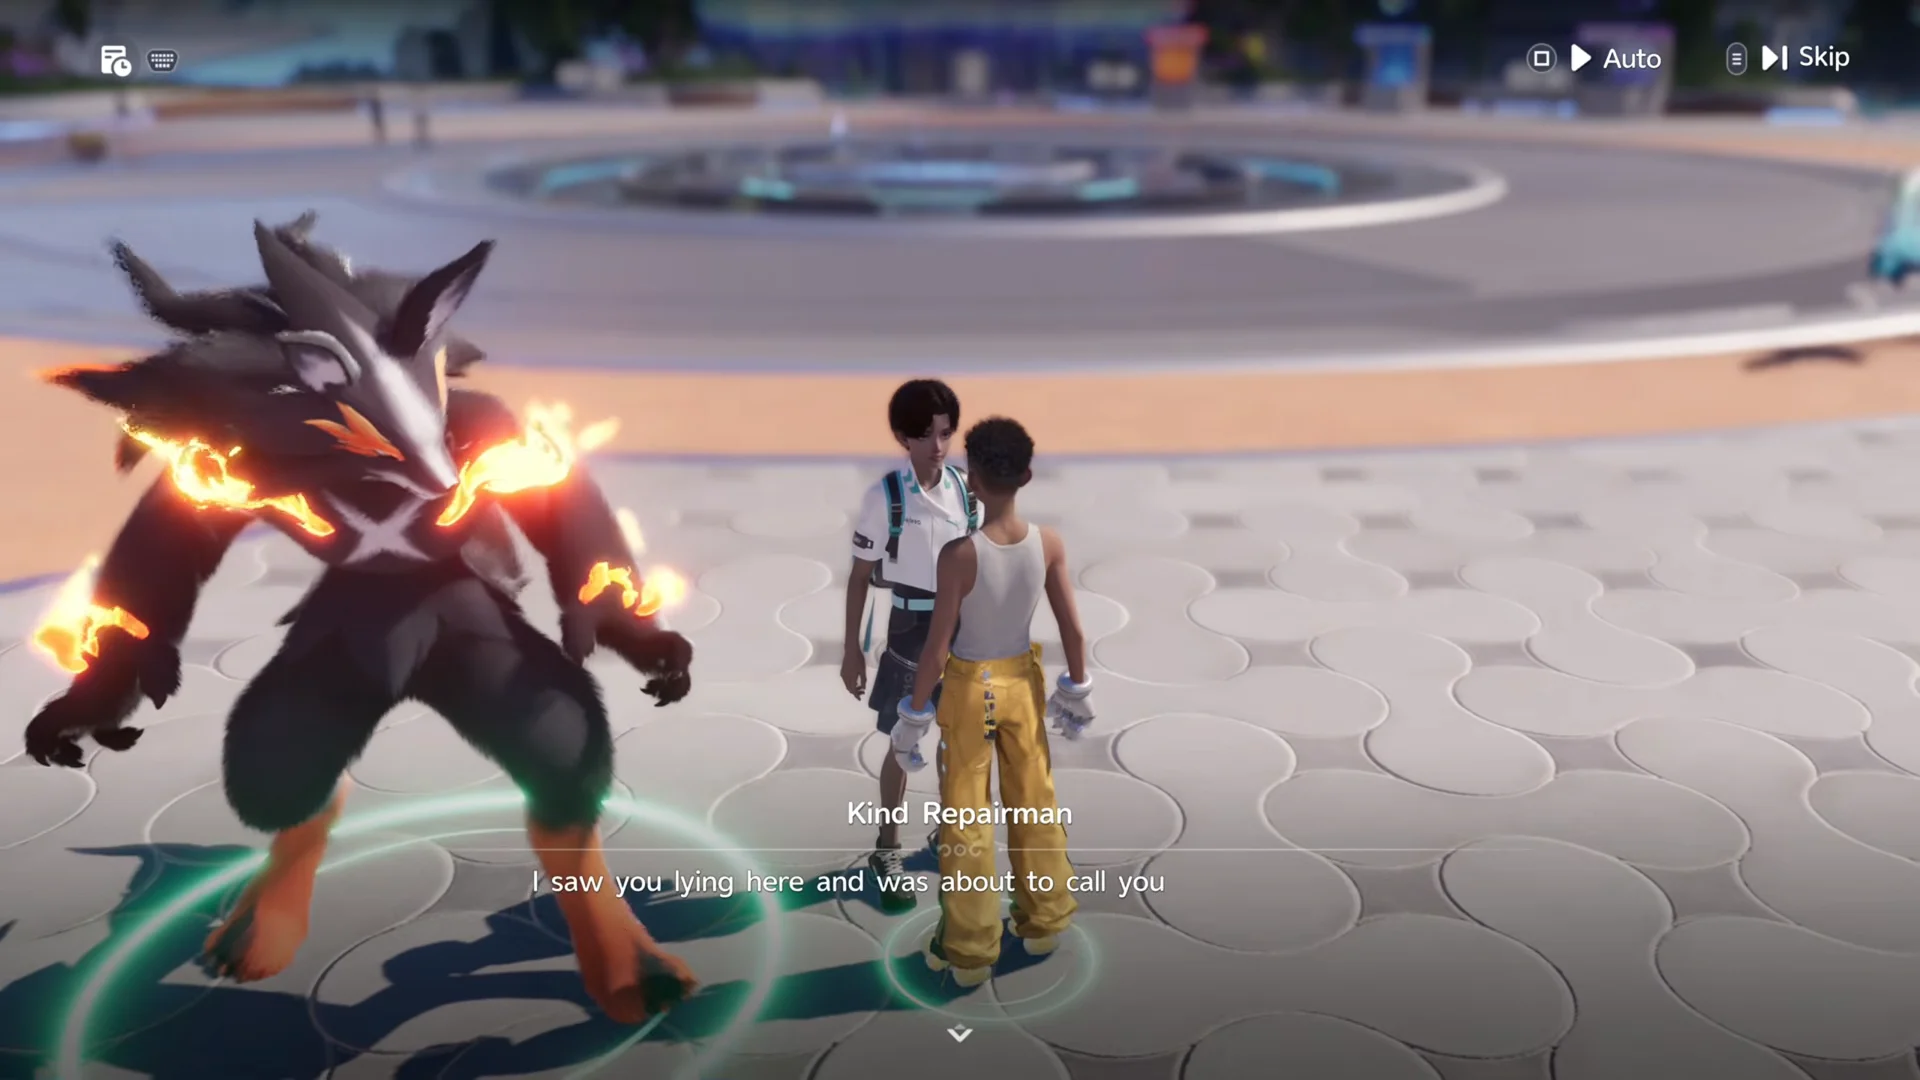
The quest has no level requirement and no prerequisite side quest. The only thing you need is access to Astra. Teleport to Horizon Square, which is the city’s market district, and head to the ChillBeanz Cafe on the lower level.
All 9 Voxel Cube locations in Northside
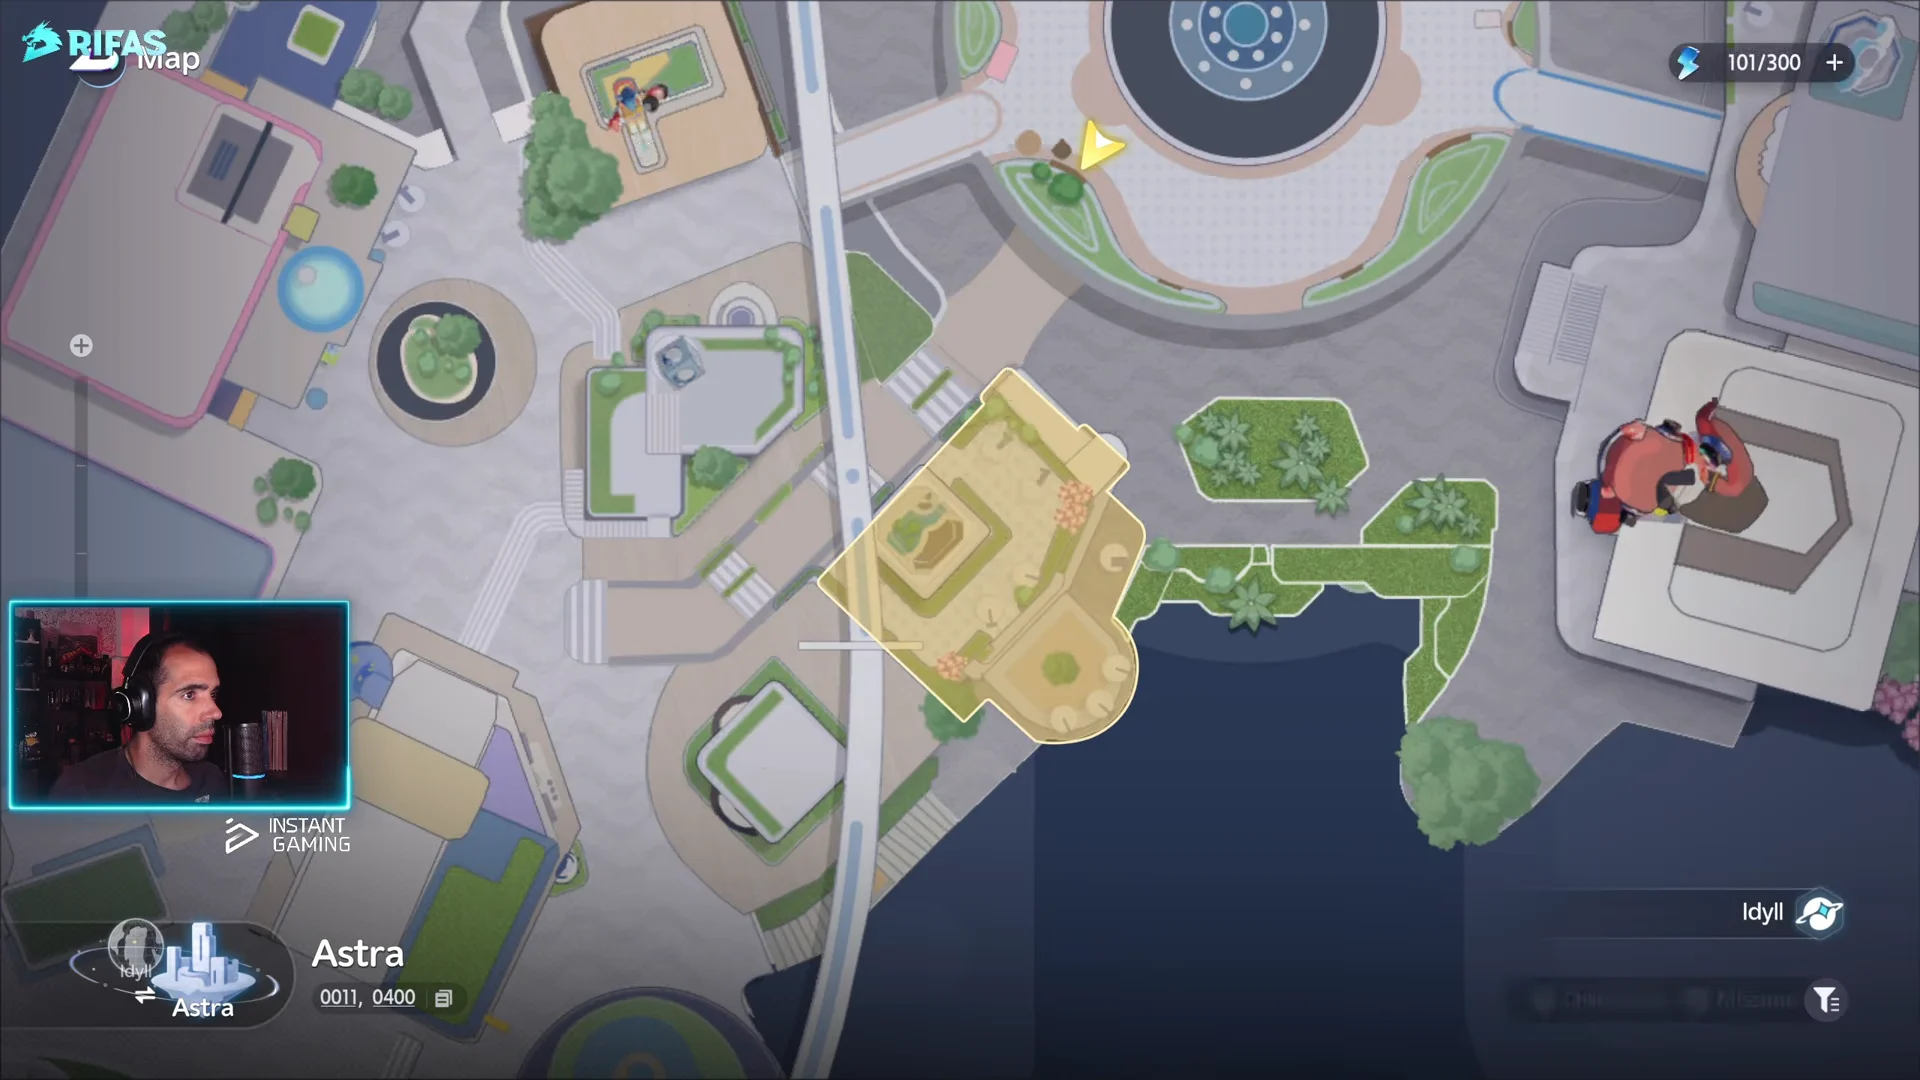
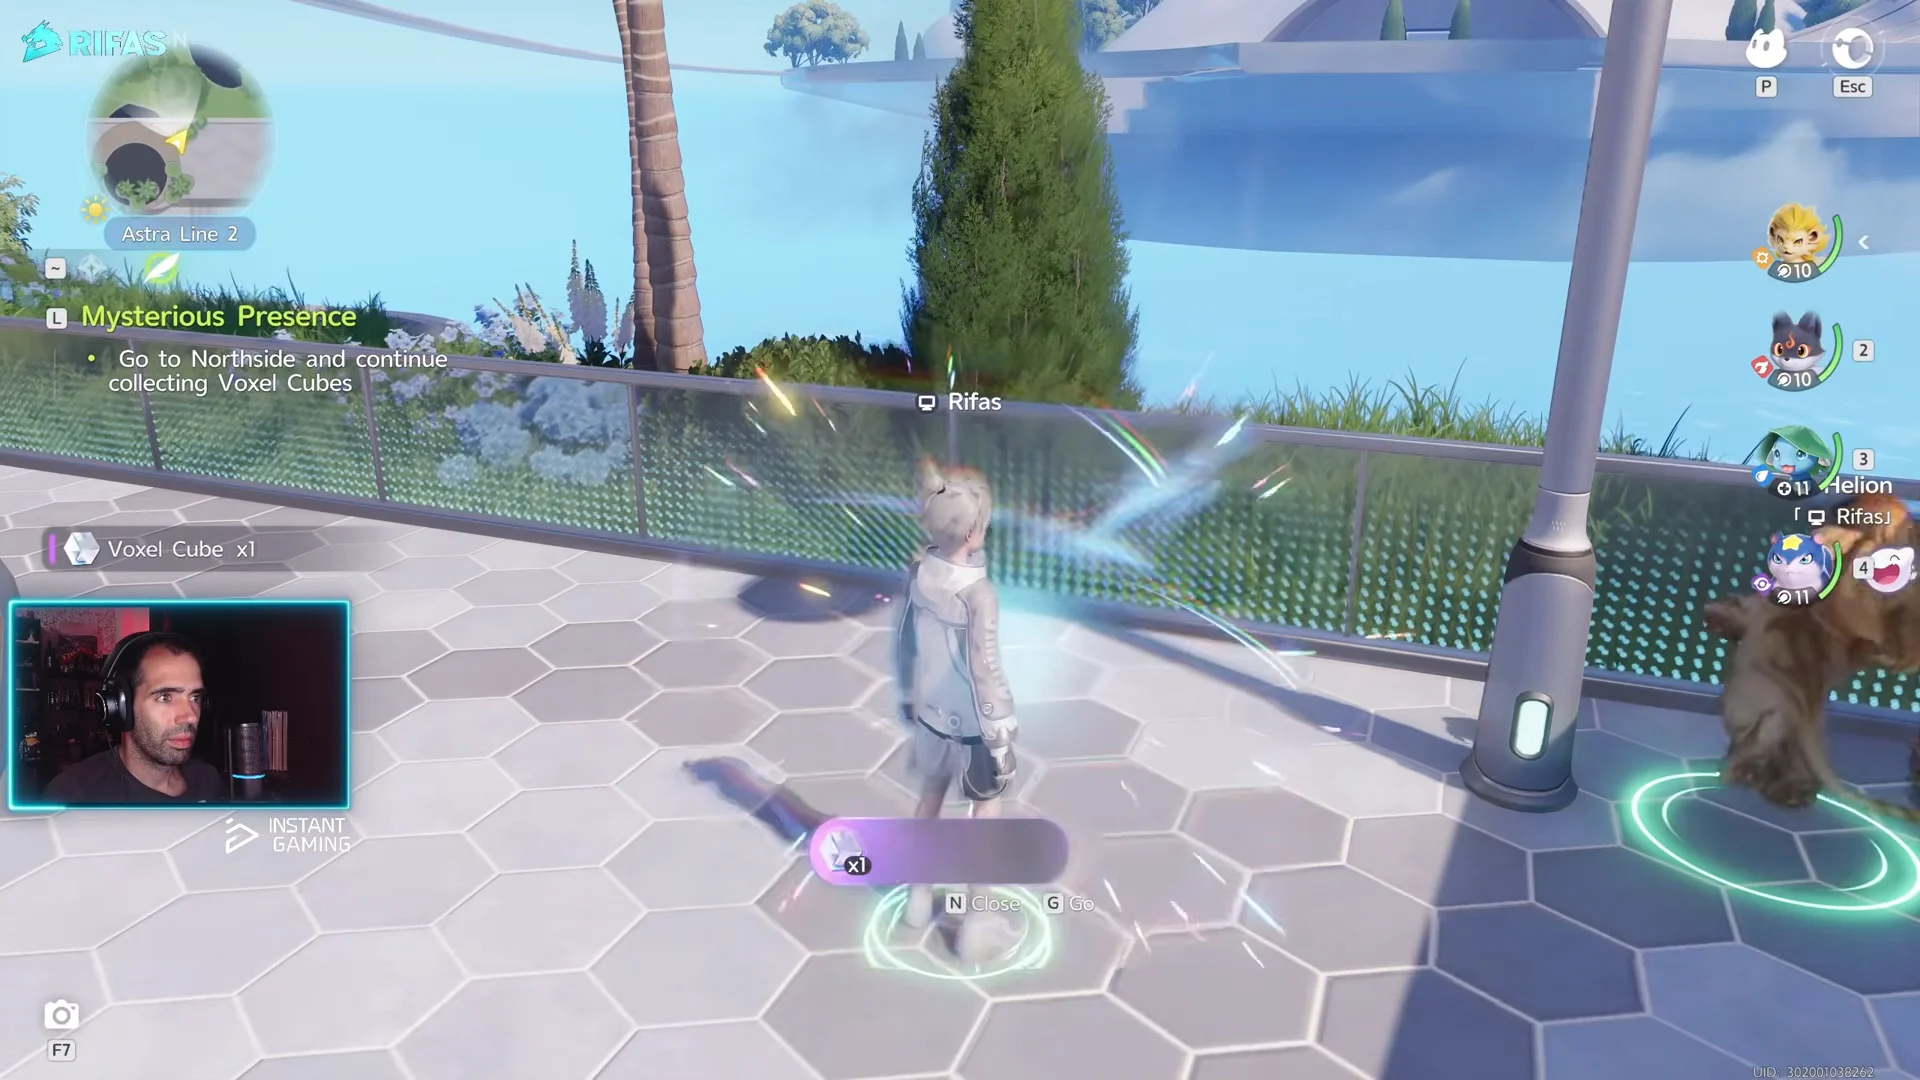
Teleport to Astra and choose Northside as your objective. At first, you must locate the glitch signs and activities without help; after you have found enough cubes, Nova begins showing the other malfunction locations on your map. You may collect the eight remaining cubes in any order.
| Cube | Location | What to do |
|---|---|---|
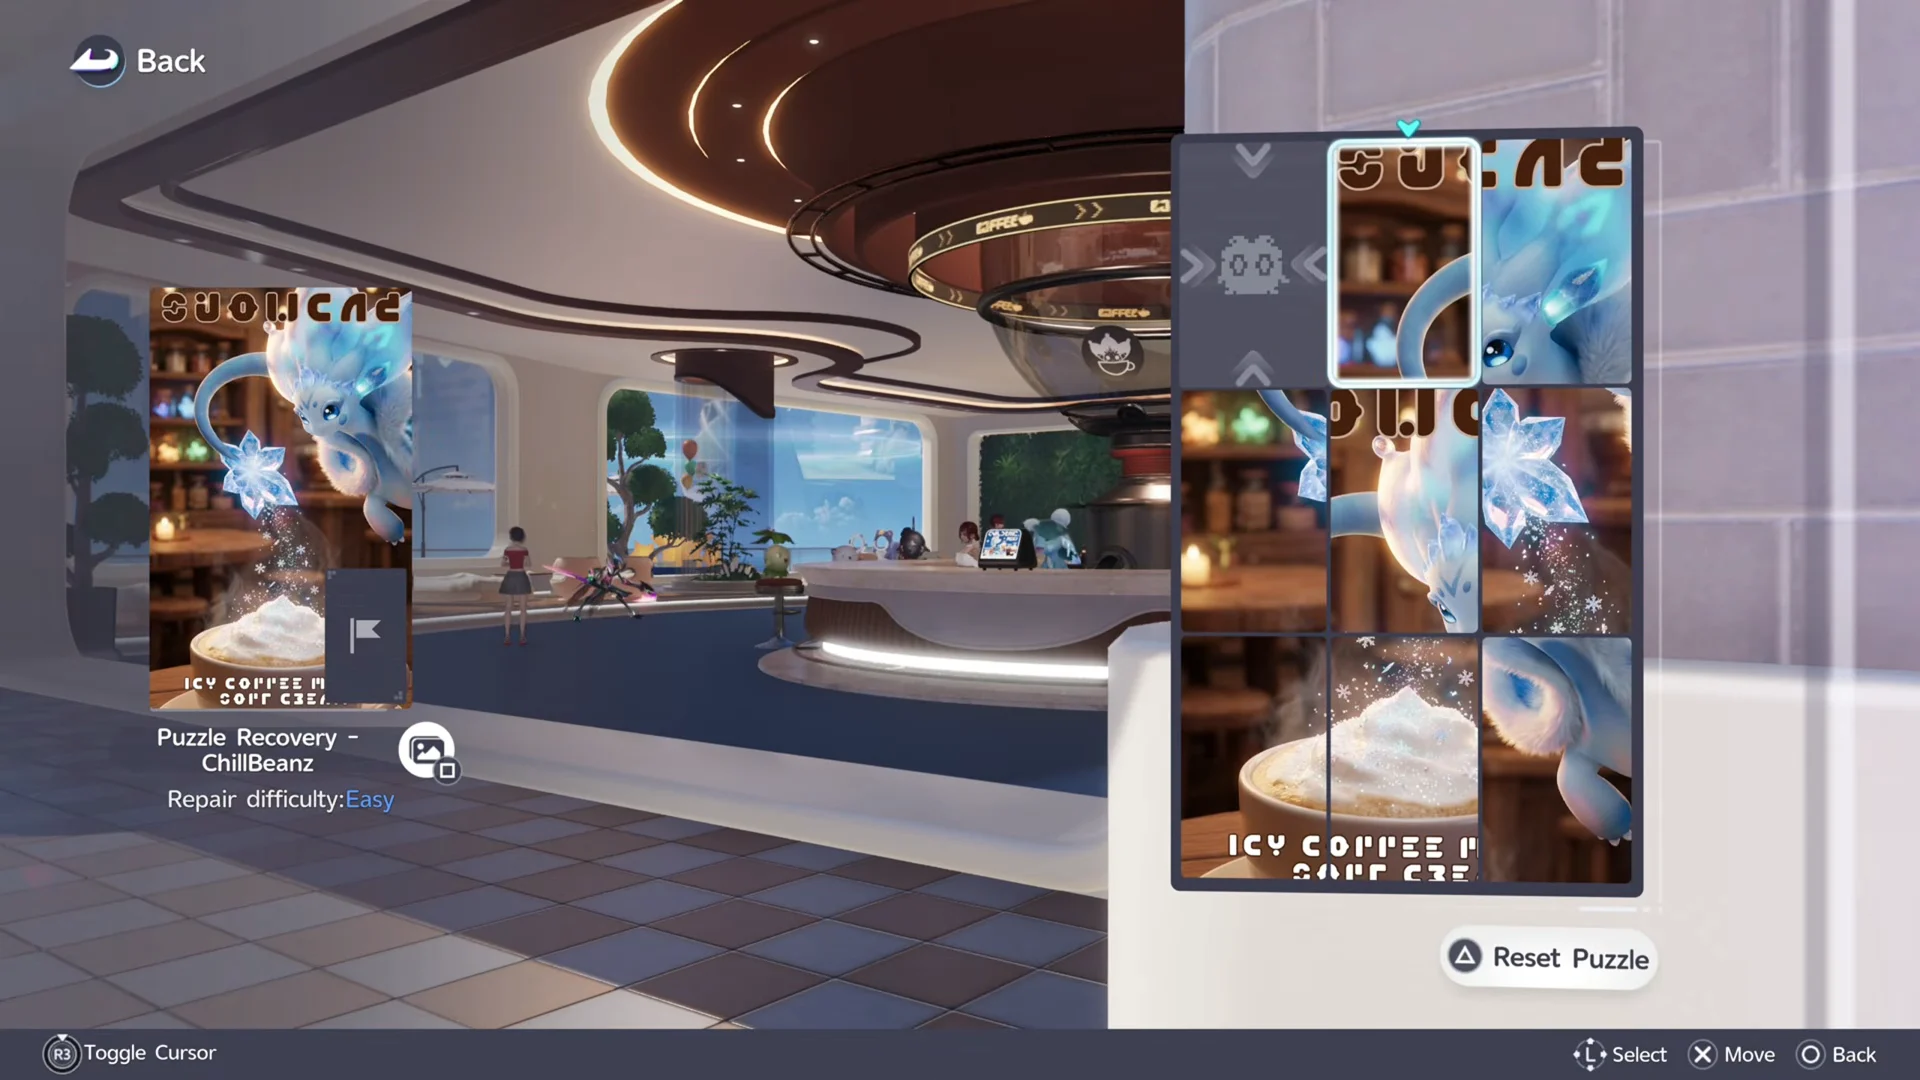
| 1 | ChillBeanz Cafe sign | Solve the sliding puzzle, then touch the anomaly cube (quest starter) |
| 2 | Mementos / Anii Apartment sign | Solve the second sliding puzzle southwest of ChillBeanz |
| 3 | Starwish Gacha sign | Solve the sliding puzzle on Chill Street |
| 4 | Super Claw rooftop | Speak to Jiff, then investigate the roof device |
| 5 | Seesaw, Horizon Square | Ride it and fill the meter |
| 6 | Swing near Chill Street | Build momentum and complete full rotations |
| 7 | Numbered path east of ChillBeanz | Walk the floor tiles 1 through 8 |
| 8 | Northwest overpass bridge | Walk the second numbered path in order |
| 9 | North of Horizon Square | Solve Judy’s melody puzzle |
The three glitch-sign sliding puzzles
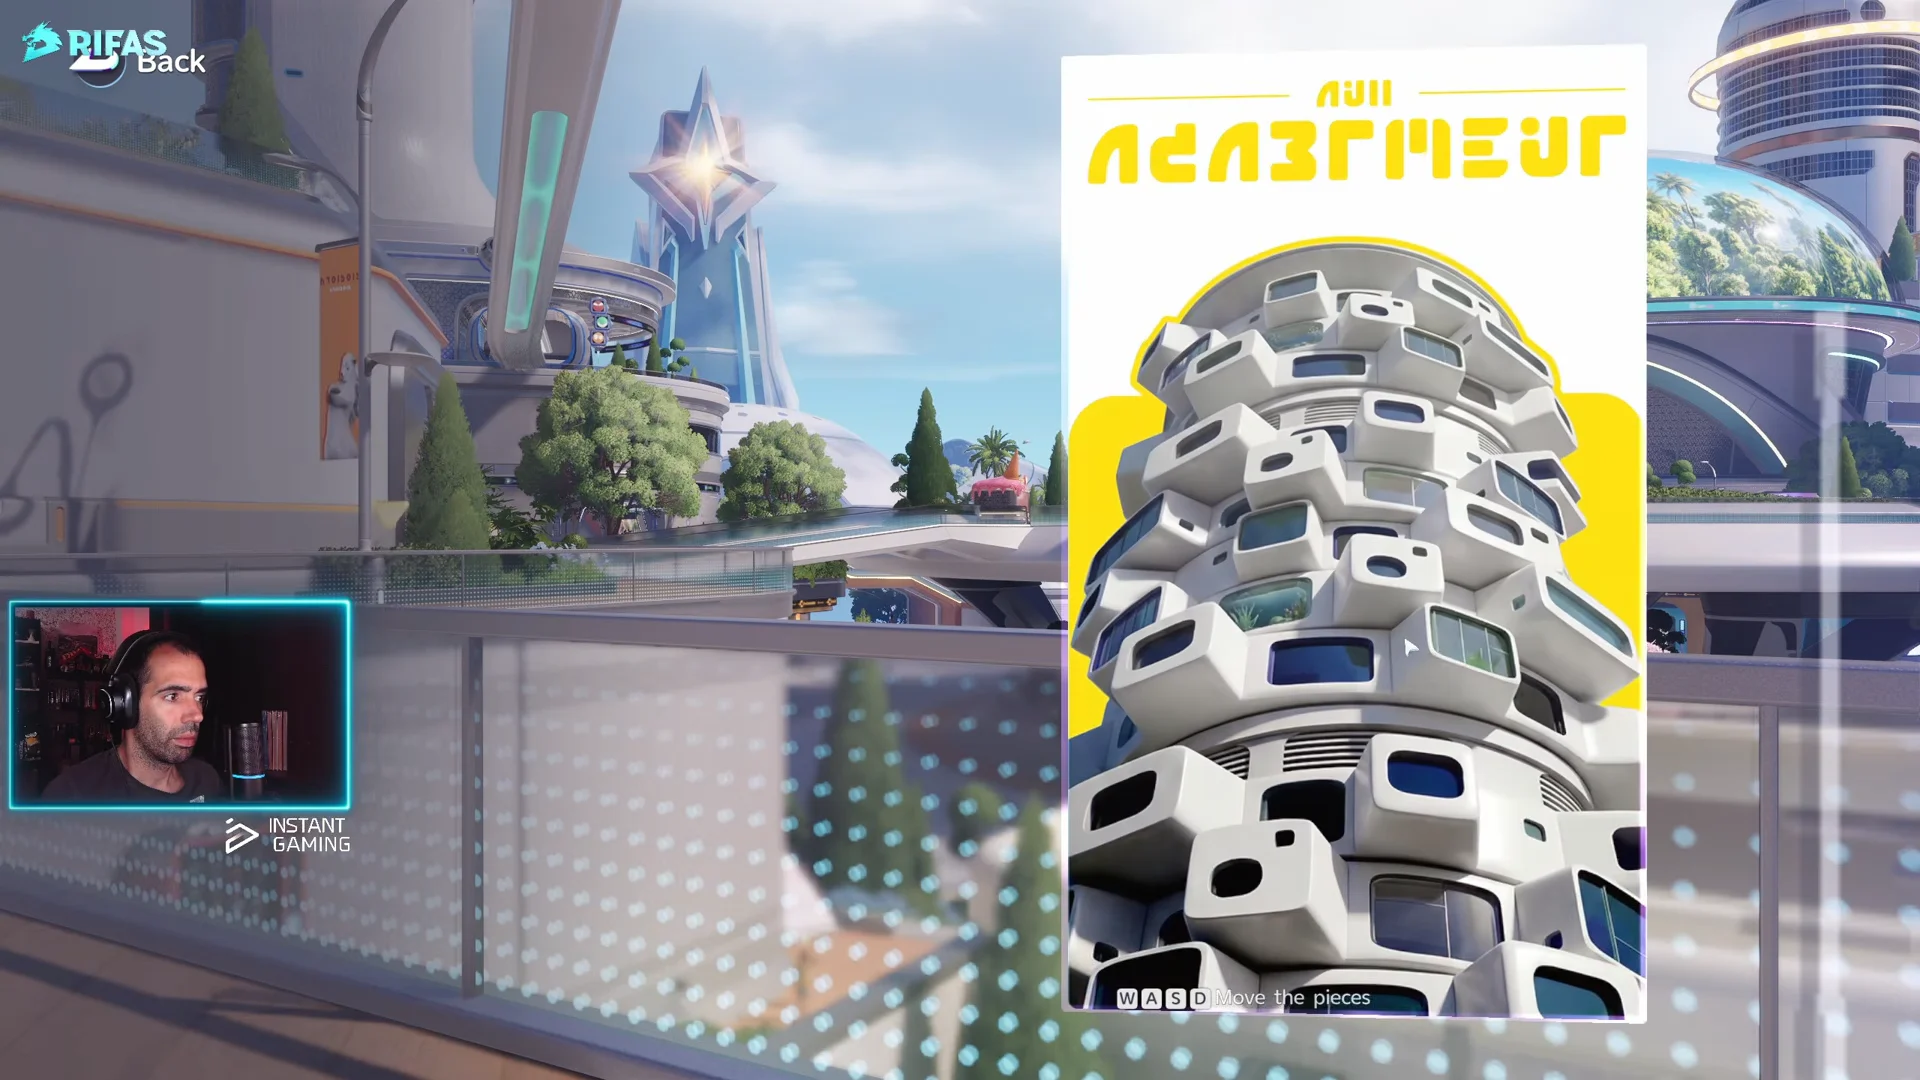
Three cubes come from broken holo-signs, and each uses the same sliding-tile system as the ChillBeanz starter. Rearrange the pieces to match the reference picture on the left of the screen. When the display is repaired, a Voxel Cube spawns nearby, so don’t walk off the moment the puzzle window closes.
The first extra sign sits southwest of ChillBeanz at the Anii Apartment / Mementos display. Turn toward the railing near the Mementos entrance to find it. The second is near the Starwish Gacha counter on Chill Street. Solve both and grab the cubes that appear.
The seesaw and the swing
Two cubes come from playground rides that use a momentum meter at the top of the screen. For the seesaw near Horizon Square, sit on it with your Aniimo and press the interact button each time your companion drops low and you swing high. Once the meter fills, a cube appears behind the ride.
The swing works the same way. Time your press for the back of each arc to build enough speed to loop all the way around. When the meter completes, the cube spawns on the platform edge nearby.
If a ride refuses to produce a cube, check the meter along the top edge. The seesaw and swing will not spawn theirs until that bar is completely full.
The two numbered floor paths
Two more cubes come from walking across a line of numbered, colored floor tiles in order. The first path runs south and east of ChillBeanz, close to the Horizon Square teleport hub. Step across the tiles from 1 through 8, hitting every one, to spawn the cube. Completing this one often triggers Nova’s call that adds markers for the rest of the malfunctions.
The second path is on the overpass bridge running northwest from the center of Horizon Square. Walk the numbers in sequence the same way to make the cube appear.
Judy’s melody puzzle north of Horizon Square
On the northern side of Horizon Square you’ll find a group of musical Aniimo. Speak to Judy, who is trying to recall a song from a dream, and offer to help. Then approach each bird in turn and pick the right line:
- Chirpi — choose “Hey.”
- Tromber — choose “Hey, hey.”
- Cornet — choose “Hey, hey, hey, hey.”
Speak with Judy once more to verify the melody. She knows it from her dreams, and a cube materializes beside a street light near Cornet. Go there and pick it up.
The Super Claw rooftop device
The last cube is part of the related side quest, Mysterious Presence – Super Claw Malfunction. Use teleport to reach Super Claw, go up the stairs, and ask shop owner Jiff about the issue; he says his customers feel watched from the roof. Leap onto the roof over his shop and activate the bright circular device. The final cube is sent onto the terrace. Collect it, report your discovery to Jiff, and Nova will call you to the lab.
The Voxelic boss fight and the Aimo Core
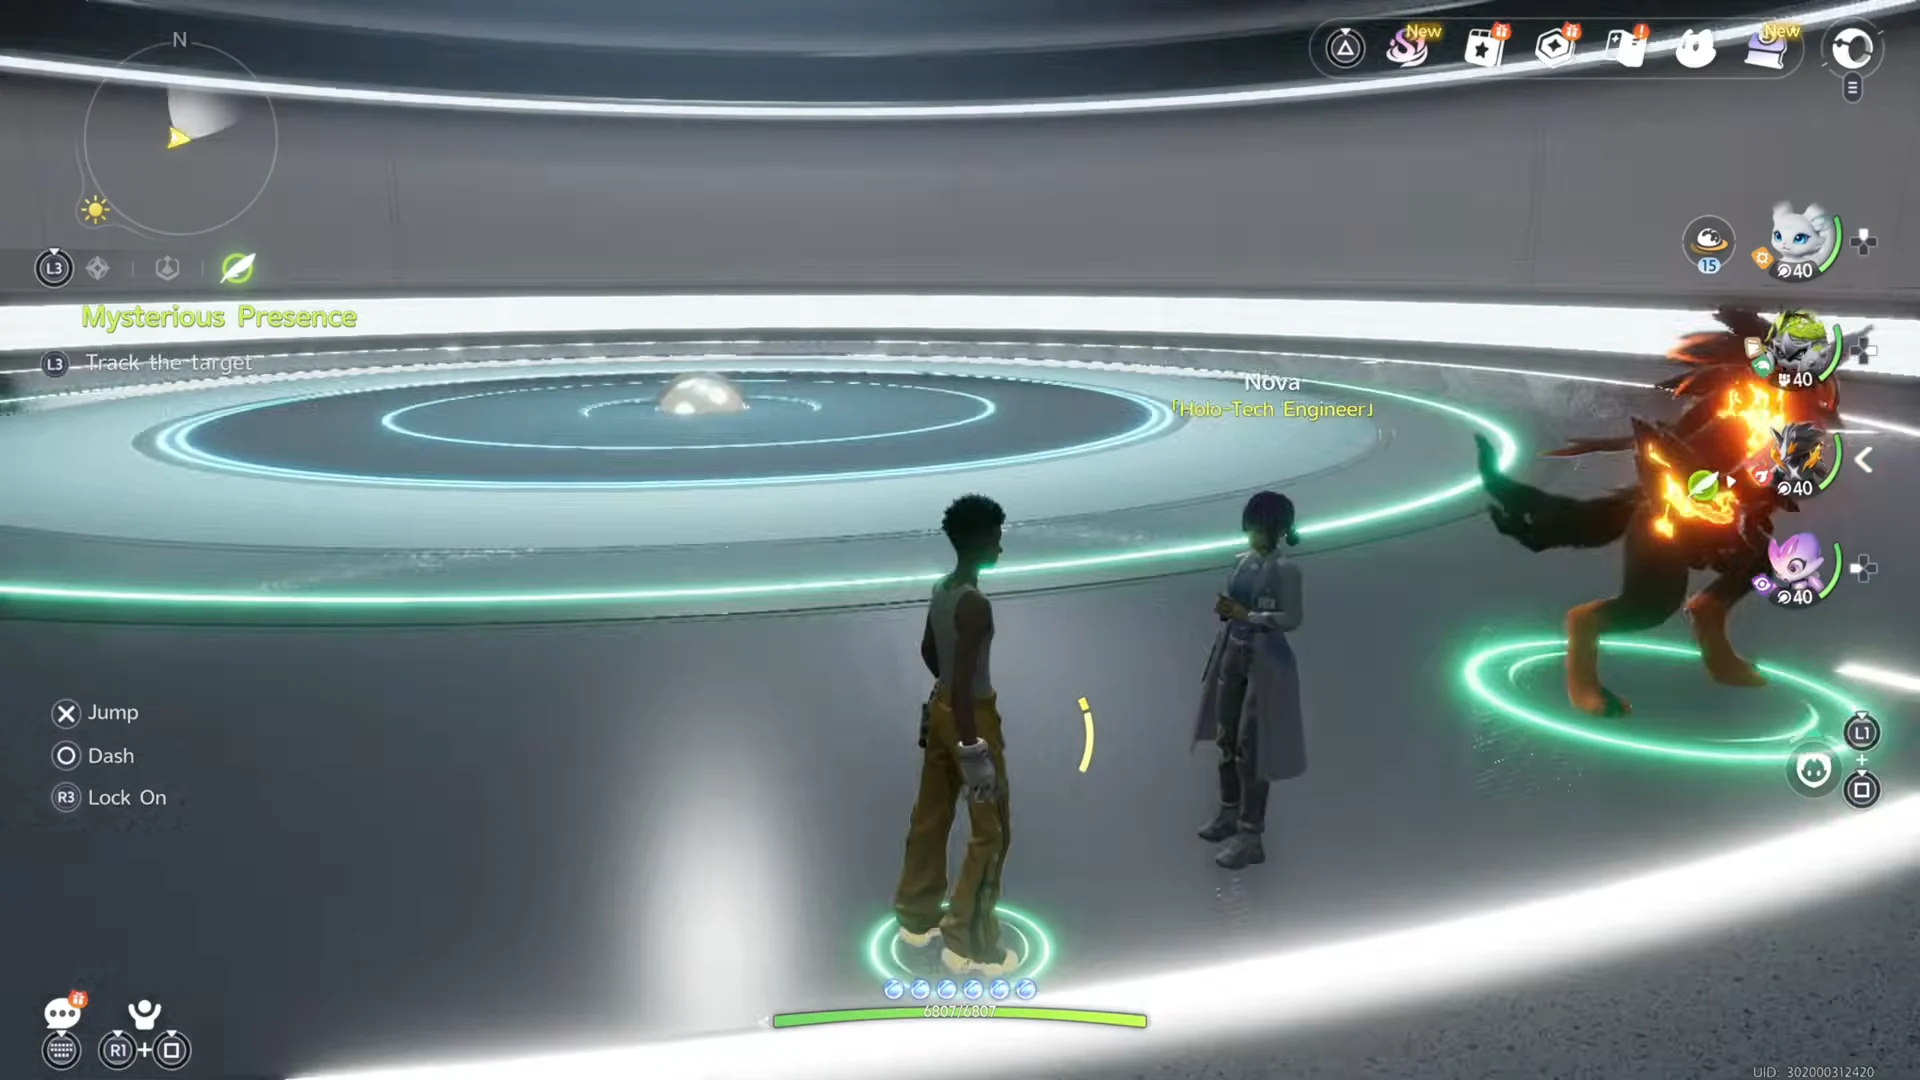
Go back to the Holo-Lab at the Polaris Institute. Inside, your collected cubes have formed a doorway portal. Speak with Nova, enter it, and wait for the conversation to finish before combat starts. The boss cycles through three forms in succession, with a different type for each, so choose a team able to handle every matchup.

| Phase | Enemy | Type |
|---|---|---|
| 1 | Voxelic Panpanta |  Water Water |
| 2 | Voxelic Geoclaw |  Ice Ice |
| 3 | Voxelic Stellarys |  Dark Dark |
When you beat one form, the boss changes into the next. Once its last form is defeated, Voxel Cubes—Data Chips in fact—are spread around the arena. Examine all nine to see pieces of the entity’s memories, then go to the Holo-Core and continue speaking with it. At the end of the conversation, you name the cube Aimo, and receive the Aimo Core in your inventory.
Final debriefs and rewards
Defeating the boss does not end the quest; a brief set of follow-up talks remains, with each location shown on your map. First discuss the events with Nova in the Holo-Lab. Next, go into the Polaris Institute hallway and give Professor Bohr your report. For the last stop, visit the Principal’s Office and talk to Professor Oswen.
Speak to Oswen to finish Mysterious Presence and receive the rewards. Completion is indicated by the objective marker disappearing and the quest vanishing from your tracker. Should it remain listed after the boss battle, continue through the outstanding conversation markers instead of treating that as a registration failure.
| Reward | Amount |
|---|---|
 Voxel Coin Voxel Coin | 200 |
| Glimmer | 50 |
| Credit | 60,000 |
| Safaris | 1,000 |
As well as those rewards, the boss encounter grants the Aimo Core, the keepsake many players want. You can obtain it only after finding all the Voxel Cubes and defeating each of the three Voxelic forms; completing the entire nine-cube search is unavoidable.