

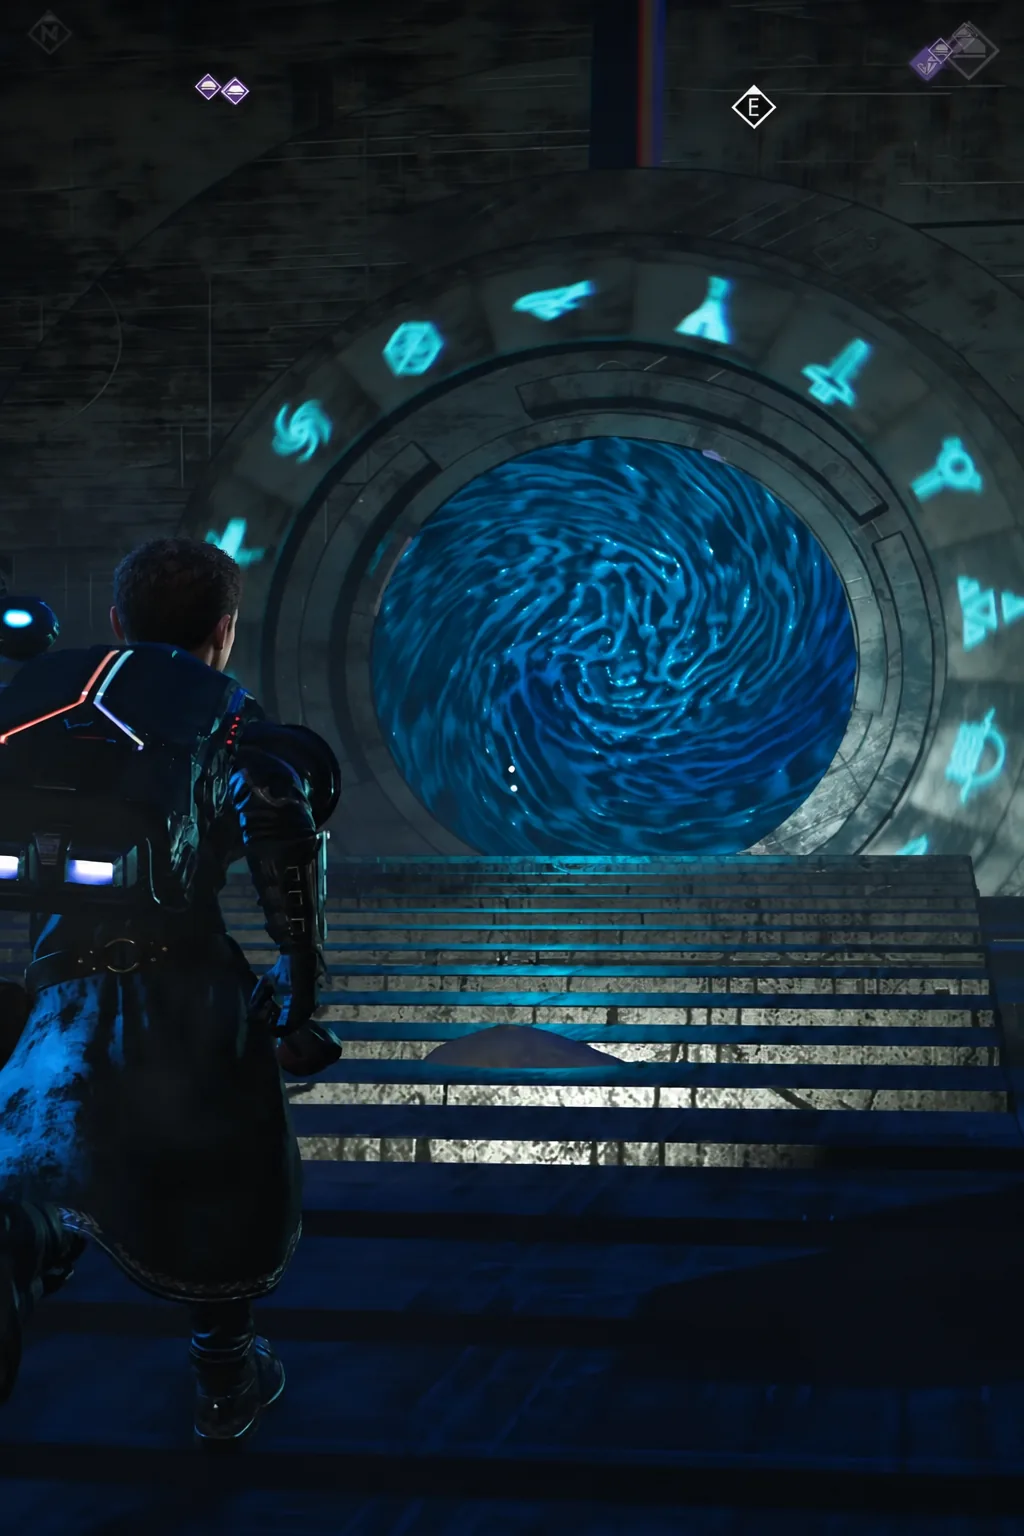
Portal Glyphs are the 16 symbols that turn a planet’s portal from a dead ring of stone into a galaxy-wide fast travel network. Dial a 12-symbol address and you step out on the exact planet that address belongs to, anywhere in your current galaxy. Until you own all 16 symbols, most of those destinations stay out of reach.
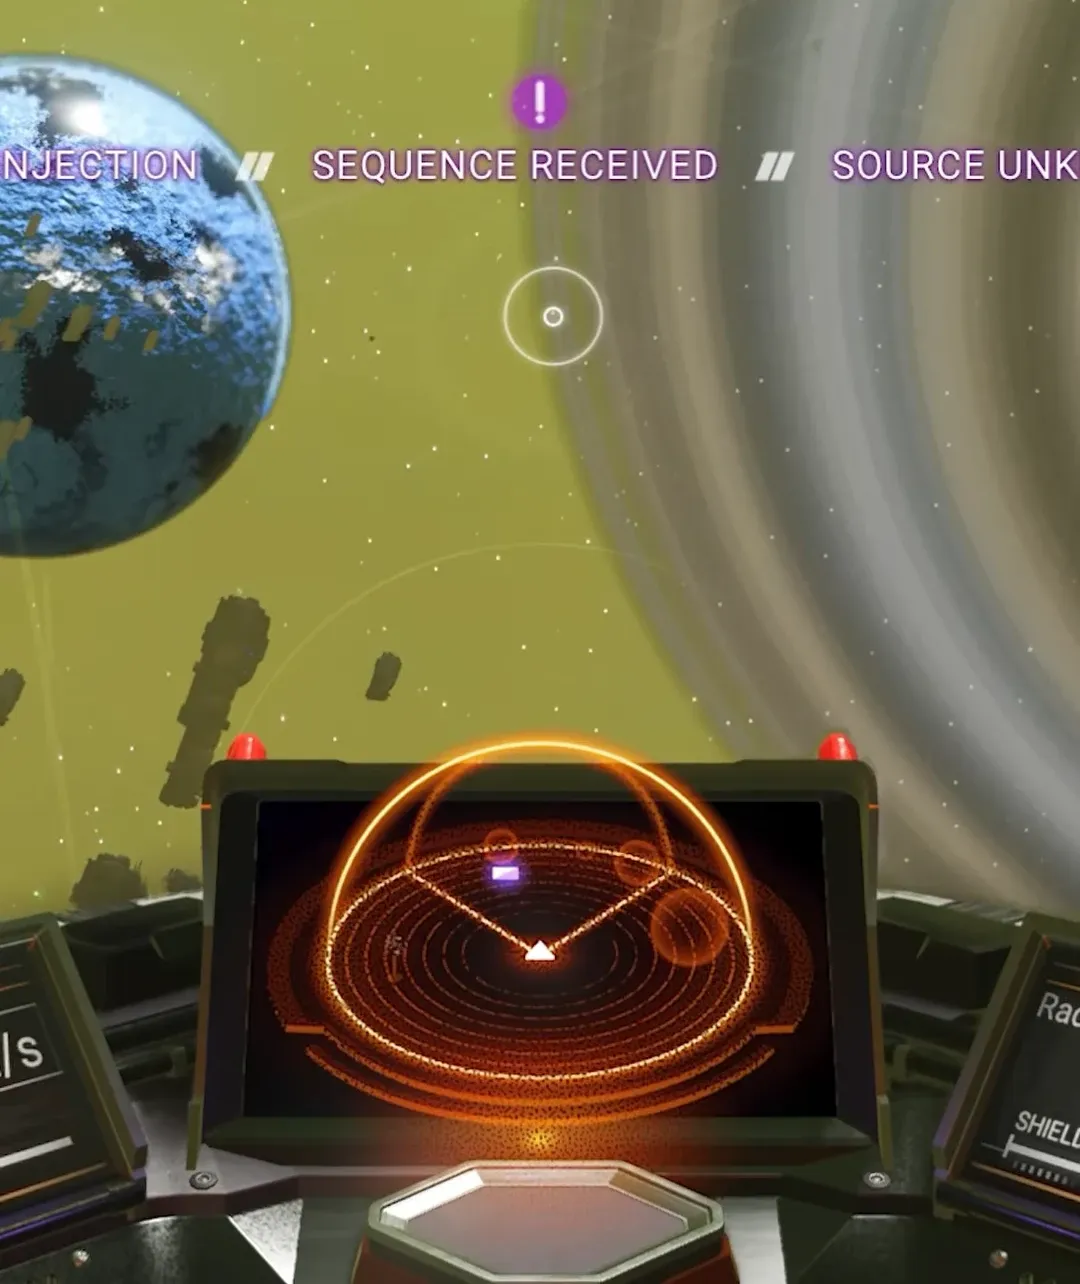
Quick answer: Start the Artemis Path mission The Purge and warp to a new star system 16 times — you are awarded one glyph per warp until all 16 are unlocked. If you would rather not touch the story, scan space stations for Travellers, pay to ask where they came from, and interact with the Unknown Grave they mark for one glyph each.
What Portal Glyphs do and why all 16 matter
Every celestial body in a star system has exactly one portal, including moons, dead planets, and worlds in uncharted systems. A portal address is 12 symbols long, drawn from the pool of 16 glyphs, which works out to 281,474,976,710,656 possible combinations. Only a fraction of those correspond to a real location, so randomly dialing succeeds roughly one time in ten.
You do not technically need all 16 glyphs to use a portal. Two glyphs already give you 4,096 reachable addresses, which is exactly why the community shortcut below works. But any address shared by another player is likely to use symbols you do not own yet, so the full set is the practical goal.
Unlock all 16 glyphs through The Purge
The Purge is an Artemis Path story mission, and it is the only method that hands over the complete set without hunting anything down. It is also the mission that opens access to purple star systems, so most players end up running it eventually.
Collect Portal Glyphs from Traveller graves
Travellers are the translucent, not-quite-there NPCs that occasionally appear in space stations. They also turn up at trading posts, outposts, observatories, and on freighters. Each one can point you to a grave, and each grave holds one glyph.
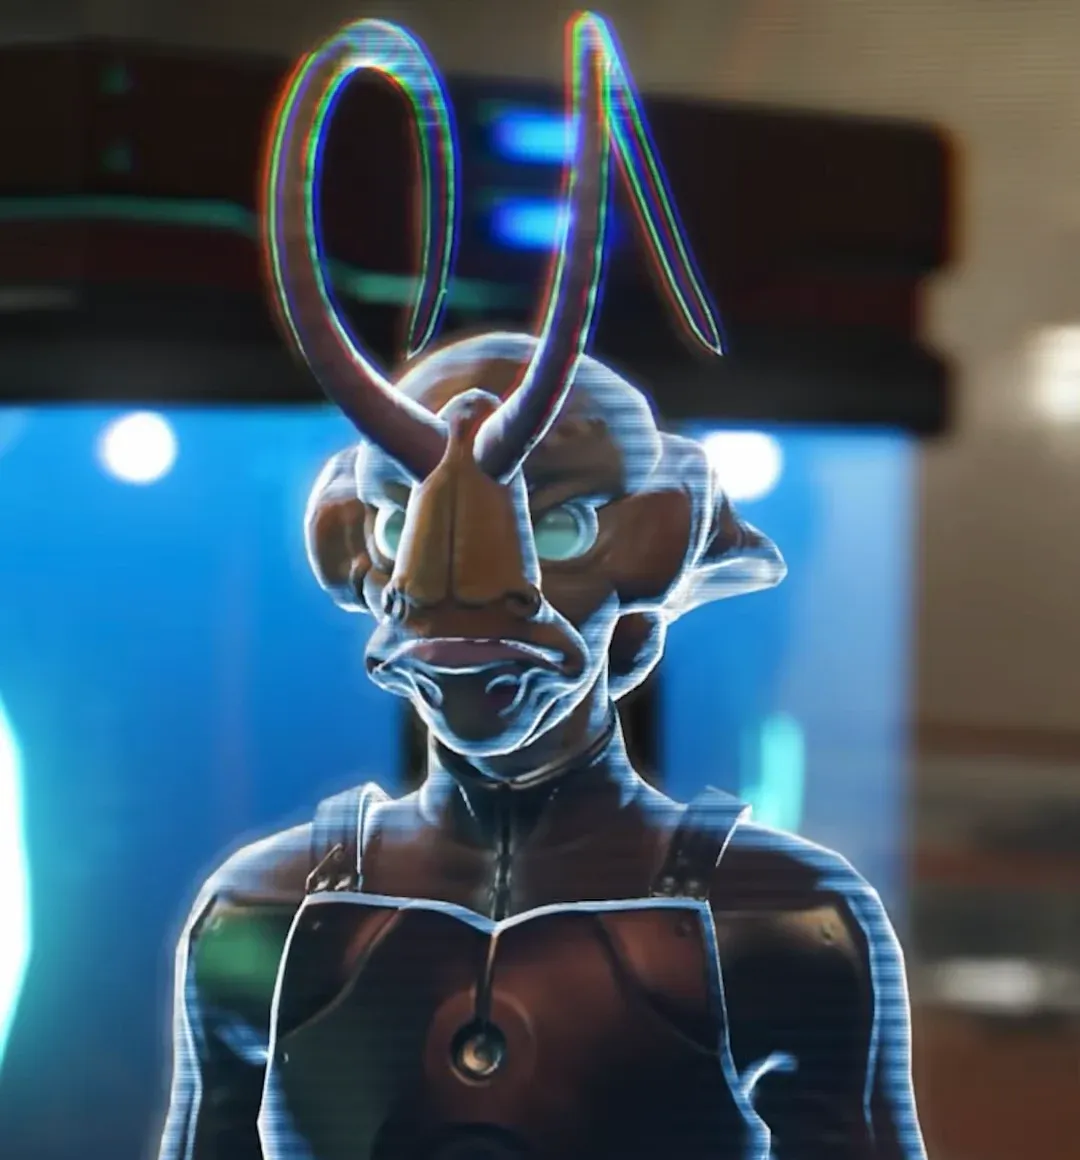
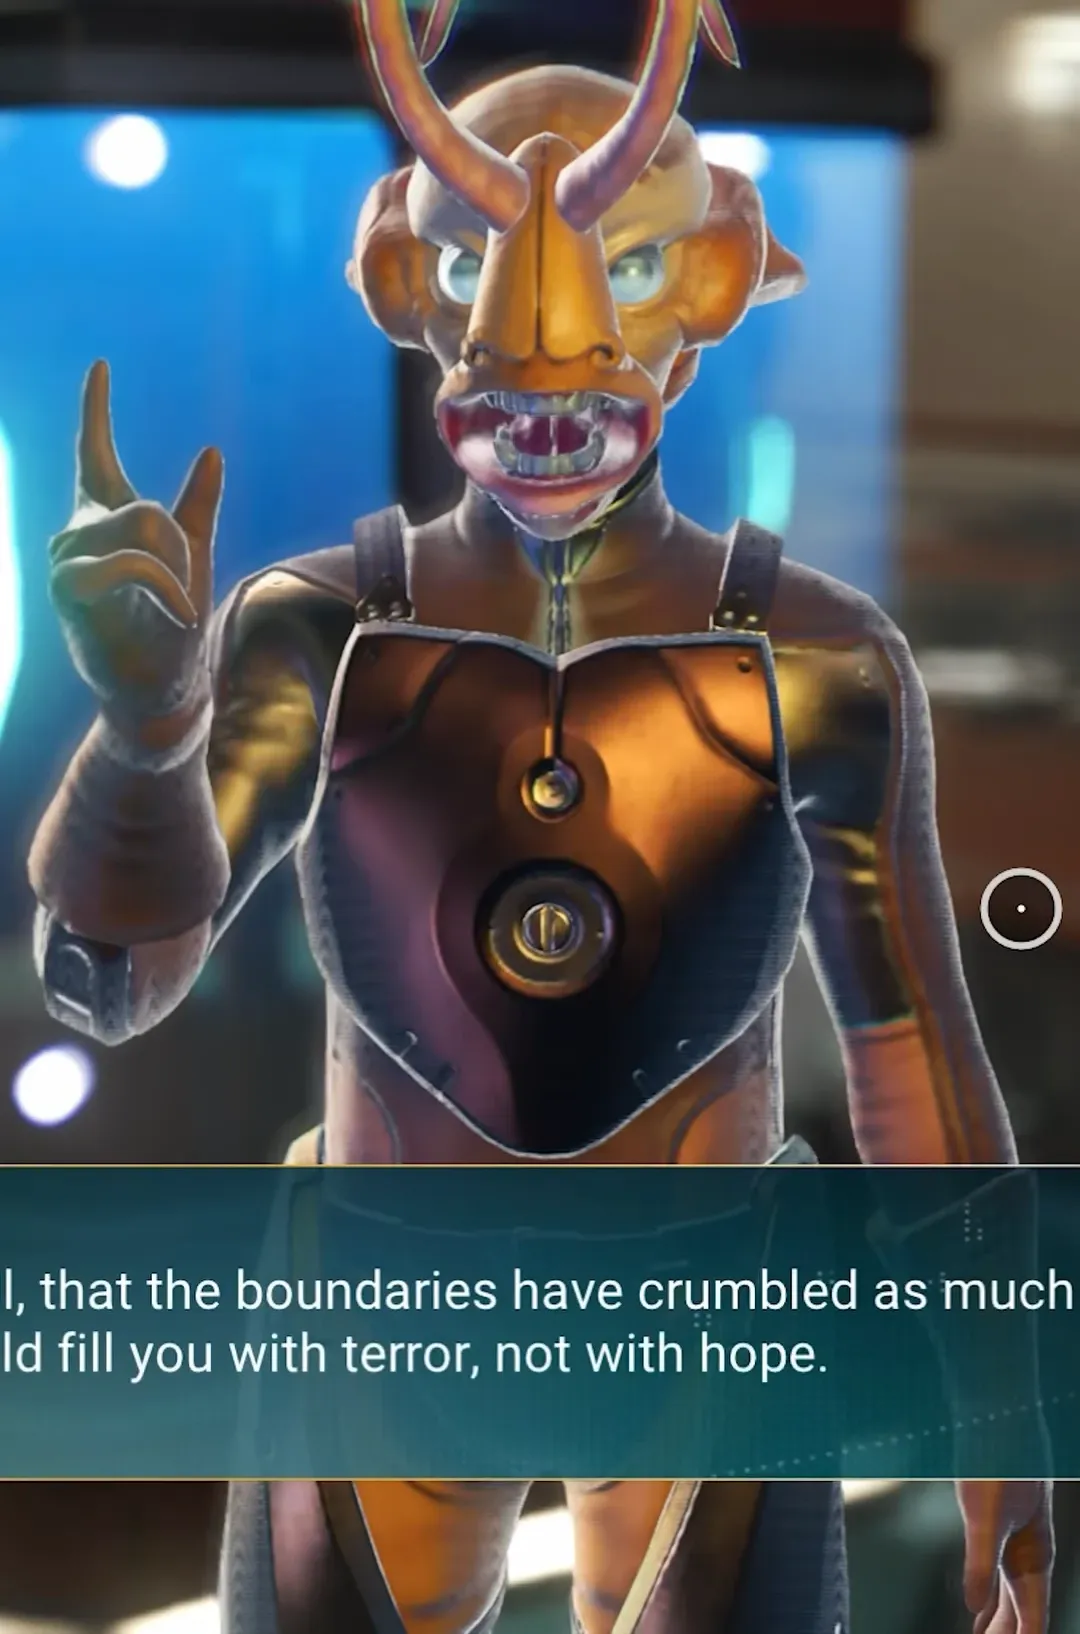
Note: graves can be stumbled upon without a Traveller’s directions, but they are small, easy to walk past, and not worth searching for deliberately.
The 14-grave fast travel system (needs only 2 glyphs)
Players have built bases at 14 separate Traveller graves inside a single system, and the address for it is made up only of the first two glyphs. That means two Travellers are all the groundwork you need before you can portal in and clear the remaining 14 in one trip.
Getting glyphs in Adrift and abandoned-mode saves
Abandoned modes such as Adrift strip out the populated space stations, so the Traveller-to-grave loop is off the table. Two options remain.
The first is simply finding graves in the wild while exploring, which is slow and unreliable. The second is faster: Nexus and weekend missions sometimes drop you directly at a Traveller grave. When one does, place a base computer on the spot before you leave. The saved location lets you teleport back later and pick the grave clean.
Find a portal and activate it
Glyphs are only half the equation. To dial an address you need a portal, and portals do not appear on your map by default.
The most dependable route is an Exocraft fitted with a Radar Power Resonator, which scans for alien structures directly. Alternatively, buy Alien Cartographic map data from the Cartographer aboard a space station and open the charts until one reveals an Alien Monolith. Answer the monolith’s riddle correctly, then choose “Locate a Portal” — that option consumes a Gek Relic, Korvax Casing, or Vy’keen Dagger depending on the system’s dominant race, and marks the portal on that same celestial body only.
At the portal itself, the control terminal must be charged before anything can be dialed. Feed the 16 glyph slots with common elements such as Copper, Di-Hydrogen, and Sodium, and the portal activates. Once it is live you can also choose “Request Planetary Address” to read back the 12-glyph address of the planet you are standing on.
Tip: portals in uncharted systems cannot be located by any of these methods. The only way in is to arrive through the address itself.
Check which glyphs you already own
Your collected symbols live under Menu → Catalogue & Guide → Collected Knowledge → The Atlas → Portal Glyphs. That page is the confirmation that a grave or warp actually registered — if the count has not moved, the glyph did not land.
One quirk worth knowing before you start sharing addresses: the in-game camera does not capture the glyph row. To save an address as an image, use your PC or console screenshot function instead.
All 16 Portal Glyph names and values
Each glyph maps to a hexadecimal digit, which is how address translators and community databases store them. The community shorthand names and the in-game names both show up in shared addresses.
| Glyph | Hex | Common name | In-game name |
|---|---|---|---|
| 1 / 16 | 0 | sunset | Star Over Water |
| 2 / 16 | 1 | bird | Hunter |
| 3 / 16 | 2 | face | Reflection |
| 4 / 16 | 3 | diplo | Ancient Giant |
| 5 / 16 | 4 | eclipse | Obscured Companion |
| 6 / 16 | 5 | balloon | Ascending Orb |
| 7 / 16 | 6 | boat | Sailor |
| 8 / 16 | 7 | bug | Lowly Insect |
| 9 / 16 | 8 | dragonfly | — |
| 10 / 16 | 9 | galaxy | Spiral of Reality |
| 11 / 16 | A | voxel | Anomaly |
| 12 / 16 | B | fish | Ocean King |
| 13 / 16 | C | tent | — |
| 14 / 16 | D | rocket | Vessel To Beyond |
| 15 / 16 | E | tree | — |
| 16 / 16 | F | atlas | — |
Once the catalogue reads 16 / 16, every address another player posts becomes usable, and building a base at a portal turns that planet into a permanent hub you can hop back to. Addresses only work inside your current galaxy, so a jump to the core or through a black hole means rebuilding your network of destinations from scratch — the glyphs themselves, at least, stay with you.





