Windows 11 and Windows 10 ship with a lot of software that most people never touch. Cortana, Xbox services, Feedback Hub, and a growing list of AI features all consume disk space and system resources. NTLite is an independent Windows customization tool that gives power users and IT administrators granular control over what goes into — and what stays out of — a Windows installation image. The latest stable release, v2026.04.10936, adds faster multi-threaded image extraction and the ability to strip AI components from Windows 11 25H2 images, which can meaningfully shrink installation size.
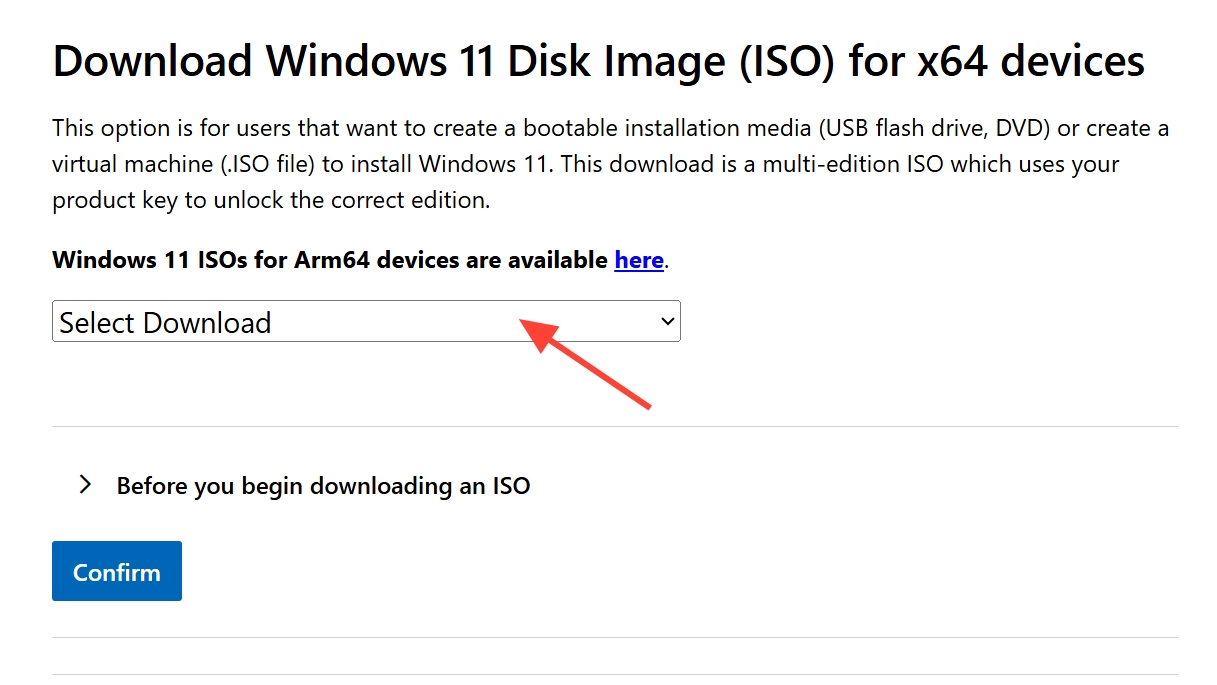
Quick answer: Download NTLite from ntlite.com, load a Windows ISO, remove the components you don’t need, integrate any drivers or updates, then export a new bootable ISO you can flash to USB with a tool like Rufus.
What NTLite does
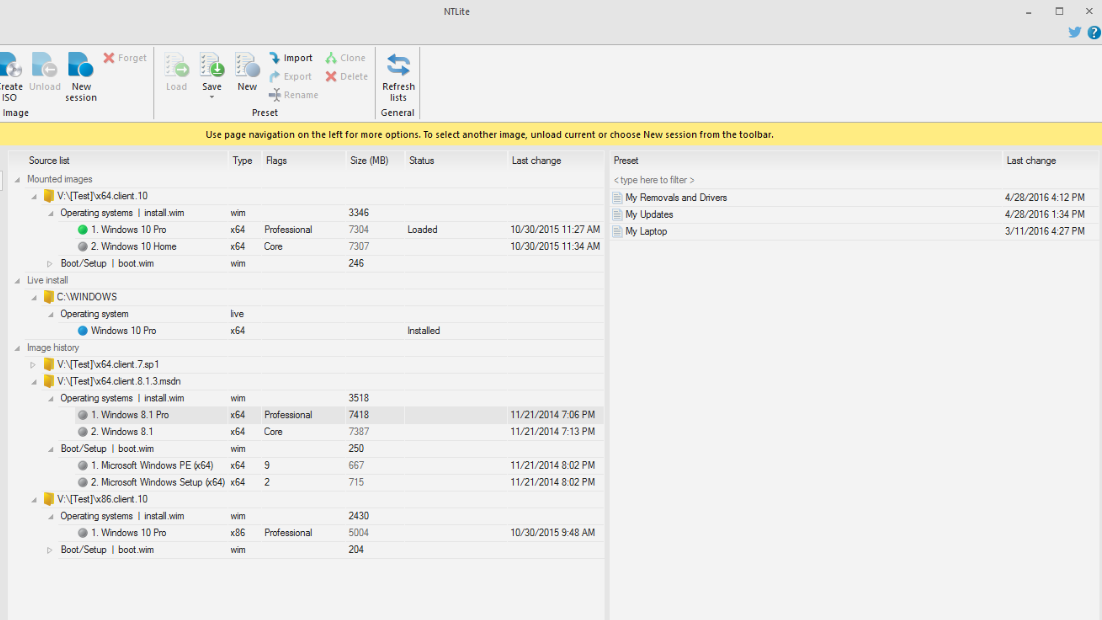
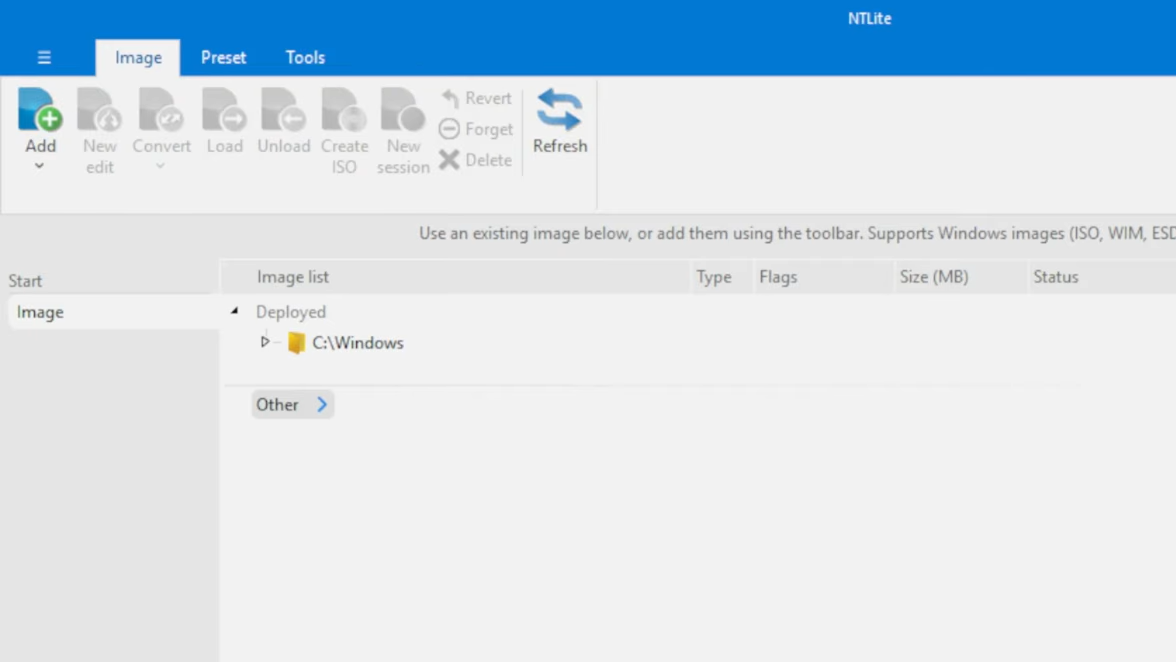
NTLite works with Windows image files — ISO, WIM, ESD, and SWM formats — and lets you modify them before installation. You can also point it at a live, already-installed copy of Windows (for example, your C:\Windows directory) and make changes in place without a full reinstall. The core capabilities break down like this:
| Feature | What it does |
|---|---|
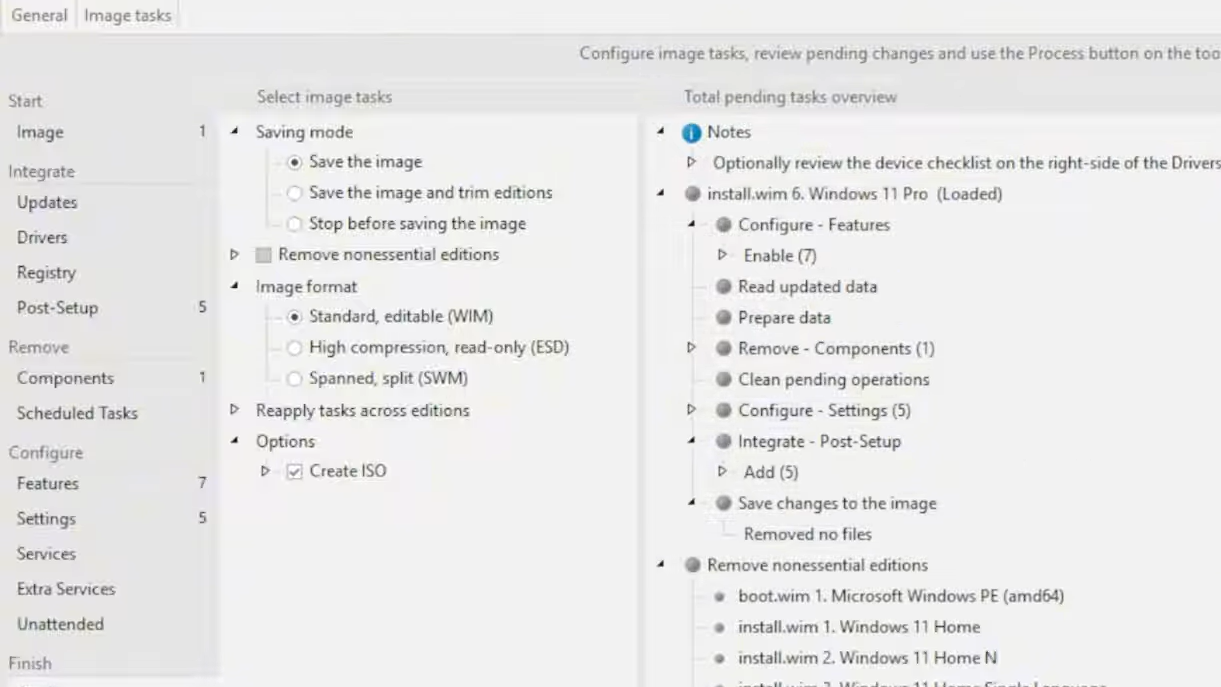
| Component removal | Strips built-in apps, services, drivers, and OS features you don’t want |
| Update integration | Slipstreams cumulative updates and language packs directly into the image |
| Driver integration | Bakes hardware drivers into the installer so they’re ready at first boot |
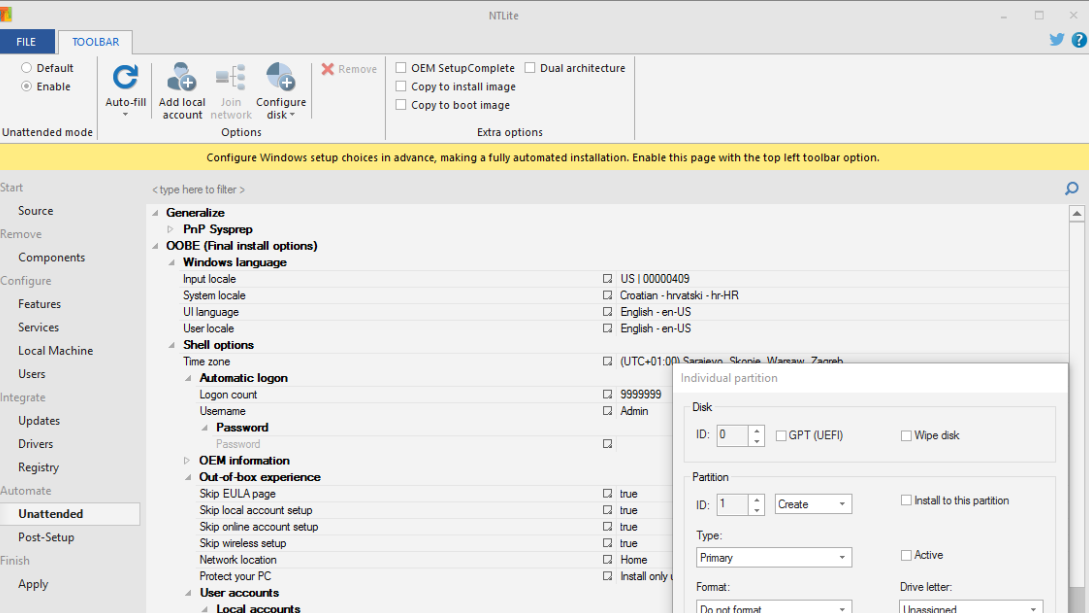
| Unattended setup | Preconfigures user accounts, disk partitions, and install options for zero-touch deployment |
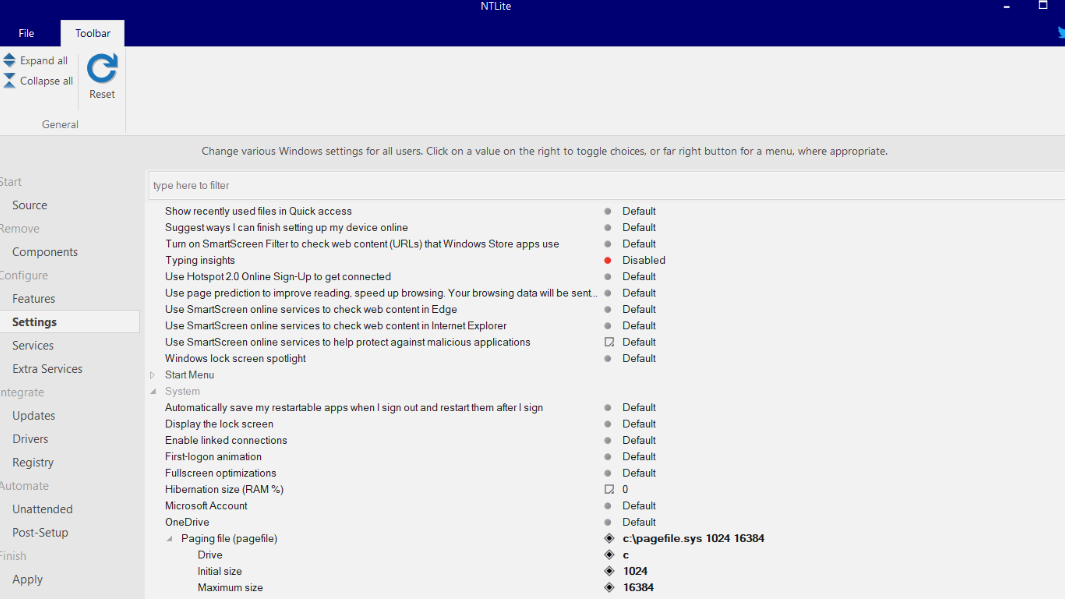
| Settings configuration | Adjusts Explorer, network, power, privacy, and Windows Update policies before the image is built |
| Bootable ISO creation | Exports the modified image as a bootable ISO ready for USB or DVD |
| Live editing | Applies the same modifications to an existing Windows installation without reinstalling (ISO creation is image-only) |
NTLite supports Windows 11, 10, 8.1, and 7 on both x86 and x64 architectures. Server editions of those same versions are supported for most features, though component removal and feature configuration are excluded on Server. ARM64 image support exists but remains in an alpha stage. Checked/Debug, Embedded, IoT editions, Vista, and XP are not supported.
Typical workflow for building a debloated Windows ISO

What changed in the April 2026 updates
Two back-to-back releases in April 2026 brought several practical improvements. Build 10935 focused on speed and driver handling, while build 10936 added a notable new feature for Windows 11 25H2 users.
| Change | Build | Category |
|---|---|---|
| Faster update extraction using more CPU threads | 10935 | Performance |
| Faster file deletion for large directories | 10935 | Performance |
| Host Import picks latest driver version, avoids duplicates | 10935 | Drivers |
| Improved hardware list matching for compatible drivers | 10935 | Drivers |
| Fixed MSIX/APPX integration error 87 on pre-1903 targets | 10935 | Bug fix |
| New Accessibility – Braille component option (25H2 CU) | 10935 | Components |
| AI Component Management for Windows 11 25H2 images | 10936 | Components |
| Fixed MSIX integration error 1781 in certain host-image combos | 10936 | Bug fix |
The multi-threaded extraction improvement is especially relevant on modern processors with many cores. Image extraction — the step where NTLite unpacks the WIM or ESD file — was previously a bottleneck. With more threads in play, that step finishes noticeably faster.
The AI Component Management option targets the growing set of AI-related features Microsoft has been adding to Windows 11 25H2 through cumulative updates. Stripping these components can significantly reduce the footprint of a 25H2 installation, which matters for deployments on storage-constrained devices or environments where those AI features are unwanted.
Real-world use case: Reviving a storage-limited laptop
NTLite is particularly useful for machines with very small drives. A 32 GB eMMC laptop running a stock Windows 10 install, for example, can easily end up with only a few hundred megabytes of free space after updates accumulate. By stripping Xbox services, Cortana, Feedback Hub, gaming peripherals, Internet Explorer, and other unused components, a debloated image can reclaim several gigabytes. One documented case showed free space jumping from roughly 3.6 GB on a bloated install to nearly 10 GB after a clean install from a stripped ISO — on the same 29 GB usable drive.
Keep in mind that Windows 11 has hard requirements that NTLite cannot bypass: TPM 2.0 and a minimum of 4 GB of RAM. If your target hardware doesn’t meet those, a debloated Windows 10 image is the practical alternative.
Licensing and availability
NTLite offers a free tier with limited functionality that covers basic component removal and ISO creation for personal, non-commercial use. Paid licenses unlock additional features and commercial deployment rights. The tool is developed by an independent developer and is not affiliated with Microsoft.
The current stable version is v2026.04.10936. Installers are available for Windows 10+ (64-bit), Windows 7+ (64-bit), and Windows 7+ (32-bit), each with published SHA-256 checksums for verification.
NTLite fills a gap that Microsoft’s own tools don’t cover well. Whether you’re an IT admin building standardized deployment images, an enthusiast who wants a clean Windows install without bundled apps, or someone trying to squeeze a functional OS onto a tiny drive, the ability to surgically remove components before installation saves time and disk space that would otherwise be wasted on software you’d immediately try to uninstall anyway.