“Once Upon a Time…” by Tinsel Bros. opens the Blue Betty case in Mouse: P.I. For Hire, sending Jack Pepper from Vivian McCarthy’s visit to the chaos of Tinsel Ave. The route is linear in concept but layered with combat arenas, set pieces, and a new traversal ability. The objective chain ends with four clues pinned to the Crime Wall back at the P.I. Office.
Before you leave the P.I. Office
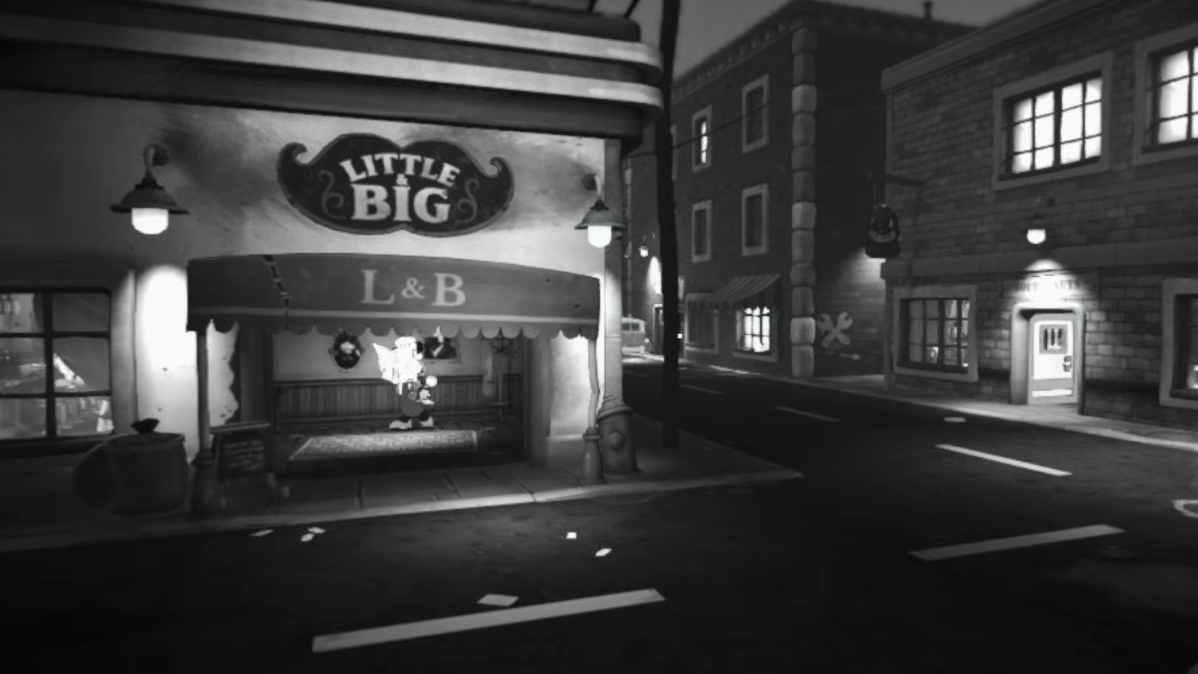
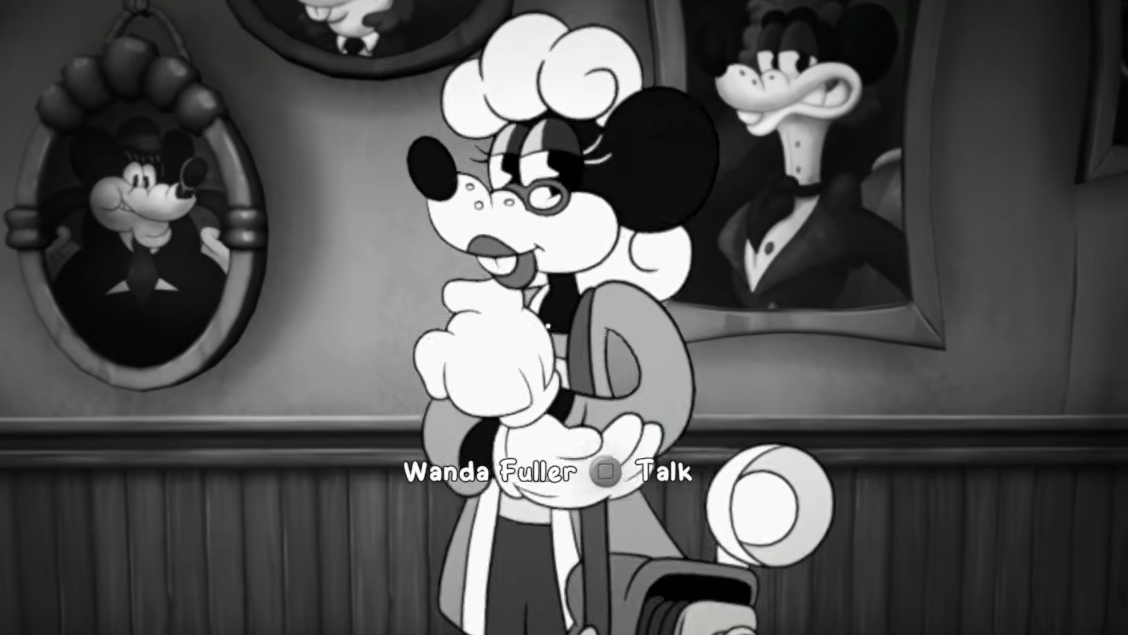
Vivian McCarthy turns up in Jack’s office once the Cheeseball Sub clues are pinned. She insists Betty Lynch was murdered, not killed in an accident, and asks Jack to dig deeper. Stop at the Little and Big Bar before driving out, so Wanda hands over The Things We Keep side job. The Letter to Wanda needed for that job sits on the family show set inside the studio, so picking it up first prevents a return trip.
Reach the main studios building
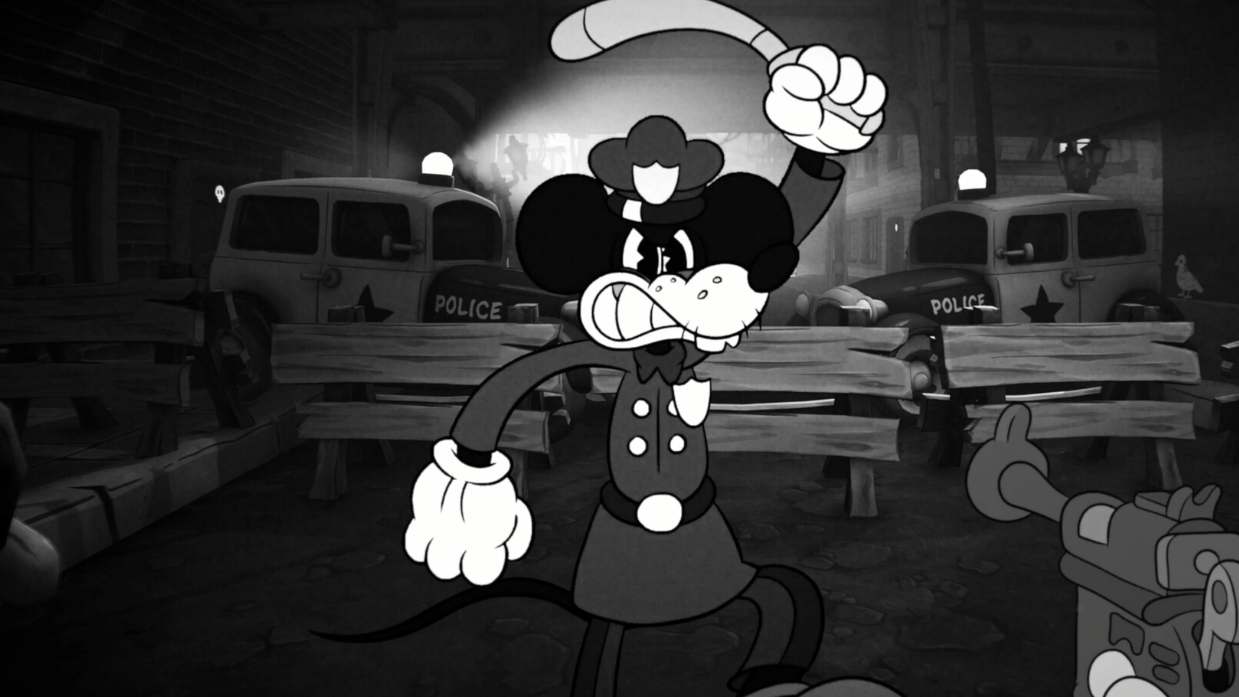
Tinsel Ave. is Mouseburg’s Hollywood strip, currently overrun with skeleton enemies and mobsters, including a new Boomstick-wielding heavy. Break barrels and crates carefully because some of them spawn additional enemies.
Find someone who’ll talk
The interior is the studio’s office wing. Take the right doorway, fight through the corridor, and head upstairs after opening the shortcut door back to the entrance. The upper office holds a charred letter scrap on the desk, with a vent on the west wall that drops you into the drawing room.
Defeat the four enemies waiting there without harming the artists, then pull the switch on the east balcony to roll up the projector banner. Reinforcements spawn after the screen drops. Exit through the now-open northwest door, cross the alley to the wardrobe building, and open the back-right door in the hallway to find Gabe Clarkle. He points Jack toward a pyrotechnist who knew Betty.
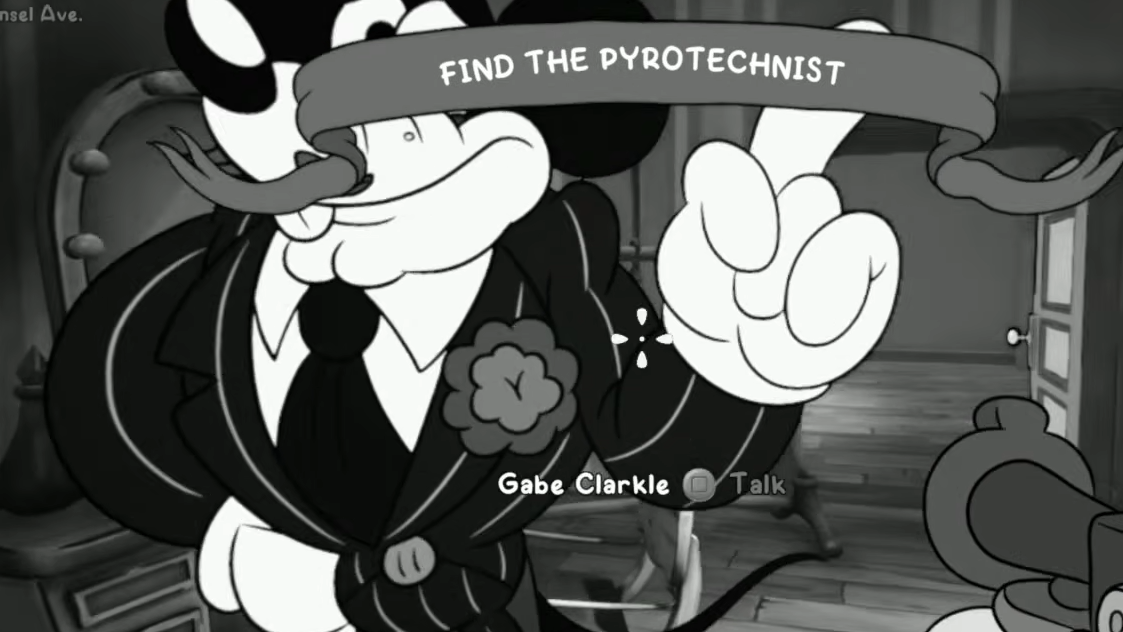
Find the Pyrotechnist
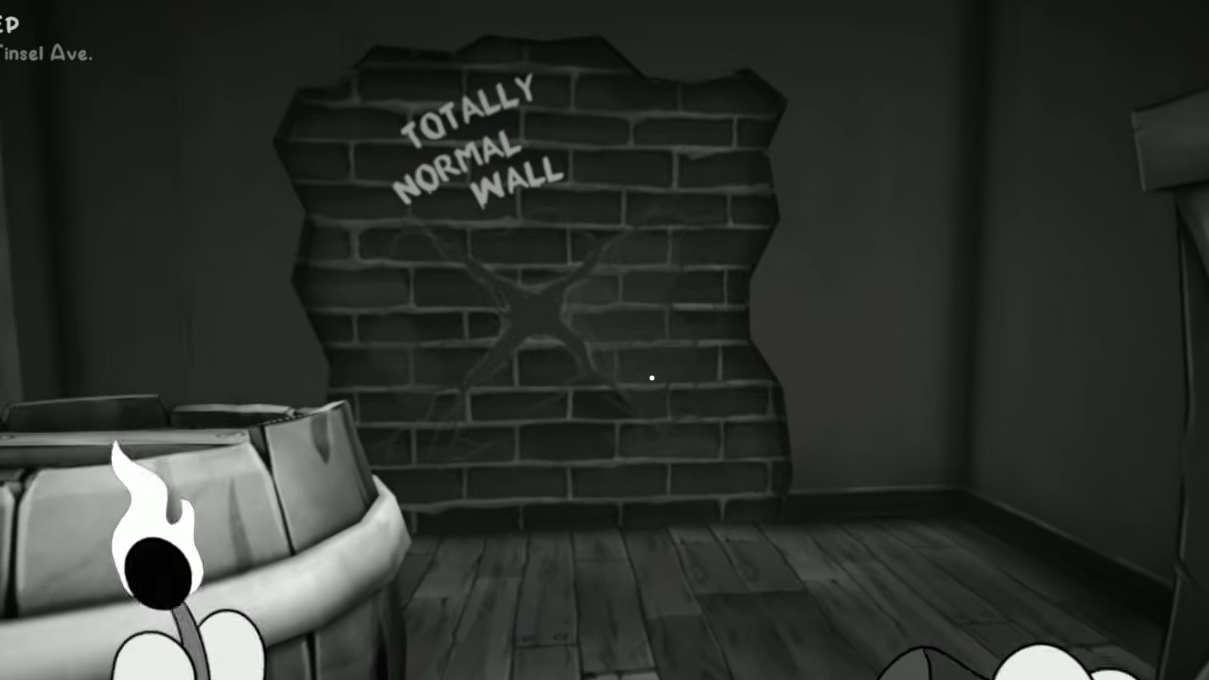
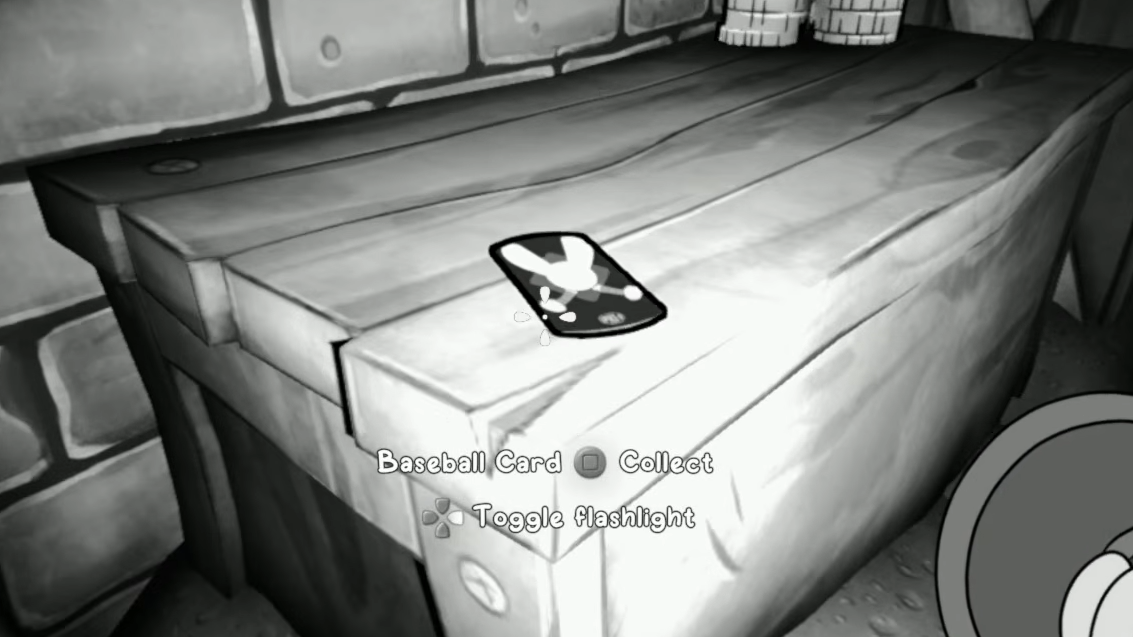
The next room has a typewriter and a “Totally Normal Wall” begging for d-namite. Blow it open, drop down through the dark passage with the flashlight on, and grab the Justin Young Baseball Card on a box in the back-left corner of the lower floor.
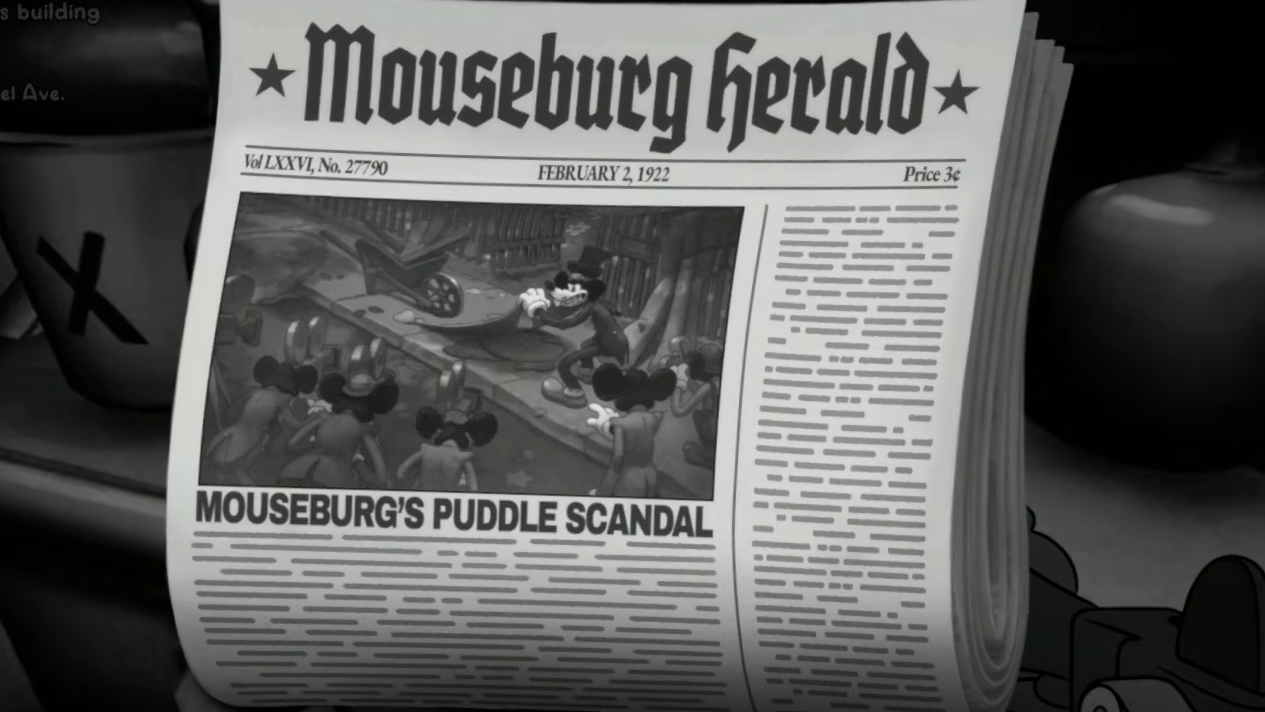
Return to the main path and proceed through the alley. Inside the next building, the last stall of the first bathroom holds Newspaper 15, the one about the bestselling novelist. Push on into the family show set, where multiple stage layouts and waves of enemies block the route forward.
Past the set, an envelope tied to Wanda’s job sits next to a box just outside the west door. The alley after that has a piano and a box you can drop on enemies. Stack them, double-jump onto the train-car platform, and drop behind it for the Joshua Diaz Baseball Card. Use the trampoline opposite to climb back out, then enter the John Jones door (the game’s Indiana Jones parody) and save at the typewriter.
Speak with the trapped stuntman and unlock Grappling Tail
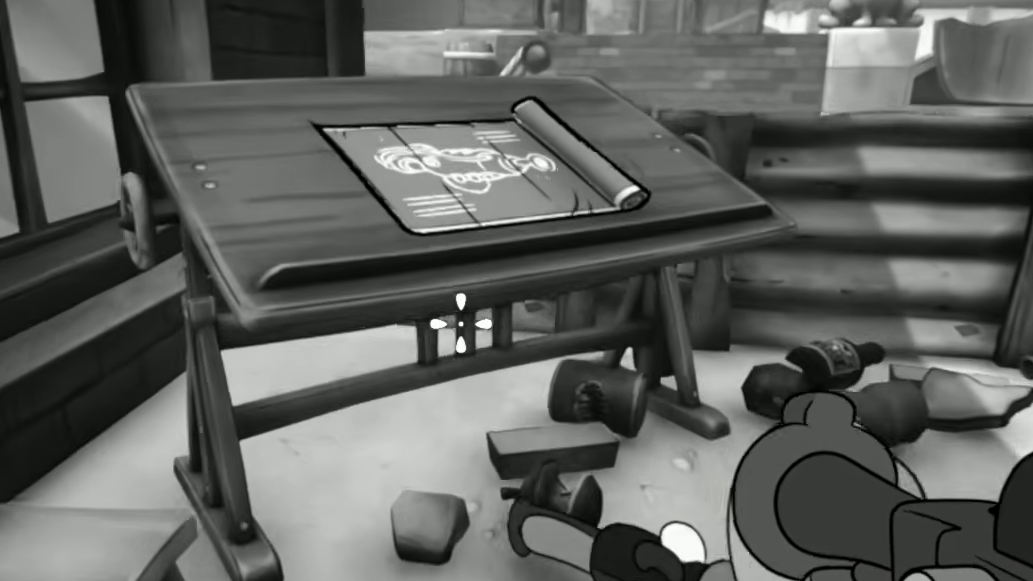
Pull the lever in front of you to shut off the fake waterfall, then walk between the puddles to reach Rocky Ford. Pick up the schematic on the table next to the camera on your left. Rocky has taken medication that’s stopping him from finishing the take, so he teaches Jack the Grappling Tail ability and asks for a stand-in.
Return the idols to their plinths
Continue to the Pyrotechnist
The next room has another typewriter and a bathroom whose last stall hides only a single enemy. Outside the south door, take cover behind the boxes during the firefight. The garage on the ground floor contains a switch that lowers a mechanic platform, revealing the Pyrotechnist on the upper level. She mentions Betty was meeting a secretive suit, granting the Tinsel Scrub clue, and tells Jack her packed belongings are stored past the medieval set.
Locate the dressing rooms
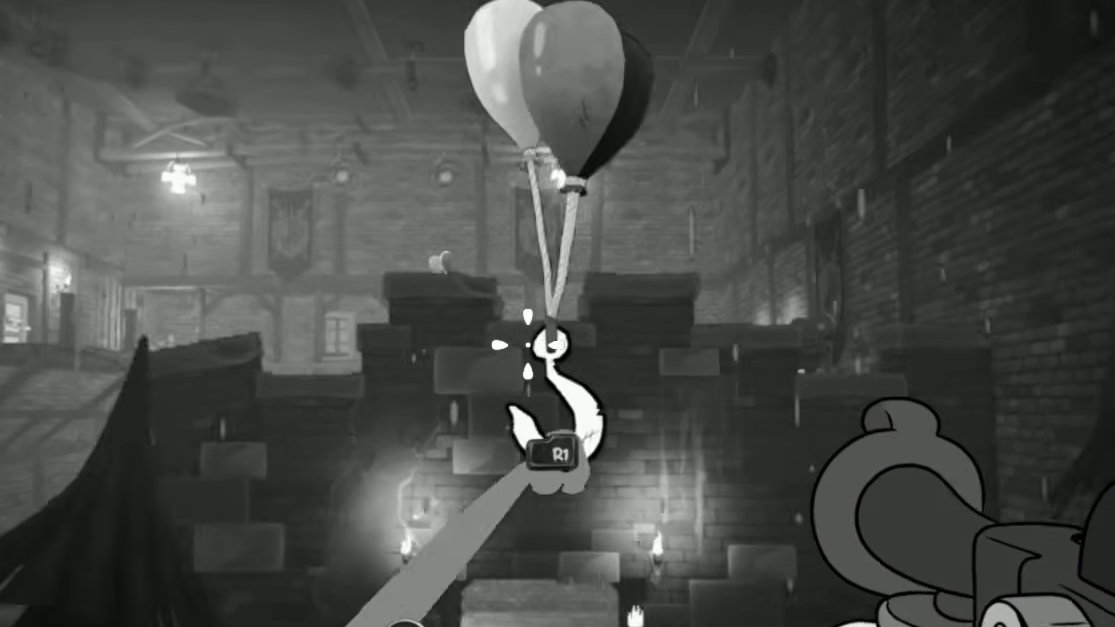
The medieval set is on fire and packed with enemies. Push east, grappling across the broken bridge and through balloon-mounted hooks until you reach the gate lever. Grab the Pepper-D dispenser before the next arena fight.
After clearing that room, look east for a box next to a camera. Crawl inside to find Comic 11 stuck to the wall. Cross the bridge, take the ramp in the northwest corner, and grapple to the upper level. Before the obvious doorway, follow the outer ledge right for a shortcut back to Gabe’s wardrobe area, then return and enter the east doorway.
An actor stands beneath a duck target. Shoot the target to drop one wall of the box above him, stack the nearby crates, and grapple through the box onto the upper ledge. Take the right-hand door back into the drawing room on its upper level. Use the hooks to swing east, then north, and grab the schematic on the west side of the upper north walkway.
The north door opens onto the Western Park Film Set. Drop onto the pillows below to avoid fall damage, then enter the actress dressing room.
Search the dressing room and leave the studio
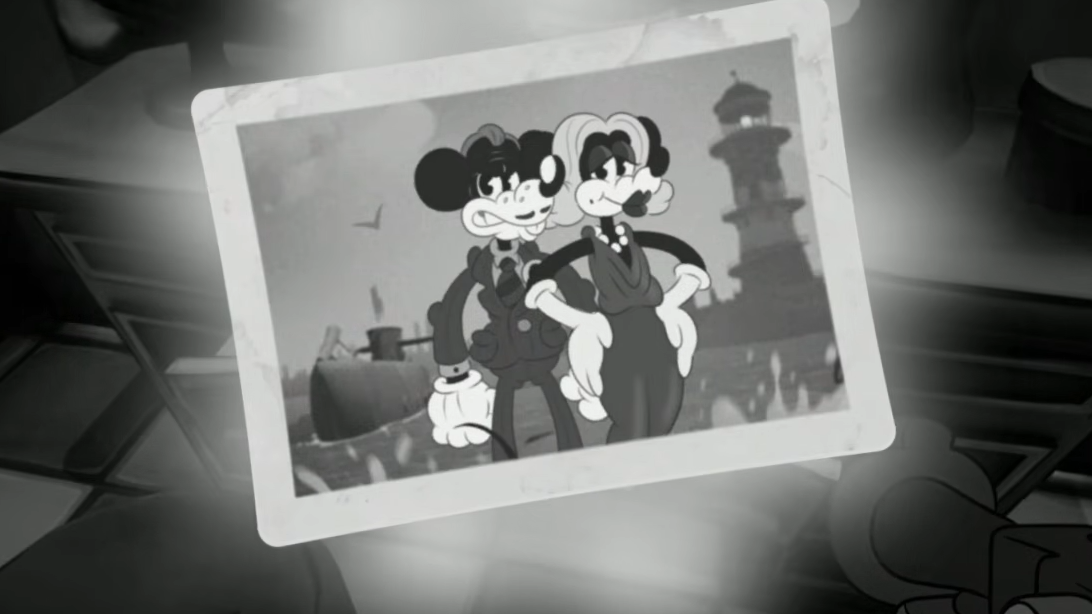
Open the vanity drawer around the corner. Inside is a photo of Betty Lynch with mayoral candidate Milford Soyer at a Big Mouse party, plus an attached note. This delivers the Betty & Soyer? clue. Beneath the photo are two Rear Gate Keys.
The southern locked door leads to a film room attached to the drawing room. Tailpick the additional door inside (generous timer, a few spikes), follow the stairs down, and tailpick the timed, move-restricted safe with spikes for another schematic. Back at the dressing room, unlock the rear gate and call the Quit-o-Phone to extract.
Verification: confirming the mission completes
Drive back to the P.I. Office area. Hand the Letter to Wanda and the necklace to Wanda at the Little and Big Bar to close The Things We Keep for 150 bucks. Then head to Jack’s office and speak with Vivian. Jack mentions Soyer was reached through someone named Curd, and Vivian agrees Miles Curd is the next lead.
Pin the four Tinsel Ave. clues to the Crime Wall to formally complete the mission:
| Clue | Where it comes from |
|---|---|
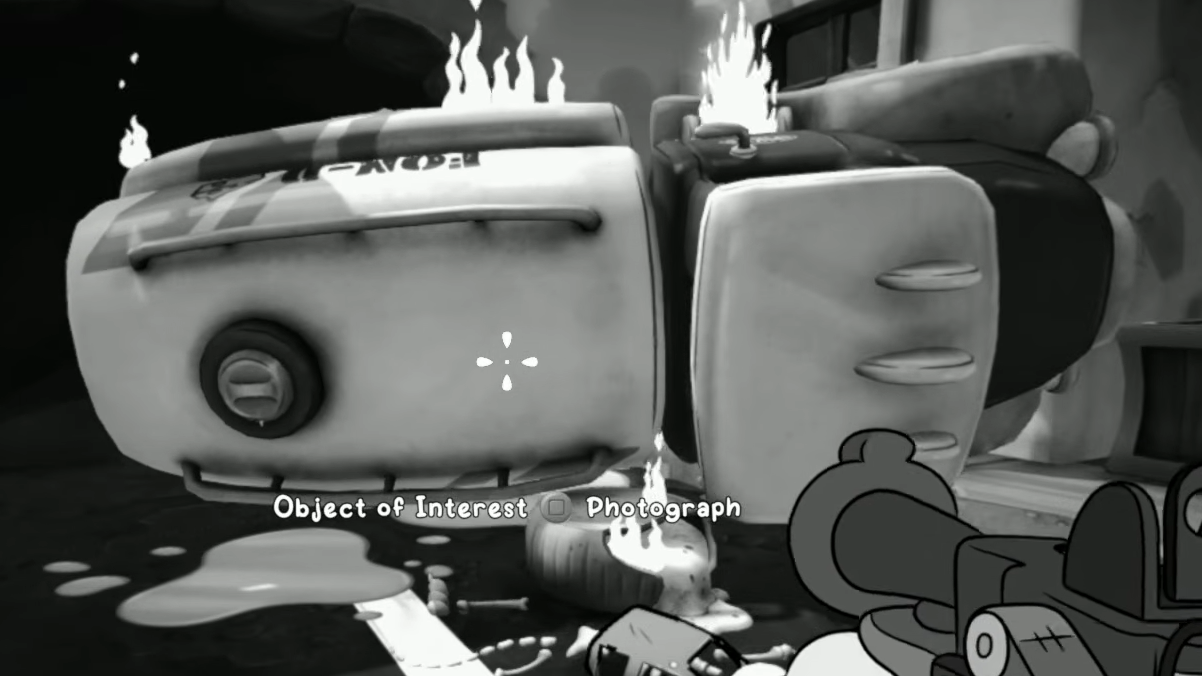
| Truckload of Blue | Photographing the crashed truck on the street |
| Tinsel Scrub | Speaking with the Pyrotechnist after the garage lift |
| Betty & Soyer? | Photo and note in the actress dressing room vanity |
| Sub at Wallop Bay | Picked up during the Tinsel Ave. investigation |
The Sub at Wallop Bay clue can Resolve Lead for The Missing Magician, linking this case to the Shrew Shortage thread with Saltwater Cambozo. Otherwise, continue the Blue Betty trail by heading to the Opera Ruins for A Bit of Curd and Pepper. John, the bar owner, will also offer the Azurro Burger favor before the next mission begins.