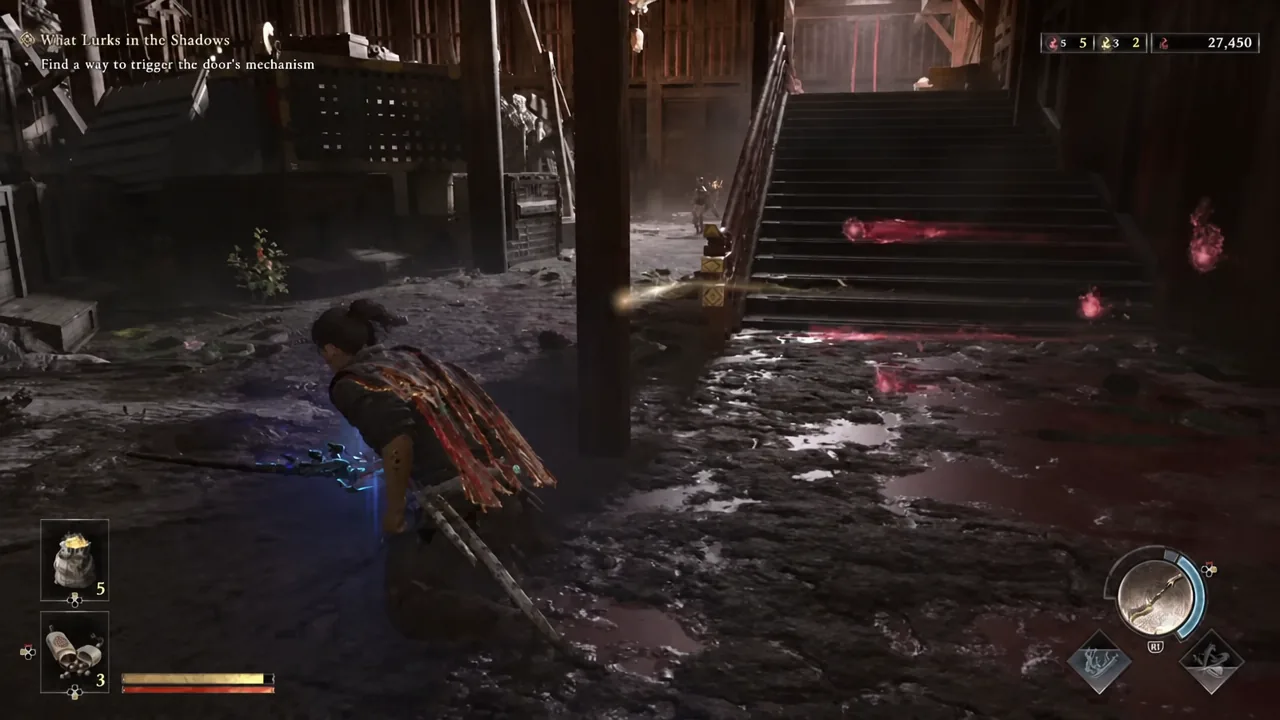
Builds in Onimusha: Way of the Sword are not a one-time commitment. Every skill and upgrade can eventually be unlocked, so what you pick early only decides how fast you get strong, not what you’re stuck with. The one thing that consistently matters is where your souls and stones go, and in what order.
Quick answer: Pour red souls into weapon upgrades before anything else, then run maxed Charm of the Healer, Charm of Protection, and Fencer’s Strength Charm with the default Hozuki Pouch for a first playthrough on Action difficulty. On a Carnage run, swap the first two charms for maxed Charm of Awakening and Charm of Oni Power.
Weapon upgrades are the biggest source of combat power
Red souls are the game’s upgrade currency, and nothing else you can spend them on moves the damage needle as much as leveling your weapons. Musashi’s skill tree is worth filling out, but a fully upgraded blade is what stops bosses from feeling like health sponges. If you’re deciding between a new skill node and another weapon rank, take the weapon rank.
Enhancement materials come from side content, so treat optional objectives as part of the build, not a distraction. Saving villagers from Genma attacks and clearing optional paths in Kyoto feeds you both the materials for upgrades and the charms that define your loadout. Villagers you fail to save die permanently, and the reward goes with them.
Best charm loadouts by playthrough
Charms are the closest thing the game has to a build screen, and the useful ones change once you stop worrying about dying and start worrying about damage output. Max every charm you commit to — a half-leveled charm is close to no charm at all.
| Loadout | Charms (all maxed) | Why it works |
|---|---|---|
| First playthrough (Action difficulty) | Charm of the Healer, Charm of Protection, Fencer’s Strength Charm, default Hozuki Pouch | More healing per item and less health lost per hit while you learn deflect and Issen timings, with regular attack power to keep fights moving. |
| Second playthrough (Carnage difficulty) | Charm of Awakening, Charm of Oni Power, Fencer’s Strength Charm, default Hozuki Pouch | Fills the Awakening and Oni Power gauges faster, so you spend more of each fight in Oni form where Issen becomes far easier to land. |
| Minamoto no Yoshitsune (Carnage) | Same as the Carnage set | Identical charms, backed by a stocked consumable bar for the fight’s damage spikes. |
Note: Carnage difficulty is not selectable on a fresh save. It unlocks after you beat the game once, which is why the defensive charm set exists — it’s there to get you through that first clear.
Pick one defensive answer and build around it
Musashi has four defensive options, and your build is really a decision about which one you lean on. Block costs stamina on every hit and drops your stance plus a chunk of souls when it runs out, so it’s a fallback rather than a plan. The other three each have a payoff worth investing in.
| Option | What it does | Build it if |
|---|---|---|
| Parry | Sweeps the attack aside and fills the Blaze Gauge toward Blazing State, which adds health and stamina damage and drops more souls. | You want the Oni Armament and Awakening engine running constantly. |
| Deflect | Block plus the deflect input at impact. Does heavy stamina damage — far more than a parry — and sets up a Break Issen that kills weak enemies outright. | You want the safest route to breaking boss stamina bars. |
| Issen | Attack in the instant before a blow lands. Musashi phases aside and counters for enormous damage. | You’re comfortable with a tighter window than a parry and want the fastest kills. |
| Reflex Dodge | Dodge inside the parry window. Later fills the Reflex Gauge, and a full gauge triggers slowed time and an upgradable combo. | You’d rather not be hit at all, and you need an answer to punches and kicks. |
Almost every attack in the game can be answered with Issen. The exceptions are a small set that can only be dodged, plus any white-glowing attack, which has to be parried or deflected. That’s the practical argument for not going all-in on dodging: some attacks simply won’t let you.
One setup choice sits underneath all of this. On the Control Layout Selection screen, the Defensive layout maps blocking and parrying in line with most modern action games and makes stamina management easier to track. Action Prompts, which display the button for each incoming attack, can be toggled in the gameplay settings — they’re switched off automatically on Carnage, so turning them off during your first run is good preparation.
The Oni Awakening loop that carries the Carnage build
Once you unlock the Oni Awakening skill, the aggressive charm set starts paying for itself, and the loop is worth learning in order.
There’s a related decision every time you break an enemy’s stamina bar. You can take red soul sparkles for direct damage to the boss, or purple ones, which release yellow souls for health, blue for Oni Power, and purple for Awakening. Neither is wrong, but purple is what keeps the loop above spinning, and skipping the red option is generally the safer read.
Spend your first Oni Stones on Oni Vision
Hold your Oni Stones until you can unlock three Special Skills: Oni Vision: Treasures, Oni Vision: Treasures 2, and Oni Vision: Search Range. Together they make collectibles visible, from equipment-enhancement materials to chests containing Power and Oni Stones. Buying other skills first slows the entire build down, because those materials are what let you max the charms and weapons above.
Once they’re unlocked, make a habit of holding L2 and tapping R2 repeatedly while you explore so nothing gets missed.
Oni Armaments and the Oni Bow as build tools
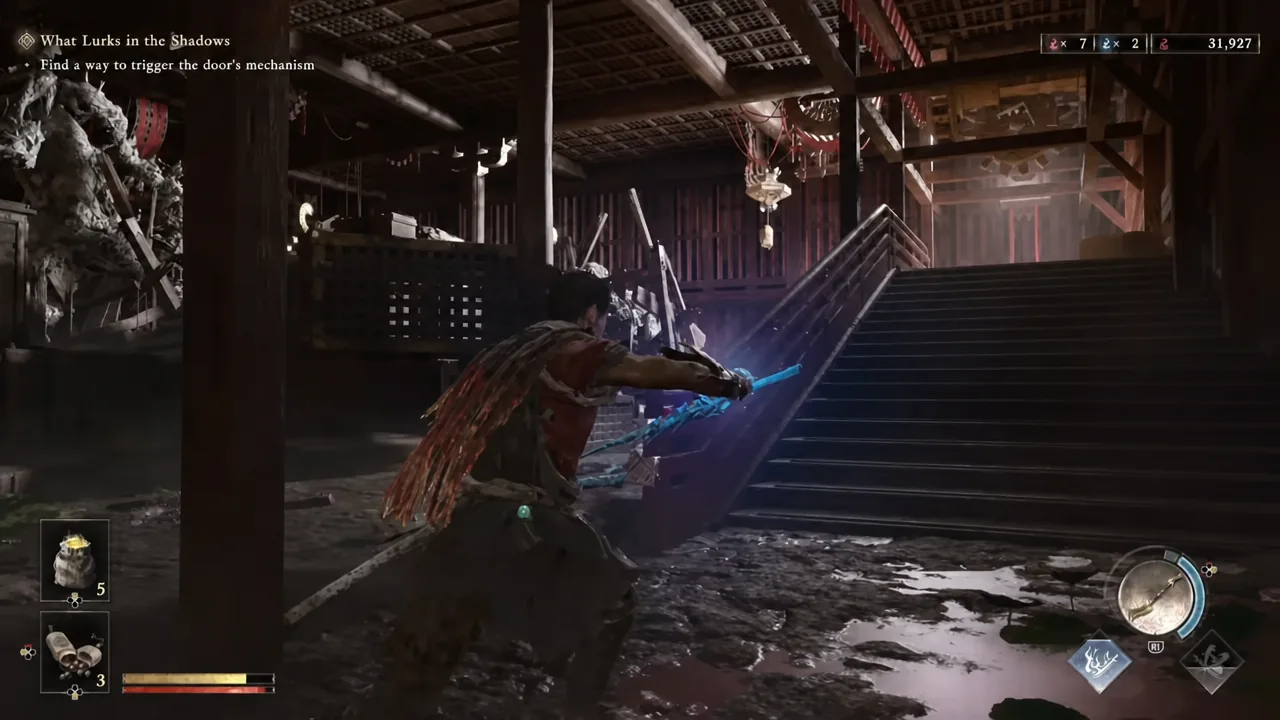
Oni Armaments run on blue souls and cover the gaps a katana can’t. Earthshakers smash through defending enemies and shields, the Two Celestials force enemies to drop yellow souls on every hit — effectively an aggressive way to heal — and the Wind Weeper handles crowds. Which one you favor changes how much healing pressure your charm slots need to absorb.
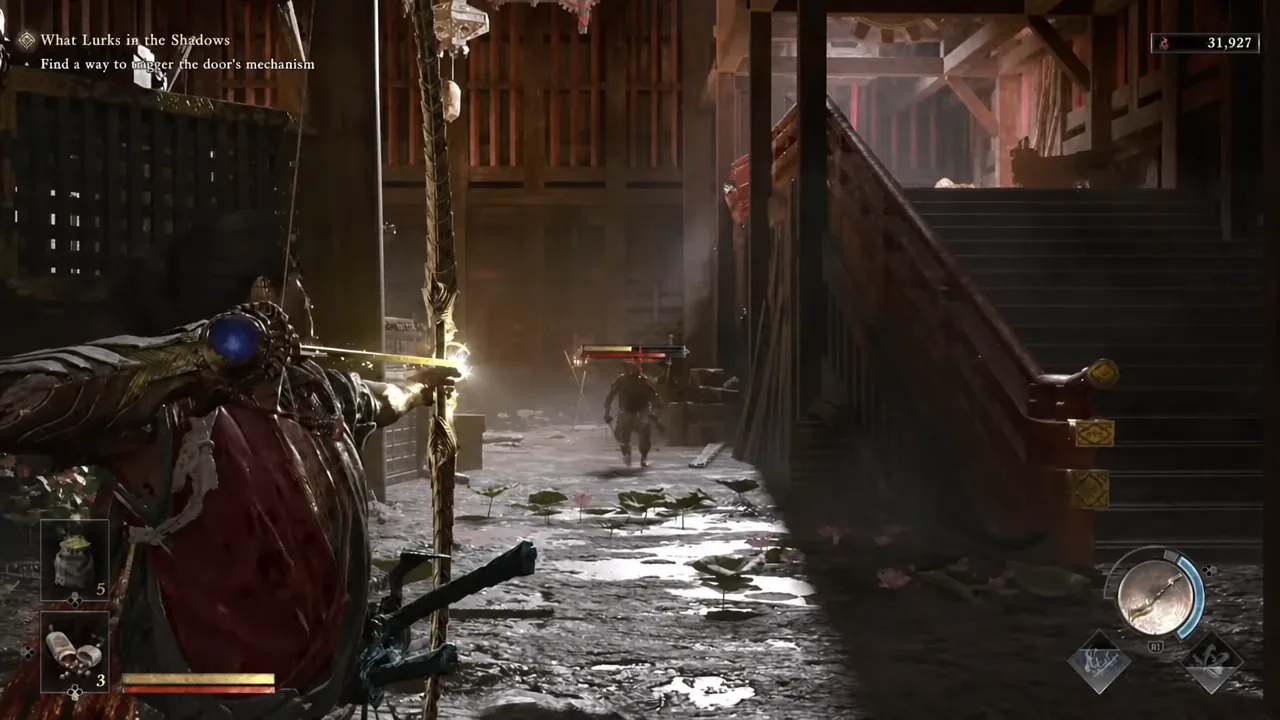
The Oni Bow has unlimited arrows and doubles as a puzzle tool and a fight-specific answer. In the Sasaki Ganryu (Altered) fight, Gioh will extend her neck to siphon the red flower plants around the arena and restore his stamina; a quick bow shot to the neck breaks her concentration. Keep it mapped in your head as a combat option, not just an exploration one.
Consumables to save for Carnage
Go easy on consumables during your first playthrough. Anything you burn on Action difficulty is something you won’t have when the same fights hit twice as hard. Amulets of Introspection, Sun-Dried Hozukis, and Stimulants are the ones that matter most in the final boss fight.
For the Minamoto no Yoshitsune fight on Carnage specifically, carry Heavy Restorative, Amulet of Introspection, Stimulants, Sun-Dried Hozuki, Greater Defense Talisman, and Greater Might Talisman alongside the aggressive charm set.
One more reason to stay disciplined with damage taken: bosses are dynamic. Take too many hits too early and they’ll enter their enhanced state ahead of schedule, which makes the rest of the fight considerably harder.
How to tell the build is working
You’ll know your defensive core is landing when boss stamina bars start dropping in visible chunks rather than slivers — a deflect strips vastly more stamina than a parry, and the difference is obvious on screen. The Blazing Gauge filling and Musashi’s blade catching blue flame confirms the parry side of the loop, and the Awakening gauge reaching full confirms the Armament side.
If bosses feel unkillable, it’s almost always one of two things: weapon upgrades left unspent, or a defensive habit that never breaks stamina. The pattern nearly every boss rewards is the same — deflect or counter with Issen, drain the stamina bar, siphon the souls, repeat.
Because nothing is locked behind an irreversible choice, treat your first run as the one where you find out which defense you actually trust, then rebuild around it. The charms, the Armament you favor, and the skills you buy can all shift later; the weapon levels and the enhancement materials you banked along the way are what stay with you.