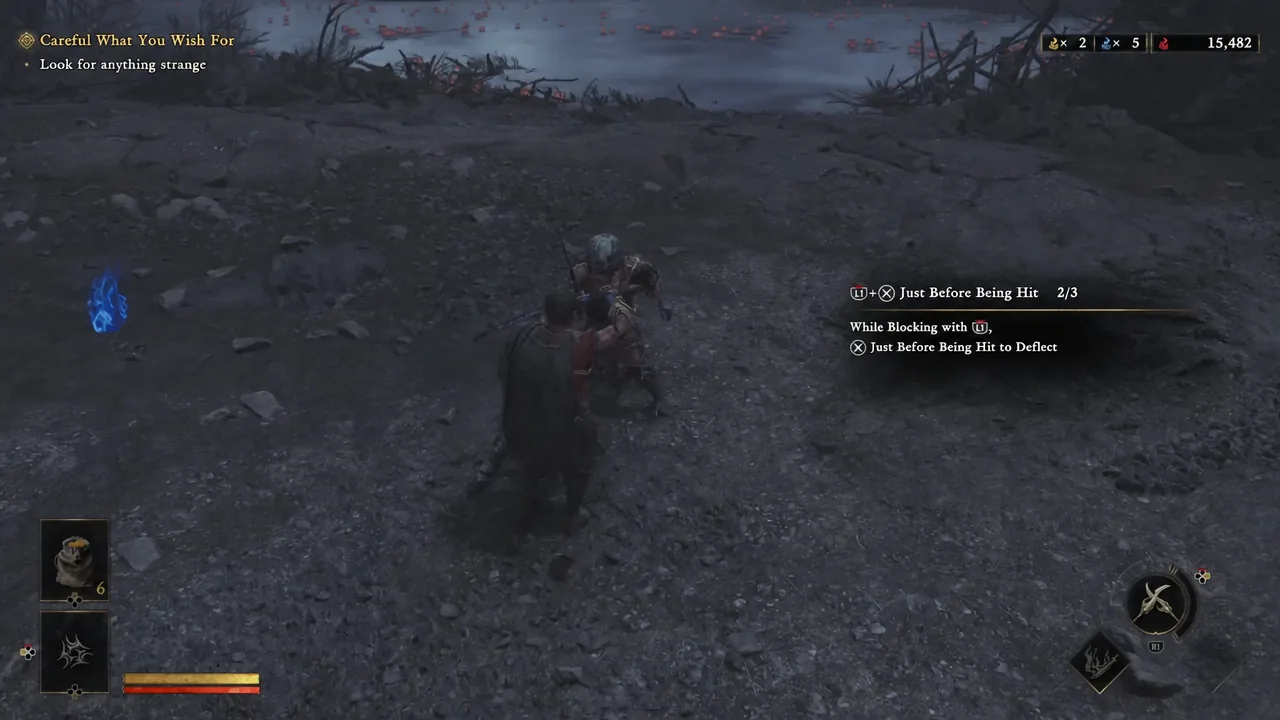
Deflecting is the defensive move that does the most work in Onimusha: Way of the Sword. It won’t stagger an enemy the way a clean parry does, but it hammers their stamina, and stamina is the resource that opens up a Break Issen finisher. Musashi has a dedicated drill for it, so you never have to learn the timing in the middle of a boss fight.
Quick answer: Hold the block button and press the counter button in the instant before an enemy attack connects. On Xbox that’s LB plus A; on PlayStation the on-screen prompt in the Deflect drill spells out the exact input while you hold L1. Land three of them in the drill and you get Mild Restorative x3.
Deflect input and timing
A deflect is a two-button move layered on top of your guard. You hold block first, then tap the counter button as the blade is about to hit you. That’s the key difference from a parry, which is just a well-timed press of block on its own with nothing held down.
The window is tied to the moment of impact, not the moment the enemy starts moving. Watch for the forward commitment, where the weapon actually begins travelling toward Musashi. Pressing during the wind-up is the single most common reason a deflect turns into a plain block.
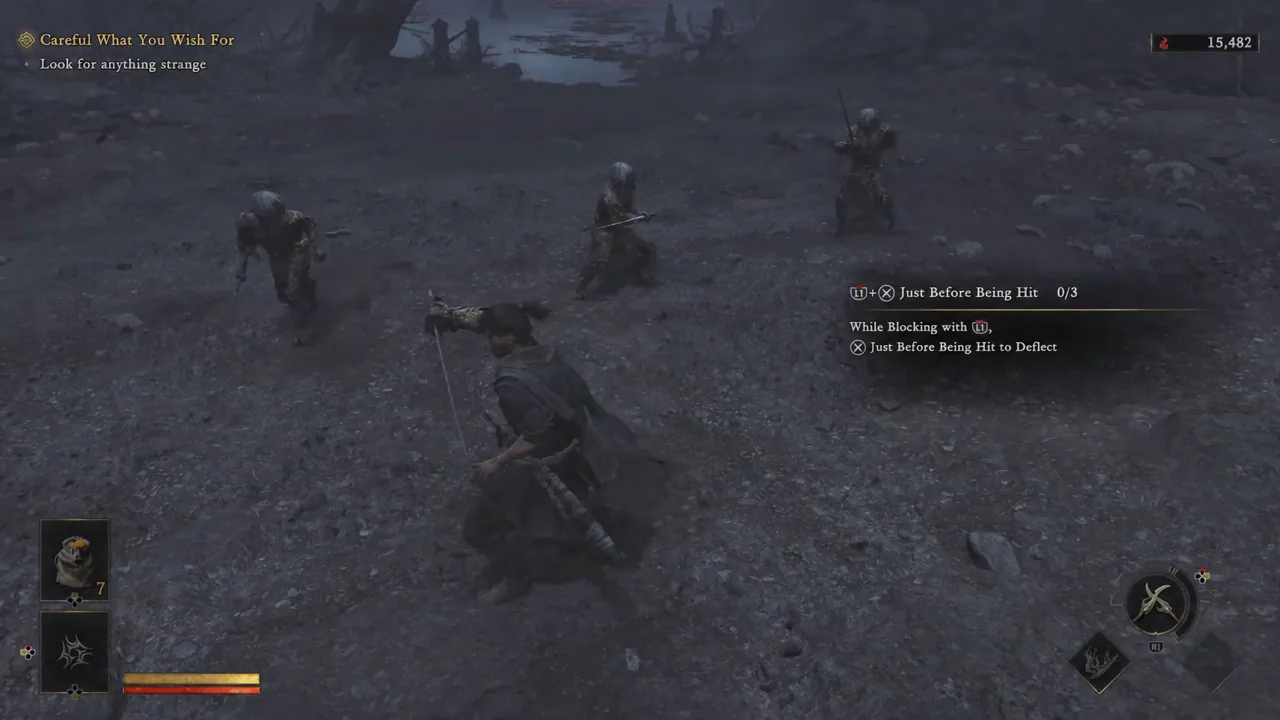
Note: the prompt on screen is the authority for your controller. Follow the button it displays rather than muscle memory from another action game.
What a deflect does to an enemy
A deflect does not break an opponent’s stance outright. What it does is strip a large chunk of their stamina, and once that gauge empties you can execute a Break Issen, which kills most weaker Genma instantly and takes a serious bite out of a boss. Deflecting while you’re in Blazing State pushes that stamina damage even higher.
Deflects also handle ranged pressure. Time one against an incoming projectile and it goes back at whoever fired it. A deflect can additionally kick off a Blade Lock, where you and your opponent grind swords until one of you mashes through and sends the other spinning away.
| Defensive option | Input | Result |
|---|---|---|
| Block | Hold block (L1 / LB) | Stops most attacks from any angle, but each hit drains stamina |
| Parry | Block right as the attack lands | Sweeps the attack aside, leaves the enemy open, fills the Blaze Gauge |
| Deflect | Hold block, press the counter button just before impact | Heavy stamina damage, returns projectiles, can start a Blade Lock |
| Reflex Dodge | Dodge (Circle / B) inside the parry window | Avoids attacks that cannot be parried or deflected, builds the Reflex Gauge |
Run the Deflect drill at the Practice Ground
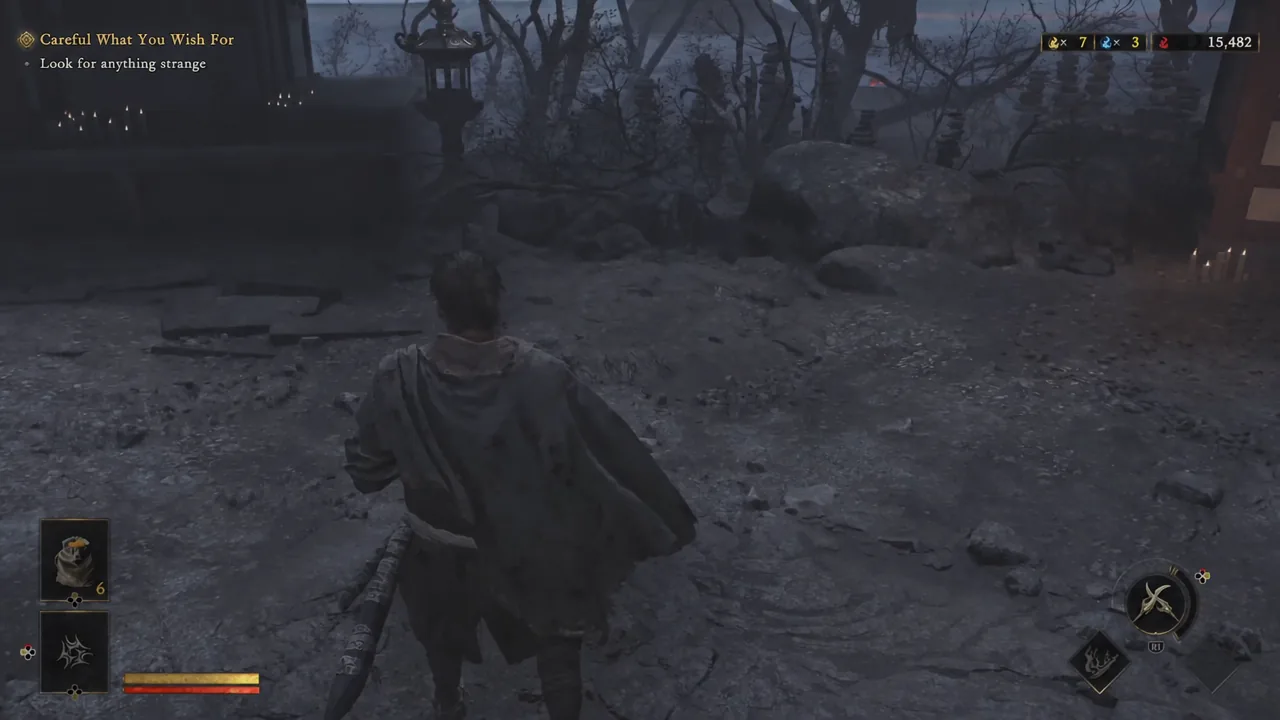
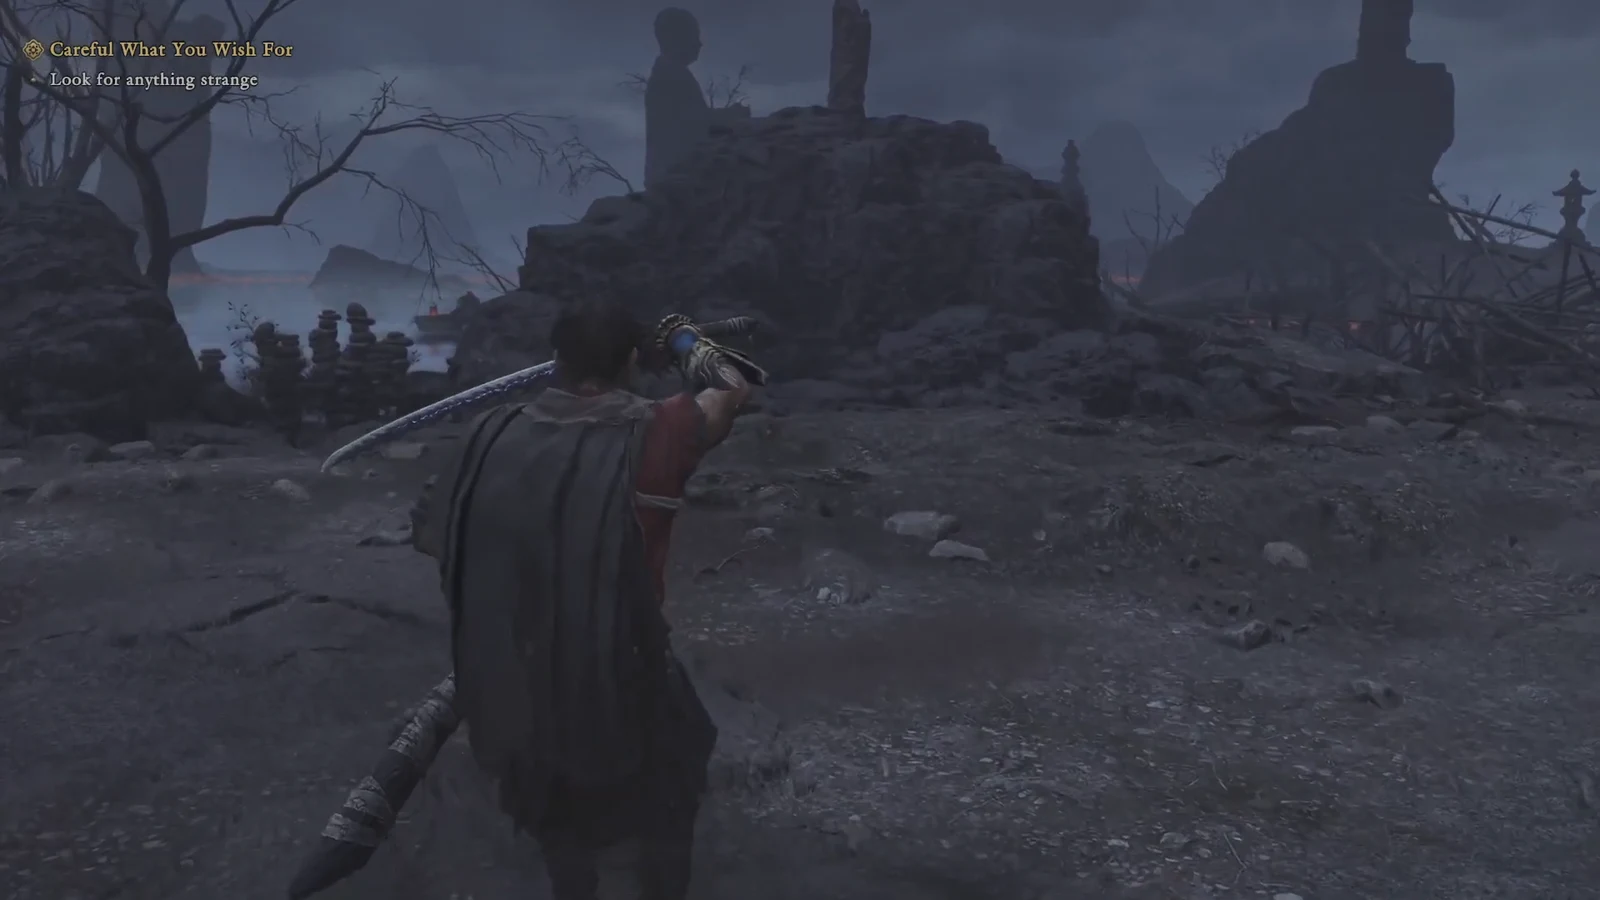
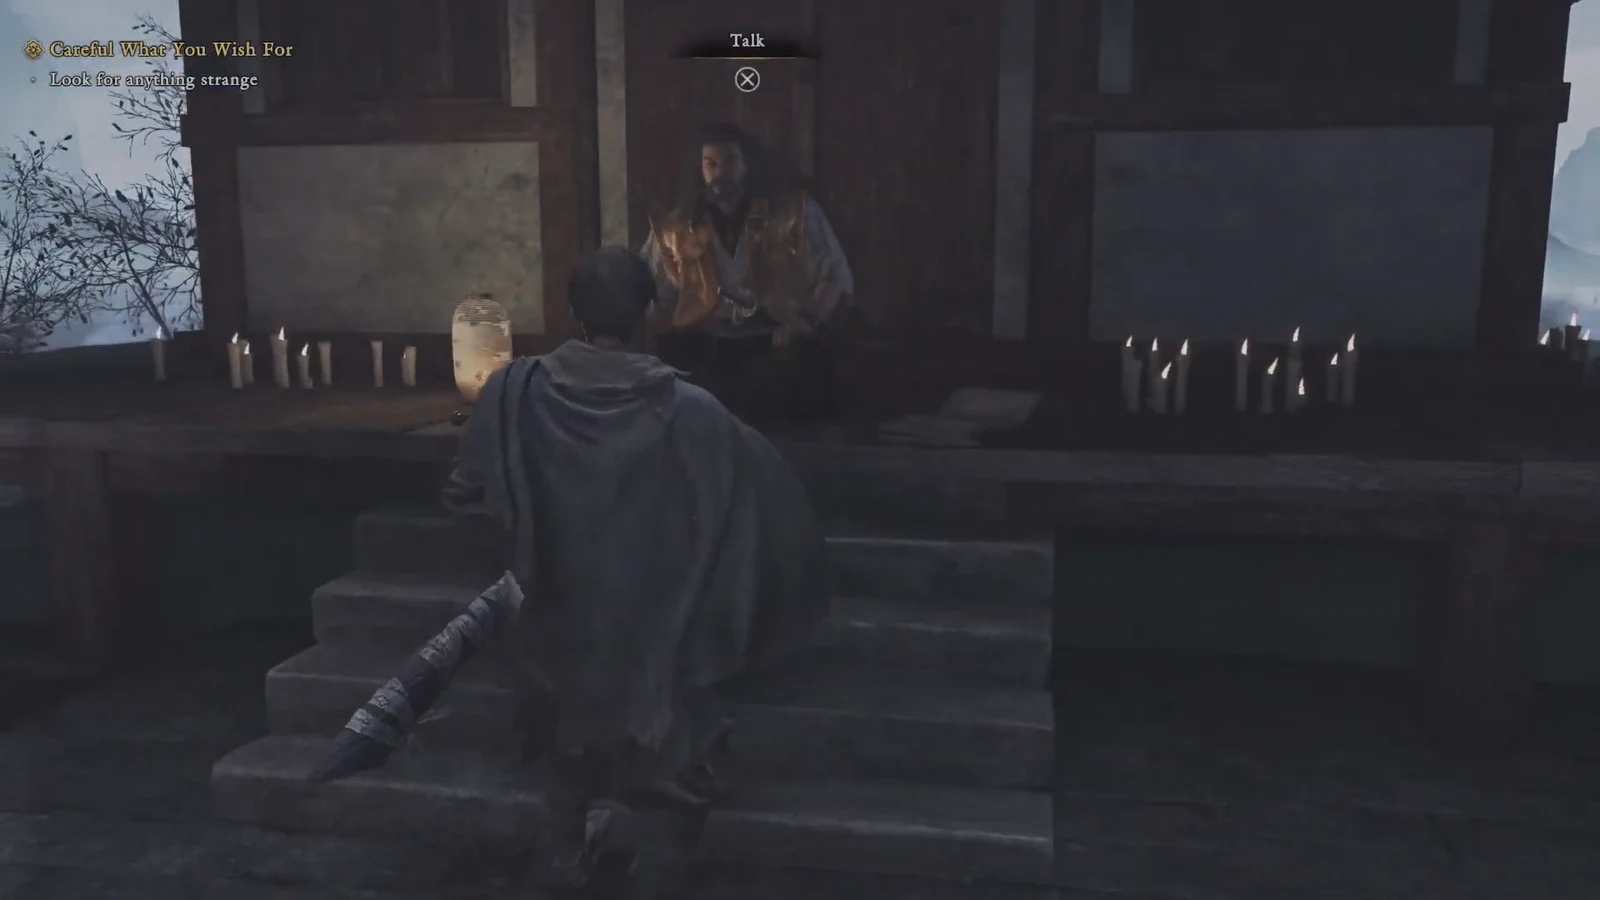
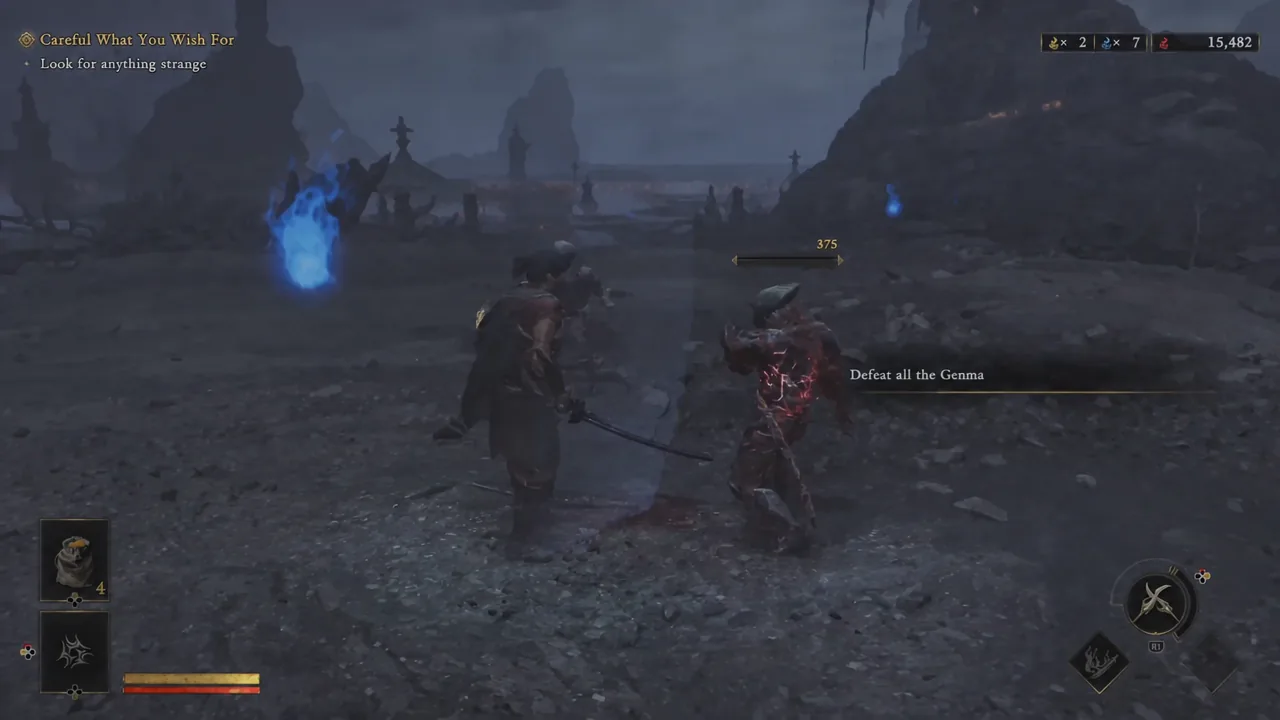
The safest place to learn the timing is the Practice Ground, which you can reach while the “Careful What You Wish For” objective is active. Enemies there attack on a predictable rhythm and nothing you do costs you progress.
How to tell the deflect actually landed
In the drill, the counter above the objective ticks up each time you get it right, so three clean inputs closes that part out. Once the Genma are down, Takamura signs off with “Just sublime, boy.” and the Mild Restorative x 3 goes into your inventory.
Out in the field there’s no counter, so read the enemy instead. A deflect produces a hard clash rather than the sweeping sword motion of a parry, and the opponent’s stamina gauge drops noticeably. If they simply keep swinging and your own stamina shrinks, you blocked rather than deflected.
Why a deflect fails to trigger
- You pressed the counter button during the wind-up instead of the release. Heavy attacks in particular are delayed on purpose to punish early inputs.
- You weren’t holding block. The deflect only exists as a follow-up while guard is held down.
- The attack cannot be deflected. Punches and kicks generally have to be dodged, so knowing which threats need a Reflex Dodge matters as much as the timing itself.
- Your stamina ran out from over-blocking. Once it breaks you lose your stance, drop souls, and sit through a long recovery animation before you can defend again.
Tip: if the rhythm of a fight isn’t clicking, stop attacking for one full exchange and just watch. The game is built around reading a swing and choosing a response, and a deflect you commit to on a read lands far more often than one you guess at.
Once deflects are reliable, the rest of Musashi’s defensive kit slots in around them. Parries feed the Blaze Gauge, deflects grind stamina toward a Break Issen, and dodges cover the attacks neither of those can touch. Takamura’s drill list keeps every one of those techniques available for a rerun, so there’s no reason to keep experimenting on a boss.