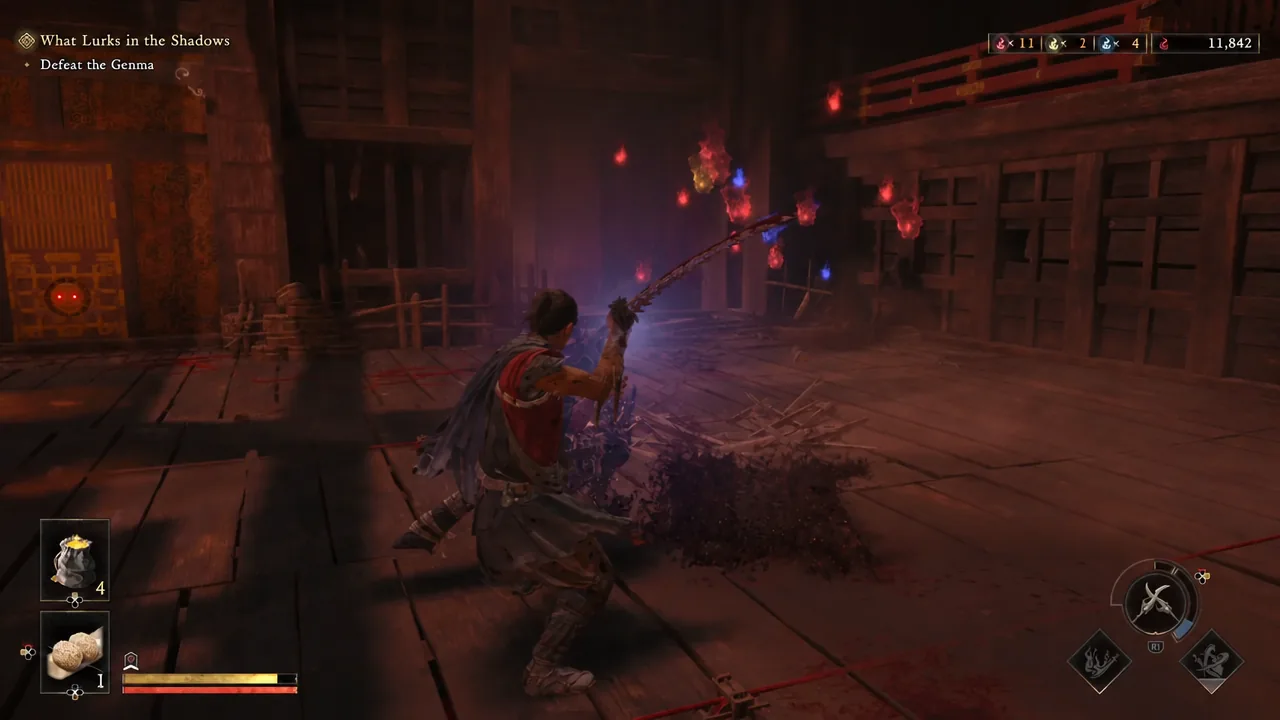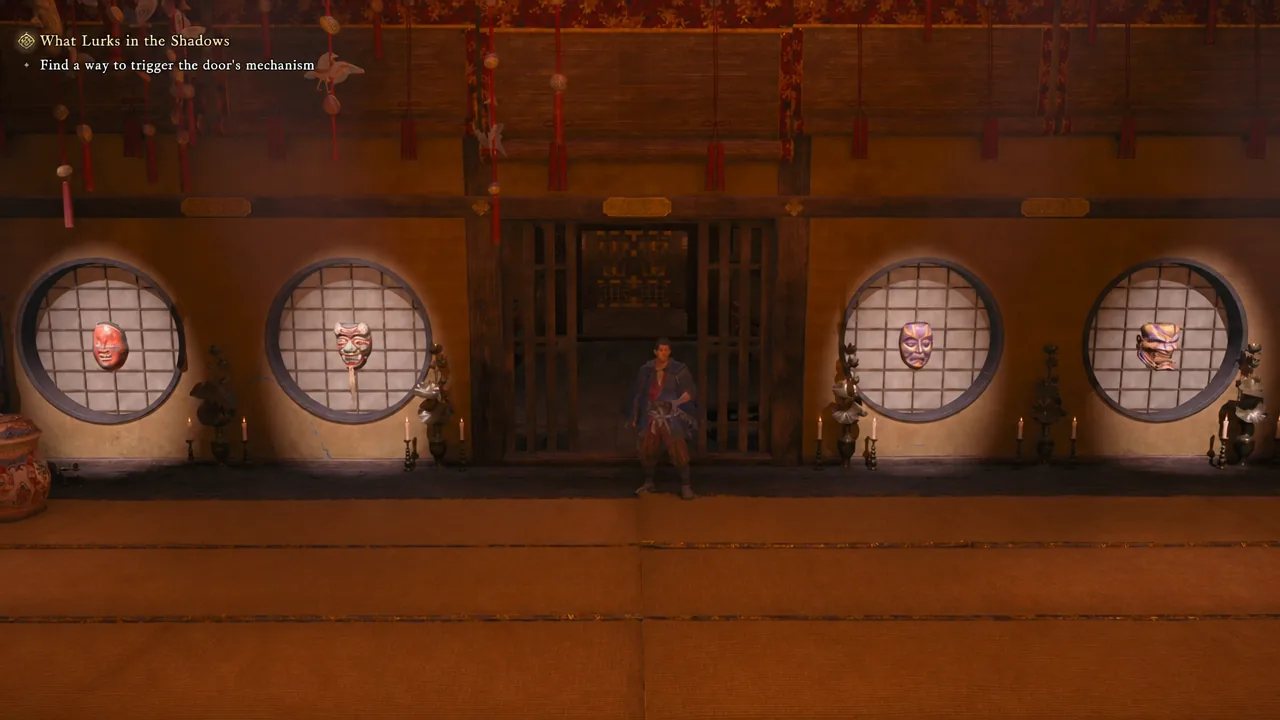
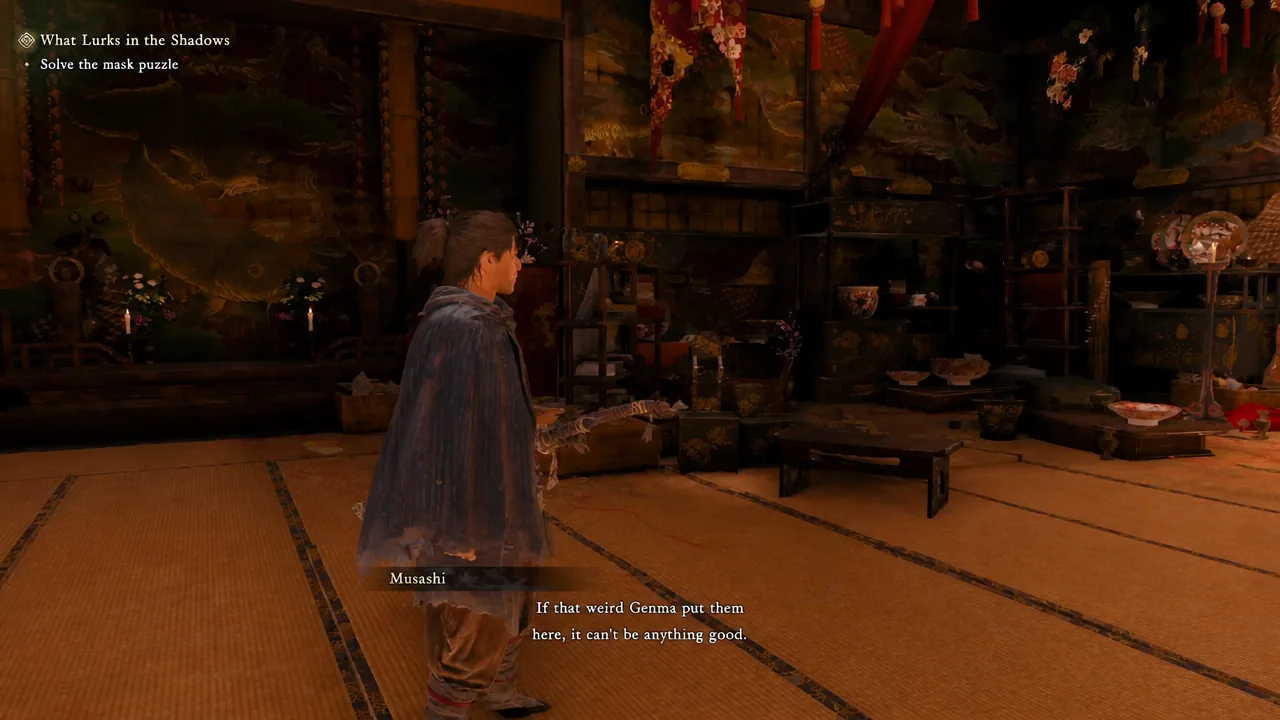
Partway through the What Lurks in the Shadows mission in Onimusha: Way of the Sword, Musashi walks into a theater-like room in the underground laboratory, a sliding door seals behind him, and the objective changes to “Solve the mask puzzle.” Four masks hang above a locked box, four more hang against a shoji wall opposite, and there is no switch or lever anywhere in the room. The only tool that matters here is the bow.
Quick answer: Facing the wall above the locked box, shoot the masks in this order, counting left to right — third, fourth, first, second. The cage opens and drops the Unsettling Mask.
Mask puzzle shooting order in What Lurks in the Shadows
Only the four masks mounted above the locked box are valid targets. The lit masks on the shoji across the room are the clue, not the puzzle. Number the targets 1 to 4 from left to right as you stand facing them, equip the Oni Bow, and fire in the sequence below.
| Shot | Mask (left to right) | Light shafts in its design |
|---|---|---|
| 1st | Third mask | 1 |
| 2nd | Fourth mask | 2 |
| 3rd | First mask | 3 |
| 4th | Second mask | 4 |
Nothing dramatic happens between shots, so do not assume you have failed just because the room stays quiet. The reaction comes once the fourth arrow lands.
How the light clue behind the shoji works
Each mask hanging on the shoji is lit by an overhead spotlight, and each one mirrors one of the masks above the locked box. Every mask design has a different arrangement of slits — open eyes, an open mouth, a frown line — so each one throws a different number of light shafts through the paper screen.
The count is the order. Leave the main room, walk around to the far side of that wall, and look at the shadows cast on the screens and the floor. One mask lets a single shaft through, another lets two, another three, and the last shows all four openings. Shoot them from fewest shafts to most, which works out to the third, fourth, first and second mask above the box.
Tip: If you stay in the room without acting, Shizuka gradually offers hints that walk you toward the same answer, so the puzzle cannot permanently stall a run.
Confirming the puzzle solved: The Unsettling Mask
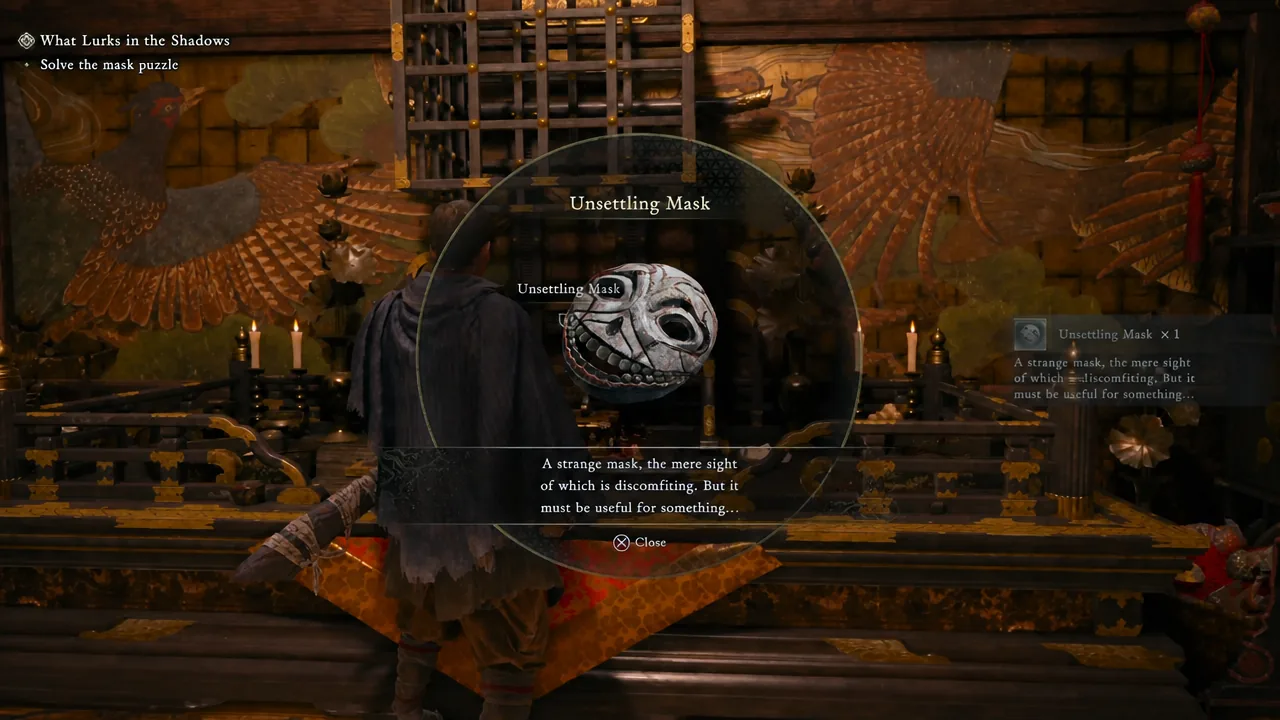
The cage over the locked box opens the moment the final mask is hit, exposing the Unsettling Mask on the altar. Walk up and take it. Picking it up produces an inspection screen for the item, which is the clearest confirmation that the sequence registered.
If the cage stays shut, there are only two realistic causes. Either arrows are landing on the spotlit masks on the shoji wall rather than the four above the box, or the sequence was counted from the wrong side — the order is read left to right while facing the locked box, not while standing behind the screens.
Where to use the Unsettling Mask
The Unsettling Mask is a key item, not a piece of gear. It goes back to a door you already passed and could not open, so the route out of the puzzle room is a short backtrack through the sliding doors and corridors you came in by.
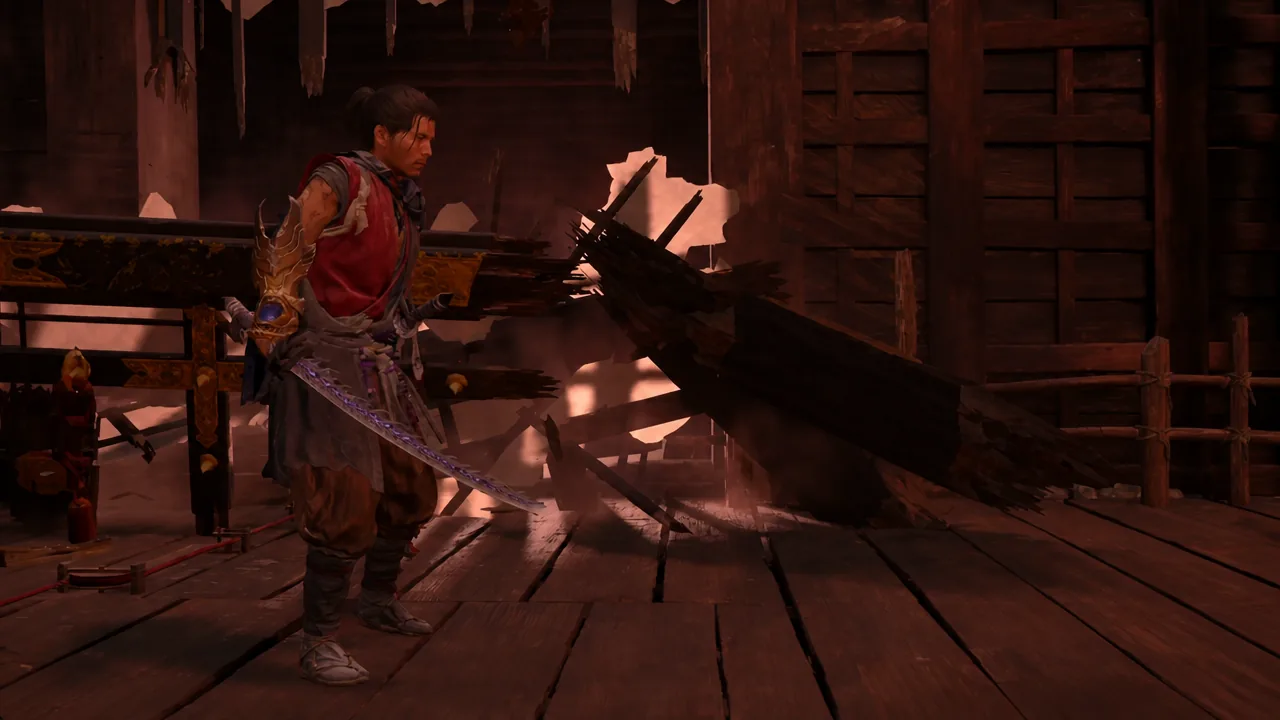
The target is an ornate door built around a central skull-shaped mechanism with a socket sized for the mask. Interact with it to slot the Unsettling Mask in, which halts the spinning contraption and releases the lock.
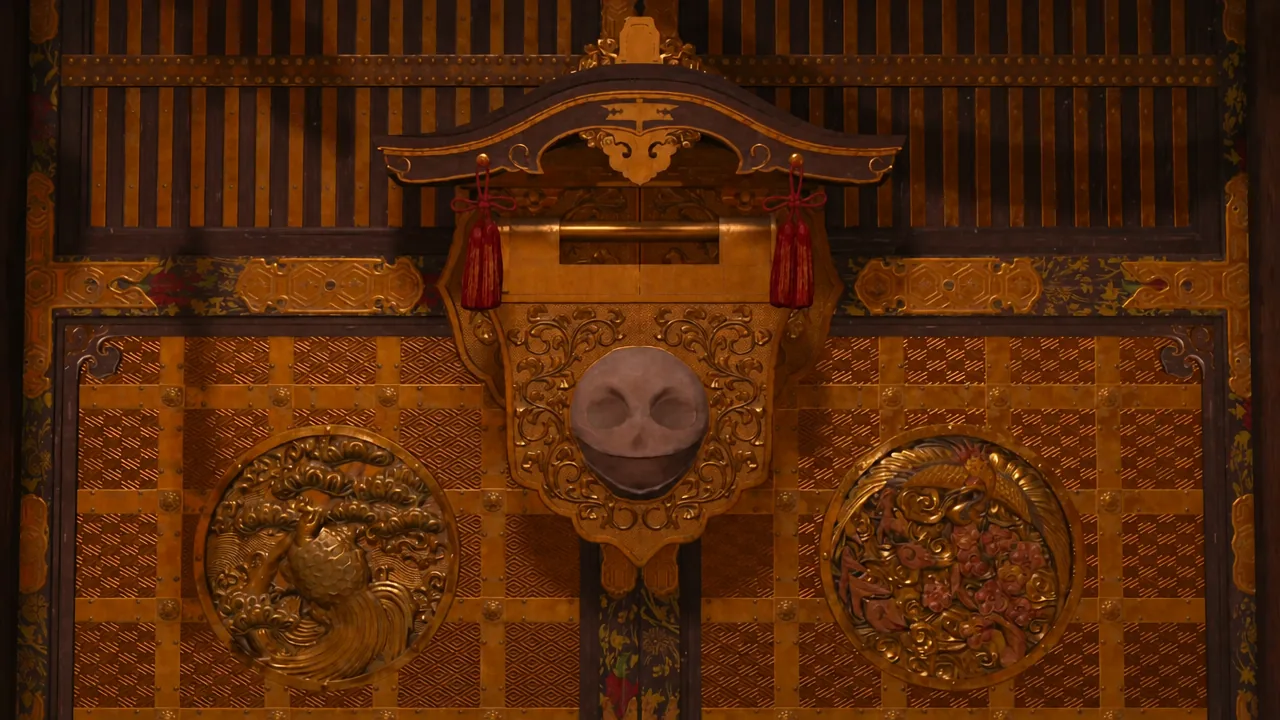
Once the door opens, the mission returns to combat and the objective switches to defeating the Genma waiting beyond it. Keep the bow equipped as you go through — it stays useful for shooting mechanisms and breakable walls elsewhere in the stage, and it never runs out of arrows.