Order of the Sinking Star: Mirror Isles Part 2 Puzzle Solutions (Puzzles 9–16)
Exact moves to clear the second Mirror Isles sub-region, from the cloning puzzles through the hub bridge sections.
Exact moves to clear the second Mirror Isles sub-region, from the cloning puzzles through the hub bridge sections.
by AllThingsHow Staff · Edited by Pallav Pathak
Image: Thekla, Inc.
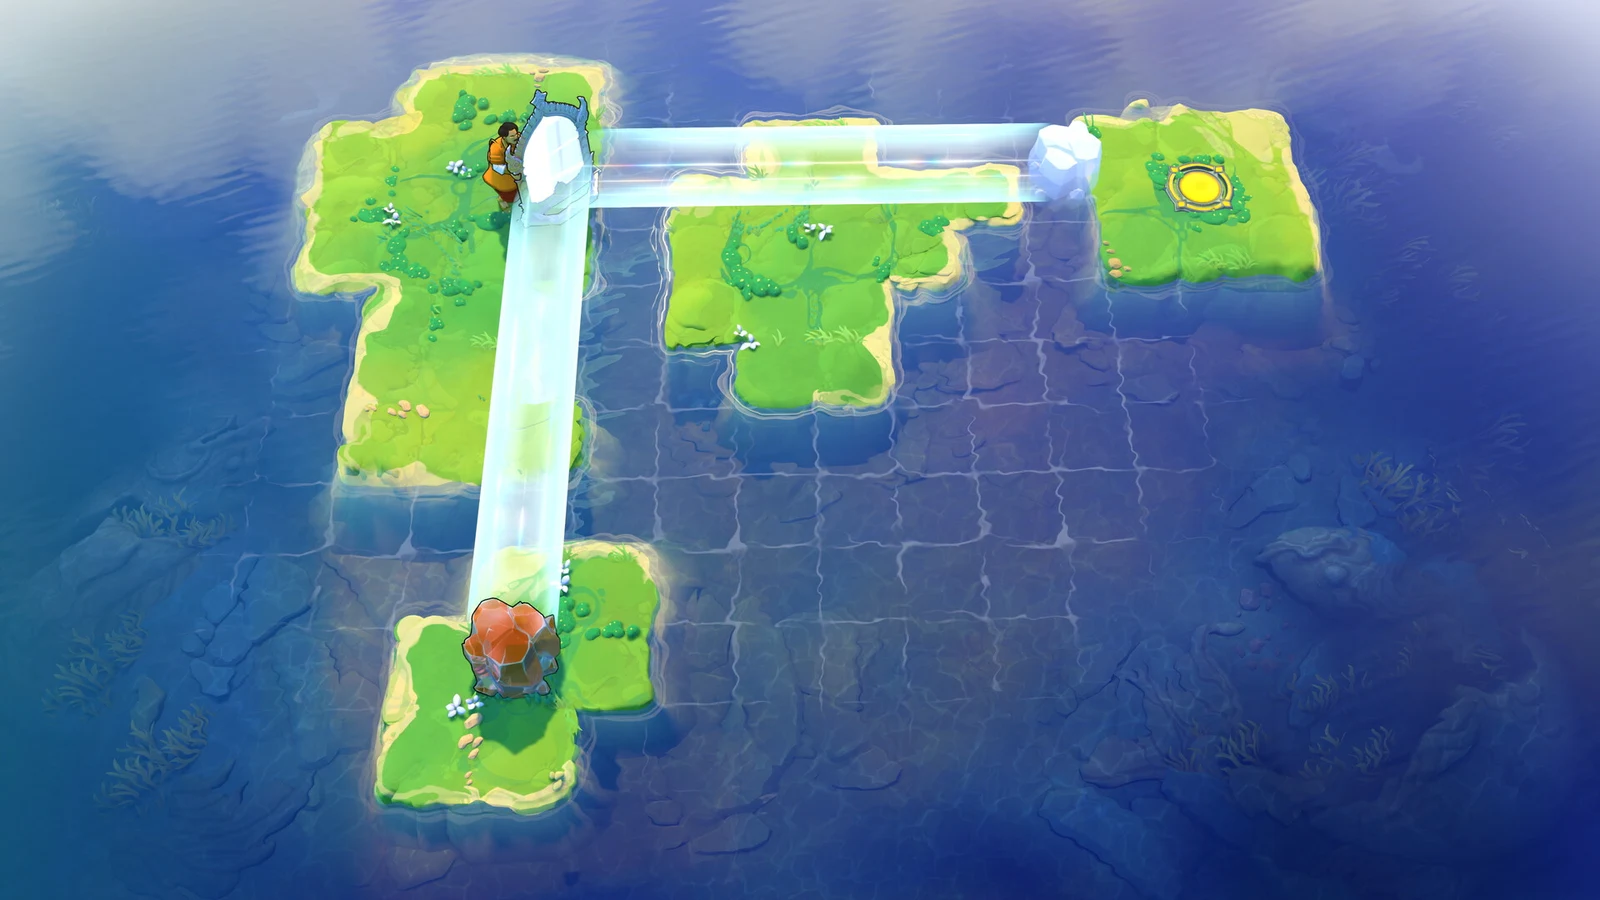
The second Mirror Isles sub-region in Order of the Sinking Star opens up eight more trials once you finish the first area, and it leans hard into the game’s cloning trick. Numbering carries straight on from the first batch, so these solutions start at Puzzle 9 and run through Puzzle 16, with three short hub sections in between that gate access to the later trials.
Quick answer: Work through Puzzles 9 and 10 (clone yourself onto the yellow circles), clear the hub platform, then solve Puzzles 11–16 by pushing stones into water to build bridges. The hub stone sections unlock each new stretch.
Image credit: Arc Games, Gamirror Games via YouTube/@Joric
Mirror Isles Puzzle 9
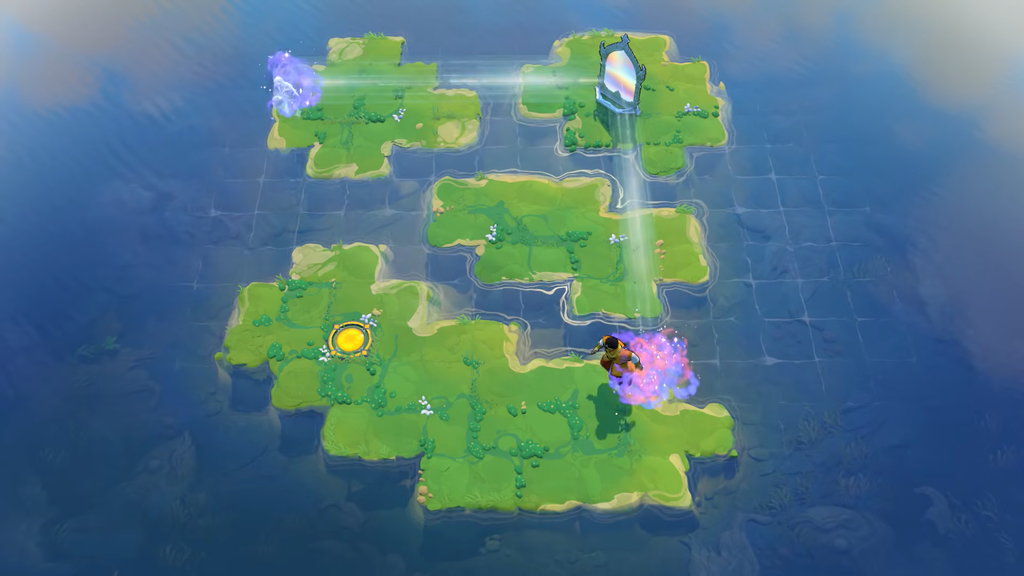
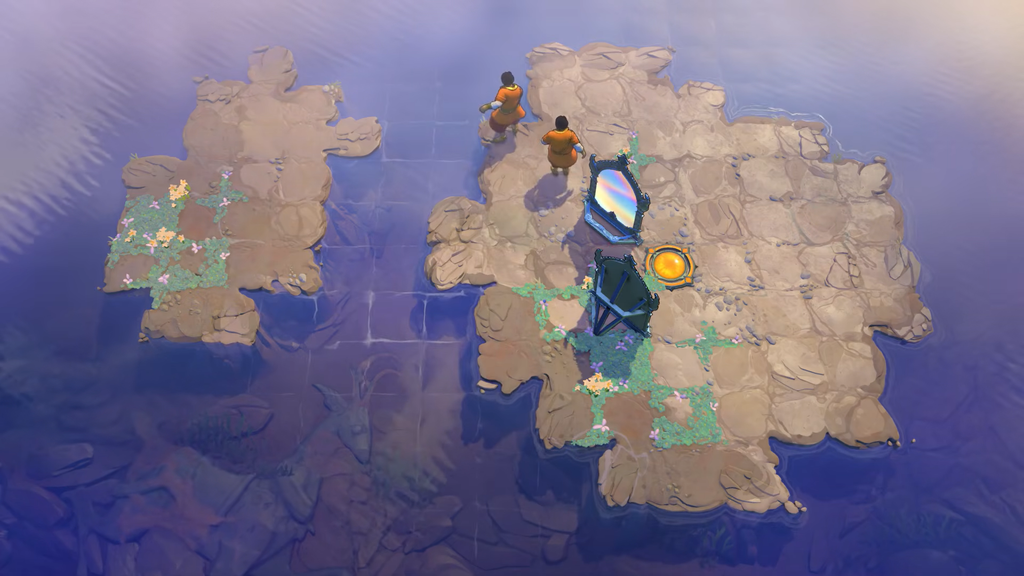
This is where the game teaches cloning. There are two yellow circles that must be stood on at the same time, so you need a copy of yourself to cover both.
Push the right mirror up by 1 square to clear the mirror-in-mirror effect, line yourself up in the same row as the left mirror, and teleport to the southwestern isle.
Once both characters occupy their target isles, adjust their separation using the edge squares. Put your left character on the isle’s top square, then move left, up, or right to shift only the right character until both can reach their circles at once.
Both yellow circles light at once and the puzzle clears.
Image credit: Arc Games, Gamirror Games via YouTube/@Joric
Mirror Isles Puzzle 10
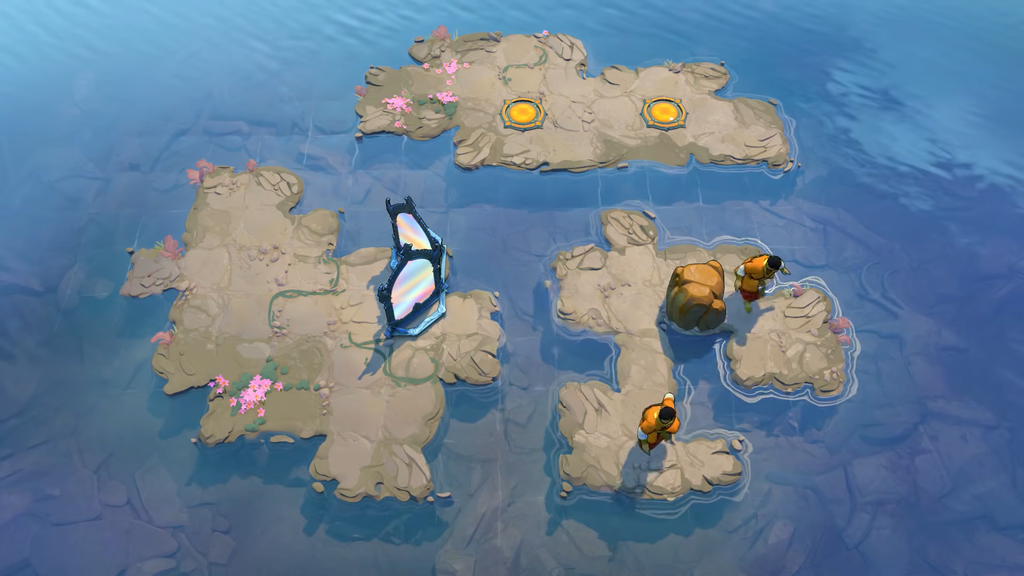
This one needs three characters on three circles. Cloning is simple here; the fiddly part is spacing them correctly.
Go to a tile beside the right mirror and teleport. The clone lands on the southern isle, while the original remains north. Adjust the horizontal spacing between them with the edge squares.
Return to the same spot one square from the right mirror and teleport again for a second southern clone. Then push the left mirror into the water and use the right mirror to send your original to the southern isle too.
All three are now on the target isle. Use the edge squares so each one sits on its own row with a single square of horizontal spacing between them, lining all three up on the circles.
Image credit: Arc Games, Gamirror Games via YouTube/@Joric
Hub Area Puzzle 1
Beating Puzzle 10 drops you back in the sub-region hub. A teleporter platform to the right of the puzzle entrance works as a shortcut back to the Crossroad and other sub-regions, but ignore it for now.
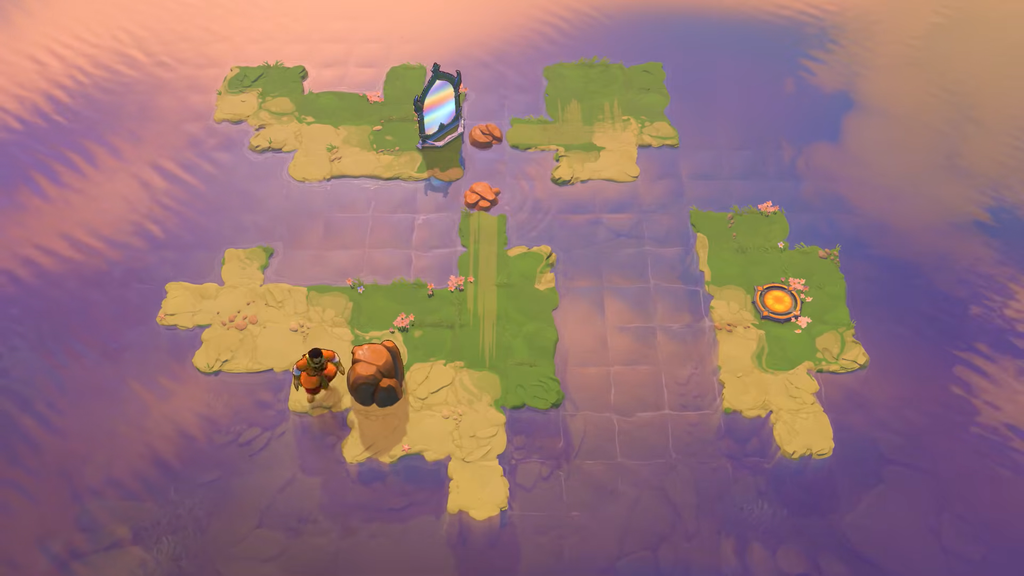
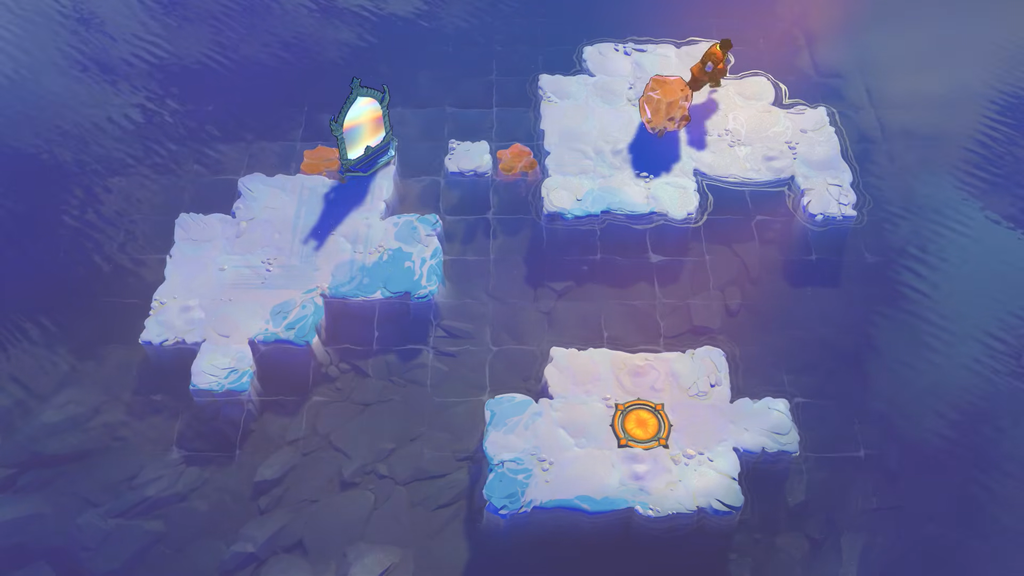
Walk north toward the clay platforms. Keep some distance from the window in the screen’s top-right corner, then teleport into the snowy area and begin the next trial.
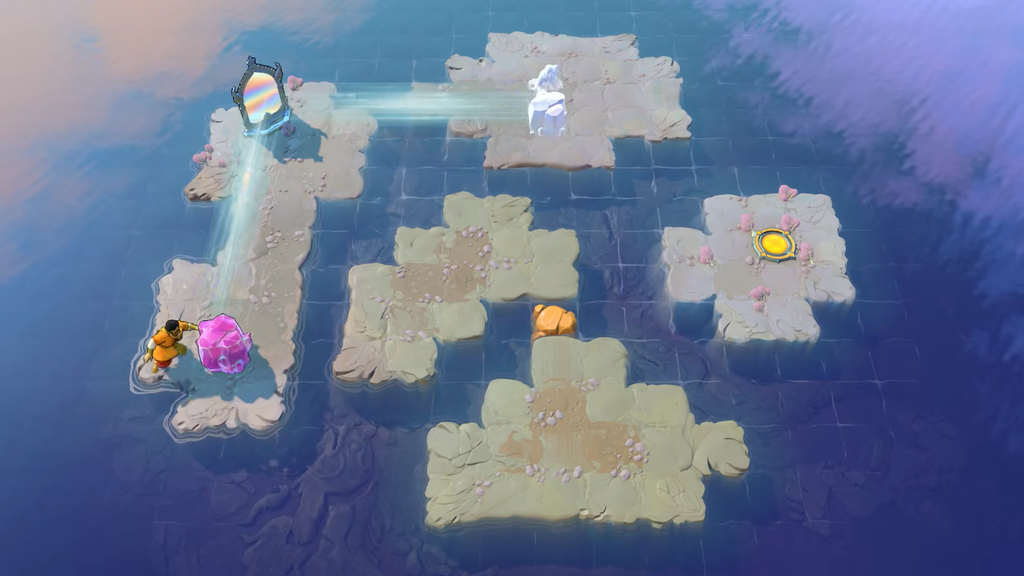
Shift the southern stone one tile east. Shove it north until it drops into the water, joining the southern and central isles. Cross onto the central isle and teleport to the western isle with the mirror.
Push the mirror 6 squares up and teleport to the northern isle. Move the pink stone 1 square down and press the teleport button to send it to the western isle, then teleport yourself across. Standing one square closer to the mirror lets the jump land.
Move the pink stone north one tile, then shove it east into the water to make a bridge. Bring the mirror onto the central isle and set it in the column containing the first bridge made with the yellow stone.
Get to the stone’s far side and shove it east until it creates the bridge and lights the yellow circle.
Image credit: Arc Games, Gamirror Games via YouTube/@Joric
Hub Area Puzzle 2
Clearing Puzzle 13 returns you to the hub with a fresh pink stone. You use it to open a path toward the three trials still left in the area.
Push the pink stone 1 square left, 1 square down, 1 square right, 1 square down, and then all the way right, stopping on the rightmost square without dropping it into the water. Teleport the stone through the mirror, then walk to the clay square above where you pushed it to teleport next to the stone. Push it 1 square left and teleport it to build the bridge, which opens up the rest of the sub-region.
Mirror Isles Puzzle 14
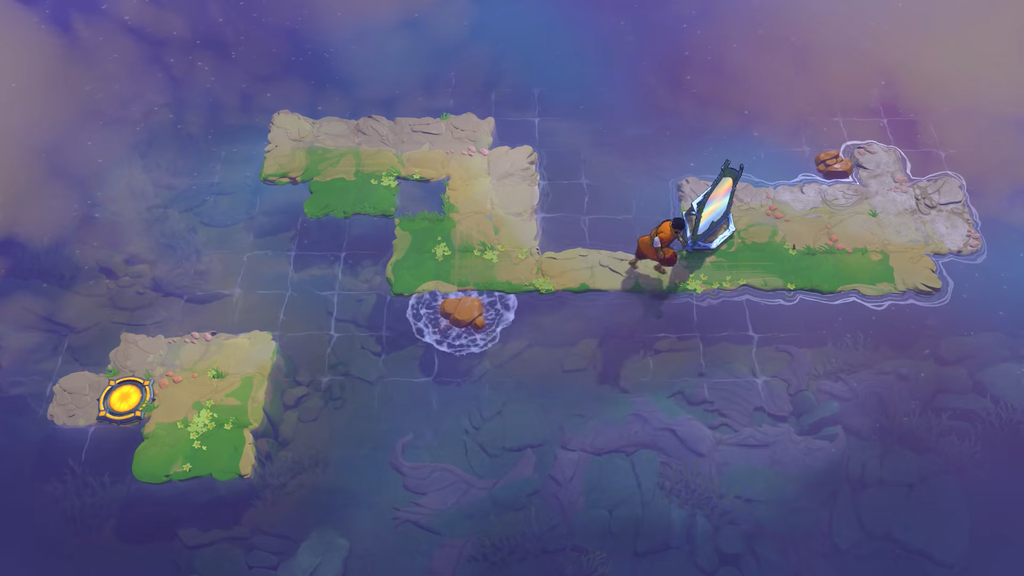
Push the purple stone 1 square down, 1 square right, 2 squares down, and 6 squares right so it ends on the rightmost tile of the southern isle. Then push the mirror 2 squares right, 1 square down, and 1 square right.
Teleport the stone and it bridges the two isles, letting you activate the yellow circle and move on.
Mirror Isles Puzzle 15
This is the sub-region’s toughest trial. Make room with the pink stones and use them to teleport to less obvious positions on your way to the yellow circle.
Push the mirror over that pink stone so you can teleport to the northern isle. Push the next pink stone 2 squares down and 1 square left, then teleport it into the water next to the southern isle.
Shift the mirror east one tile. Move the stone on your isle west one tile and south one. Next, raise the mirror one tile, shift it east one, then north two so it rests on the isle’s top tile.
Push the left stone onto the one already in the water and teleport it to the western isle. Then teleport yourself from the bridge’s midpoint to the western isle.
Push the last stone into the only remaining water gap to finish the bridge. Teleport to the western isle, push the mirror right, and carry it to the northern isle over the bridge.
Set the mirror beside the bridge’s endpoint. Use it to teleport to the southern isle and activate the yellow circle.
Image credit: Arc Games, Gamirror Games via YouTube/@Joric
Hub Area Puzzle 3 and leaving the sub-region
With all eight trials done, you still need to head up, down, or right to reach a new sub-region. Going down is simple: return to where you first entered and walk south.
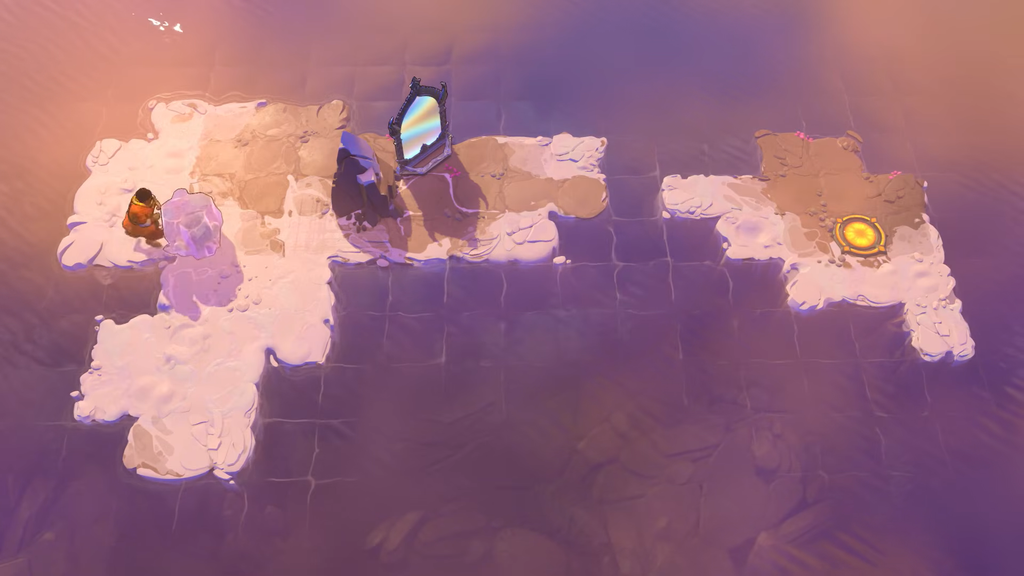
The up and right routes both require the pink stone, so hold rewind to retrieve it. Send it with the mirror to the upper clay row, then push it into the water to open the northern sub-region. For another route, shove it to the far-left end of that same clay row, teleport it onto the snowy area’s bottom row, and push it east once to make a bridge toward the eastern sub-region.
Every trial here confirms a clear the moment its colored circle lights and the character locks onto it, so if nothing triggers, recheck your spacing or the final mirror placement before rewinding.