Origin of Infection Walkthrough in Star Wars Zero Company
Clear the three mission phases, keep the data transfer alive, and evacuate all four operators without losses.
Clear the three mission phases, keep the data transfer alive, and evacuate all four operators without losses.
by AllThingsHow Staff
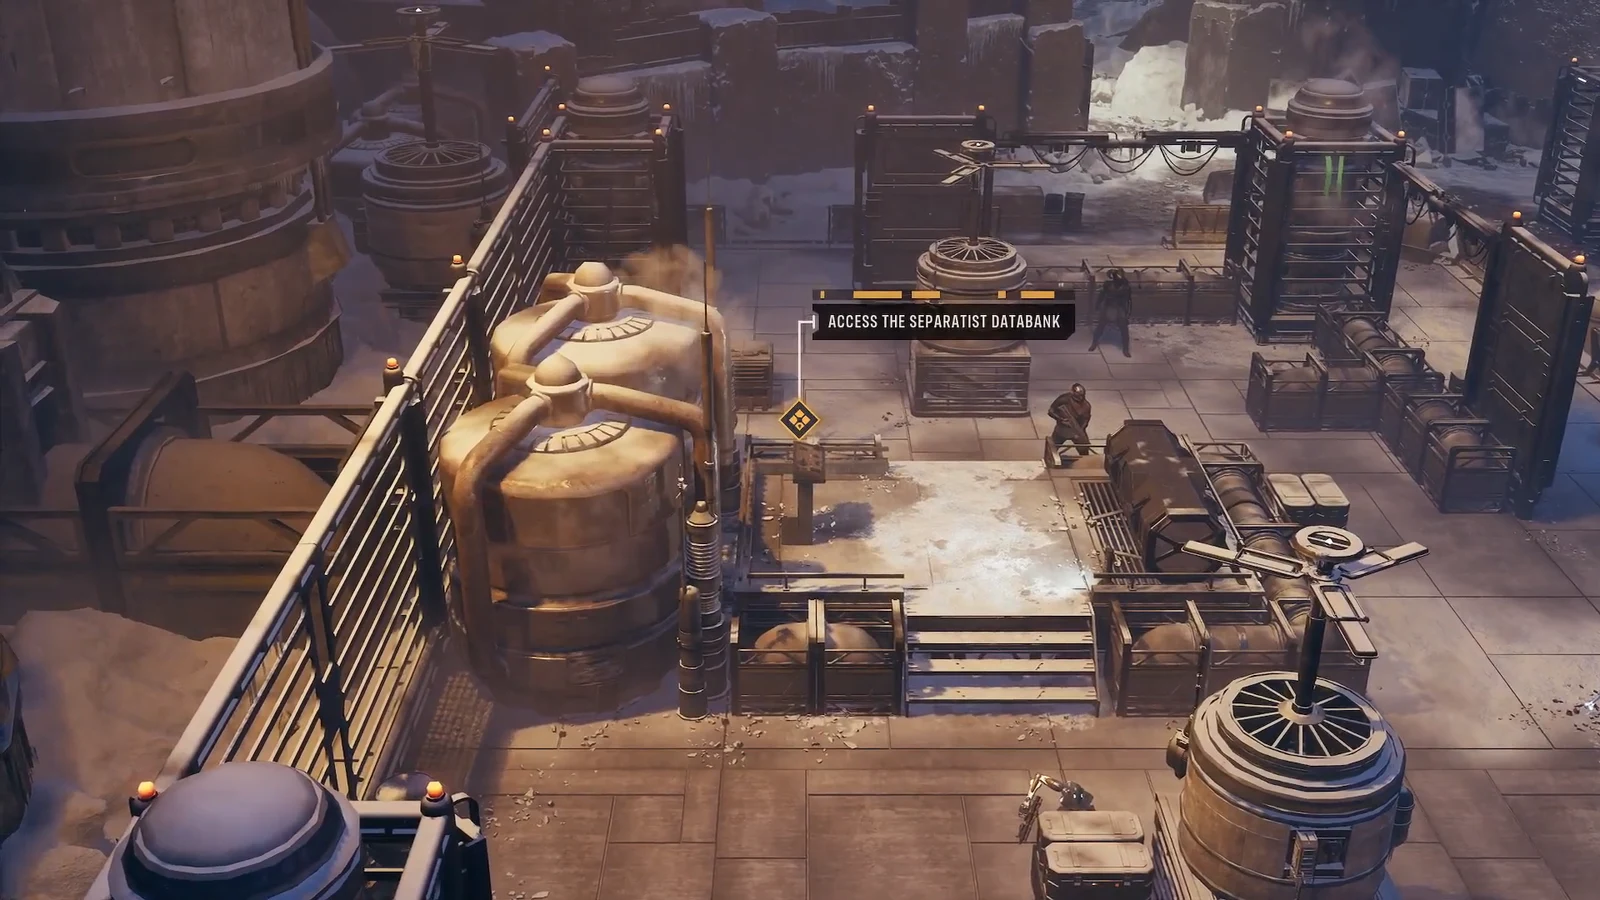
The Origin of Infection mission drops a four-operator squad into a snow-covered Separatist facility with a simple structure and a strict fail condition. You reach a databank terminal, hold the zone while the download runs, then pull everyone out to a marked evacuation grid. Tel-Rea Vokoss must survive for the whole run, so protecting her is the one rule that overrides everything else.
Quick answer: Move to the databank and activate it, keep at least one operator standing inside the green terminal zone until the transfer hits 100%, then walk all four operators into the yellow evacuation zone. Never let Tel-Rea drop.
Squad and mission objectives
You run this mission with Tel-Rea Vokoss, Harmony-4, Trick, and Jae Mordant. Tel-Rea is your Jedi and does the heavy lifting on crowd control with Force Push and Force Pull, and her high deflection lets her soak blaster fire when placed in front. Jae Mordant carries the medpac that keeps the line alive during the defense phase.
The objectives update in three fixed stages as you progress.
Phase
Objective text
Win condition
1. Access
ACCESS THE SEPARATIST DATABANK
Reach the terminal with Tel-Rea to begin the download
2. Defend
PROTECT THE DATA TRANSFER
Keep one operator in the green zone until transfer reaches 100%
3. Evacuate
EVACUATE ALL OPERATORS
Move all four operators into the yellow evac zone
A standing condition runs under all three phases: TEL-REA MUST SURVIVE. If she goes down and dies, the mission fails regardless of the objective in progress.
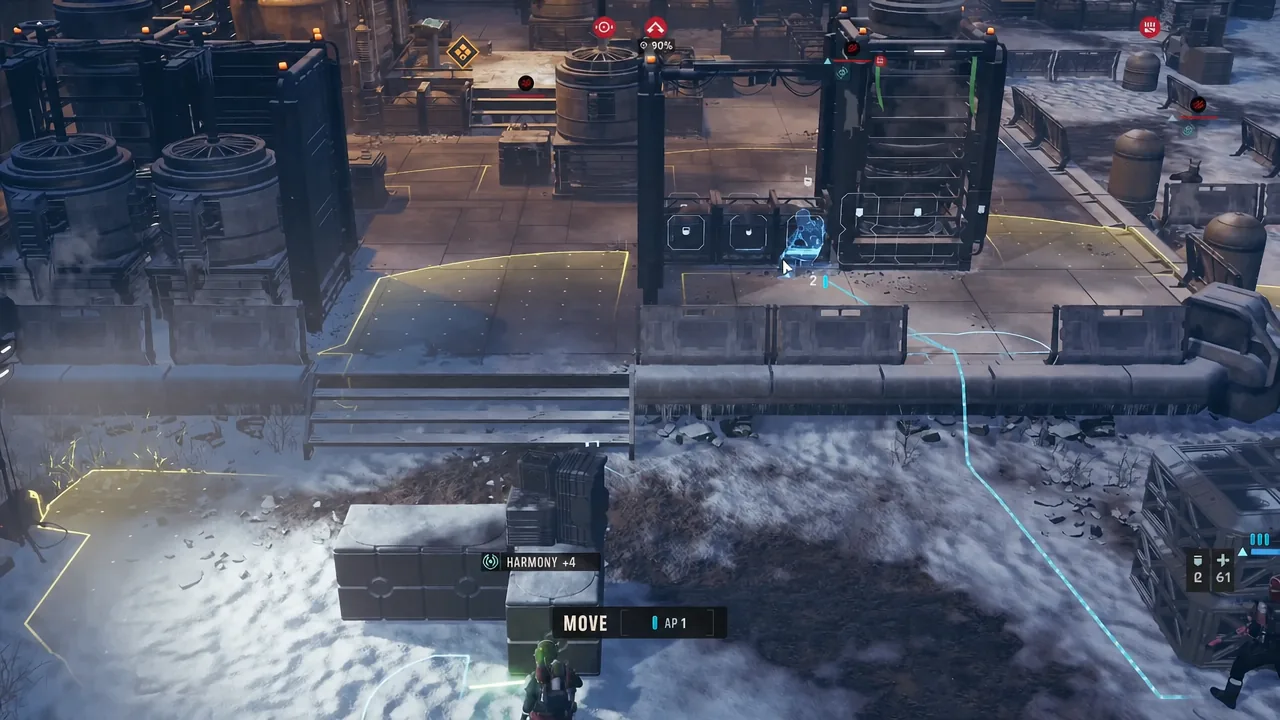
Advance the whole squad forward using cover along the approach. Spend your action points to move between barricades rather than crossing open ground, since even basic droids hit exposed operators reliably.
The Move action previews a blue path and the AP cost before you commit. Image: Electronic Arts
Open the fight with Tel-Rea’s Force Push on a Coil BX Droid Commando. This both damages and displaces the target, buying you positioning room before the rest of the enemy line reacts.
Use your ranged operators to trade fire from behind barricades against Coil Brute and Coil Striker units. Coil Brutes have high health and can recover, so focus the whole squad on one at a time to remove it for good.
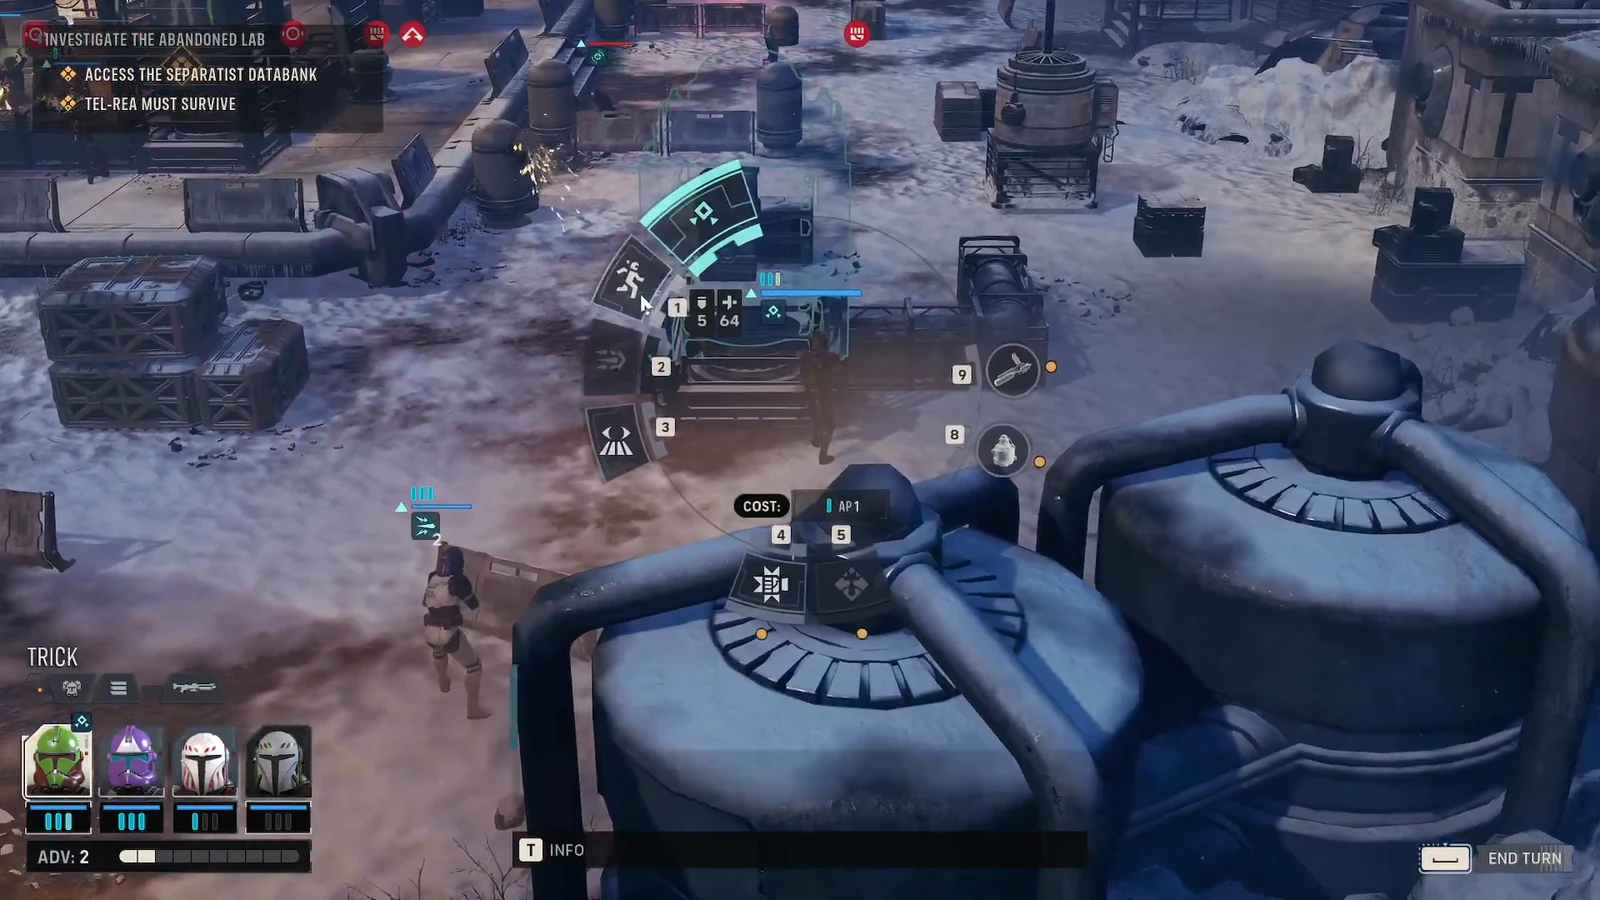
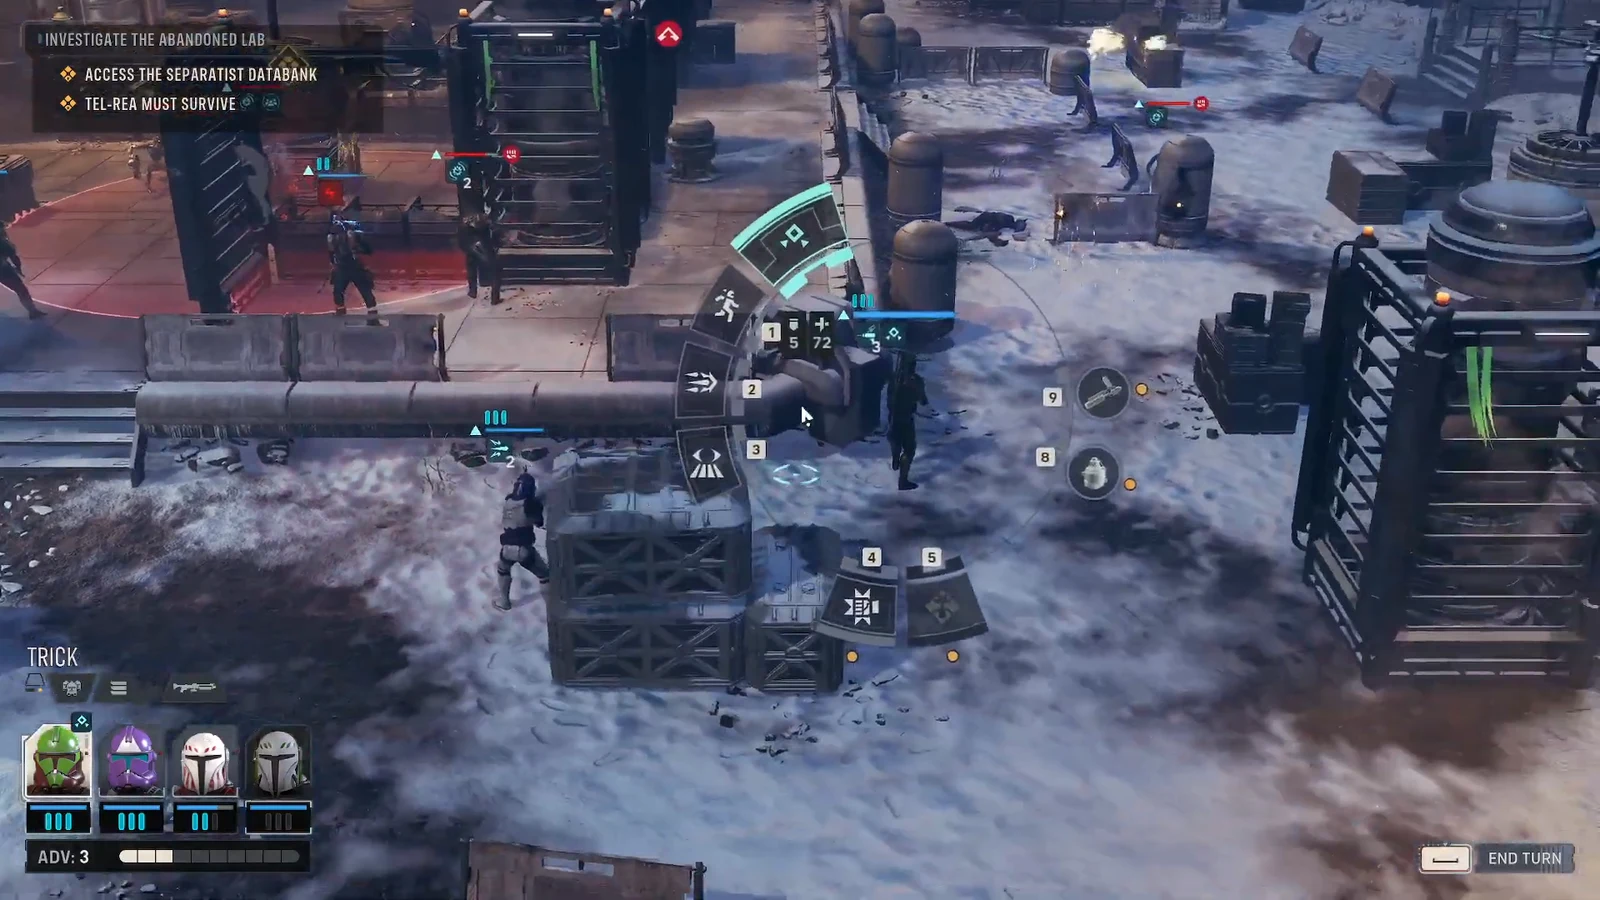
00:44The ability wheel shows AP costs, so you can fit a 1-AP shot after moving. Shown at 00:44 in PazarGamingGuides’s video. Image: Electronic Arts
When an enemy throws a grenade, turn it into a trap. Wait for the explosive radius to appear, then use Tel-Rea’s Force Pull to drag a Coil BX Droid Commando directly into the grenade zone so it takes the blast for you.
Set up Overwatch on entry points as you push toward the terminal. Any melee unit that moves into the marked lane on the enemy turn eats a free reaction shot. Move Tel-Rea onto the databank terminal to trigger the objective change to PROTECT THE DATA TRANSFER.
If the squad takes damage during the approach, apply a combat stimulant to heal and buff before the terminal activates. Entering the defense phase at full health matters more than saving consumables.
Phase 2: Holding the terminal during the data transfer
Once the transfer starts, the mission becomes a hold. Reinforcements arrive, including a Coil Enforcer, and the download only advances while an operator stands inside the green terminal zone. The screen flags this as REGION OCCUPIED when you hold it and REGION CONTESTED when enemies contest the space.
Keep at least one operator planted inside the green zone at all times. The transfer stalls the moment the zone is empty, so treat that tile as the position you defend around, not a spot to abandon when the fight moves.
07:10Cycle through the numbered ability wheel to fire off Morale Boost IV while holding the zone. Shown at 07:10 in PazarGamingGuides’s video. Image: Electronic Arts
Use Morale Boost IV to regenerate health and raise combat stats across the squad while under pressure. Stack it with combat stimulants when reinforcements pile up so nobody drops in the zone.
Fight the crowd at close range with impact bombs and blaster fire. When a wave clusters near the terminal, the explosives clear multiple targets and keep the contested area under your control.
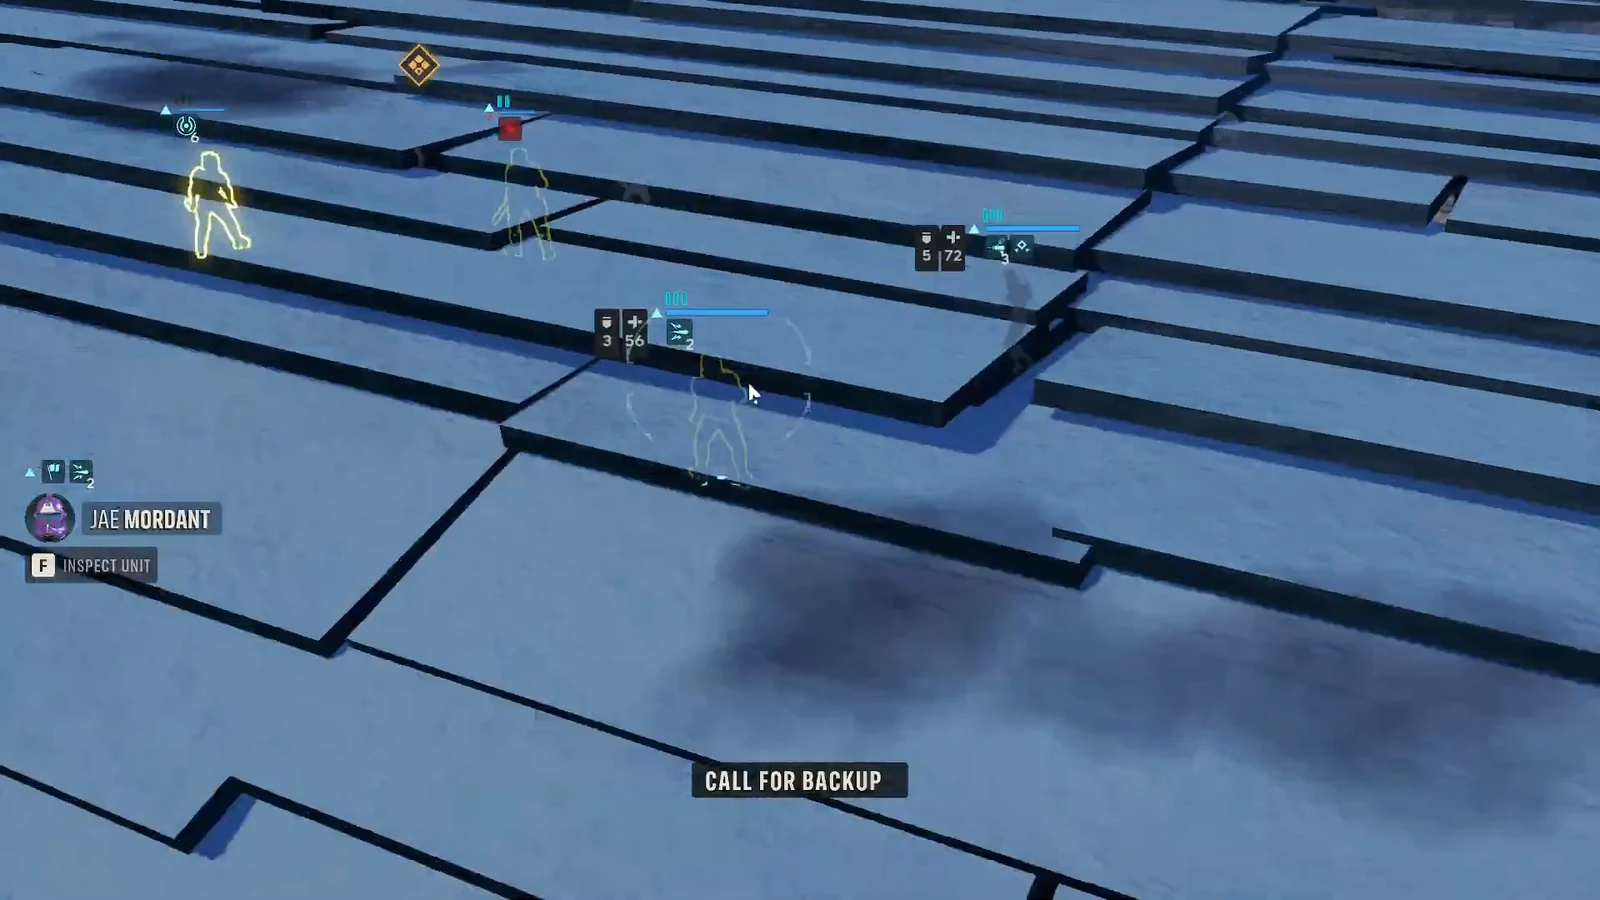
10:11Call for Backup adds a teammate's shot to a targeted enemy near the terminal. Shown at 10:11 in PazarGamingGuides’s video. Image: Electronic Arts
Heal proactively with Jae’s medpac when health drops under sustained fire. Don’t wait for an operator to go down inside the zone, because a rally costs actions you need for holding the line.
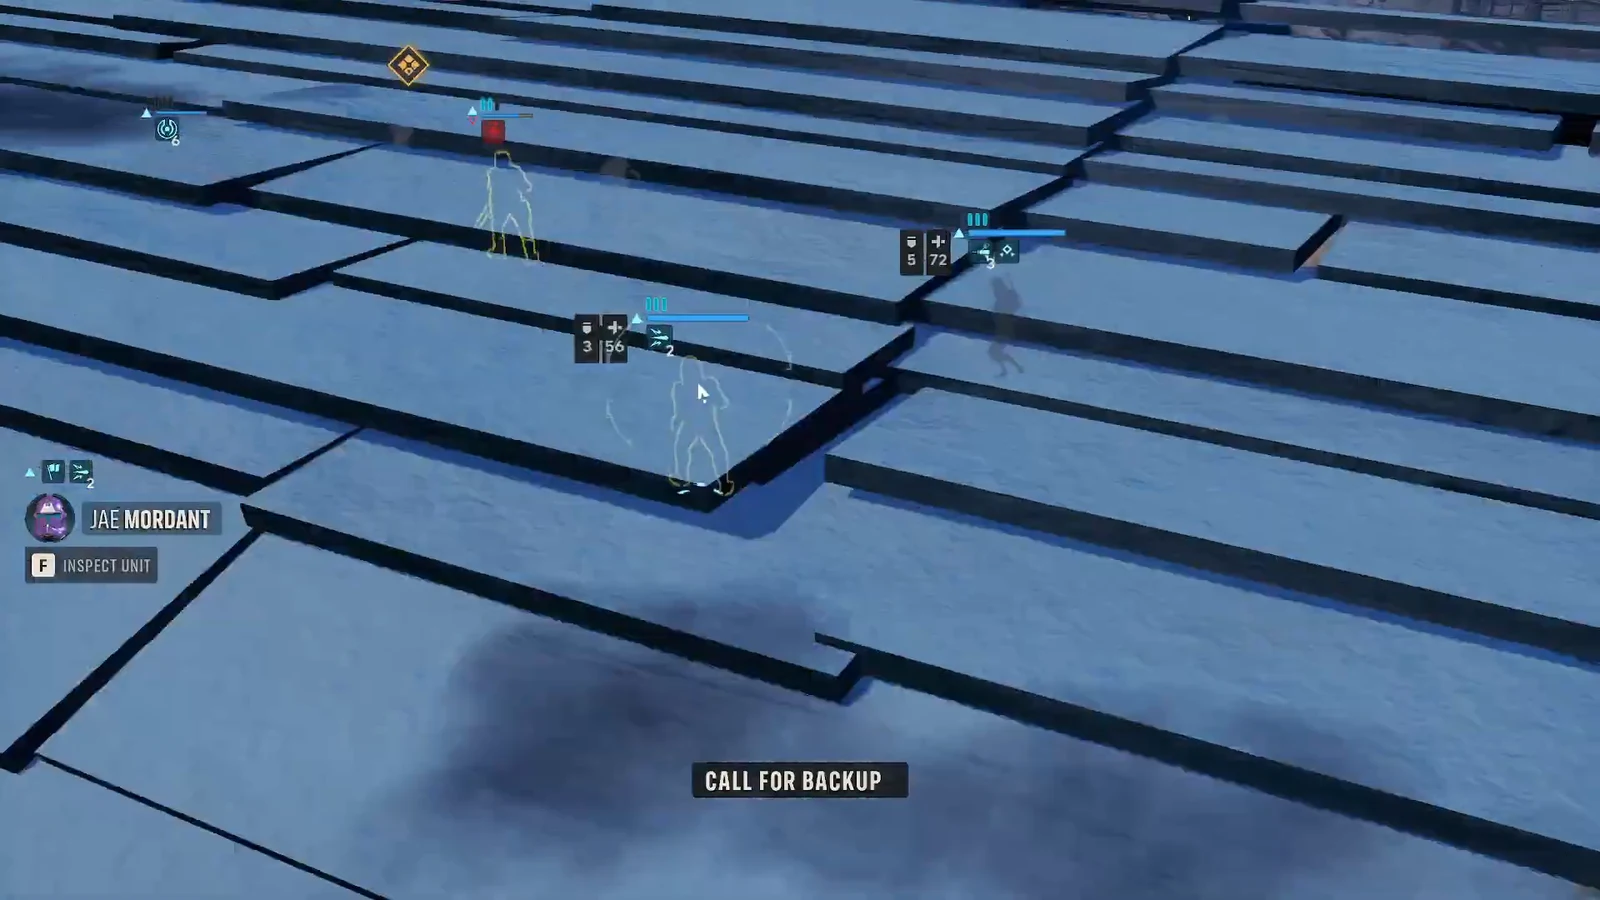
05:07Inspect a unit before committing Call for Backup to confirm the target. Shown at 05:07 in PazarGamingGuides’s video. Image: Electronic Arts
Prioritize high-health targets and push threats out of the defense zone. Concentrate fire on a Coil Brute to clear the perimeter, and use Tel-Rea’s Force Push to shove a Coil Enforcer away from the terminal when it presses in. The transfer completing at 100% flips the objective to EVACUATE ALL OPERATORS.
Phase 3: Evacuating to the extraction zone
The yellow evacuation zone sits at the far end of the map, so the final stretch is a fighting retreat. You only win when all four operators are standing inside that grid, which means nobody gets left behind covering the rear.
Break contact with the terminal area and start moving toward the yellow zone as a group. Keep operators close enough to support each other rather than strung out across the map.
Clear blocking droids with rockets, a flamethrower, and blaster fire so nothing chokes the path. Coil 81 Battle Droids and Coil B2 Super Battle Droids can wall off the route if you leave them standing.
Push through the last of the enemy fire and move every operator into the yellow zone. Once all four are inside, the mission ends with MISSION SUCCESS.
Why the mission fails and how to avoid it
Failure cause
Fix
Tel-Rea is killed
Keep her in front for deflection but pull her back if she stacks damage; she must survive the whole run
Green zone left empty in Phase 2
Always keep at least one operator standing inside the terminal zone until 100%
An operator left behind at evac
All four must reach the yellow zone; do not sacrifice a rearguard
Coil Brute recovers after being downed
Focus the whole squad on one Brute to remove it in a single turn
Play it as three clean checkpoints. Get Tel-Rea to the databank, defend the green zone without leaving it empty, then extract everyone to the yellow grid. Manage her health through all three, and the fail condition never comes into play.