

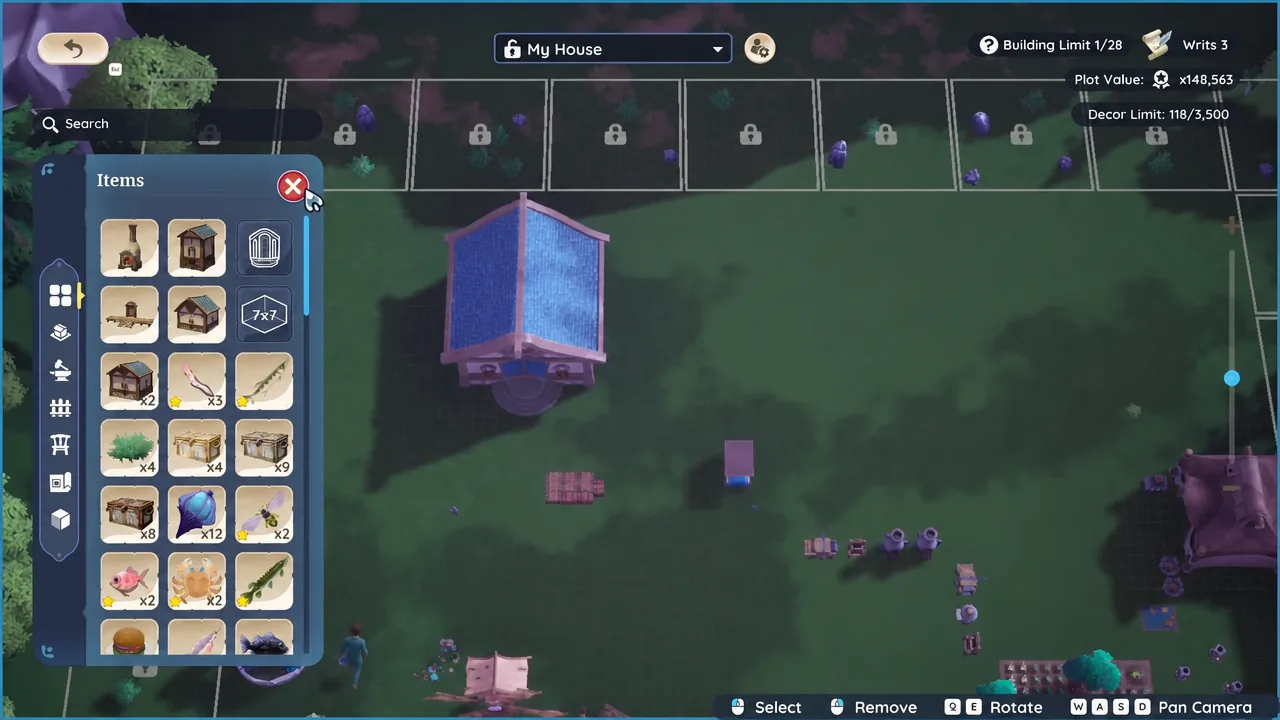
The Harvest House is the piece of your home in Palia that everything else hangs off of, and it’s also the piece that trips up new players during the House, Sweet House quest. It isn’t placed from a crafting bench or bought from a shop counter. It goes down from the overhead housing view, and it needs a genuinely large patch of empty ground before the game will let you commit to a spot.
Quick answer: Stand on your housing plot, press H to open the My House building view, click the Harvest House in the Items panel on the left, drag its outline onto a clear stretch of grid, and left-click to place it.
What you need before the foundation will place
Your plot opens up early, once you’ve picked up your axe from Ashura during Welcome to Palia. The Harvest House blueprint itself arrives later, as a reward for Spiffy It Up, the furniture-making quest from Tish. After that, Kenli, the village mayor, hands you House, Sweet House, which is the quest that expects a foundation on the ground.
Space is the other requirement, and it’s the one people underestimate. The Harvest House occupies an 11×11 meter square, so your Makeshift Tent, crafting stations, and any scattered debris need to be moved or cleared out of the target area first. Nothing can overlap the footprint.
Place the Harvest House foundation on PC
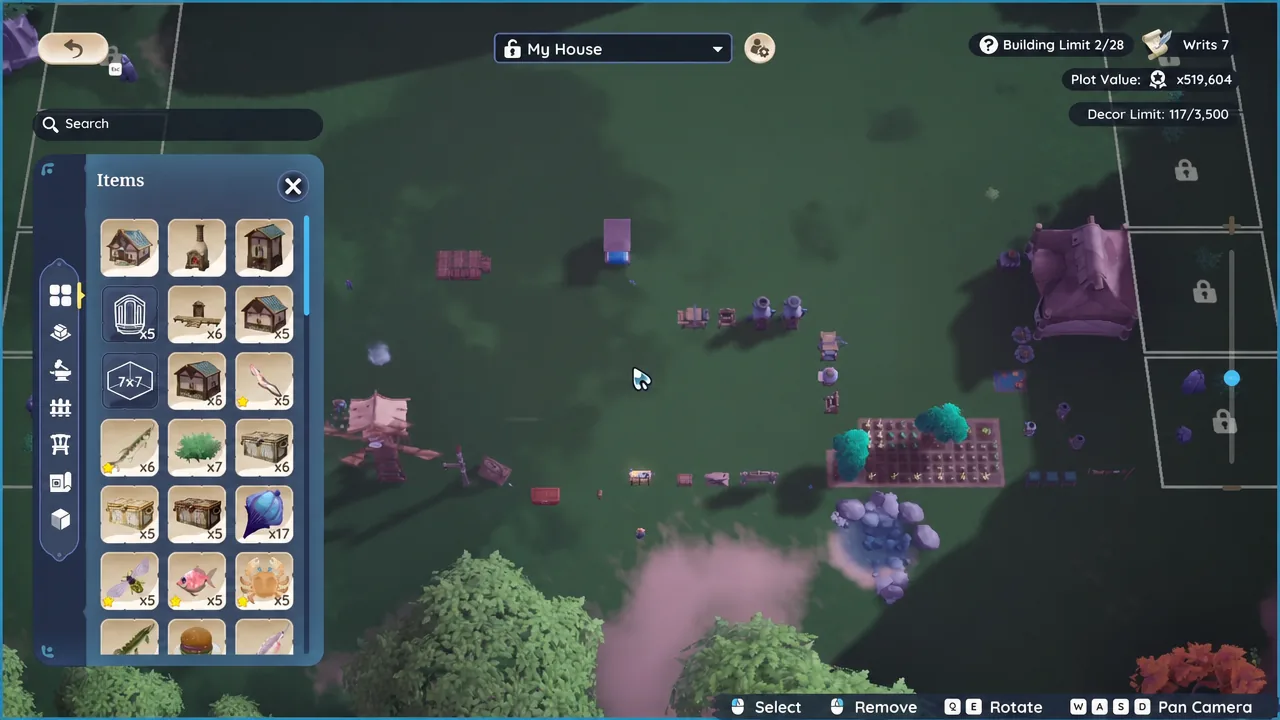
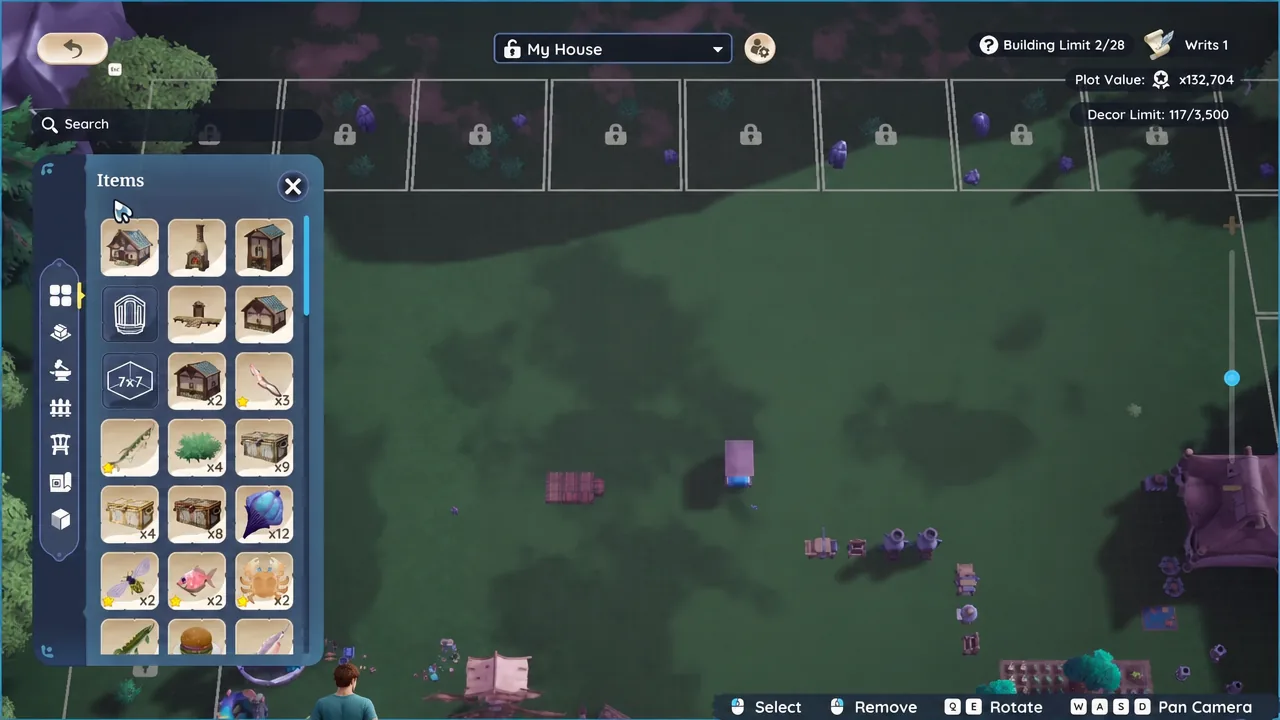
Tip: rooms and additions can be picked up and rearranged in this same menu later, so the layout you choose now isn’t locked in forever.
Finish construction with planks and bricks
Placing the foundation is only half of House, Sweet House. A standee sits in front of the build site, and interacting with it shows the outstanding materials. You can deposit them in batches as you gather them or all at once.
| Material | How to make it |
|---|---|
| Sapwood Plank x100 | One Sapwood refined per plank in a Sawmill. The Basic Sawmill recipe costs 100 Gold from Ashura, the Foraging Guild representative. |
| Stone Brick x35 | One Stone refined per brick in a Smelter. The Basic Smelter recipe costs 100 Gold from Hodari, the Mining Guild representative. |
If you don’t already own those two crafters, the game hands you Plank by Plank and Brick by Brick to point you at them. Both refining recipes unlock automatically the moment the sawmill and smelter are in your possession.
Once everything is deposited, the build runs on a real-world timer of eight hours. There’s no way to rush it, so this is the point to go fishing, farm materials, or log off for the night. When you return, the finished Harvest House is standing where the foundation was, and the quest pays out Natural Wood Paneling and Apothecary Stone Floor.
Harvest House size, cost, and plot limits
| Detail | Value |
|---|---|
| Footprint | 11×11 meters |
| Materials | 100 Sapwood Plank, 35 Stone Brick |
| Construction time | 8 real-world hours |
| Per plot | One Harvest House per housing plot |
| Doors | The only freestanding building that comes with a door built in |
| Extra copies | 15,000 Gold at Kilima City Hall, gated behind Master Level 50 |
| Resale | Cannot be sold |
Every other room attaches to the Harvest House rather than standing alone. Rooms link together like puzzle pieces through contact points on each side, which show as pale orange circles that turn green when two pieces line up correctly. Harvest Houses themselves never connect to one another, so a second one on an alternate plot starts a separate building.
Why the foundation won’t place
- The 11×11 square is partly blocked by your tent, a crafting station, or uncleared debris.
- Part of the footprint sits on plot tiles you haven’t unlocked yet. Locked squares need Writs, bought at Kilima City Hall starting at 20 Renown.
- You already have a Harvest House on the active plot, since only one is allowed per plot.
- The Harvest House isn’t in your Items panel yet, which means Spiffy It Up hasn’t been completed.
Once the foundation is down and the timer has run out, the housing menu becomes your main tool for everything that follows, from wallpaper and flooring on individual surfaces to purchased rooms, porches, and hallway sections bought with Gold at City Hall. The awkward part is behind you the moment that 11×11 square clicks into place.





