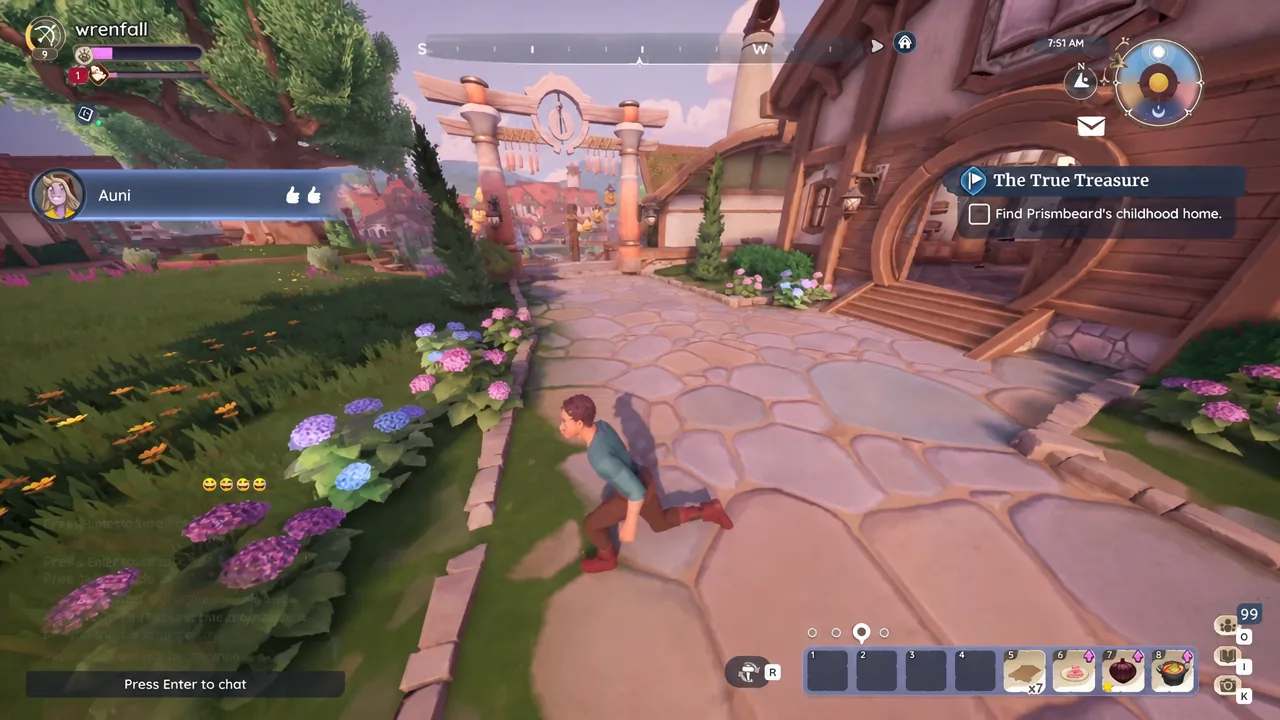
The True Treasure closes out the Prismbeard Treasure line in Palia, sending you across Elderwood to find six statues that trace a pirate’s life story before a locked room inside Shipwreck Cave hands over the loot. The riddles are vague on purpose, and the final puzzle uses compass directions rather than the layout of the room, which is where most runs stall.
Quick answer: Visit the statues in order at Mauvais Way (A4), Deep Woods (F6), De Mer Dock (B8), Central Stables upper walkway (F4), Mitana Grove (G2), and Shipwreck Cave (D8), speaking to Auni after each one. Then set the puzzle dials to Siren facing north, Kraken east, Leviathan south, and Charybdis west, and press the check button.
What you need before the quest will start
The True Treasure is a Discovery Quest handed out by Auni, and it triggers on its own the moment the previous quest wraps up. You cannot pick it up from a bulletin board, so if it is missing from the Discovery tab of your quest menu, one of the requirements below is still outstanding.
| Requirement | Detail |
|---|---|
| Auni friendship | Level 2 or higher |
| Earlier quests | Adventure On The Horizon, then Prismbeard’s Lost Treasure |
| Equipped gear | Pirate’s Spyglass, slotted in the Quest Gear position |
| Inventory space | At least five empty bag slots for the final chest |
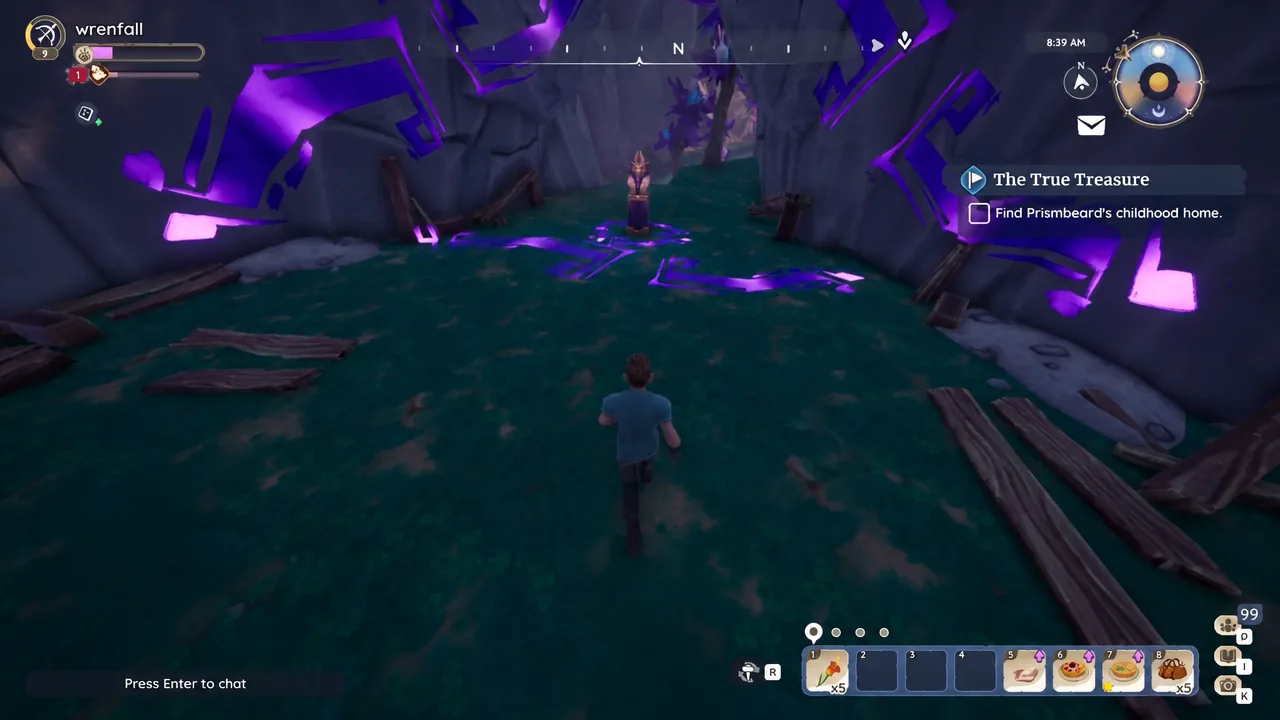
The Pirate’s Spyglass is not optional. Statues and the purple trails around them are invisible without it equipped, so if you arrive at the right coordinates and see nothing, check your Quest Gear slot first. It disappears from your inventory once the quest is finished.
Get the Newspaper Clippings from Caleri
All six Prismbeard statue locations in Elderwood
Order matters. Stumbling across a later statue early does nothing, because each one only becomes interactive once the objective before it is closed out. After every statue, Auni and Nai’o will be standing somewhere close by, and talking to Auni is what advances the tracker.
| Objective | Where to look | Grid |
|---|---|---|
| Childhood home | Mauvais Way, on the cliffs by a small shack | A4 |
| Sailed his first ship | Deep Woods pond between Red Blossom Cave and Lilac Cavern | F6 |
| First set sail | De Mer Dock, beside the fast travel point | B8 |
| Where he was caught | Central Stables, upper walkway near the Umbraan Shrine | F4 |
| Where he escaped | Mitana Grove, on the hexagonal dock | G2 |
| Eobard’s Revenge | Shipwreck Cave, on the steps overlooking the wreck | D8 |
Mauvais Way (A4)
The first clipping places Prismbeard’s family in the forest outside Zendruu Outpost, which points to the Mauvais Way area. From the Central Stables, follow the Red Blossom Cave tunnels out to the cliffs. Climb the first rock ledge and the statue sits in an alcove ringed with purple light.
Deep Woods pond (F6)
Page four shows a pond with a wooden dock, the spot where a young Zayid floated toy boats with his brother. Head toward the Deep Woods entrance from Central Stables and the water sits on your right. The statue waits at the end of the broken bridge.
De Mer Dock (B8)
Fast travel straight to De Mer Dock. The statue stands just to the left of the arrival point, near the main gazebo, and Auni and Nai’o wait in front of the docks afterward.
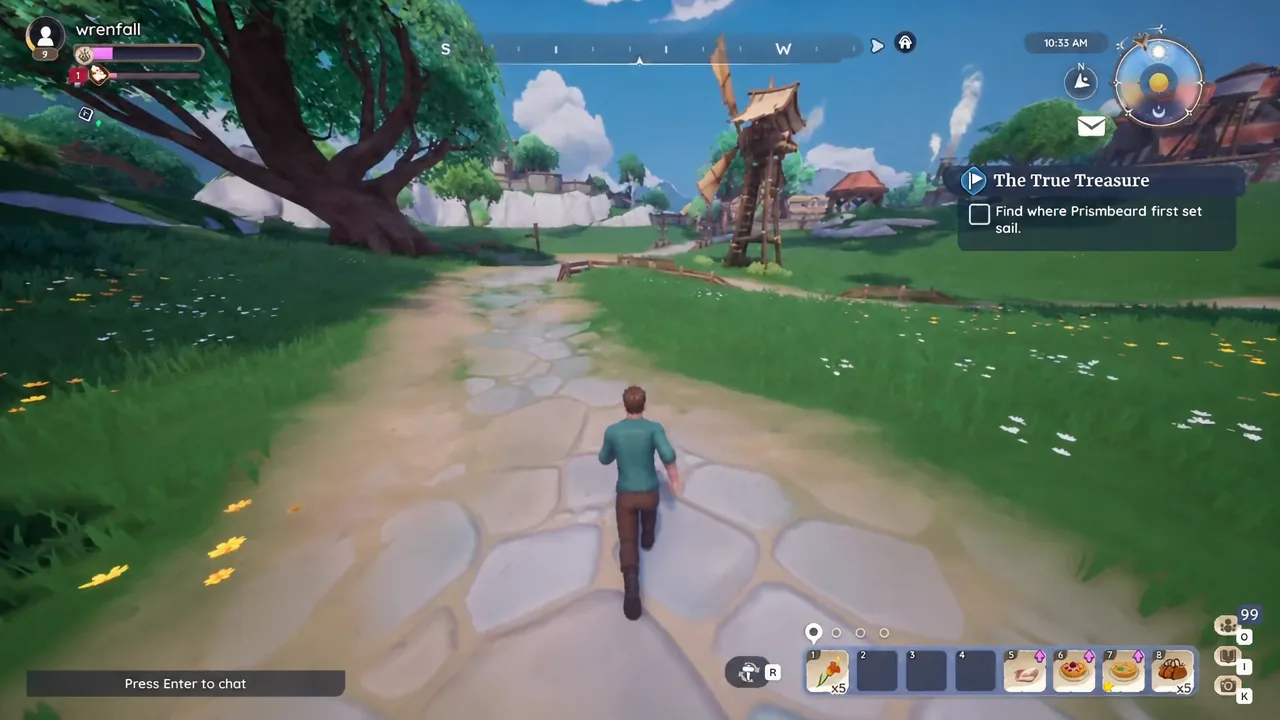
Central Stables walkways (F4)
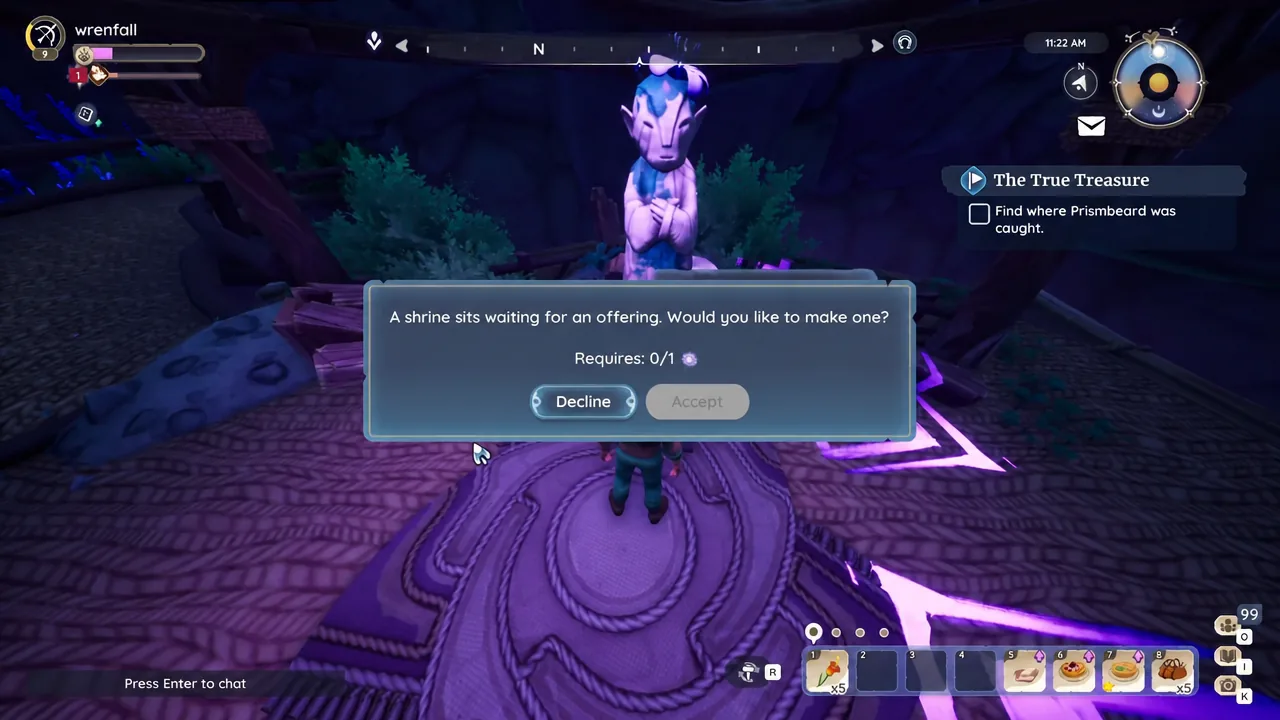
This one is above your head. Climb the hanging nets on the central structure by the Central Stables fast travel point and follow the walkway around to the second level. The statue is next to the Umbraan Shrine, and it is easy to interact with the shrine’s offering prompt by mistake, so decline that and keep walking until you find the Prismbeard statue.
Mitana Grove (G2)
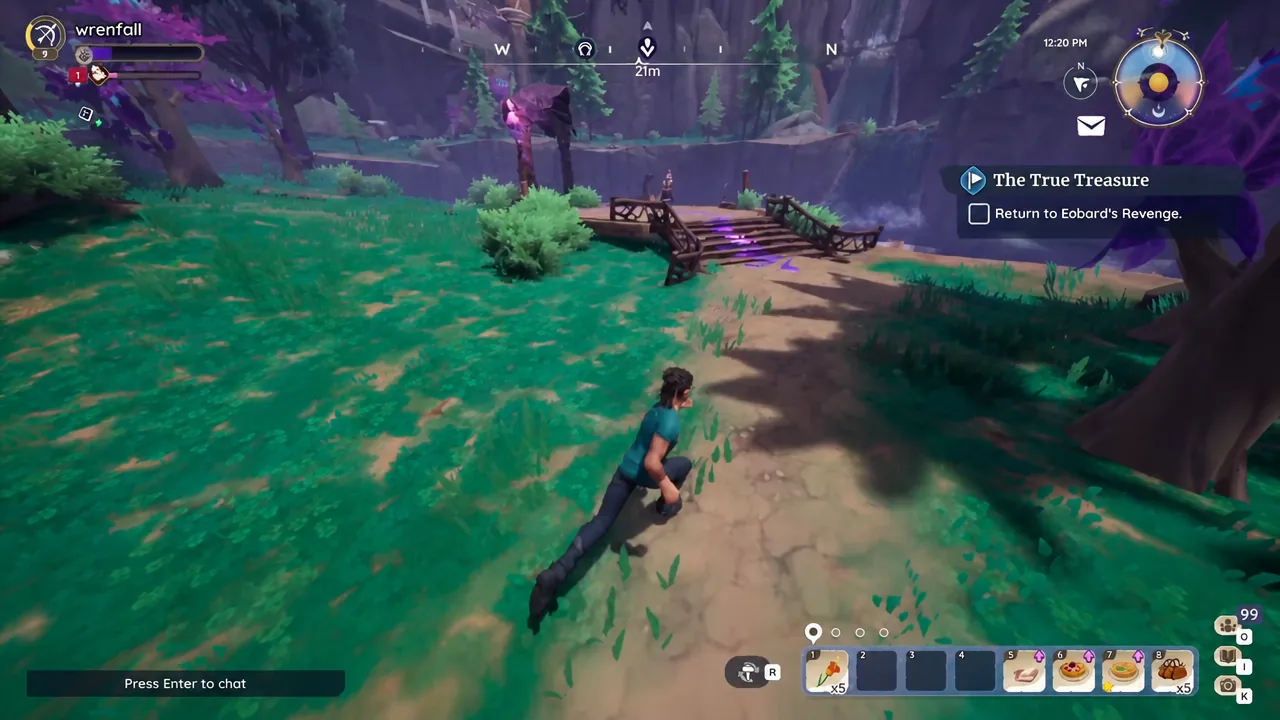
The final overland statue sits on the raised hexagonal dock in the middle of Mitana Grove, close to the waterfall pool. Interact with it, then find Auni to hear that the last clue refers to Eobard’s Revenge, the name of Prismbeard’s ship.
Reach the sixth statue at Eobard’s Revenge (D8)
Prismbeard’s final puzzle solution
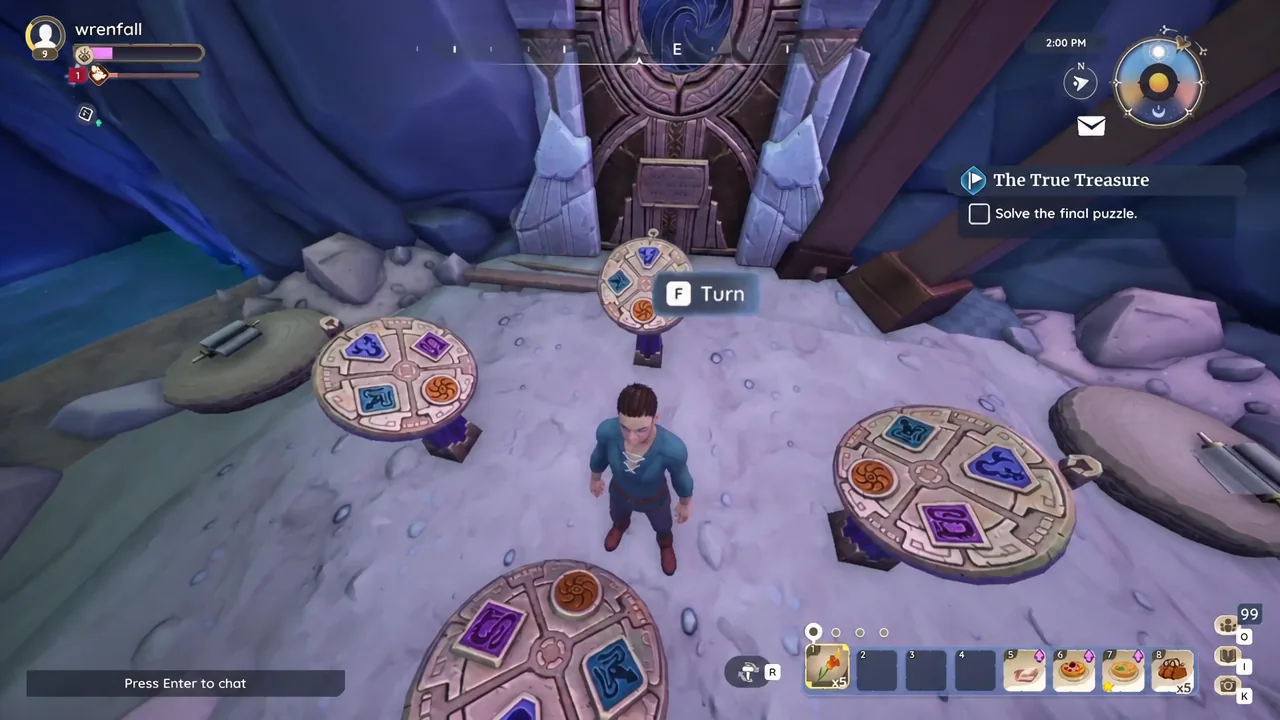
The room holds four rotating dials, each carrying four sea creature symbols, plus numbered scrolls on the floor. Every scroll names one creature and one compass direction. The catch is that the directions refer to the compass at the top of your screen, not to which dial faces the door, so face each dial and check your heading before you commit.
| Creature | Symbol on the dial | Direction |
|---|---|---|
| Siren | Blue mermaid | North |
| Kraken | Teal squid | East |
| Leviathan | Purple serpent | South |
| Charybdis | Orange swirl with an eye | West |
Rotate each dial until the correct symbol sits on top, then walk to the purple pedestal near the entrance and use the Check Guess prompt. A correct arrangement opens the inner door immediately. A wrong one simply resets the dials, so there is no penalty for guessing.
Treasure chest rewards
Open the chest in the room behind the door to collect everything in one pull. Prismbeard’s Figurehead is a housing decoration, and the journal is the story payoff Auni has been chasing since the first quest.
| Item | Quantity |
|---|---|
| Prismbeard’s Journal | 1 |
| Prismbeard’s Figurehead | 1 |
| Gold Bar | 2 |
| Emerald | 1 |
| Garnet | 1 |
| Pearl | 1 |
After looting, speak to Auni and Nai’o one final time to close out the quest. The conversation may trigger automatically as you leave the cave, or you may need to catch Auni back in Kilima Village. Once the dialogue ends, The True Treasure moves to your completed list and the Pirate’s Spyglass is removed from your gear.
If a statue or the chest will not respond
- Statues and purple trails are invisible while the Pirate’s Spyglass is unequipped. Re-equip it in the Quest Gear slot and reload the area if the trails still do not appear.
- A statue will not activate if you have skipped the objective before it. Finish the current tracker step and talk to Auni before moving on.
- The chest will not open with a full bag. Clear at least five inventory slots, then reload the area and try again.
- If the quest never appears after Prismbeard’s Lost Treasure ends, log out and back in.
Auni’s closing line lands the point the whole chase has been building toward, which is that the journal and the trail of statues were always the real find. The gems and gold bars are a decent bonus, but the figurehead on your plot is the part that sticks around.