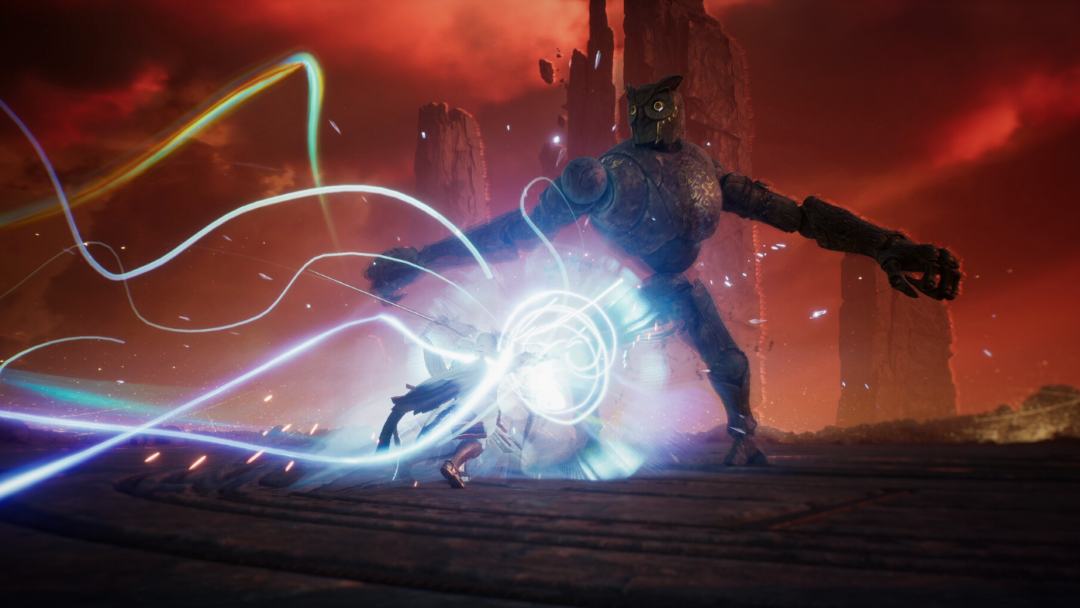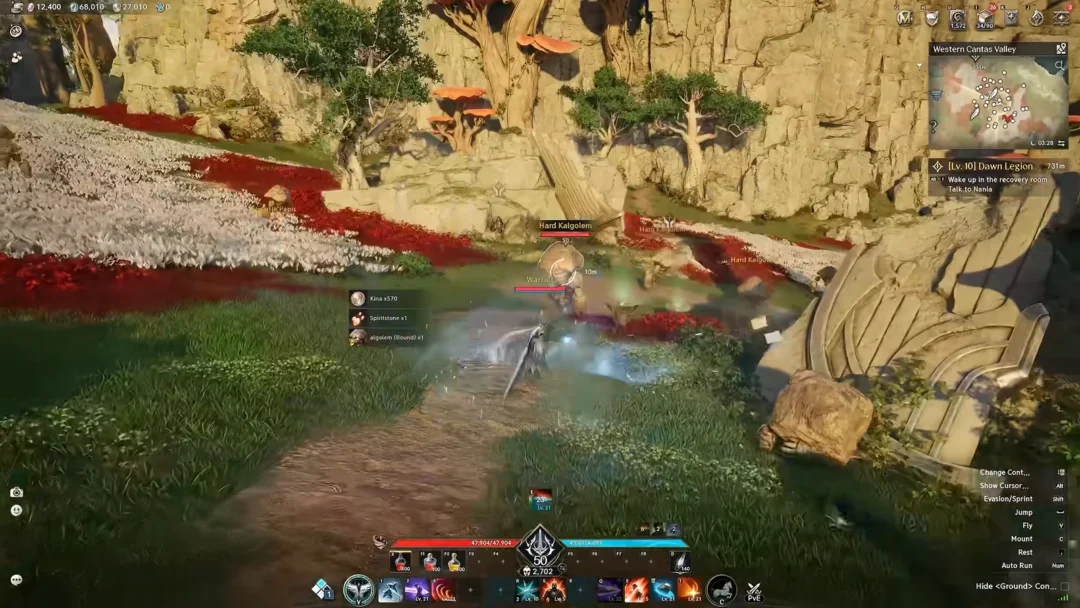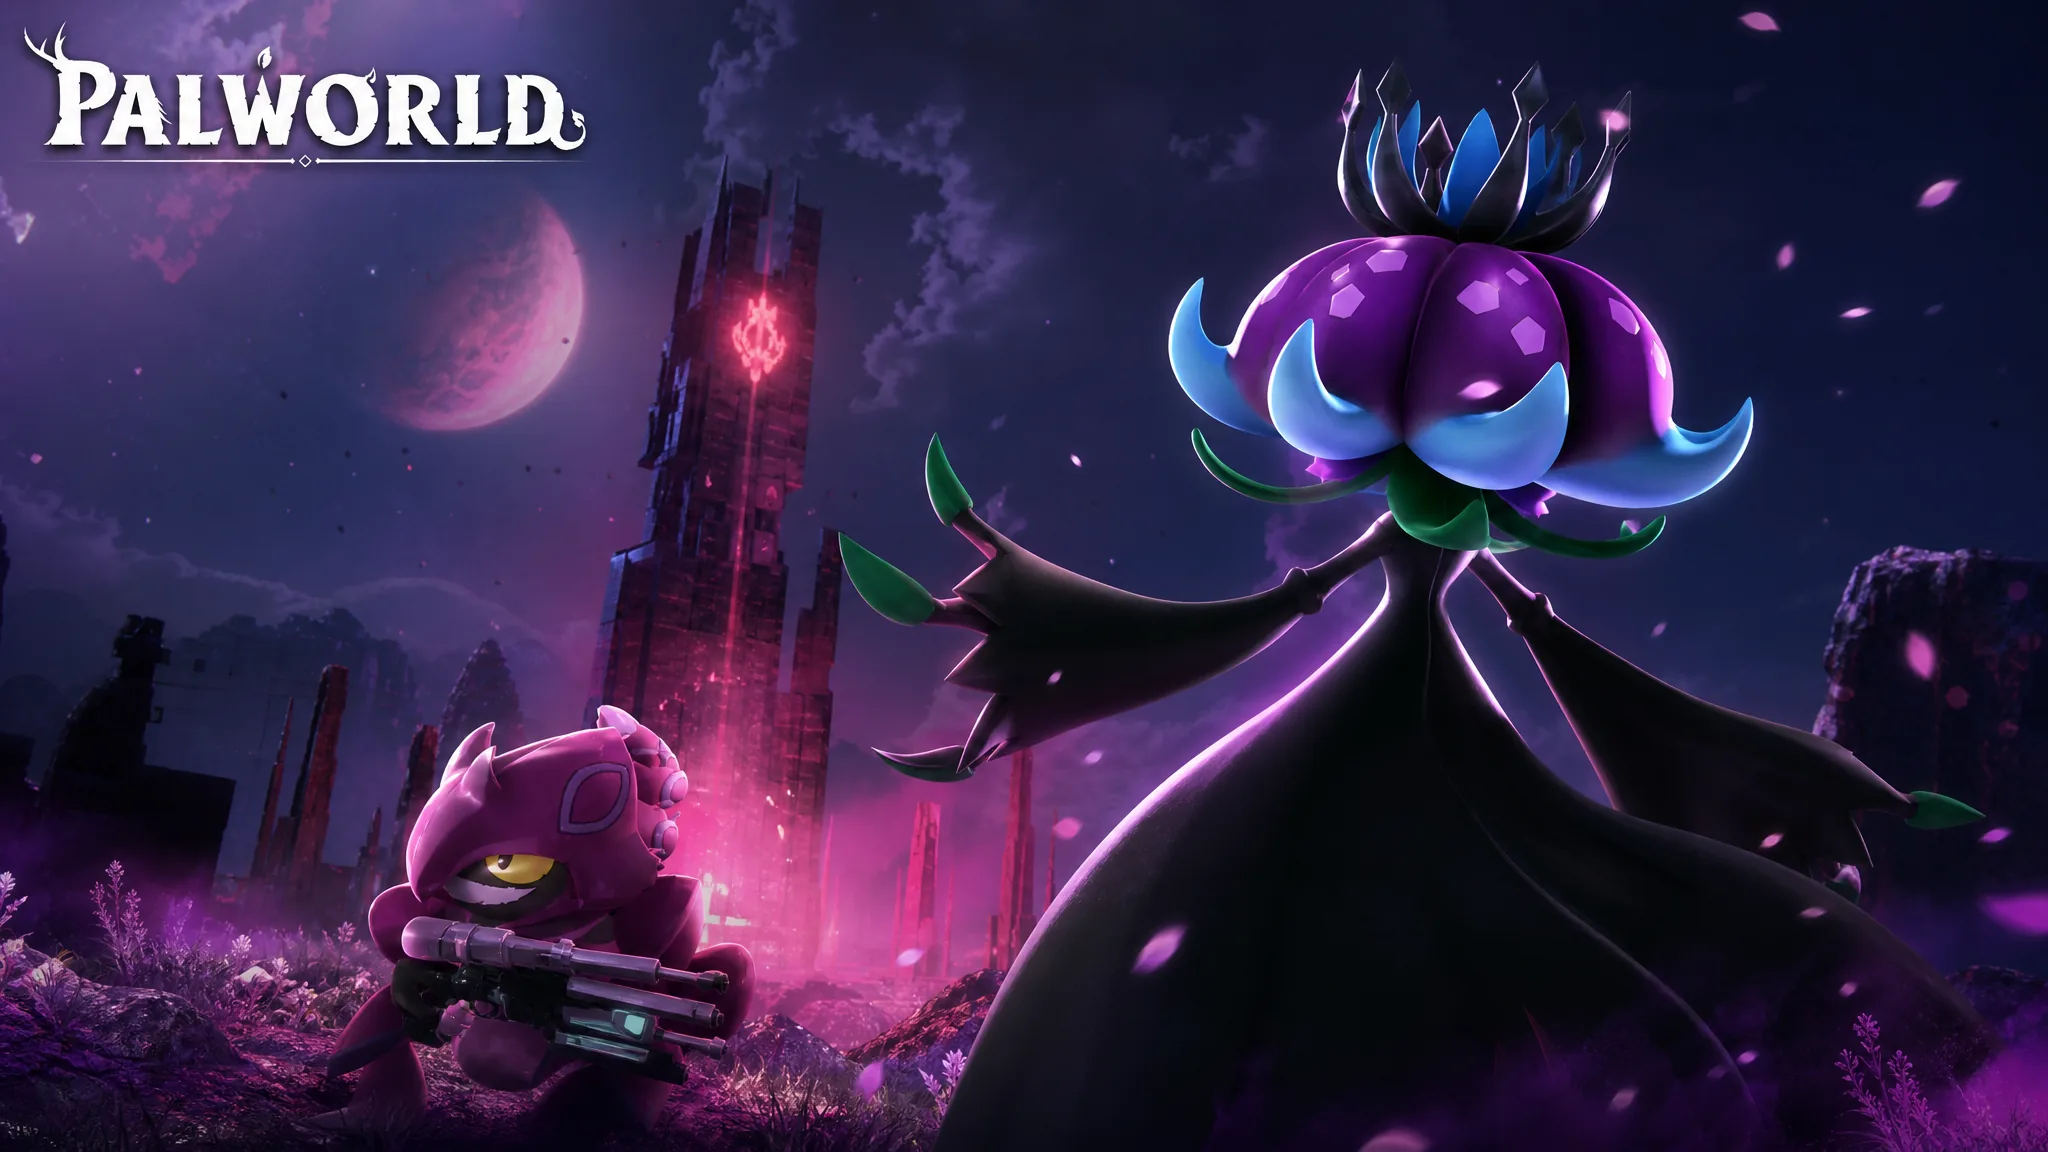
The Beam Scatter is one of the strongest player-damage weapons in Palworld 1.0 because the game counts it as two weapon types at once. That single quirk lets you stack partner-skill multipliers that normally never overlap, and it removes the need to land precise headshots on a moving hard-mode boss.
Quick answer: Equip a Legendary Beam Scatter, run a party of Xenogard, Nyafia, Solenne, Prixter, and Dandilord, and let Dandilord’s partner skill apply Poison to your shots so Prixter’s +65% damage against poisoned enemies is always active. Xenogard (+35% energy) and Nyafia (+35% shotgun) both apply to the same weapon, and Solenne adds +80% player Attack while every Pal in the party is a different species.

Why the Beam Scatter counts as two weapons
The Beam Scatter is a close-range weapon that fires compressed energy in a wide, scattering blast. Because it is classified as both an energy weapon and a shotgun, it receives Attack bonuses from partner skills that target either category. Most weapons only qualify for one.
That means Xenogard’s +35% energy weapon damage and Nyafia’s +35% shotgun damage both apply to every shot. On a Legendary Beam Scatter, which has a base Attack of 609, those multipliers compound with player Attack bonuses instead of splitting between weapon types.
The five-Pal party and what each partner skill does
Every slot is chosen for a partner skill that boosts player damage while the Pal sits in your party. Keep all five as different species so Solenne’s condition stays satisfied.
| Pal | Partner skill effect |
|---|---|
| Xenogard | +35% energy weapon damage |
| Nyafia | +35% shotgun damage |
| Solenne | +80% player Attack if all party Pals are different species (at max condensation) |
| Prixter | +65% damage to poisoned enemies |
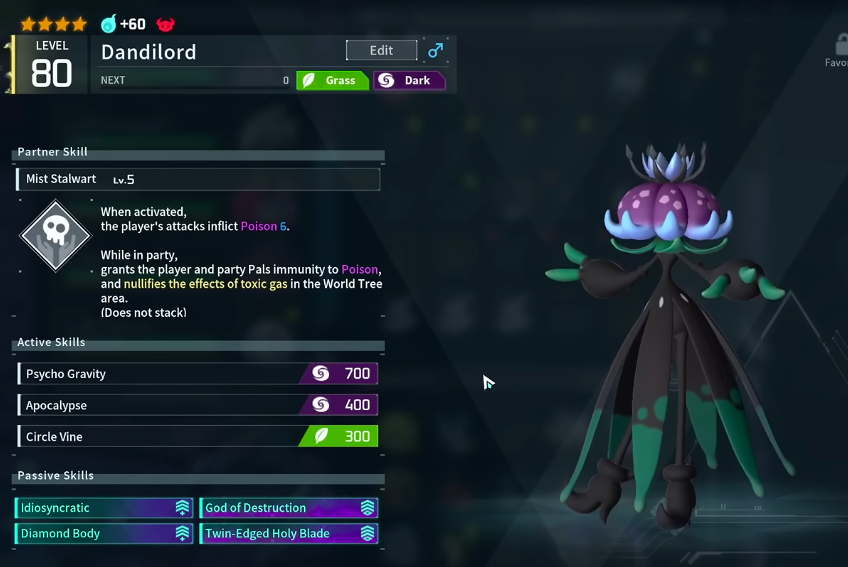
| Dandilord | Inflicts Poison on your attacks and grants you poison immunity (Mist Stalwart) |
The chain matters. Dandilord keeps the boss poisoned, which switches on Prixter’s +65% multiplier. Because Dandilord also makes you immune to poison, you can stand in your own toxic pools without taking chip damage.
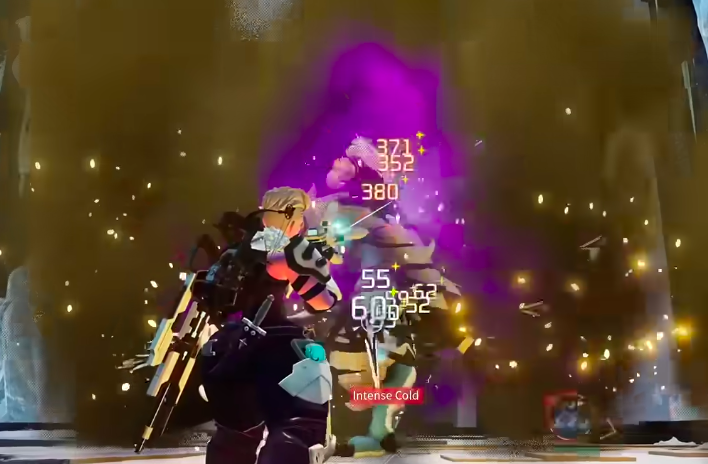
Poison and Burn deal almost no damage-over-time to Tower Bosses on their own. Here the status is only a trigger. Prixter (Poison) and Jormuntide Ignis (Burn) read the status flag and grant the +65% weapon damage, so the value comes from the multiplier, not the tick.
Poison or Burn: choosing your status engine
Both status routes give the same +65% weapon damage against affected enemies. The difference is which active Pal applies the status and how you want to play.
| Route | Applies status via | Damage multiplier via |
|---|---|---|
| Poison | Dandilord (attacks inflict Poison) | Prixter (+65% vs poisoned) |
| Burn | Renjishi (attacks inflict Burn) | Jormuntide Ignis (+65% vs burning) |
Poison is the preferred setup because Dandilord doubles as the ideal active combat Pal. It has high stats, applies Poison reliably, and its own kit leans into the status. For a defensive variant, you can swap in a life-steal Pal such as Felbat or Lovander to sustain during longer fights.
Dandilord passives and active skills
Build Dandilord as your fighting Pal with the passives Idiosyncratic, God of Destruction, Diamond Body, and Twin-Edged Holy Blade. Its usable active skills include Psycho Gravity, Apocalypse, Circle Vine, Dark Laser, Toxic Dance, and Poison Promenade.
Where to farm the weapon schematics
The Legendary Beam Scatter schematic drops from the hard-mode Zoe & Grizzbolt fight (level 72) at the Rayne Syndicate Tower. If you prefer a backup ranged option, the Legendary Drone Launcher schematic drops from the hard-mode Lily & Lyleen fight (level 74) at the Free Pal Alliance Tower. Craft the Legendary versions once you have the schematics to reach the top damage and durability values.
Accessories, consumable, and their locations
Round out the build with Attack-boosting accessories and the Mammorest Curry consumable before you enter a tower. Each accessory schematic sits in a fixed chest.
| Accessory | Location | Coordinates |
|---|---|---|
| Attack Pendant | Desert chest | 473, 135 |
| Dogen Emblem | Sunreach chest | 41, -868 |
| Warsect Terra’s Belt | Sakurajima chest | -663, 29 |
| Vanguard Charm | Sakurajima chest | -819, -854 |
| Lord of the Underworld’s Baton | Sakurajima chest | -924, -1123 |
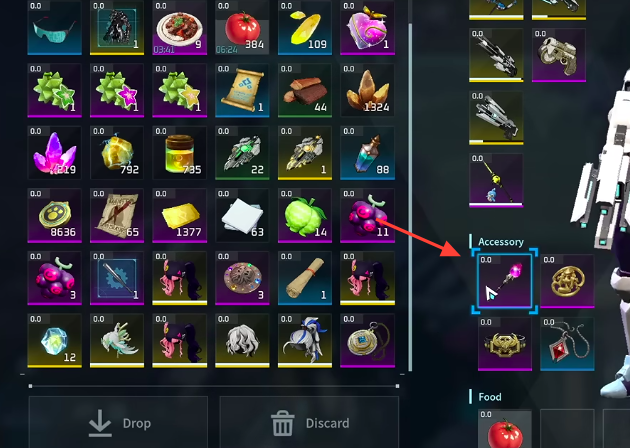
Passive skills to unlock for the surgery table
The support passives that tie the build together are Idiosyncratic, Vanguard, Stronghold Strategist, and Reload Master. Reload Master keeps the Beam Scatter firing, while Vanguard and Stronghold Strategist push damage from your partner Pals.
You can permanently unlock these for the surgery table, or buy them from the Arena Vendor using Arena tickets. Tickets come from clearing runs at the Arena Entrance, so farm there before rolling implants.
How to confirm the combo is firing
Watch the boss health bar for a purple skull icon, which marks the Poison status. Once it appears, every Beam Scatter pellet is being multiplied by Prixter’s +65%, plus the two weapon-category bonuses and Solenne’s +80% Attack. If the poison icon is missing, your damage numbers will be far lower, and the usual cause is a duplicate Pal species breaking Solenne’s condition or Dandilord not being your active fighter.
Keep all five party species distinct, lead with Dandilord to maintain Poison uptime, and the Beam Scatter will chew through hard-mode bosses like Zoe & Grizzbolt and Bjorn & Bastigor without a single headshot.