
The fastest way to erase Hard Mode Tower bosses in Palworld 1.0 is to stack a status effect that doubles your damage, then unload with a high-hitting melee attack while your party skills multiply everything on top. Bjorn & Bastigor and other Hard Mode leaders can have their entire health bar melted in roughly ten seconds when the combo is set up correctly.
Quick answer: Run Ophydia to inflict Soak, Jormuntide to add +65% damage against Soaked enemies, and Solenne for +80% player Attack when every party Pal is a different species. Soak the boss first, then hit it with Electric/Lightning attacks (including melee Rockburst) for double damage.

How the Soak double-damage combo works
Several status effects in Palworld create a two-times damage window when paired with the matching element. Soaked enemies take double damage from Lightning and Electric attacks, and that single interaction is the backbone of this build. Apply Soak, switch your damage to Electric, and every hit lands for twice its normal value.
| Status effect | Element that deals double damage |
|---|---|
| Soaked | Lightning / Electric |
| Shocked | Ground |
| Ivy-covered | Fire |
The Soak version is the strongest for towers because Ophydia applies the status automatically while she is in your party. You never have to stop and set it up manually, which keeps your damage rotation uninterrupted.

Core party Pals and their skills
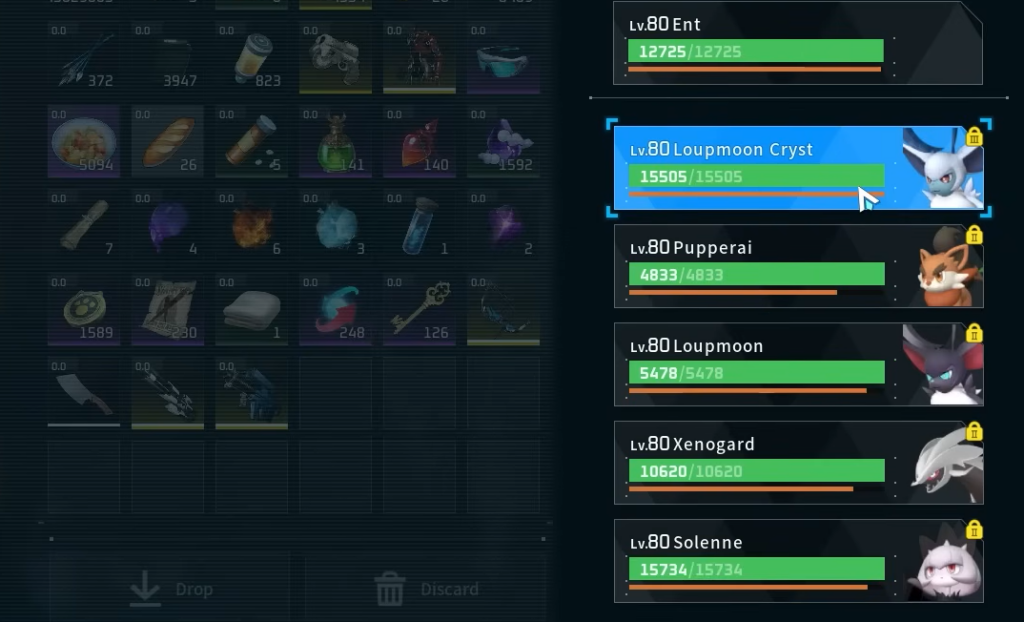
The build relies on three specific Partner Skills stacking together. Ophydia keeps the boss Soaked, Jormuntide amplifies your damage against that Soaked target, and Solenne rewards you for keeping every Pal a different species. Because Solenne needs unique species to grant its +80% Attack, you should never double up on the same Pal here.
| Pal | Type | Partner Skill effect |
|---|---|---|
| Ophydia | Grass / Water | Glorious Mist Lv.5 — while in party, your attacks inflict Soak |
| Jormuntide | Dragon / Water | Stormbringer Sea Dragon Lv.5 — increases your and your Pals’ damage to Soaked enemies by 65% |
| Solenne | Dark / Neutral | Untainted Maiden Lv.5 — +80% player Attack if all party Pals are different species |
At Level 80, these three sit around 1,261–1,306 Attack each, giving you strong Pal damage on top of the multipliers. Ophydia’s active moves are Geyser Gush (Water, 600), Lotus Bloom (Grass, 700), and Wind Burst (Grass, 600).
Where to catch Ophydia, Jormuntide, and Solenne
| Pal | Where to find it |
|---|---|
| Ophydia | Sunreach island, near coordinates [-590, -1479] |
| Jormuntide | By the lake near the whale bones, around [351, -80] |
| Solenne | World Tree area, or bred early |
Solenne is the flexible slot. If you cannot reach the World Tree yet, breeding her early lets you slot the +80% Attack boost into the party well before the endgame.
The melee Rockburst combo
The single hardest-hitting attack in Palworld is a melee-range Rockburst. To land it repeatedly, you want Dark or Electric Pals, because their filler attacks have zero minimum range. Those Pals do not jump backward between swings, so they stay glued to the boss and keep the Rockburst hitting at point-blank distance.
Pals with dashing attacks, such as Splatterina or Necromus, chain into this combo especially well. The trade-off is positioning. You have to plan where you stand so the boss cannot slide out of melee range, which is why a swapping rotation of Rockburst users takes practice against fast-moving fights like Hard Mode Saya & Selyne.
Because Soaked enemies take double Electric damage, an Electric Rockburst paired with Ophydia’s Soak and Jormuntide’s +65% bonus produces the numbers that clear boss health bars almost instantly.

Passives and gear that carry the build
Party Pals already come with a built-in 25% damage reduction, withdraw dodging, and healing while sitting in their spheres, so keep swapping fresh Pals in as your active one drops low. The gold passives seen on this setup include Idiosyncratic, Vanguard, Reload Master, and Stronghold Strategist. Vanguard suffers heavy diminishing returns once you are already stacking attack pendants and multiple boosters, so it can be dropped without losing much.
On the player side, bring your highest-rarity armor, a maximum-durability shield, and endgame firearms so your own hits contribute real damage. Elemental Resistance Rings matter a lot in Hard Mode, because several boss attacks can nearly one-shot you without protection. Keep High Grade Medical Supplies stocked and use attack or defense buff food before entering.
For pure sustain against Tower bosses, Vampiric can replace an attack passive, and a Felbat or Lovander lifesteal setup lets you heal through mistakes while you keep firing.

Hard Mode Tower boss counters
Elemental advantage still decides most fights even with the Soak combo running. Match the correct counter to each leader and burst any summoned adds the moment they appear before returning to the boss.
| Tower boss | Best counter | Key tip |
|---|---|---|
| Zoe & Grizzbolt | Ground | Stay mobile; attacks pass through cover |
| Lily & Lyleen | Fire | Burn damage works extremely well |
| Axel & Orserk | Ground + Ice | Dodge dragon attacks instead of tanking |
| Marcus & Faleris | Water | Watch for aerial attacks |
| Victor & Shadowbeak | Dragon | Focus the real boss if clones appear |
| Saya & Selyne | Dark / Dragon | Burst summoned enemies immediately |
| Bjorn & Bastigor | Fire | High defense and resistance rings help |
| Auri & Shaolong | Ice / Dragon | Stay aggressive during openings |
| Zenara & Astralym | Depends on build | Save strongest cooldowns for later phases |
You know the build is working when a boss health bar drains in seconds rather than minutes, and a blue water droplet icon sits on the boss to confirm Soak is active. If your damage feels flat, check that Solenne’s party has no duplicate species, that Ophydia is actually equipped so Soak applies, and that you have switched to Electric hits after the Soak lands. Keep rotating Pals so none faint, stay in constant motion, and the toughest Hard Mode leaders fall fast enough to farm their cosmetic hats and Training Crystals on repeat.