

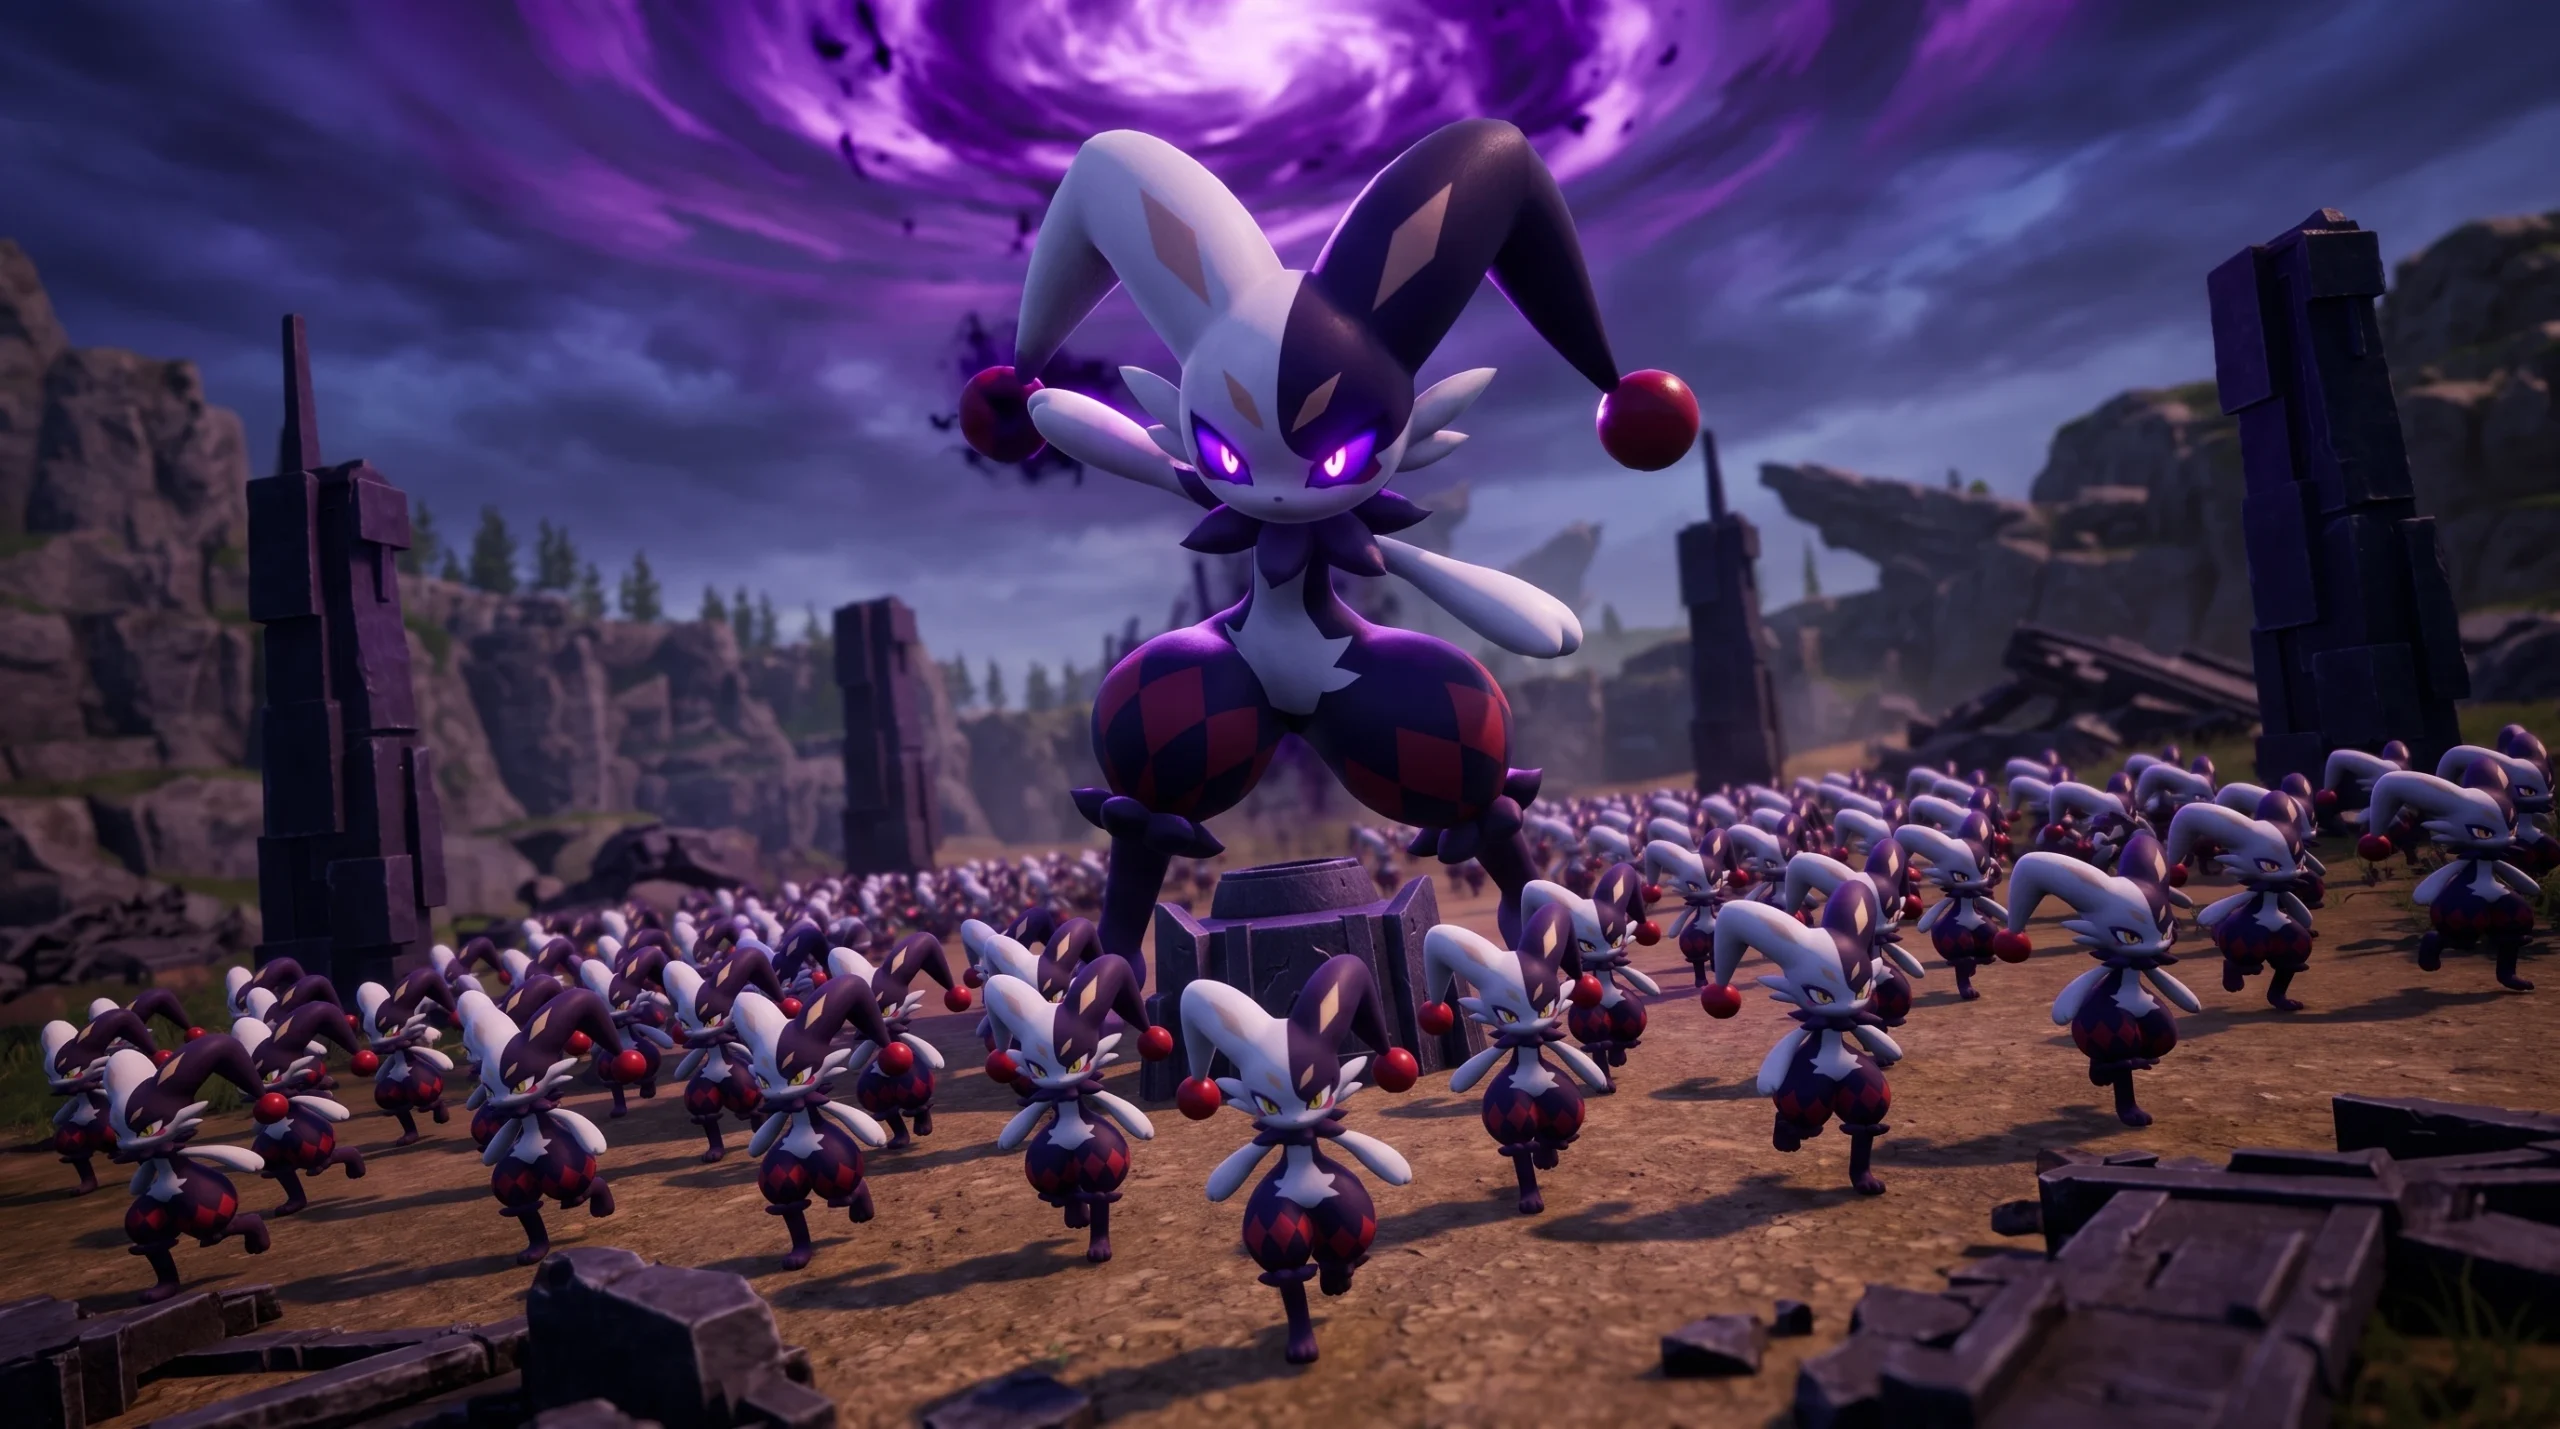
Bellanoir Libero (Ultra) is the hardest version of the witch raid boss in Palworld, sitting behind the regular Bellanoir Libero fight and carrying roughly triple the health with 50% more damage. It keeps the same two-phase pattern, the same self-heal at low health, and the same 10-minute clock. The whole encounter is a burst race. If your raid army cannot out-damage the boss faster than it heals, the timer ends the run before you do.
Quick answer: Summon it from the Bellanoir Libero (Ultra) Slab, bring a level 60+ army built for Xenolord (Jetragon, Paladius, Necromus, Frostallion, Neptilius), stack four Gobfins with a super-effective damage carry, hit Dragon in Phase 1 and Fire in Phase 2, and burn through both HP pools inside 10 minutes before the 30% heal at 10% HP resets the race.

Bellanoir Libero (Ultra) stats and how to summon it
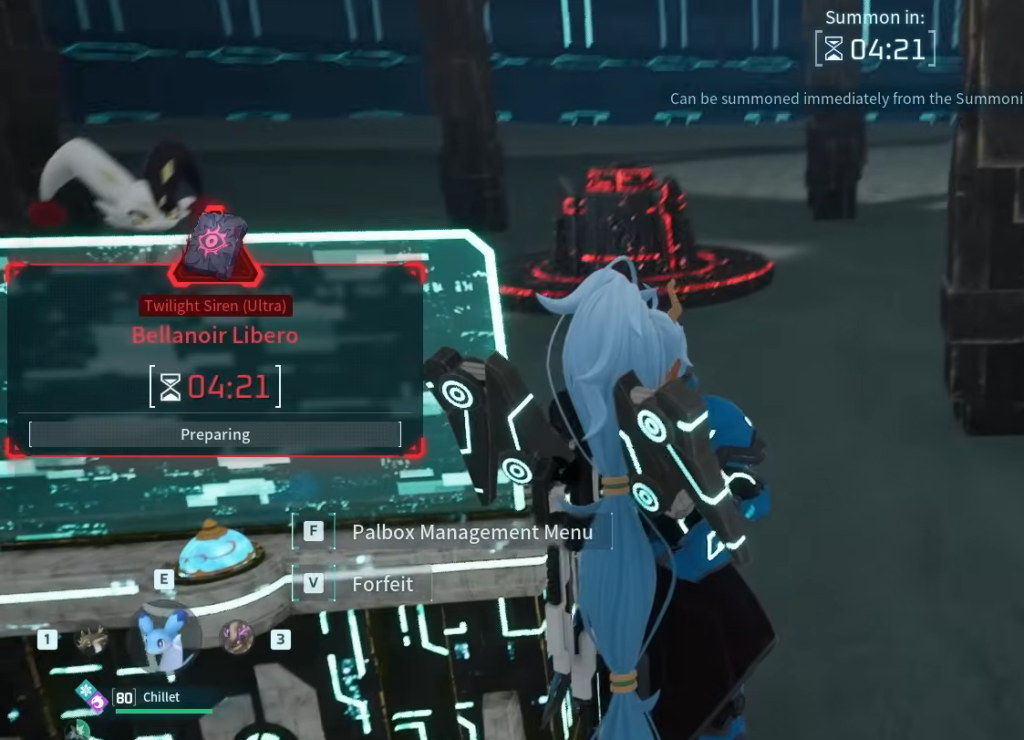
You unlock the Ultra fight only after beating the regular Bellanoir Libero, which drops the Bellanoir Libero (Ultra) Slab. Craft a full Slab from four fragments at an Assembly Line, place it in a Summoning Altar (Level 32 Tech), then choose to fight at your base or a raid area. Each attempt consumes both the slab and the altar, so keep materials nearby to rebuild between runs.
| Property | Phase 1 | Phase 2 |
|---|---|---|
| Element | Dark | Ice |
| Weakness | Dragon | Fire |
| Attack | 1,986 | 3,476 (+20% Dark) |
| Defense | 425 | 319 |
| Level | 50 | |
| Health | 900,000 (total ~4,680,000 with reduction and heal) | |
| Status Resist | 1 | |
| Timer | 10 minutes | |
The Ultra shares its mechanics with the regular fight but has about three times the health and 50% more damage. That extra bulk drags Phase 2 out much longer, which is exactly where the boss can overwhelm an under-invested army.
The two-phase mechanic and the 10% heal
Bellanoir Libero starts as a Dark type weak to Dragon. When you drop it to 10% HP, it heals 30% of its health, swaps to Ice, and changes its behavior. In this second phase, it gains 75% Attack, loses 25% Defense, adds a 20% Dark damage boost, and begins throwing Ice attacks that can freeze you.
The defense drop means Phase 2 is when your damage lands hardest, but the attack spike also makes it the most dangerous window. Because the boss floats, its hitbox dodges a lot of attacks, so raw burst and reliable moves matter more than aiming for precision. Treat 10% HP as a checkpoint you must smash through rather than a finish line.

Best raid army for Bellanoir Libero (Ultra)
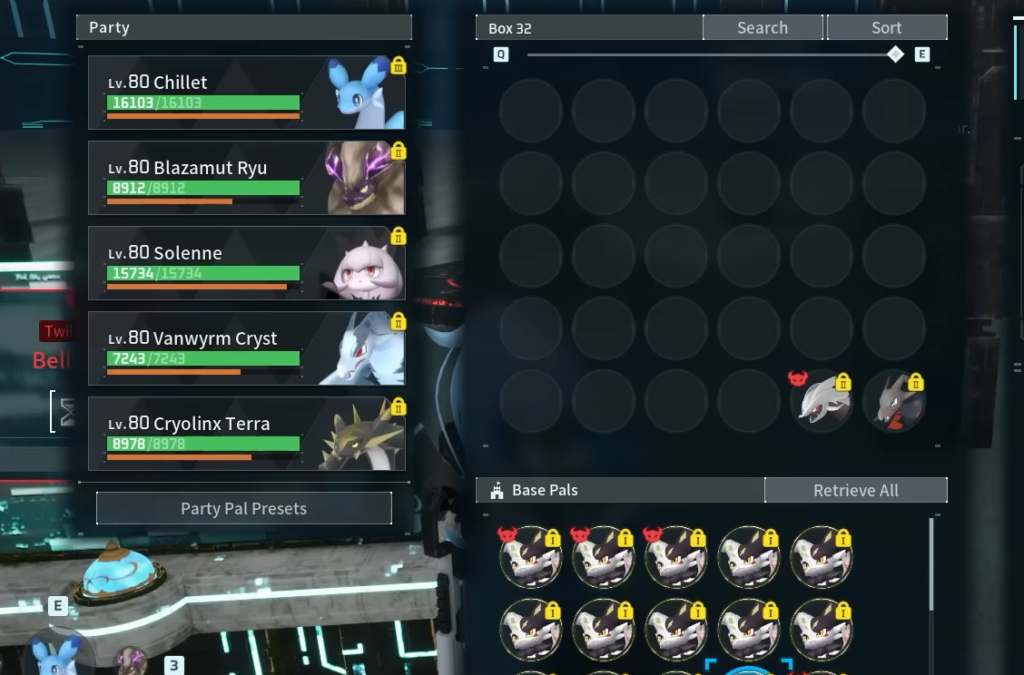
Any mix of solid level 60+ Pals will clear it. That 10-plus level gap over the boss does most of the heavy lifting. You can technically swap to Fire Pals for Phase 2, but for a single army that is usually overkill. The key point is that an army bred for Xenolord already handles Bellanoir Libero, Blazamut Ryu, and both Ultra variants, so there is no need to breed a dedicated counter.
Fresh-caught base Pals that hold up here include Jetragon, Paladius, Necromus, Frostallion, and Neptilius. Add Mounted Machine Guns and Missile Launchers so your base Pals chip in while you focus the boss.
Party builds that beat the heal
| Build | Party | How it works |
|---|---|---|
| Player Damage | Chillet (Phase 1), Ragnahawk or Wixen (Phase 2), 4 Gobfins | Element-swap carries plus four Gobfins push your own gun damage to the top; scales with player gear |
| Knocklem | 2 Knocklem + 3 Dumud | Rotate between two Knocklems for 100% Partner Skill uptime and very high Pal DPS |
Poke from range with a bow or firearm from outside the boss’s attack range, and keep your Pal skills firing on cooldown. Because the raid army stops taking damage when it is positioned far from the boss, good spacing keeps your DPS Pals alive through both phases.
Best counter skills
Seed Mine and Flare Storm are two of the strongest reliable attacks against Bellanoir Libero and can be bought from Merchants. For overall damage priority, use this order:
Beam Slicer, Flame Funnel > Air Blade = Seed Mine = Flare Storm = Lightning Streak.
Even with a single army, Beam Slicer stays worth running despite the Phase 2 element change. Flame Funnel puts out strong damage and delivers big burst once the boss flips to Ice.
Attacks to watch out for
- Nightmare Bloom is the boss’s exclusive attack and hits hard. Run straight backward away from it, since it tracks sideways.
- Apocalypse and Flame Waltz can wreck your base Pals, so keep buildings or distance between them and the boss.
- The Phase 2 Ice attacks freeze you, and Diamond Rain deals heavy damage. Keep moving as HP nears the transition.

Bellanoir Libero (Ultra) drops
| Drop | Amount |
|---|---|
| Huge Dark Egg | 1 |
| Multiclimate Undershirt +2 | 1 |
| Ancient Civilization Core | 2-3 |
| Witch’s Crown (Ultra) | 1 |
| Fruits | 1 Random |
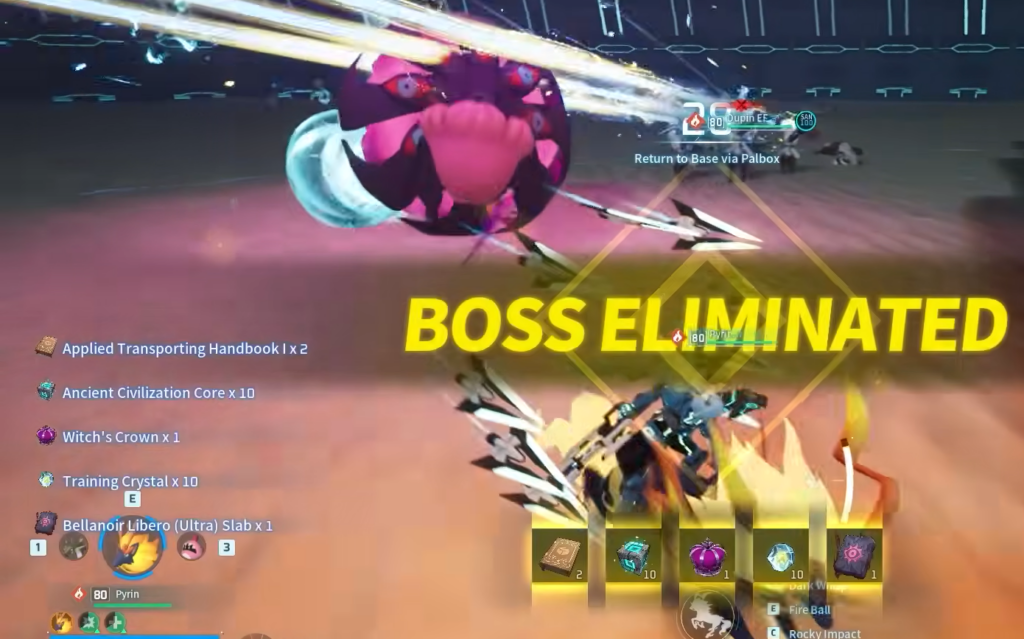
The Witch’s Crown (Ultra) is the reason to grind this fight beyond the challenge. It is a cosmetic headgear that grants 15% Dragon Resistance, though its Defense and Health stats are very low. The Huge Dark Egg hatches your own Bellanoir Libero and goes only to the player who summoned the raid, so rotate the host across runs in a group.
How to know the clear worked, and why runs fail
The run is a win the moment the boss’s health bar empties before the timer expires and the reward drops appear. A raid is only lost if the 10-minute timer runs out or your Pal Box is destroyed. Your own death does not end the fight, so you can respawn and keep pressuring the boss.
Failed Ultra attempts almost always come down to two things. Either your burst is too low and the 30% heal at 10% HP resets the race past what the clock allows, or Phase 2’s near-doubled attack overwhelms your base and destroys the Pal Box. Bring full endgame gear, keep the boss away from your structures, and prioritize damage over caution once you enter the second phase.





