Bellanoir Libero can reshape a Palworld endgame run. You will not find it roaming the world, and catching it during combat is impossible. To record it in your Paldeck as No. 195B, summon and defeat it, then hatch the egg it drops. For a 100% completion run, this is a major milestone: winning advances the raid counter and opens the way to a more difficult tier.
Quick answer: Bellanoir Libero is a summon-only Dark raid boss. Offer a Bellanoir Libero’s Slab at a Summoning Altar, beat both phases inside the 10-minute limit, then hatch the Huge Dark Egg it drops.
The Bellanoir raid and how the Summoning Altar works
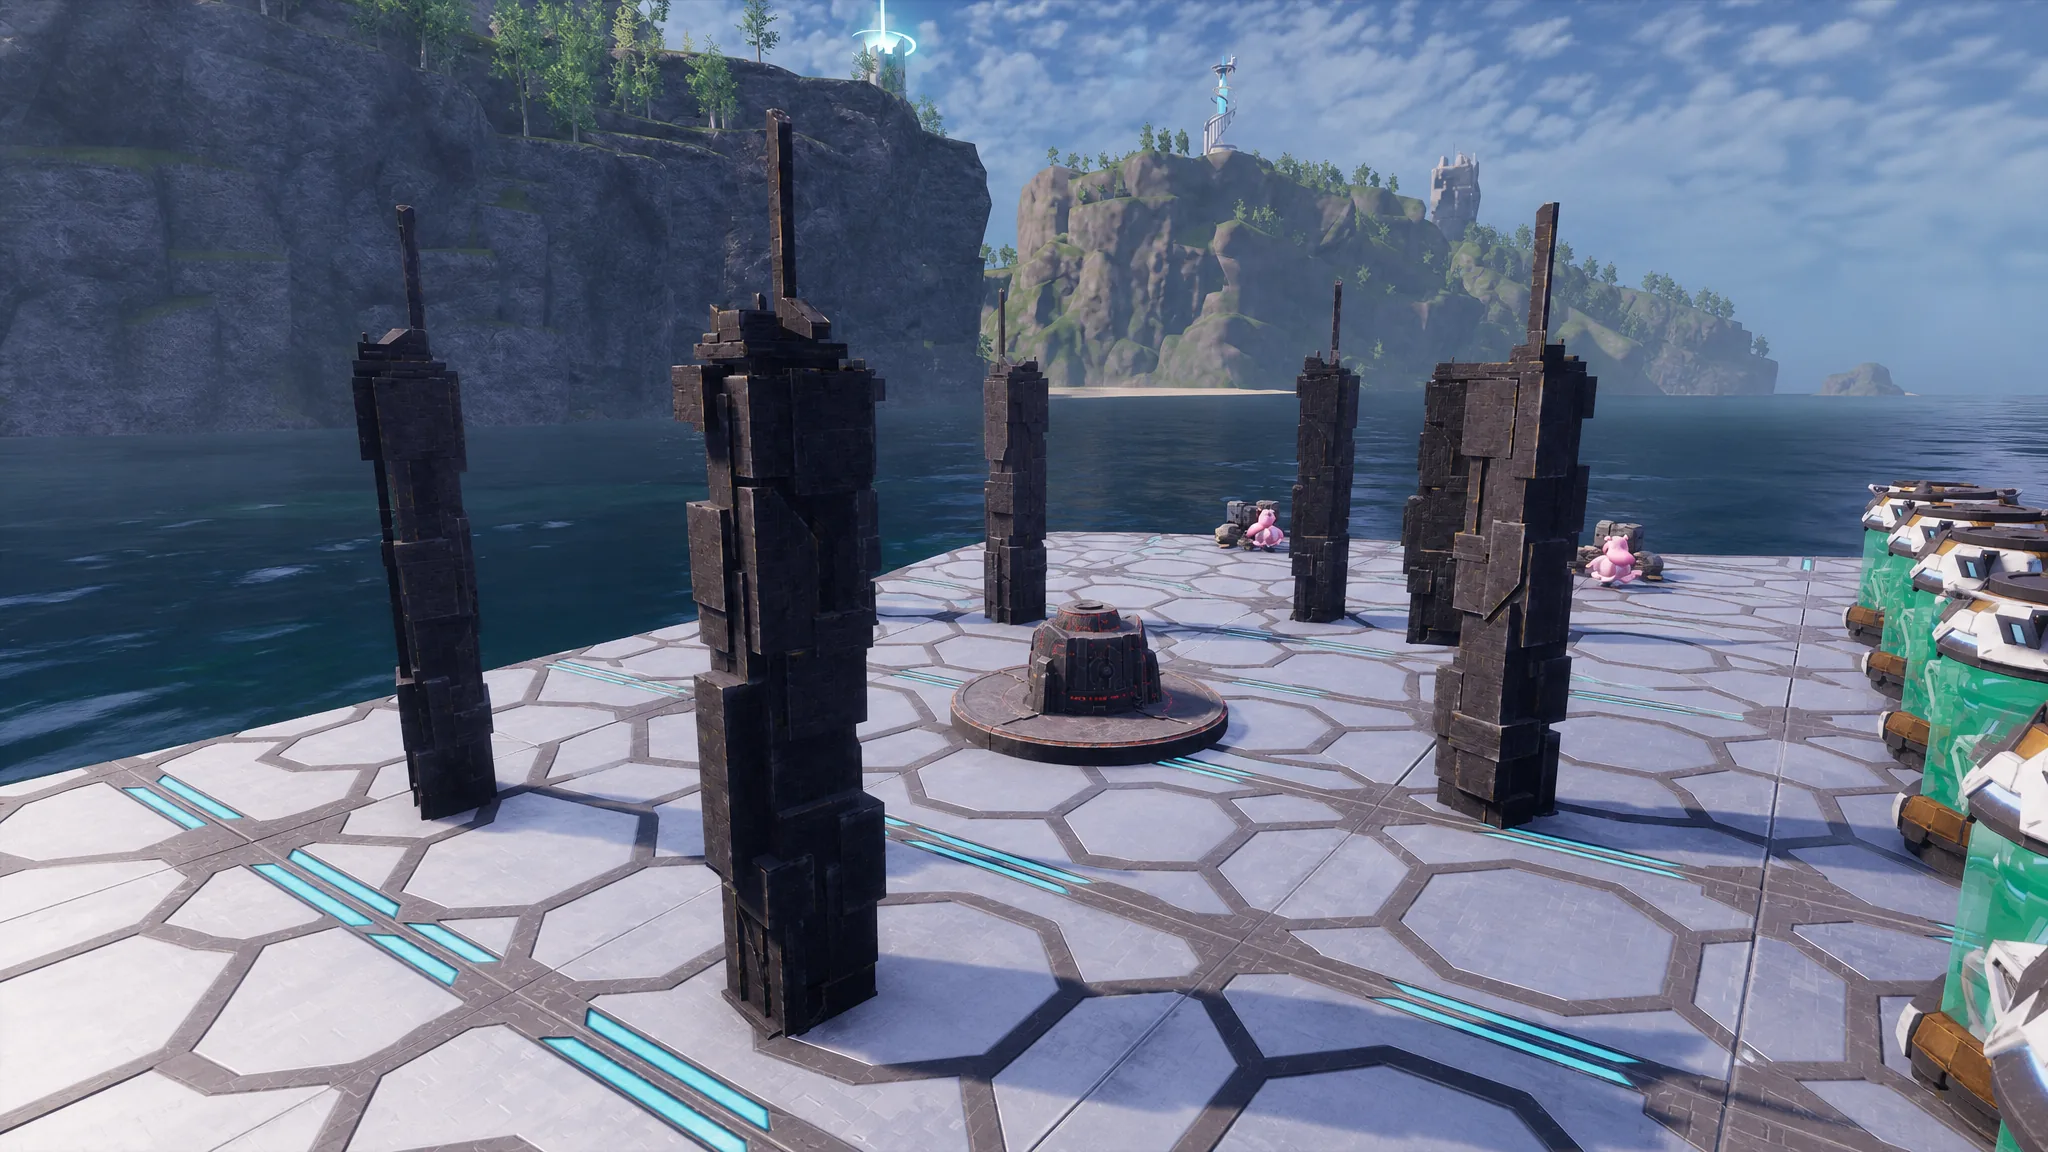
To begin any Bellanoir encounter, use a Summoning Altar. Set a slab on it, pick your base or a dedicated raid arena as the battlefield, and start the timed battle. Your active base Pals join you automatically. Choosing a separate arena protects your base, as structures in the fight’s range will be destroyed.
The altar itself is single-use, so it has to be rebuilt for every run. The requirements before you can summon anything are short and level-gated.
- Summoning Altar, unlocked at level 33: costs 100 Stone and 20 Paldium Fragments.
- Pal Expedition Station, unlocked at level 22: optional route for passively farming slab fragments.
- Recommended character level: 50 or higher, given the boss’s health pool and strict timer.
Keep the 100 Stone and 20 Paldium Fragments stocked in a nearby chest, so you can rebuild the altar quickly between attempts.
Standard Bellanoir versus Bellanoir Libero
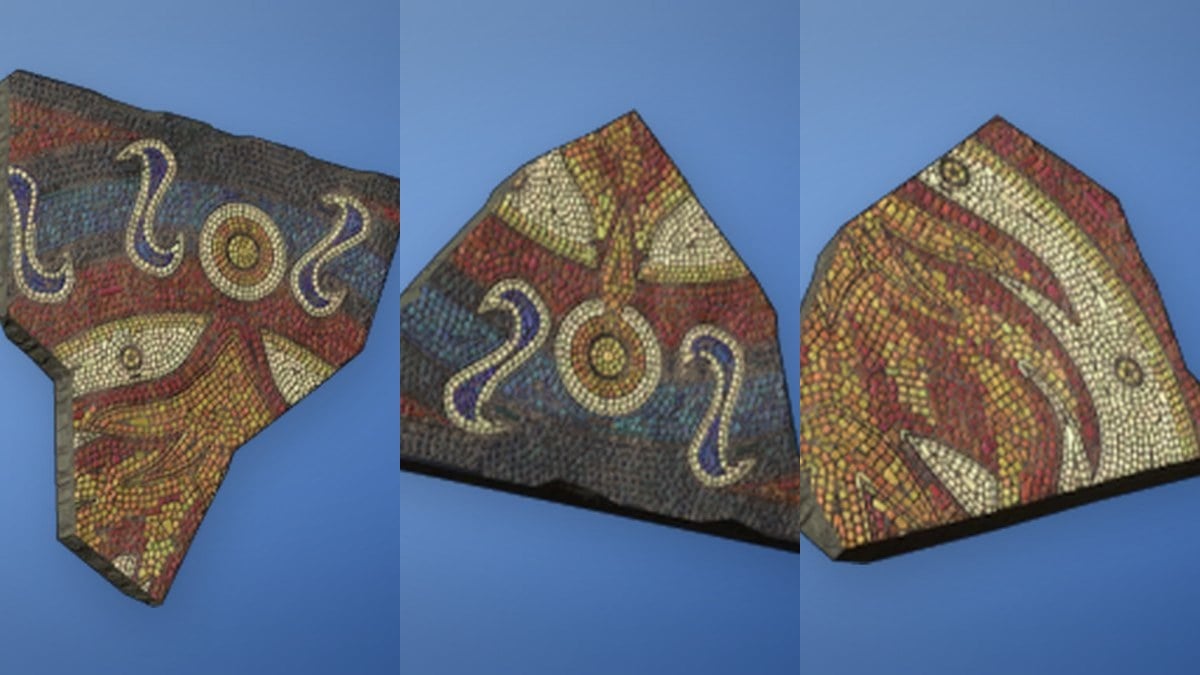
The slab determines which of the two Bellanoir encounters you summon. Lower-level drops include regular Bellanoir’s Slab Fragments, used to call the weaker Bellanoir. For the endgame variant, collect the higher-tier four Bellanoir Libero’s Slab Fragments and craft them into a Bellanoir Libero’s Slab at a standard workbench or production line.
| Variant | Slab source | Result |
|---|---|---|
| Standard Bellanoir | Plain Bellanoir’s Slab Fragments (lower-level dungeons) | Weaker raid boss |
| Bellanoir Libero | Four Bellanoir Libero’s Slab Fragments (high-level dungeons) | Endgame boss, Paldeck No. 195B |
Look for Libero fragments in high-level dungeon chests across the snowy, desert, and volcanic regions; the Astral Mountains caverns, for example, are around level 45. Chests at the dungeon’s exit crystal may contain a fragment, or, if a snow-region run is lucky, a complete slab that avoids crafting. Blazing Cavern and Astral Frost Cavern expeditions can produce fragments over time as well. You cannot access either route before defeating that area’s tower boss.
| Dungeon | Level | Libero fragment drop |
|---|---|---|
| Volcanic Cavern | 40 | x1 (plus a regular Bellanoir’s fragment) |
| Sacred Mountain Cavern | 45 | x2 |
The two-phase Dark-to-Ice fight
Most first-attempt failures come from fielding a team built around only one type. Bellanoir Libero begins with Dark as its sole type and 450,000 HP. When its health reaches 1 HP, it unleashes a freezing blast in all directions, restores about a third of its health, then switches permanently to Ice for the remainder of the fight.
Even after the change, it gains no Ice active skills, leaving Dragon Pals safe to use offensively in phase two. Its signature attacks are broad dark beams that pass through walls and dark orbs that home in on targets. Position your Pals at different angles instead of grouping them together.
| Phase | Boss type | Best counter |
|---|---|---|
| Phase 1 | Dark | Dragon-type Pals |
| Phase 2 (after revive) | Ice | Fire-type Pals |
A well-invested Chillet works as a mount because attacking while riding it infuses your own shots with Dragon damage, which cuts through the Dark phase. A Gobfin support line pushes player damage higher, while Jormuntide Ignis stays super-effective after the Ice shift. Astegon is the standout base defender because it quad-resists Bellanoir Libero’s Dark attacks.
| Loadout slot | Recommended pick |
|---|---|
| Mount | Chillet (Ice/Dragon) |
| Support Pals | Gobfin x4 |
| Base defenders | Astegon, Jormuntide Ignis, Jetragon, Quivern, Orserk |
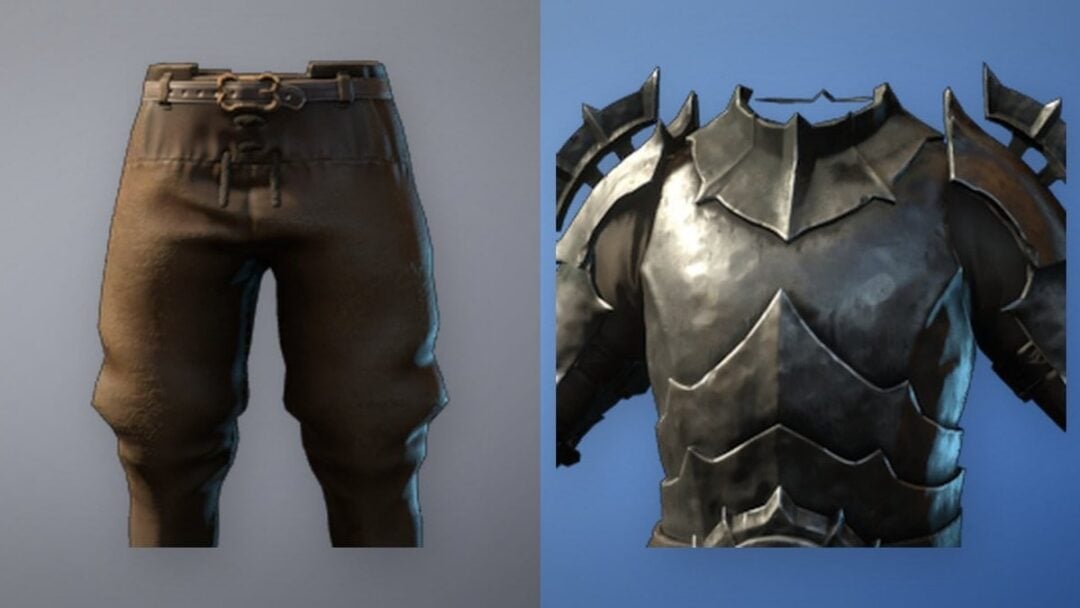
| Armor | Pal Metal Helm, Pal Metal Armor |
| Accessories | Attack Pendant, Life Pendant |
| Shield | Hyper Shield |
| Weapons | Rocket Launcher, Pump-Action Shotgun, Sword |
Base defenders lock in when the raid starts, so every Pal has to be placed before you summon the boss.
The Huge Dark Egg and raid rewards
Victory awards several items; to add the Pal, look for the Huge Dark Egg. The raid starter receives it in their inventory. Put the egg into any Egg Incubator to hatch a Bellanoir Libero and register it in your Paldeck. You can verify the reward after the victory screen, when the Huge Dark Egg appears; the Paldeck entry is completed after hatching.
| Reward | Amount |
|---|---|
| Huge Dark Egg (Bellanoir Libero) | 1 (initiator only) |
| Ancient Civilization Core | 2 |
| Bellanoir Libero (Ultra) Slab | 1 |
| Power / Stout / Life Fruit | 1 each |
| Multiclimate Undershirt +2 | 1 |
In co-op, check who launched the raid if the egg is missing: it goes only to that player. After obtaining one male and one female, you can produce additional ones at a Breeding Farm.
The Bellanoir Libero (Ultra) tier
Each victory also grants a Bellanoir Libero (Ultra) Slab, the sole access item for the Ultra battle. Use it at a Summoning Altar to call a Bellanoir Libero with 900,000 HP—twice the standard amount. The encounter retains the 10-minute limit and the Dark-to-Ice sequence.
The Ultra encounter uses the standard loot pool, with an exclusive Witch’s Crown (Ultra) headpiece added; it grants +80 Health and +30 Defense, along with Dragon Damage Reduction. The Huge Dark Egg yields only a regular Bellanoir Libero, not its Ultra form, so condense your roster and raise its levels before the fight for a reliable run.
How the Forever World run builds up to the raid
Reaching a boss tuned for level 50 takes a full progression loop, and a 100% completion run makes that loop visible. The save runs on Normal difficulty, and an on-screen dashboard tracks every category the player is trying to finish.
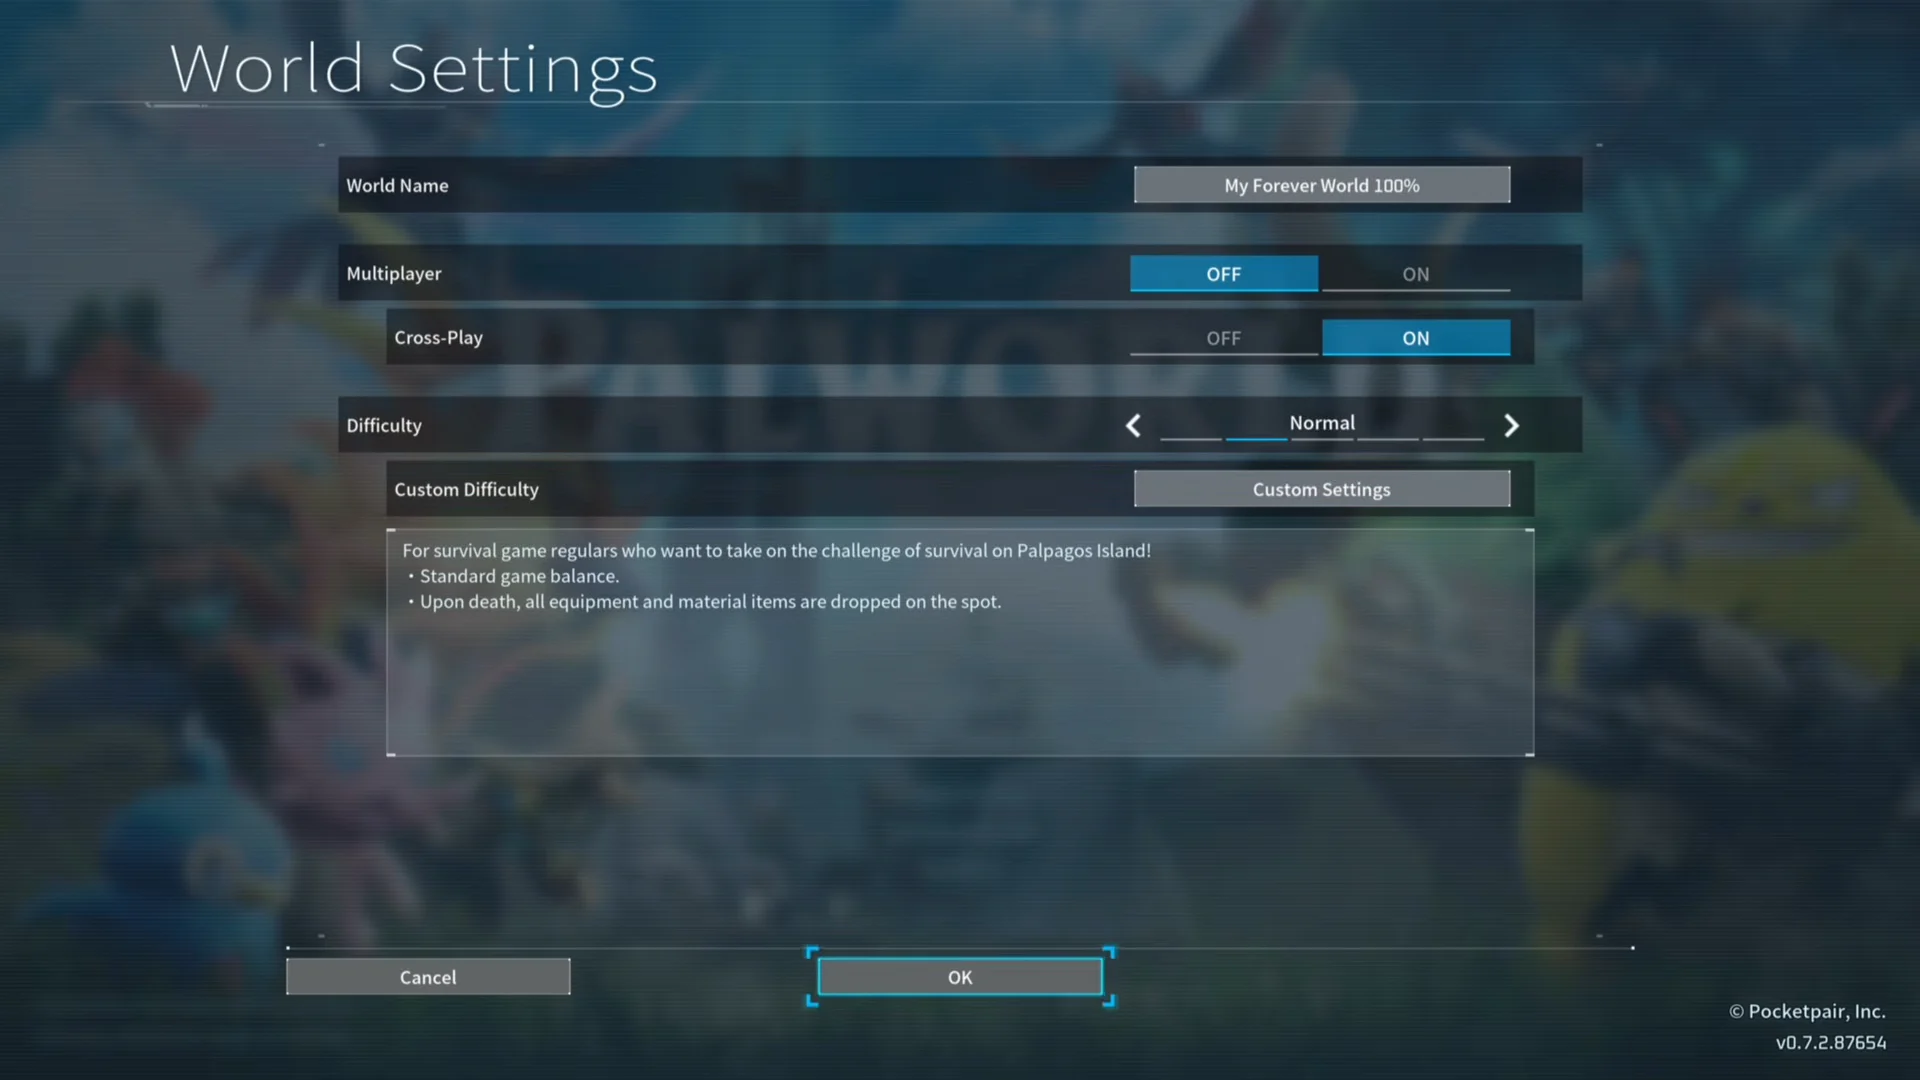
- Pals captured: 130/287
- Pals perfected: 81/287
- Alphas completed: 23/90
- Raids completed: 1/7
- Luckys defeated: 5
Exploration and fast travel
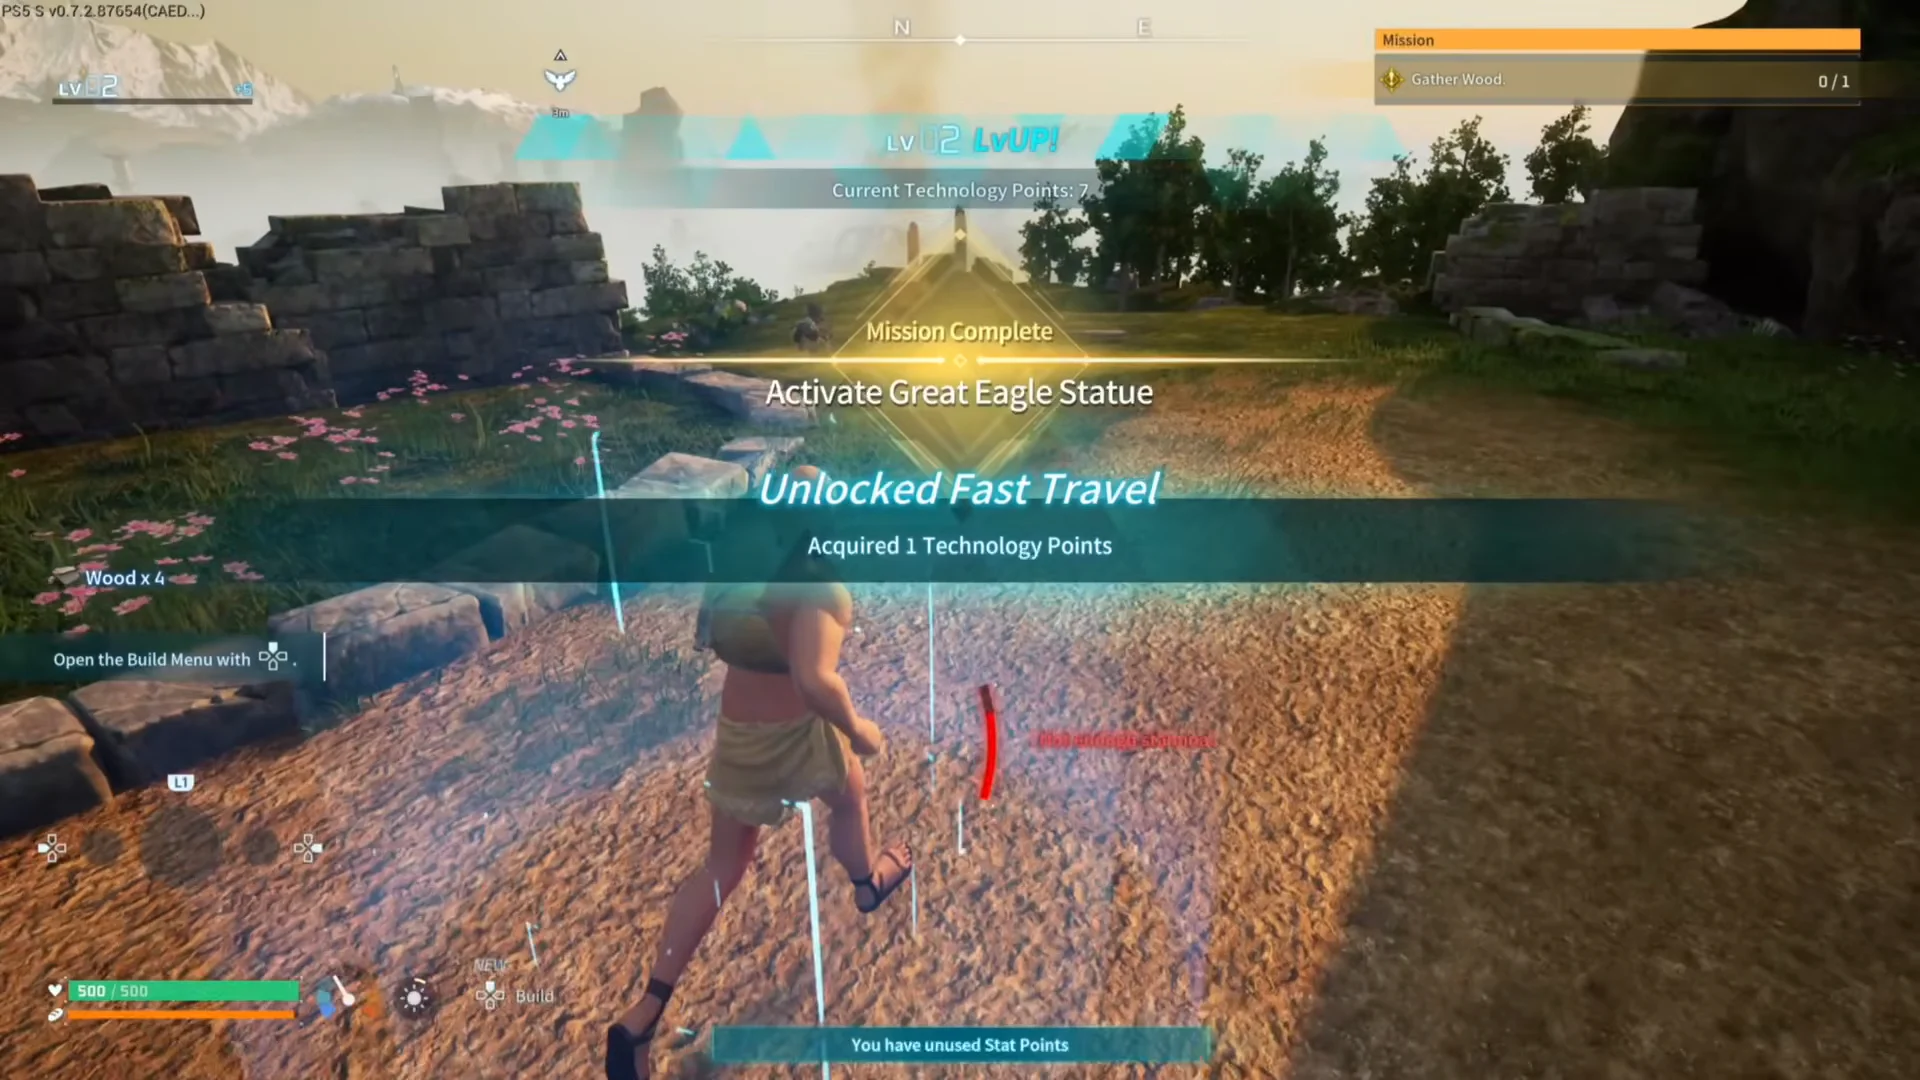
Fast travel is the connective tissue for a completion run, and each Great Eagle Statue unlocks a travel point along with a technology point and a level. The run spreads these across islands including Windswept Island, Isle of Murmurs, Marsh Island, Eastern Wild Island, Frostbitten Isle, and Flamepulse Islet, which is what makes fragment farming and boss hunting practical.
Crafting, technology, and capturing Pals
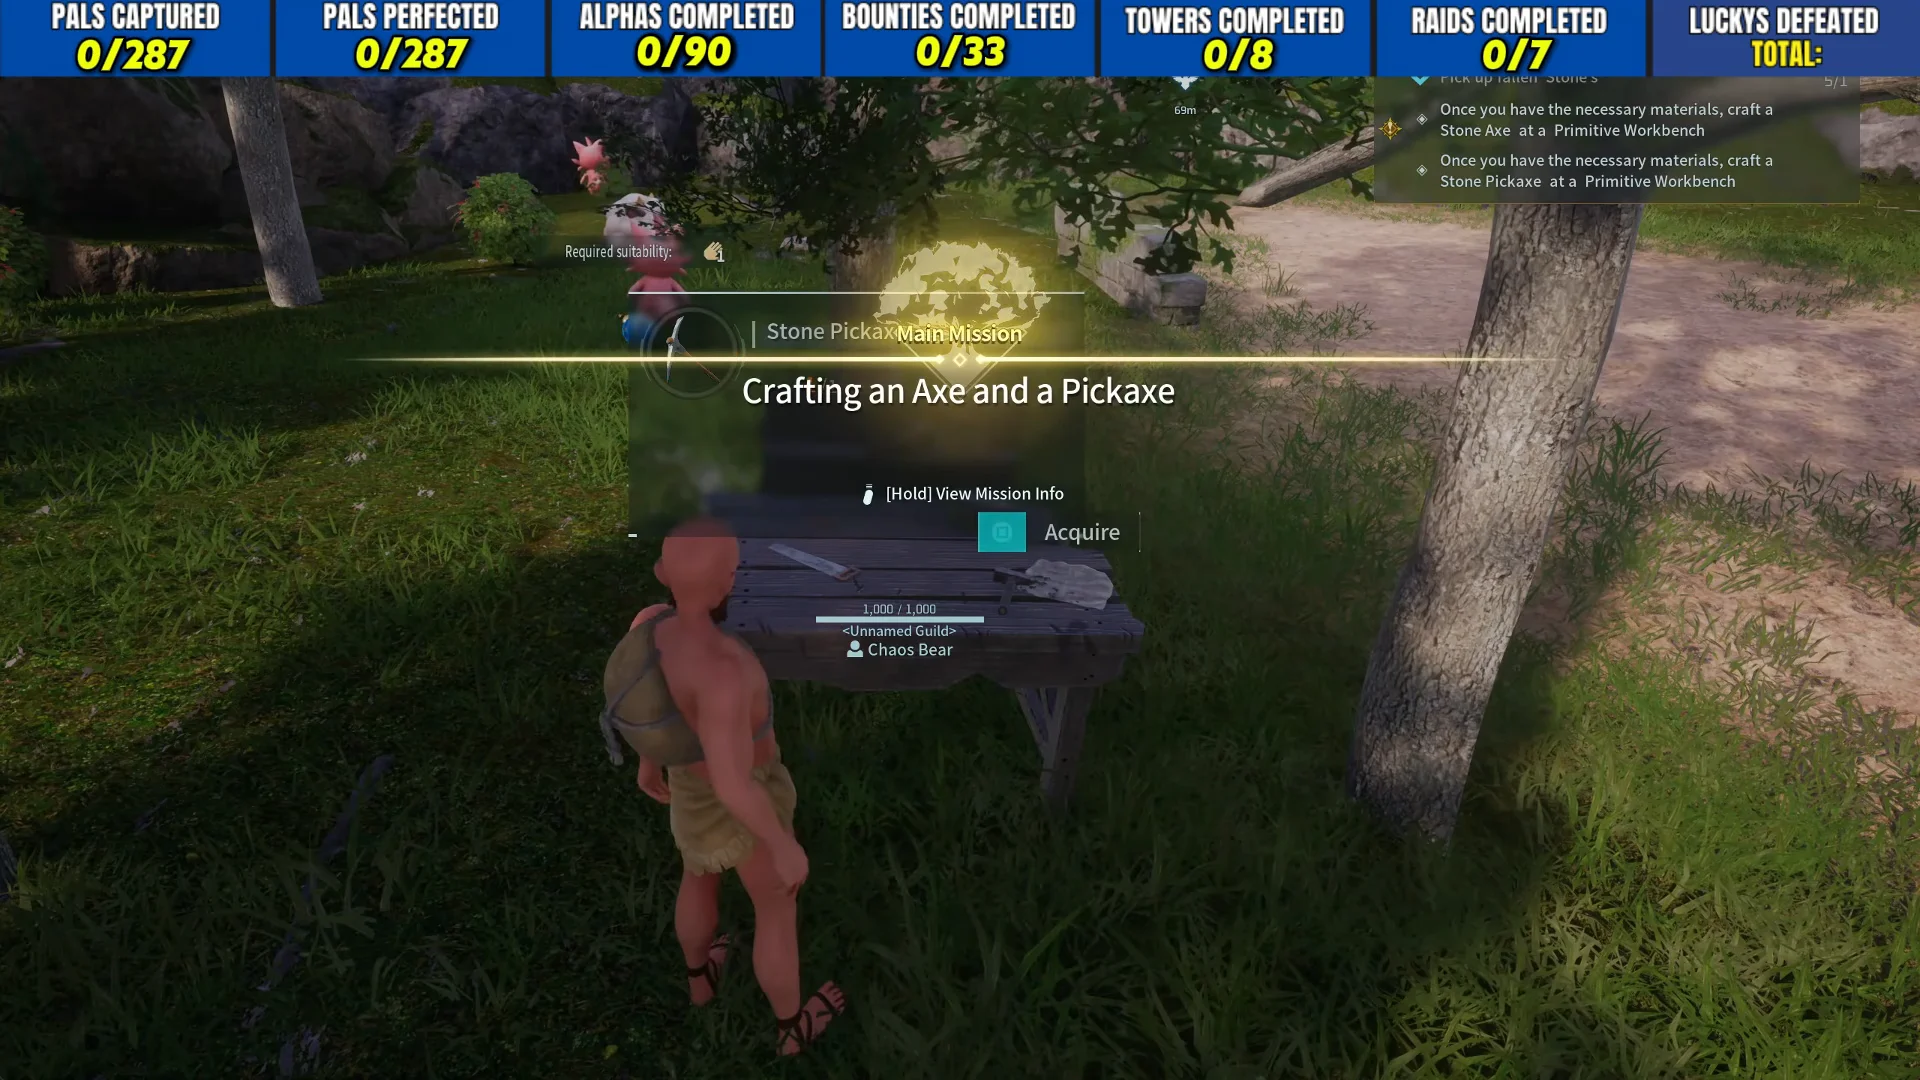
The earliest crafting loop starts with a Primitive Workbench and a Stone Pickaxe, and it scales up from there into assembly lines, spheres, and gear. That foundation is what eventually supports higher-tier spheres and the equipment needed for an endgame raid.
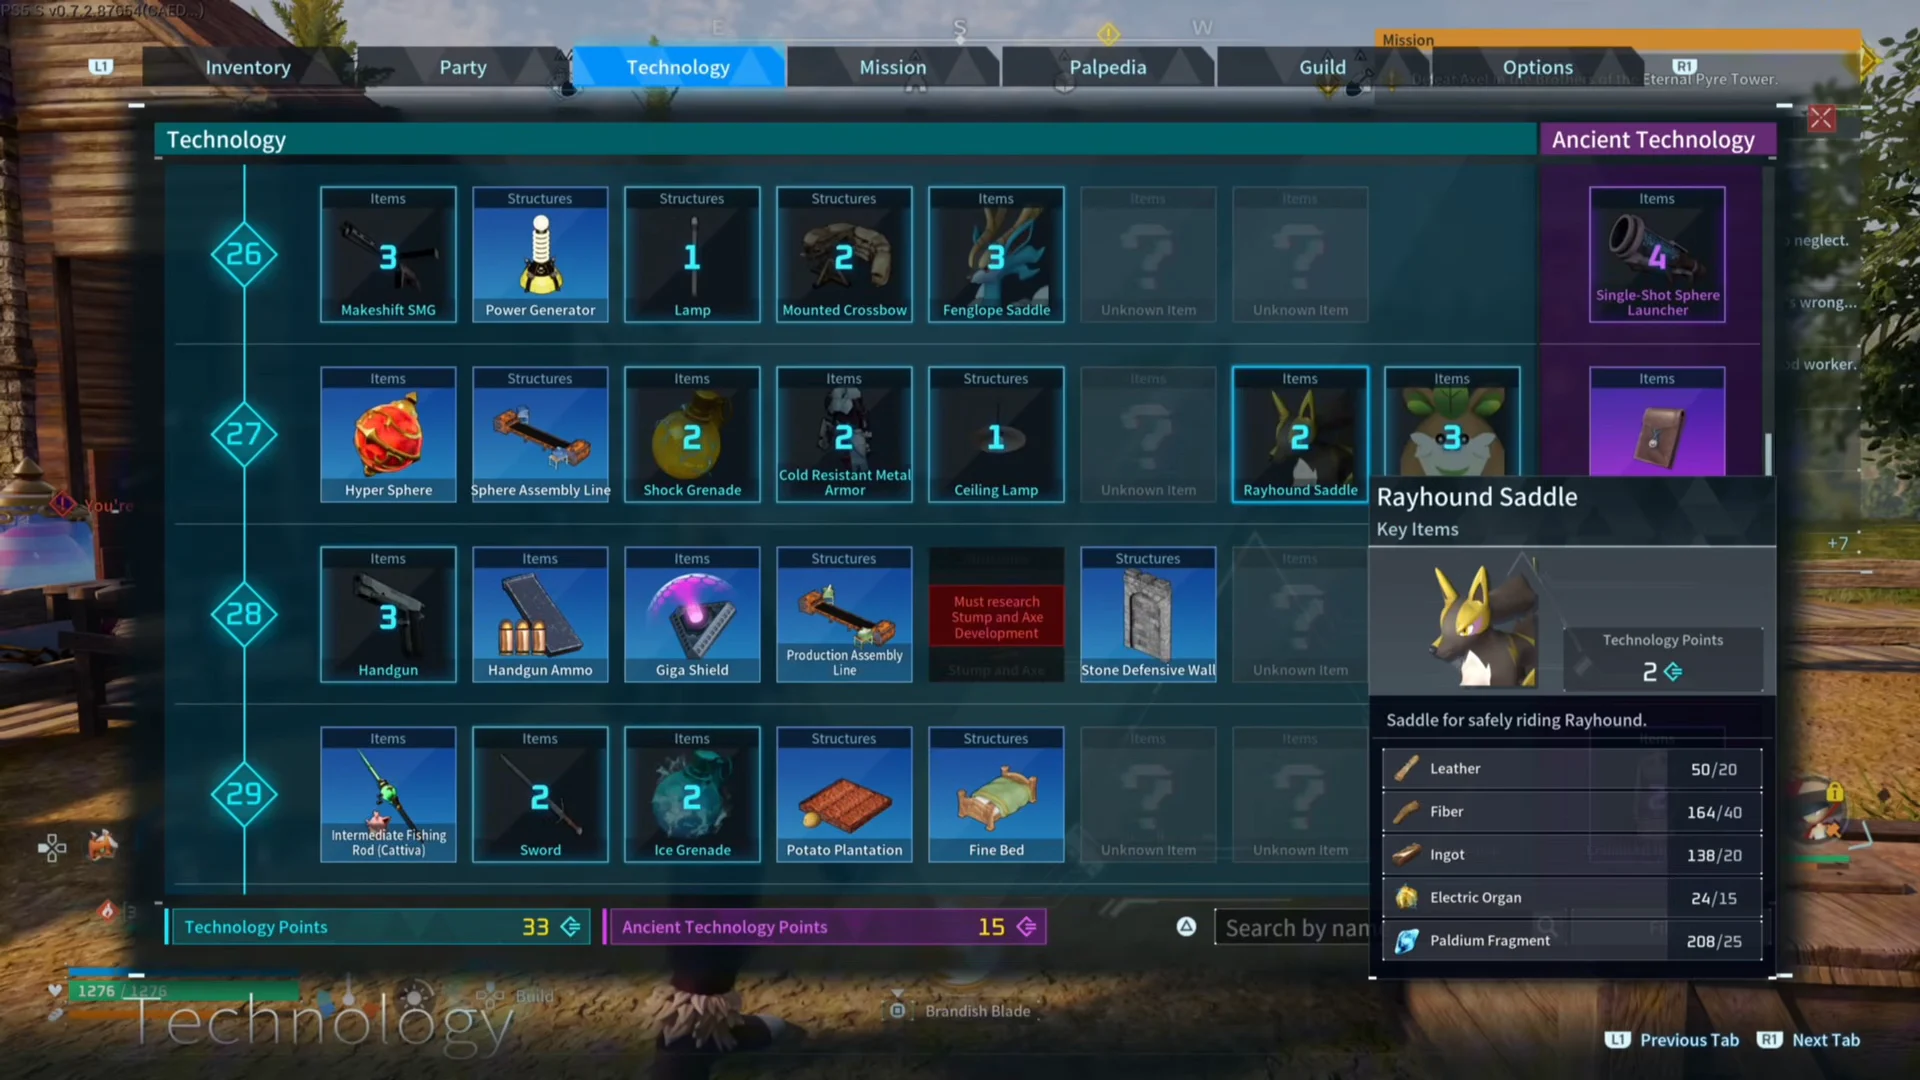
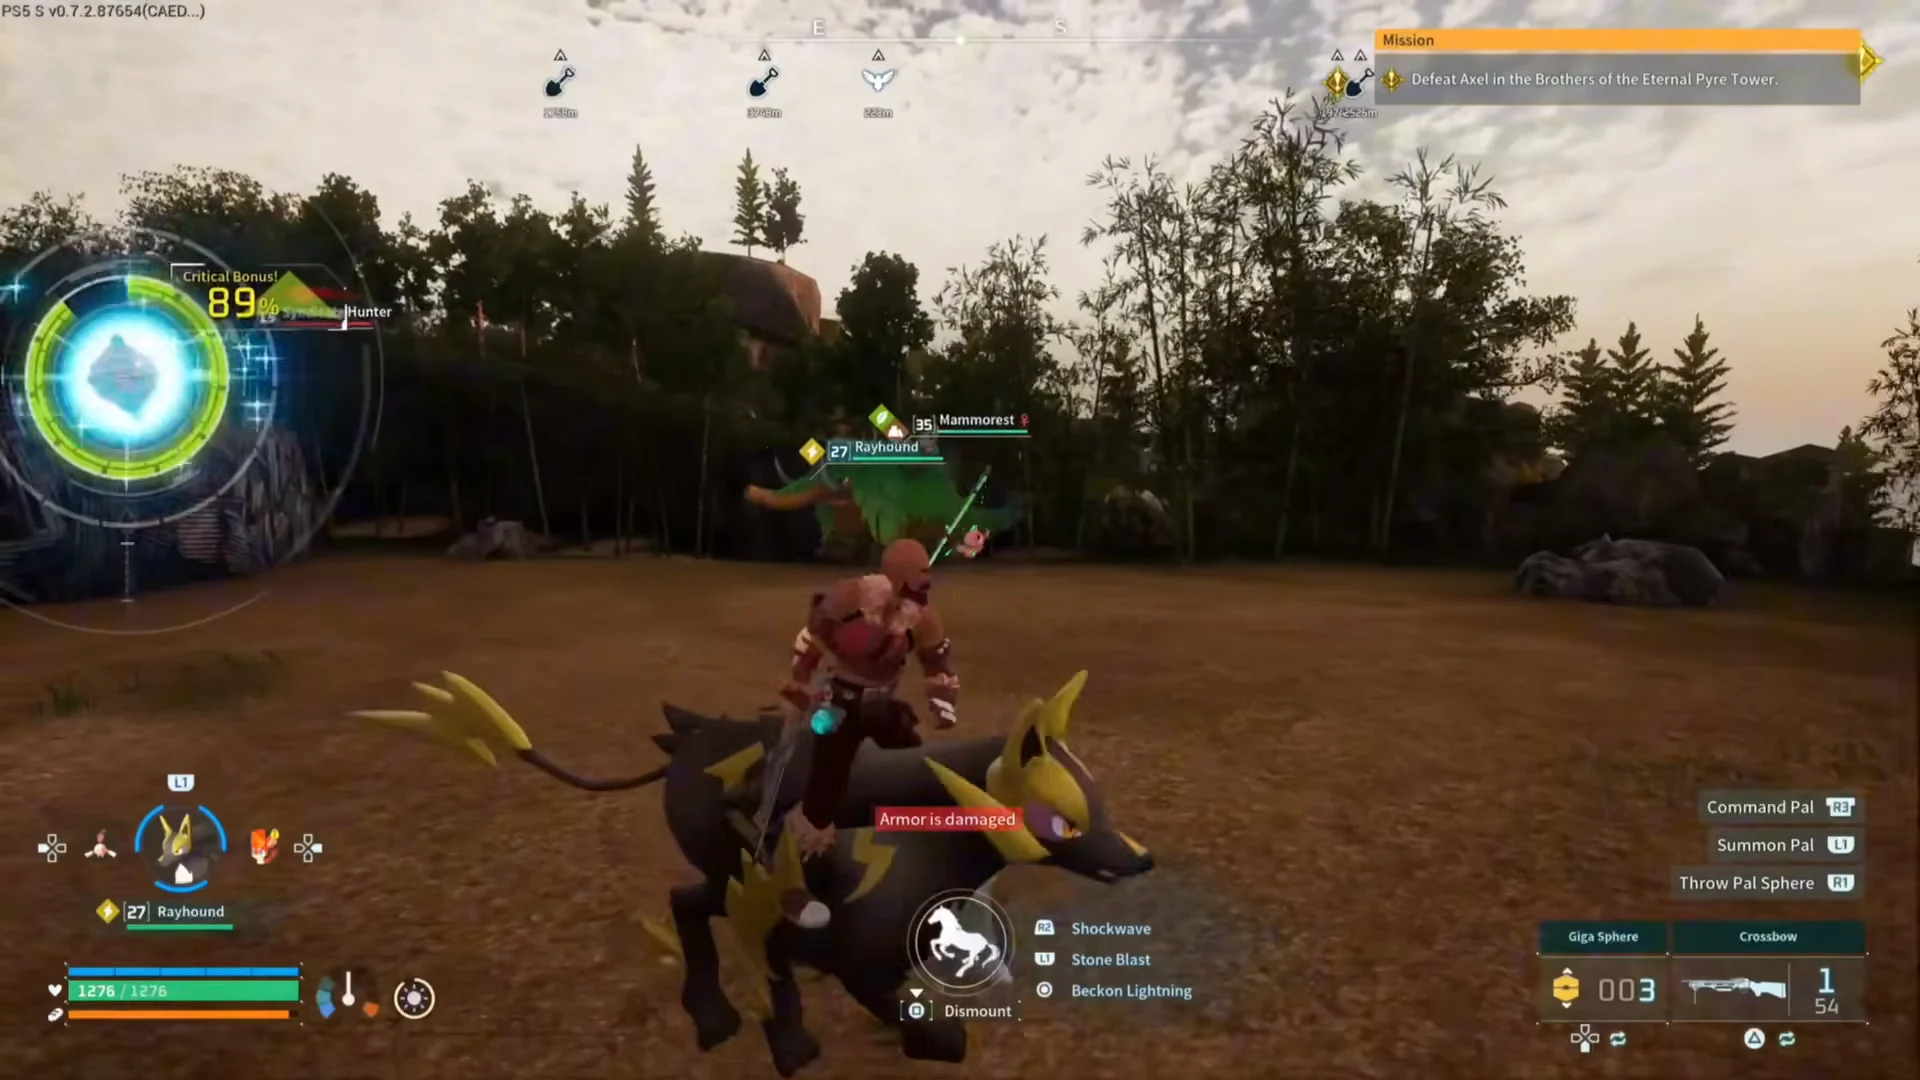
Most gear sits behind a character level in the technology tree, with items such as the Rayhound Saddle appearing at level 27. Working up that tree is also how you reach the Summoning Altar recipe and the high-tier spheres a Bellanoir run leans on.
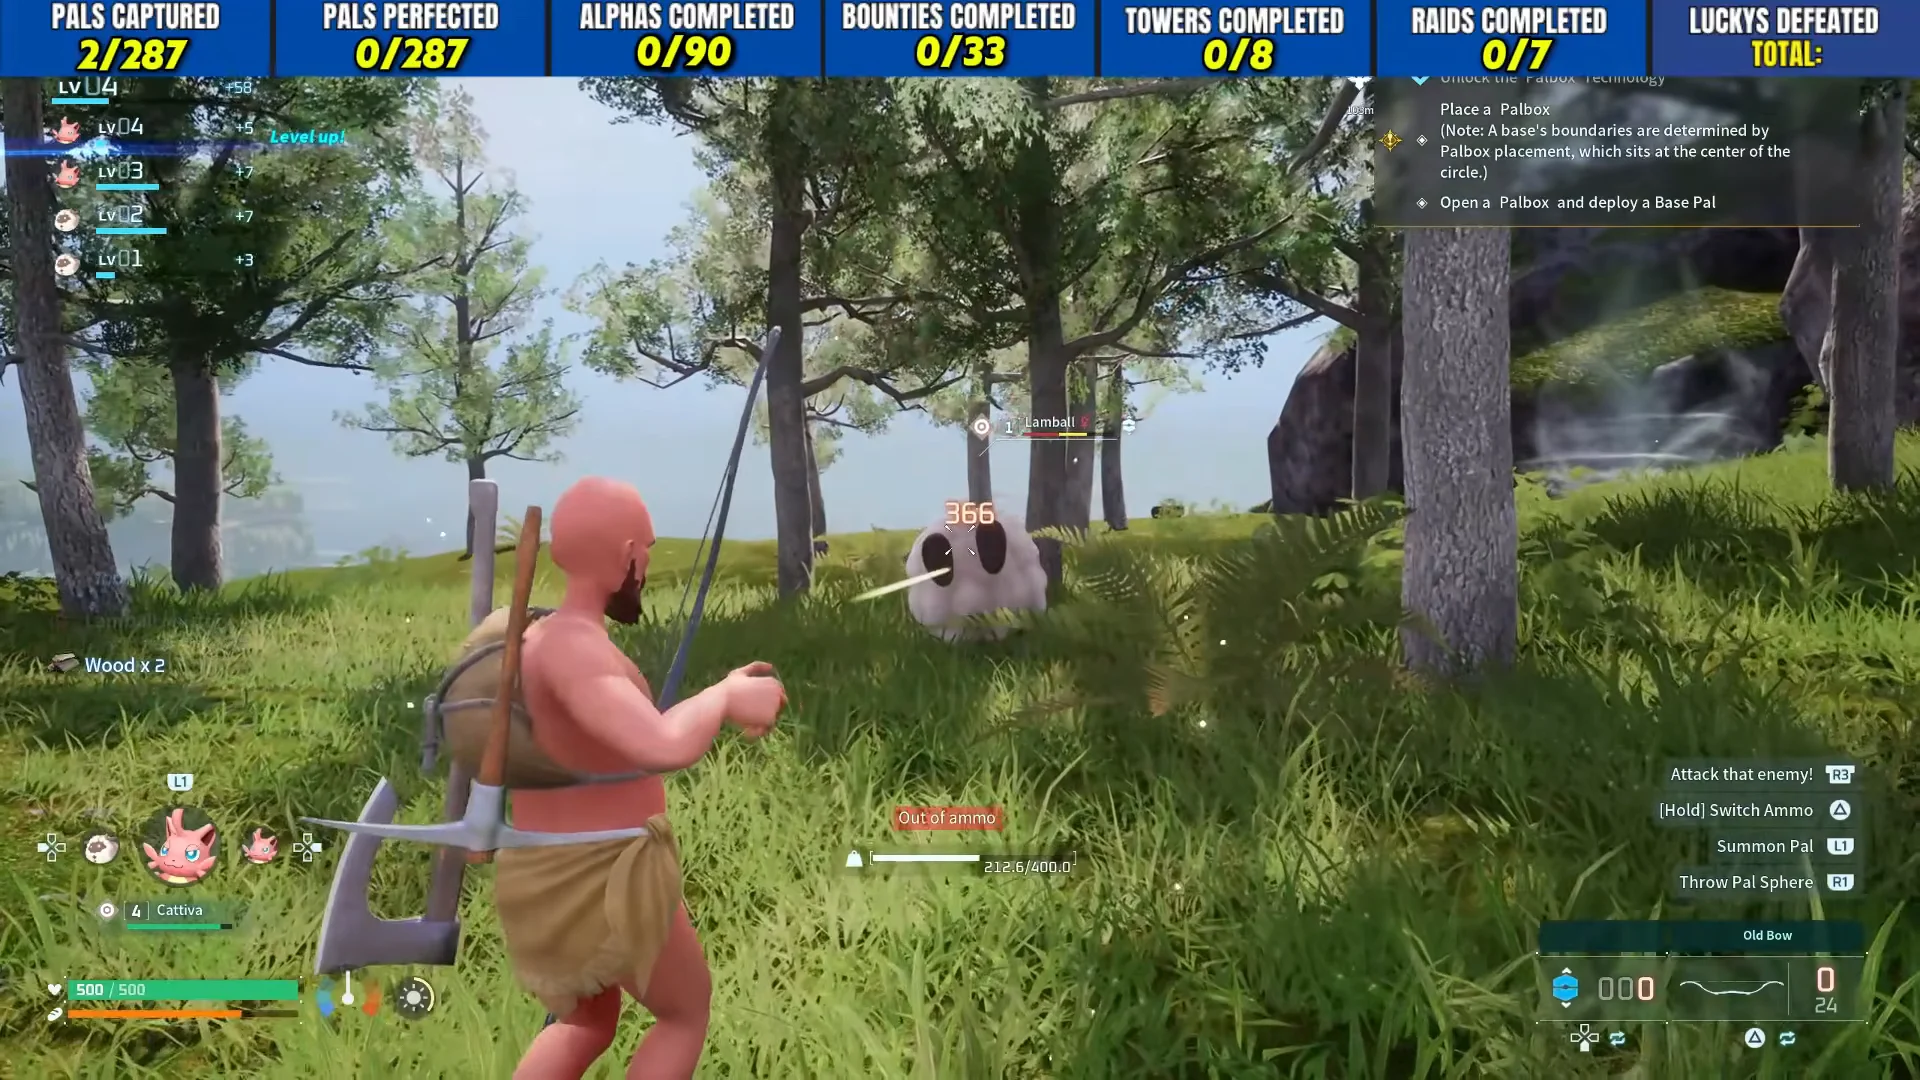
Capturing Pals is the largest completion category, and early captures rely on weakening a target first. Firing an Old Bow at a wild Lamball before throwing a sphere feeds the capture-count bonus that grants extra experience.
Later captures work the same way with better tools, where a weakened target and the right sphere raise the on-screen capture percentage. A stronger sphere and a higher bonus turn tougher Pals into reliable catches.
Base systems that support endgame raids
Several base systems make repeated raiding sustainable. A Guild Chest shares one interconnected inventory across every base where it is placed, so ore, coal, and stone gathered at a mining base like Isle of Murmurs are instantly available at the main base. Mimog Effigies spent at a Statue of Power raise player stats such as Movement Speed, Satiety Duration, and EXP Gain, while keeping Gloopie and Jelliette in the active party increases item drops and fishing speed.
The run also stacks high-tier capture targets alongside the raid, including Alpha Foxparks Cryst, Alpha Menasting, and the level 50 Alpha Blazamut in the volcanic region, which needs high heat resistance and Ultra or Legendary Spheres to catch reliably. Clearing the Bellanoir raid on top of those captures is what moves the raid counter off its starting point and opens the Ultra tier for the next attempt.