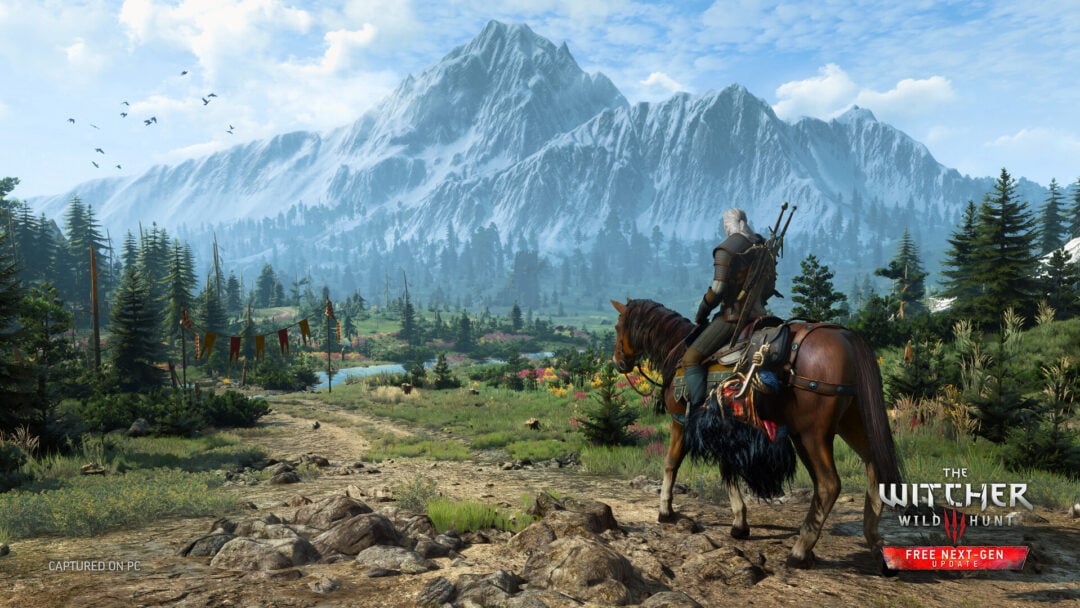
Bjorn and Bastigor are the Feybreak Tower Bosses in Palworld, a Level 60 duo that sits between the mid-game and the Sunreach sky islands. Bastigor is a pure Ice-type Pal, so the fight is built entirely around Fire damage and staying alive in a freezing region long enough to land it. Beat them and you open the altar portal that leads into the game’s floating endgame region.
Quick answer: Reach Level 60 with your character and Pals, wear cold-resistant armor, fill your party with Fire-type Pals like Jormuntide Ignis, send a Pal in to draw Bastigor’s aggro, and shoot Bjorn directly with a strong ranged weapon while using the arena pillars for cover.
Feybreak Tower location and entry requirements
The tower sits on the southwestern part of the map at coordinates -1294, -1669, near the Frozen Coral Hill zone on Feybreak Island. To reach it, travel through the Scorched Ashland area and push toward the blue-tinted, colder terrain at the island’s edge. The tower is tall and visible from a distance once you get close.
| Overworld Image | Map Image |
|---|---|
 | 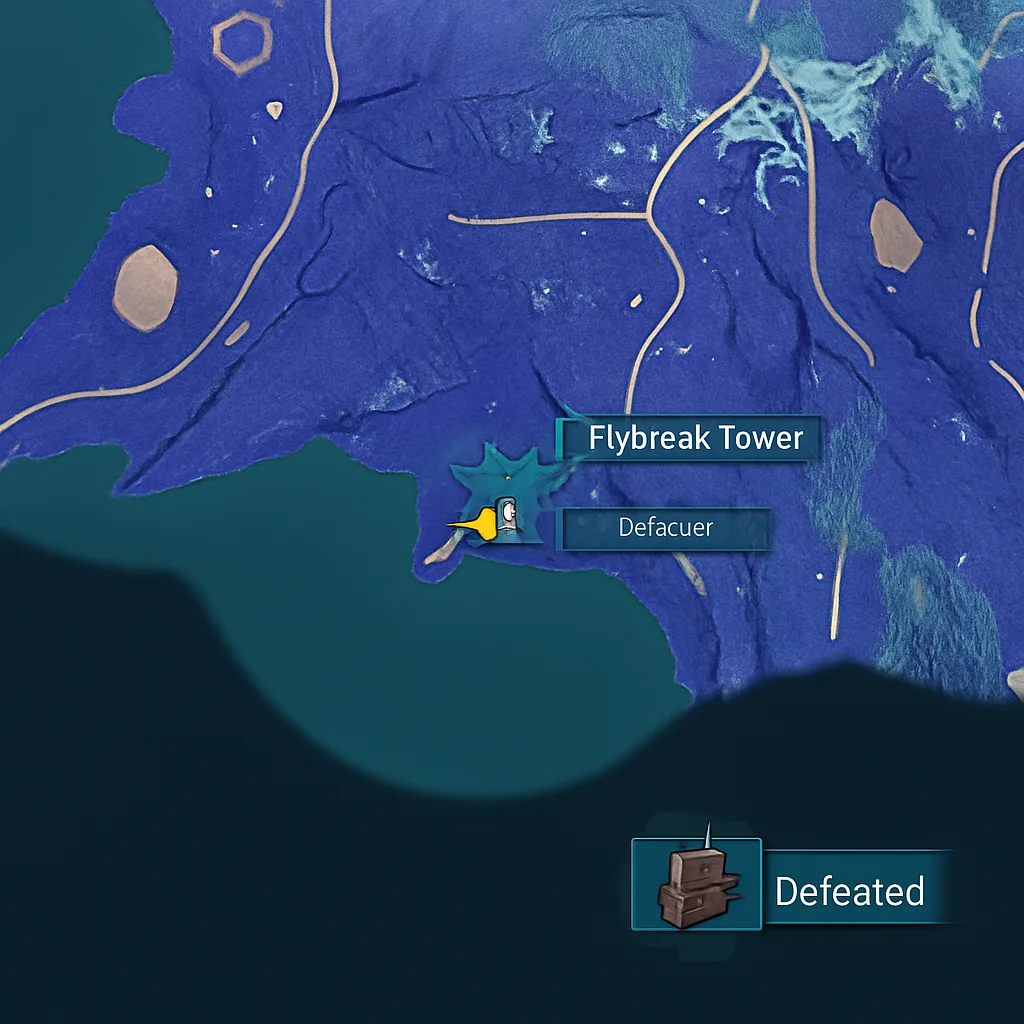 |
Before you can start the fight, you need three Bounty Tokens dropped by alpha Pals on the island. These grant access to the tower.
| Bounty Token | Amount | Approx. Coordinates |
|---|---|---|
| Dazzi Noct | 1 | -1343, -1579 |
| Caprity Noct | 1 | -1164, -1653 |
| Omascul | 1 | -1184, -1491 |
Feybreak’s climate deals ongoing cold damage on its own. Cold-resistant armor is effectively mandatory before you even reach the tower door, since exposure will chip away your health long before Bastigor lands a hit, and temperatures drop further at night.
Level and stats you need
The encounter is balanced around Level 60 for both you and your active Pals. Going in significantly underleveled makes Bastigor’s frost charges and Bjorn’s ranged attacks far harder to survive. Bjorn and Bastigor carry a combined health pool of roughly 509,249, so this is a long fight where your damage output and durability both matter.
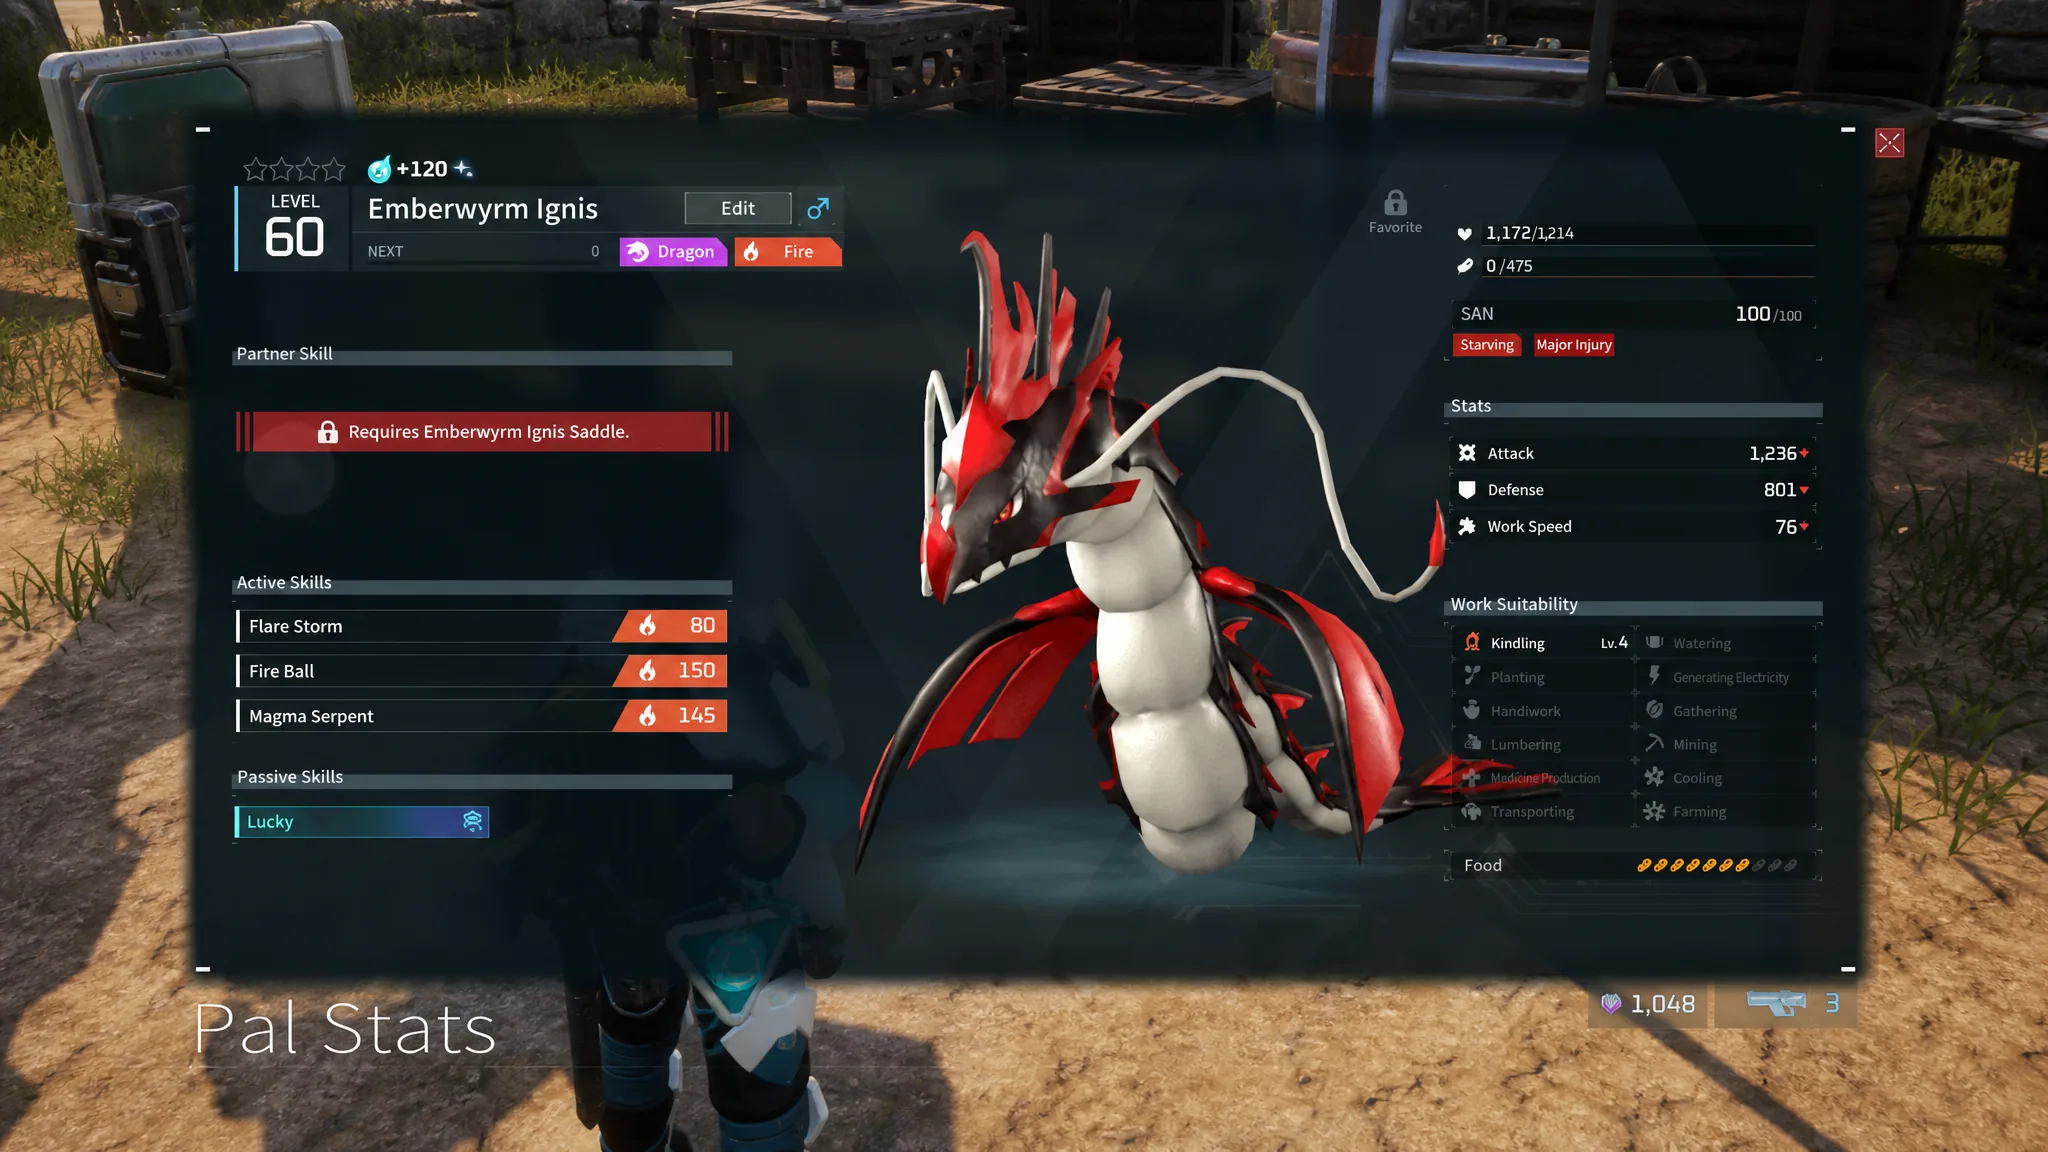
Before you walk in, spend Pal Souls at a Statue of Power to raise your Pals’ HP, Attack, and Defense. Those boosts are percentage-based, so upgrading higher-level Pals returns a bigger bonus.
Best Fire Pals for the fight
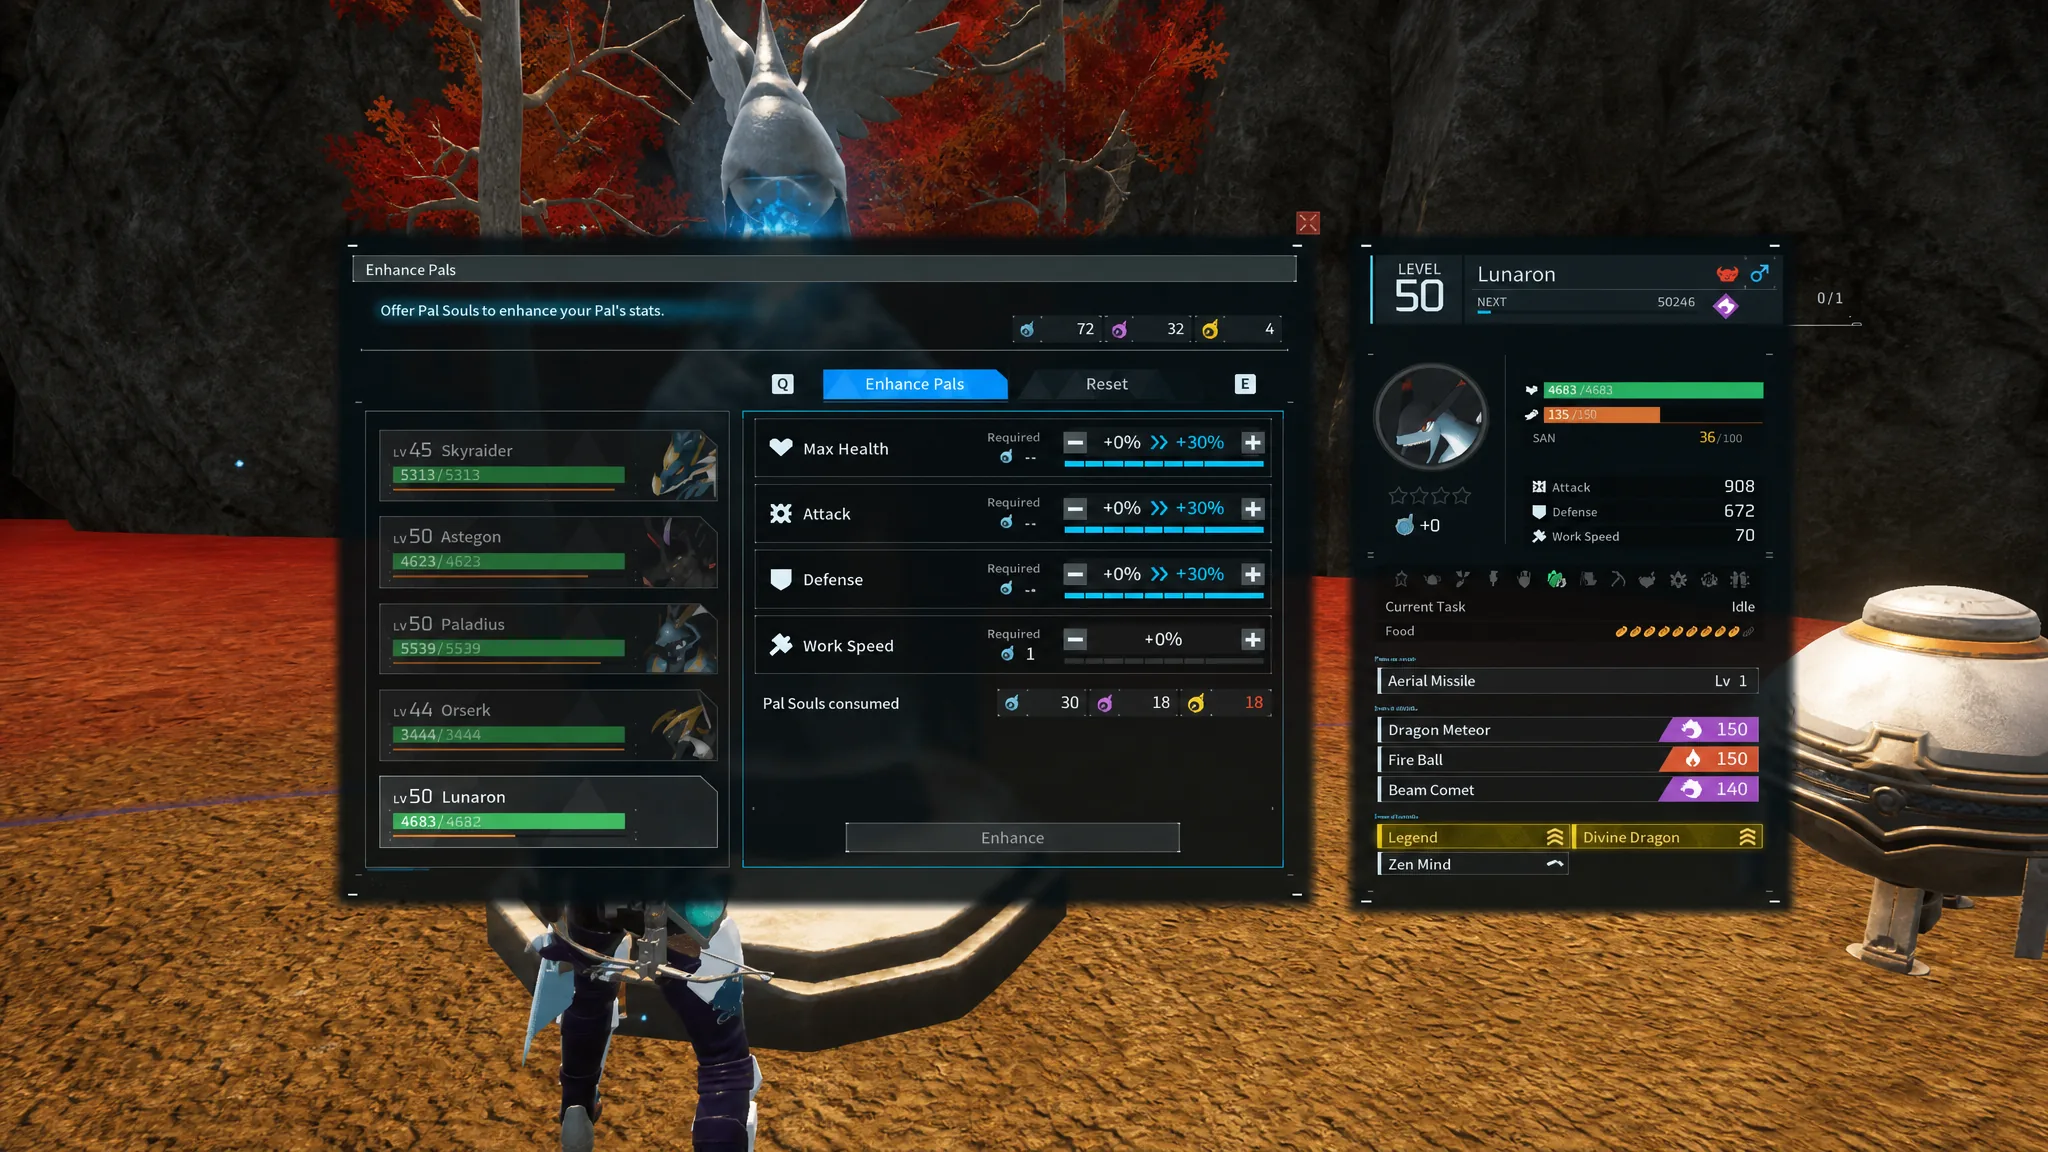
Bastigor’s Ice typing means Fire attacks tear through its health far faster than neutral damage. Build your party around Fire-type Pals that can either mount for a damage boost or tank while your carries recover.
| Pal | Why it works |
|---|---|
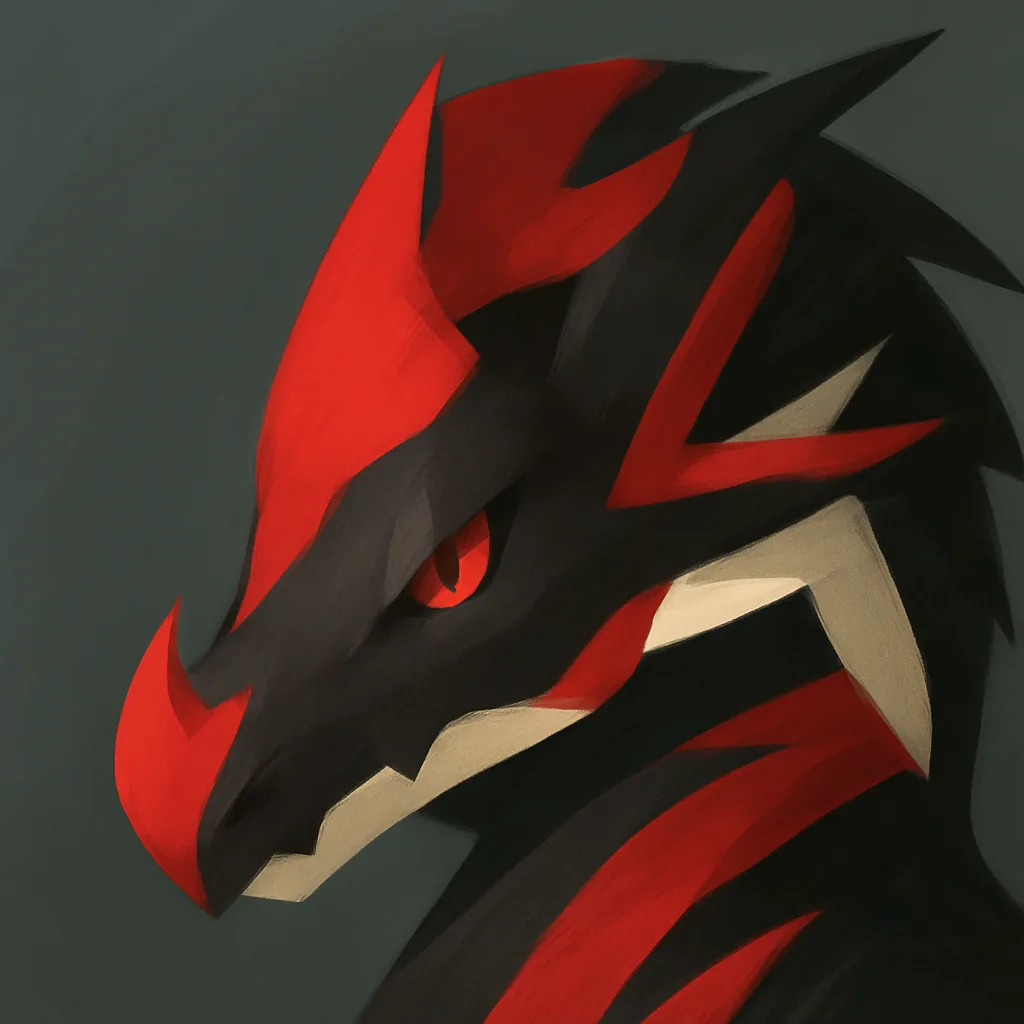 Jormuntide Ignis Jormuntide Ignis | The strongest Fire-type option. Neutral against Ice, and mounting it boosts your Fire-type damage during the fight. |
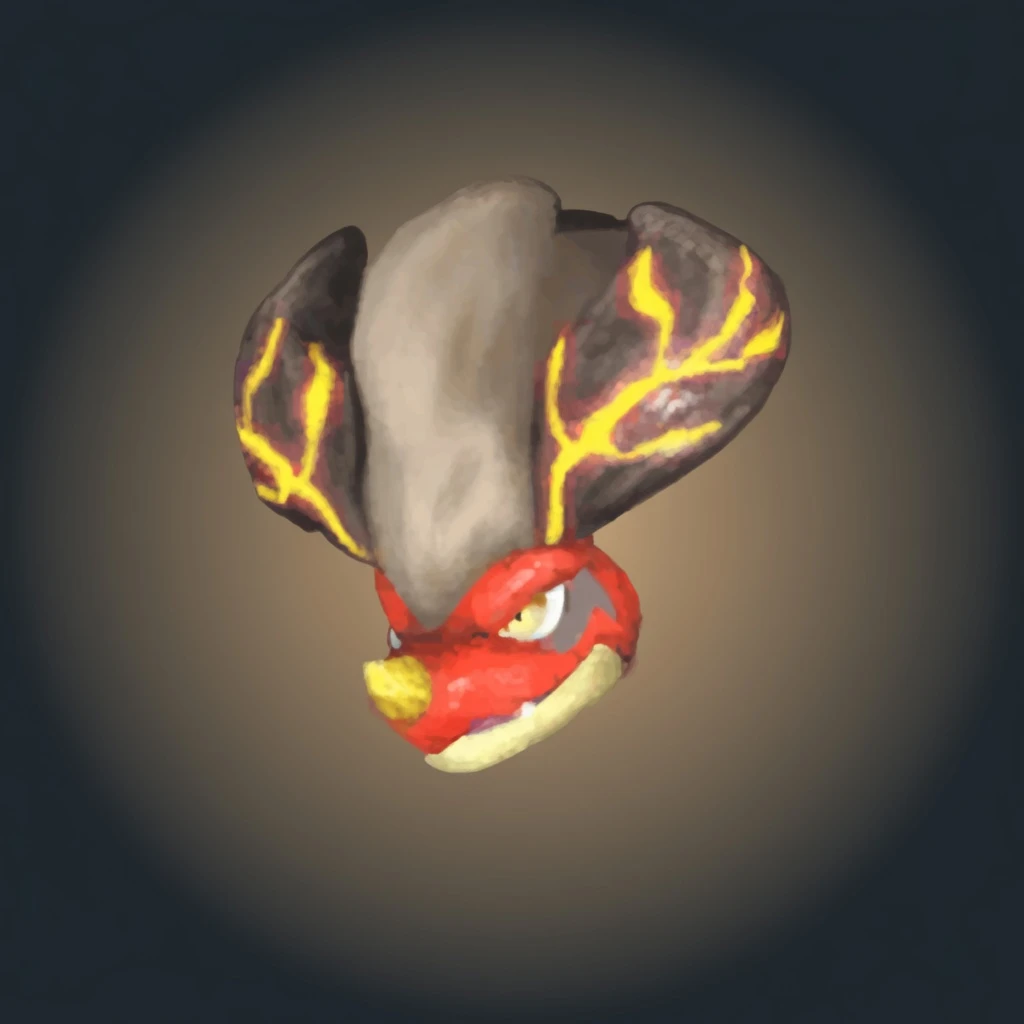 Blazamut Blazamut | Learns Fire Ball, a 150-power Fire skill, and can be mounted for a Fire damage boost. |
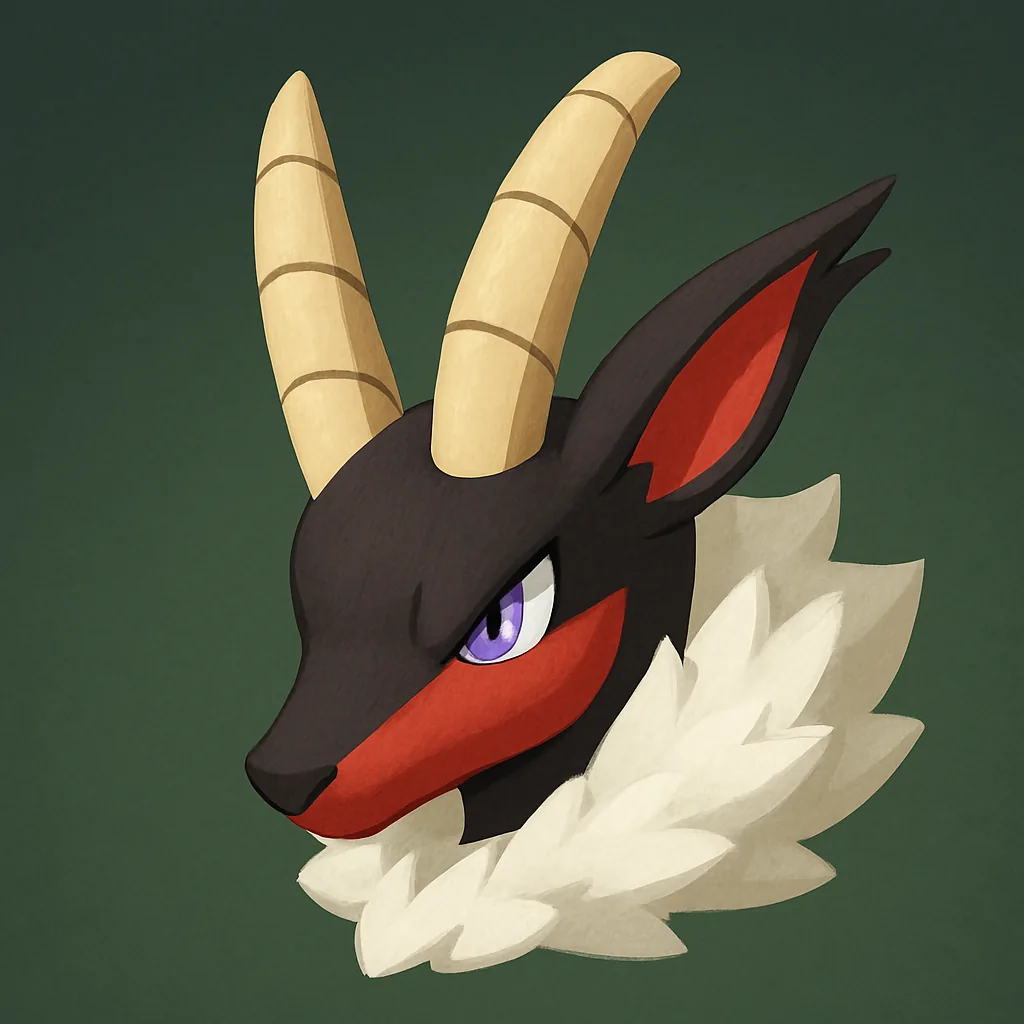 Incineram Incineram | Also learns Fire Ball. A more accessible pick you can switch to as a staller so your damage carries recover. |
Suzaku, Blazamut Ryu, Reptyro, Blazehowl, and Bushi are all solid backups if you have not caught the legendary Fire Pals yet. Gobfins are worth a party slot too, since their Partner Skill raises your own character’s damage.
Passive skills to chain breed
If you have time to breed before the fight, target these passives. They can be passed down through breeding, though the odds are not guaranteed and may take several attempts.
| Passive | Effect | Tier |
|---|---|---|
 Flame Emperor Flame Emperor | 30.0% increase in Fire attack damage | Tier +3 |
 Legend Legend | Attack +20.0%, Defense +20.0%, Movement Speed +20.0% | Rainbow Tier |
Best armor for surviving Feybreak’s cold
You need cold protection to reach the tower and to soak Bastigor’s Ice attacks. Cold Resistant Plasteel Armor or Hexolite Armor covers you by the time you hit Level 60, and pairing it with an Advanced Shield helps absorb ranged hits. If you push a few levels past 60, the Cold Resistant Hexolite Armor is a stronger upgrade.
| Armor | Tier | Key materials |
|---|---|---|
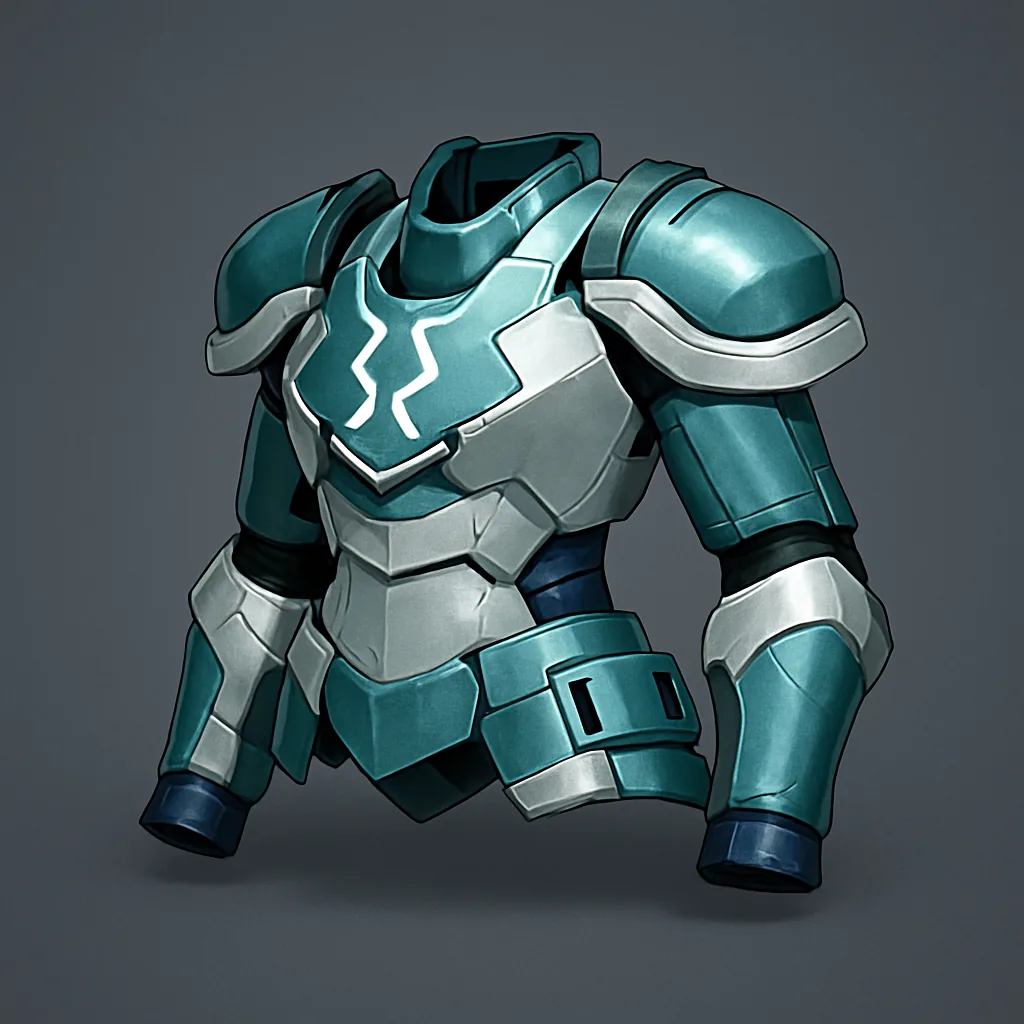 Cold Resistant Plasteel Armor Cold Resistant Plasteel Armor | 54 | Ice Organ x20, HQ Cloth x5, Pal Metal Ingot x30, Plasteel x30, Cryogenic Coolant x10 |
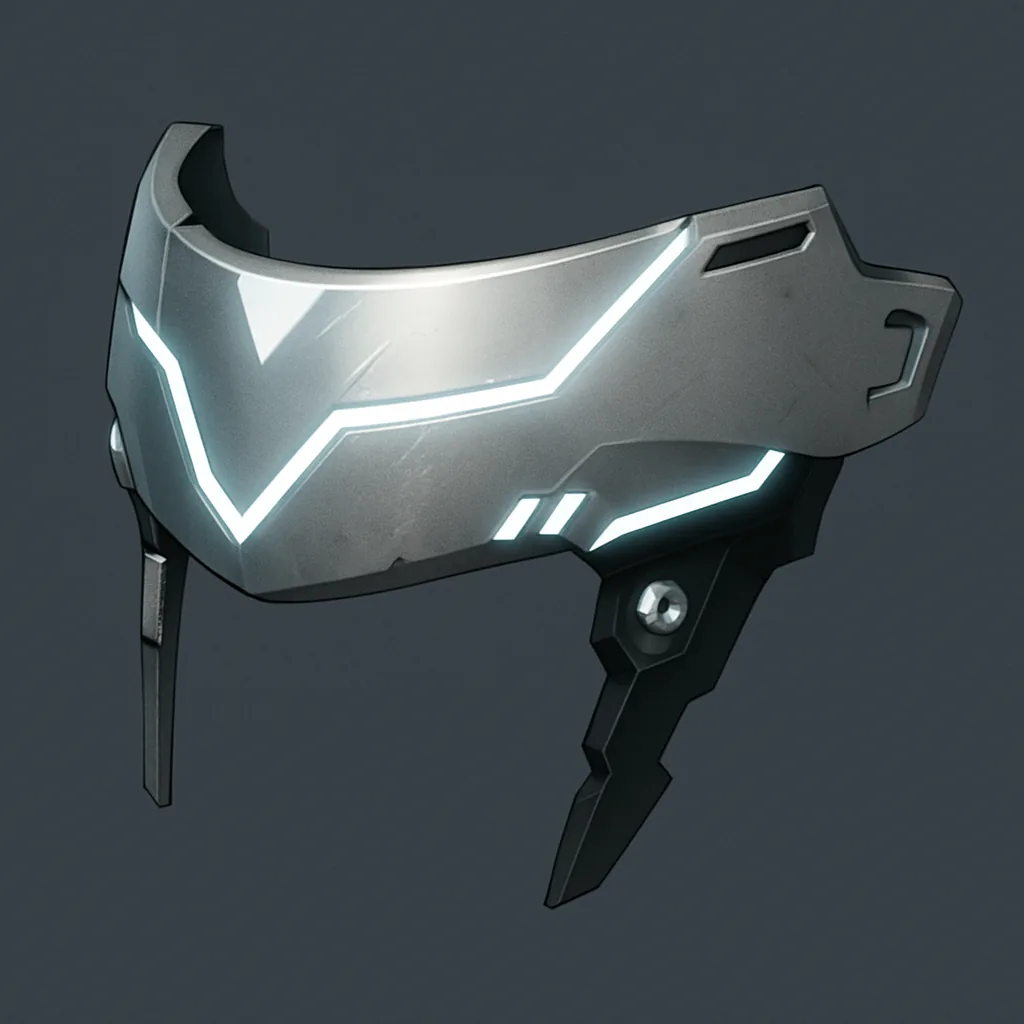 Hexolite Helmet Hexolite Helmet | 58 | Plasteel x15, Hexolite x40 |
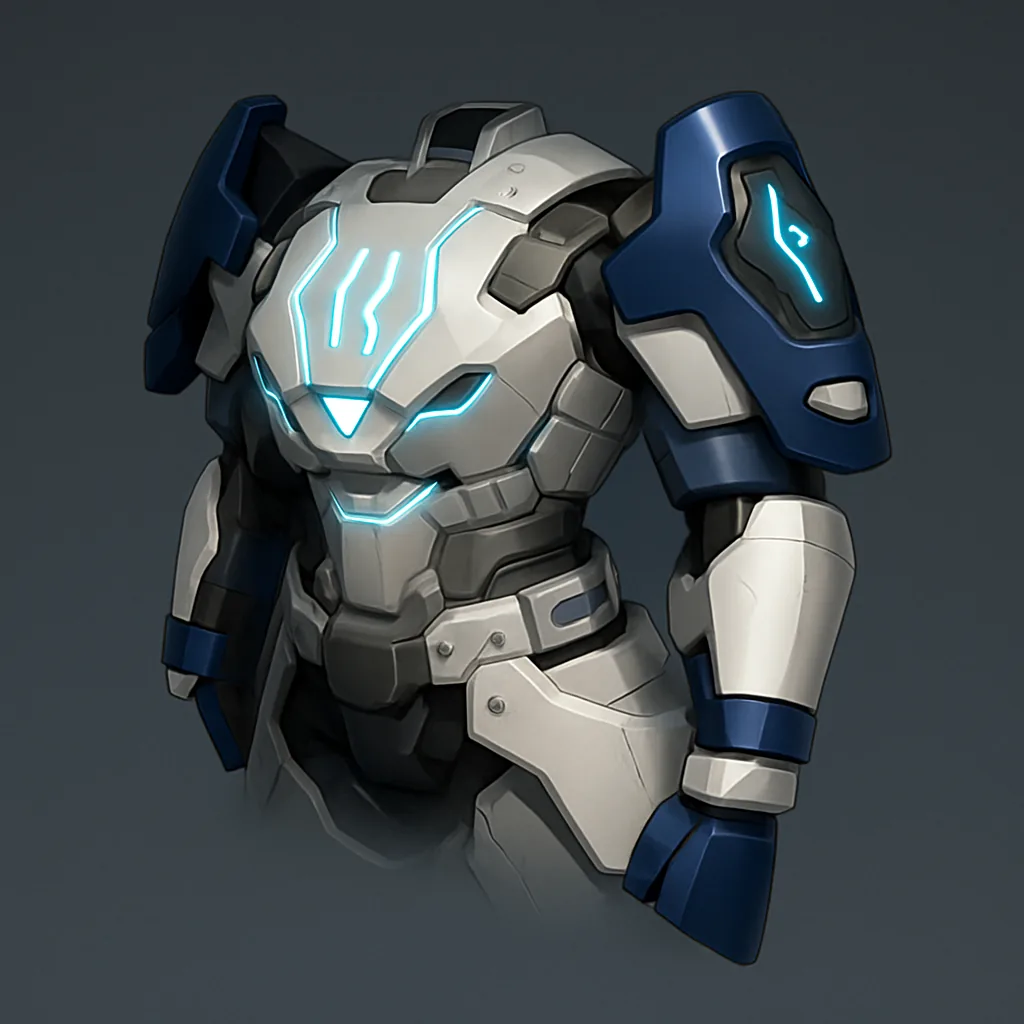 Hexolite Armor Hexolite Armor | 59 | HQ Cloth x10, Plasteel x20, Hexolite x50 |
 Advanced Shield Advanced Shield | 60 | Paldium Fragment x200, Ancient Civilization Parts x50, Ancient Civilization Core x30, Hexolite x50, Thermal Core x5 |
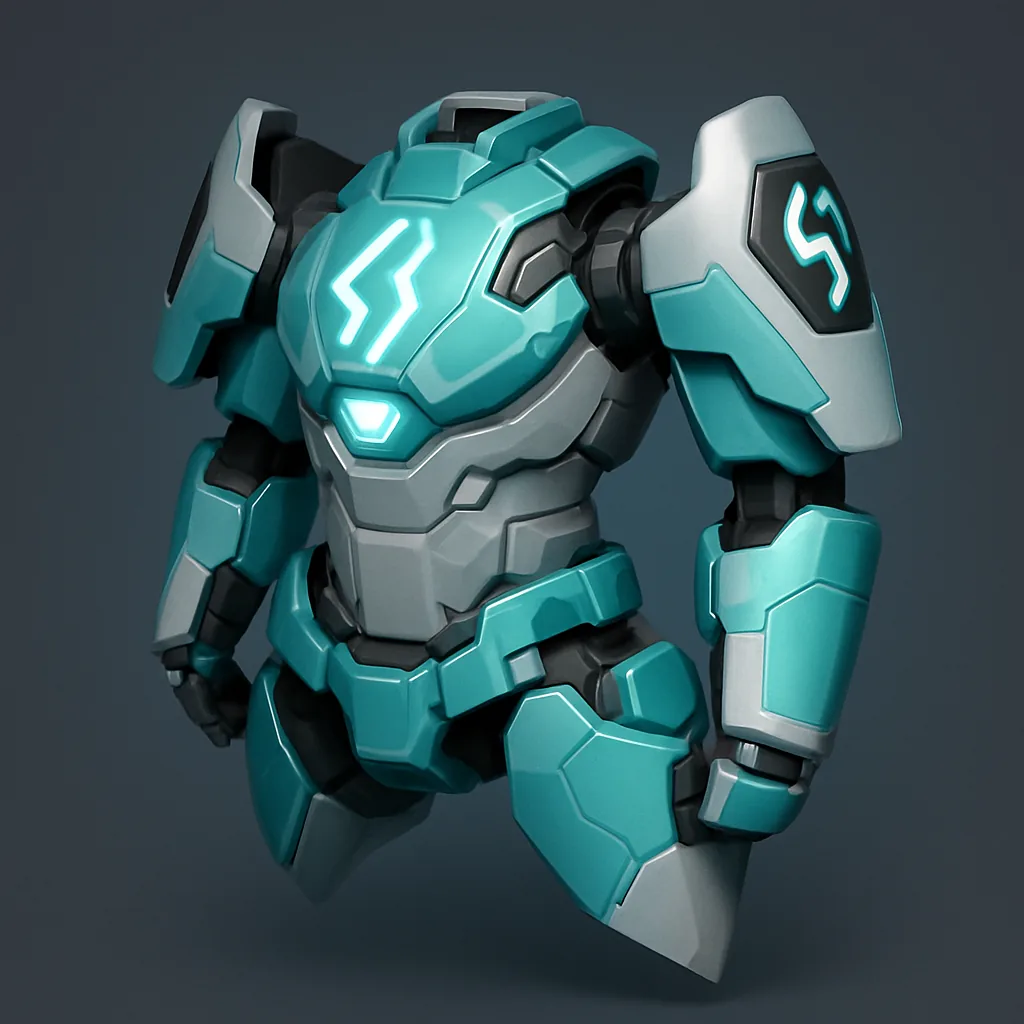 Cold Resistant Hexolite Armor Cold Resistant Hexolite Armor | 64 | Ice Organ x30, HQ Cloth x10, Plasteel x20, Hexolite x50, Cryogenic Coolant x10 |
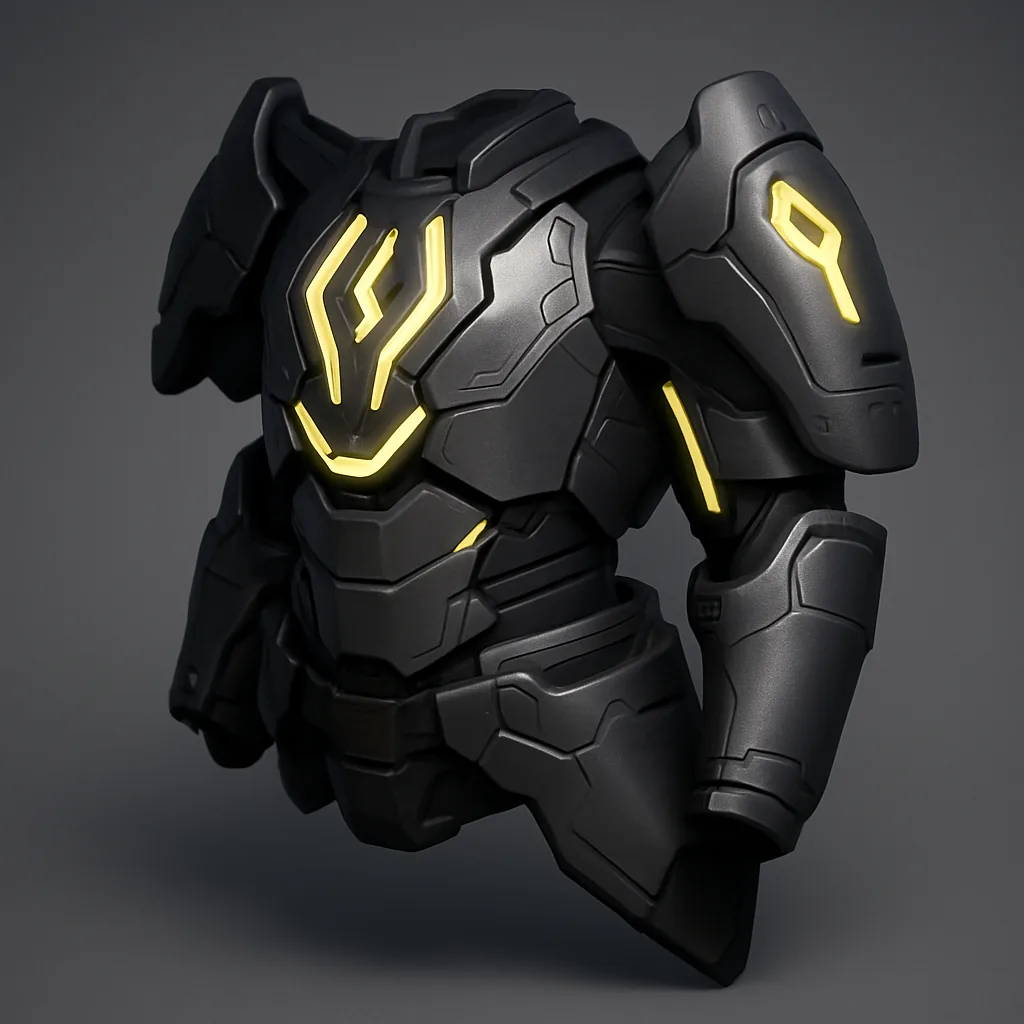 Lightweight Hexolite Armor Lightweight Hexolite Armor | 65 | HQ Cloth x10, Plasteel x20, Hexolite x100, Corrosive Solvent x10 |
Best weapons and food buffs
You will hit Bjorn from range while your Pal keeps Bastigor busy, so a strong ranged weapon carries the fight. The Plasma Cannon, Laser Gatling Gun, and legendary launchers such as the Rocket Launcher put out the most damage. Bring plenty of ammo, since Bastigor’s health pool empties inventories fast.
| Weapon | Tier |
|---|---|
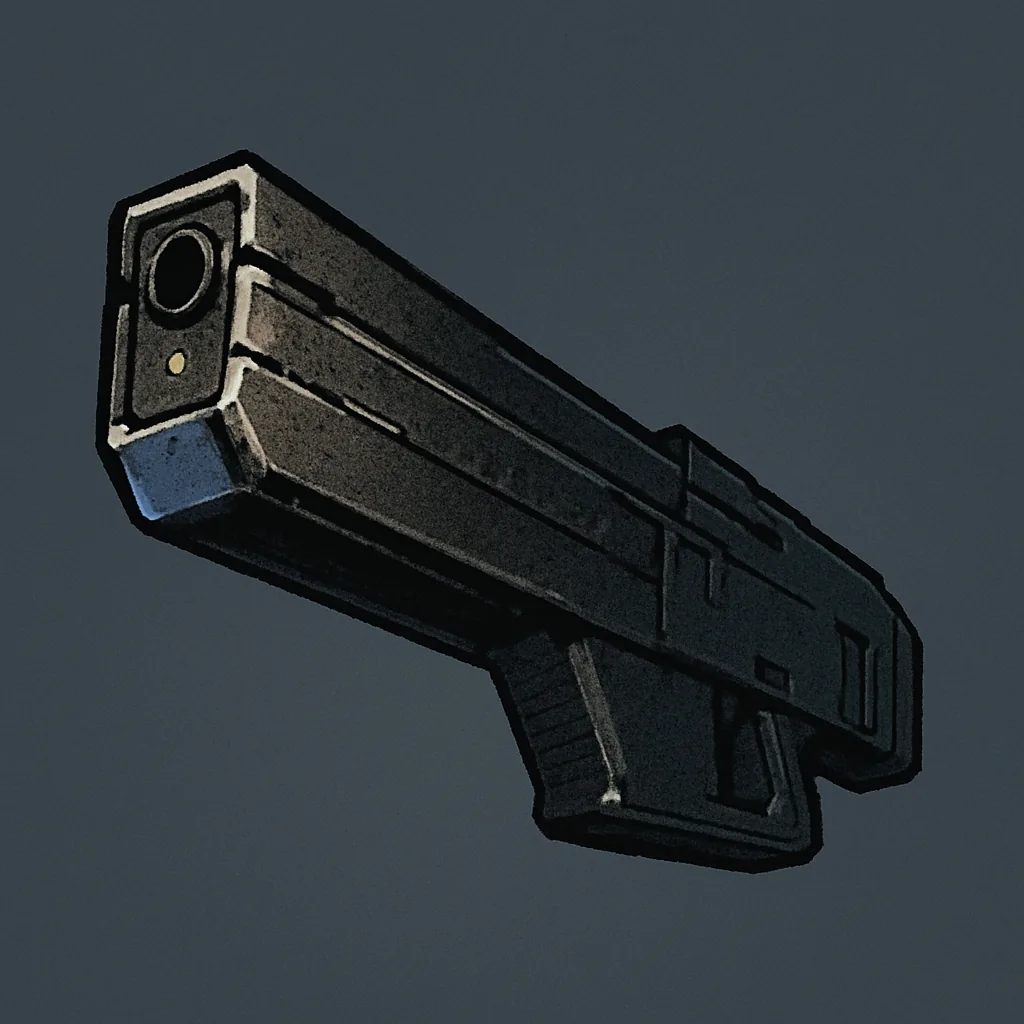 Laser Rifle Laser Rifle | 51 |
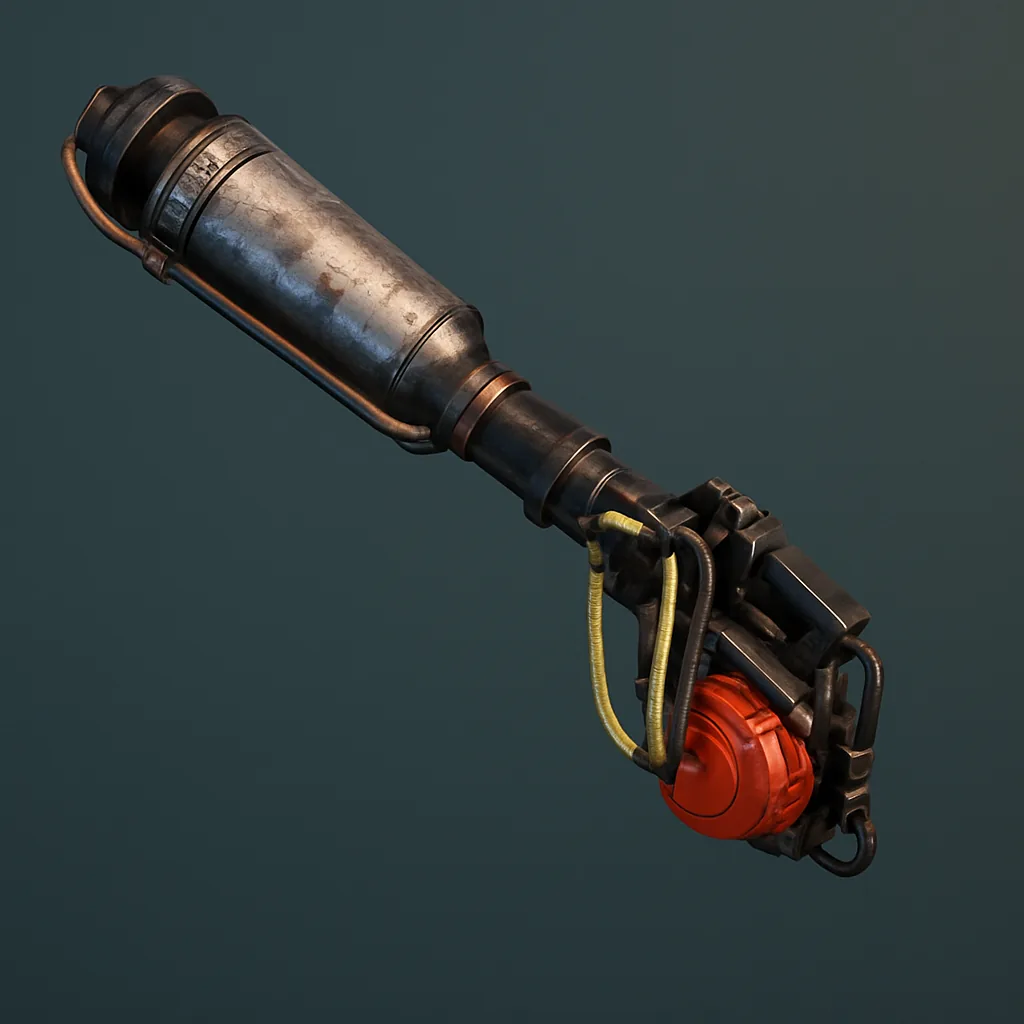 Flamethrower Flamethrower | 52 |
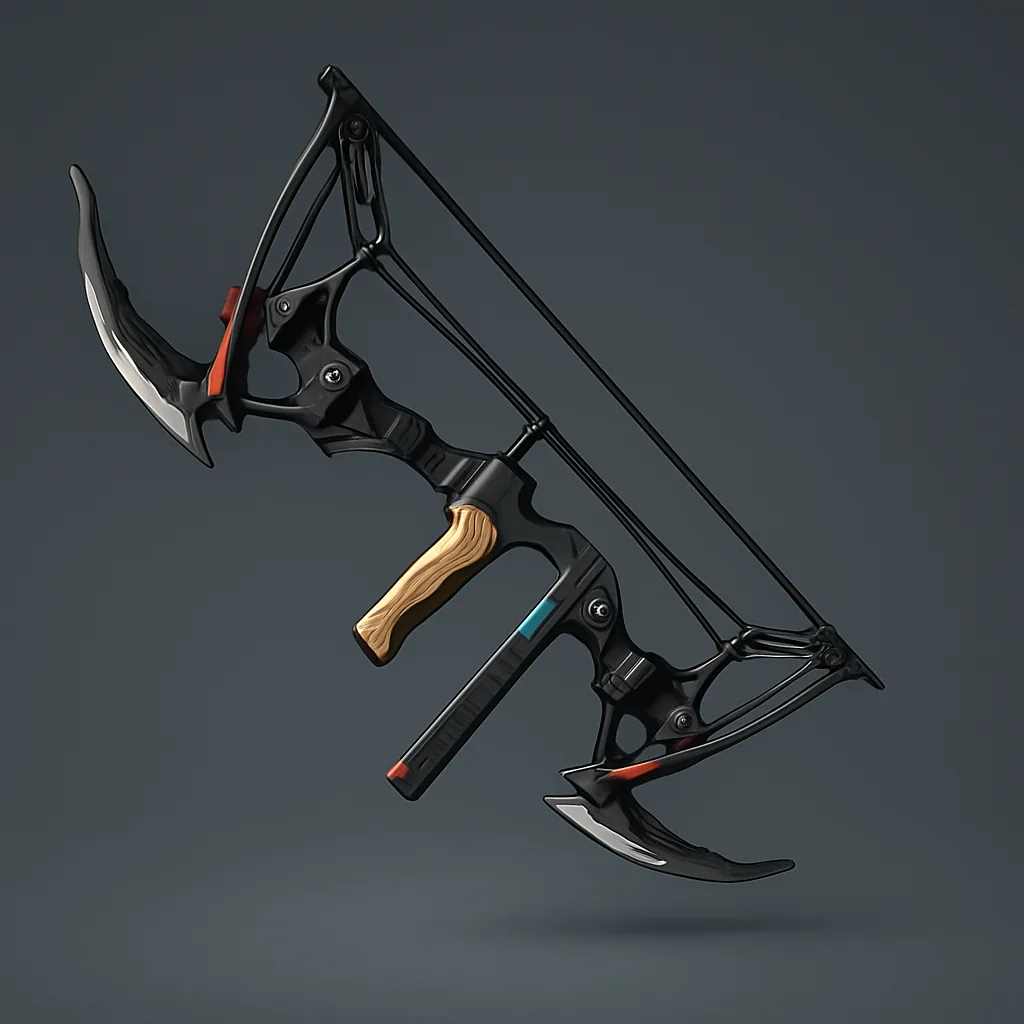 Advanced Bow Advanced Bow | 57 |
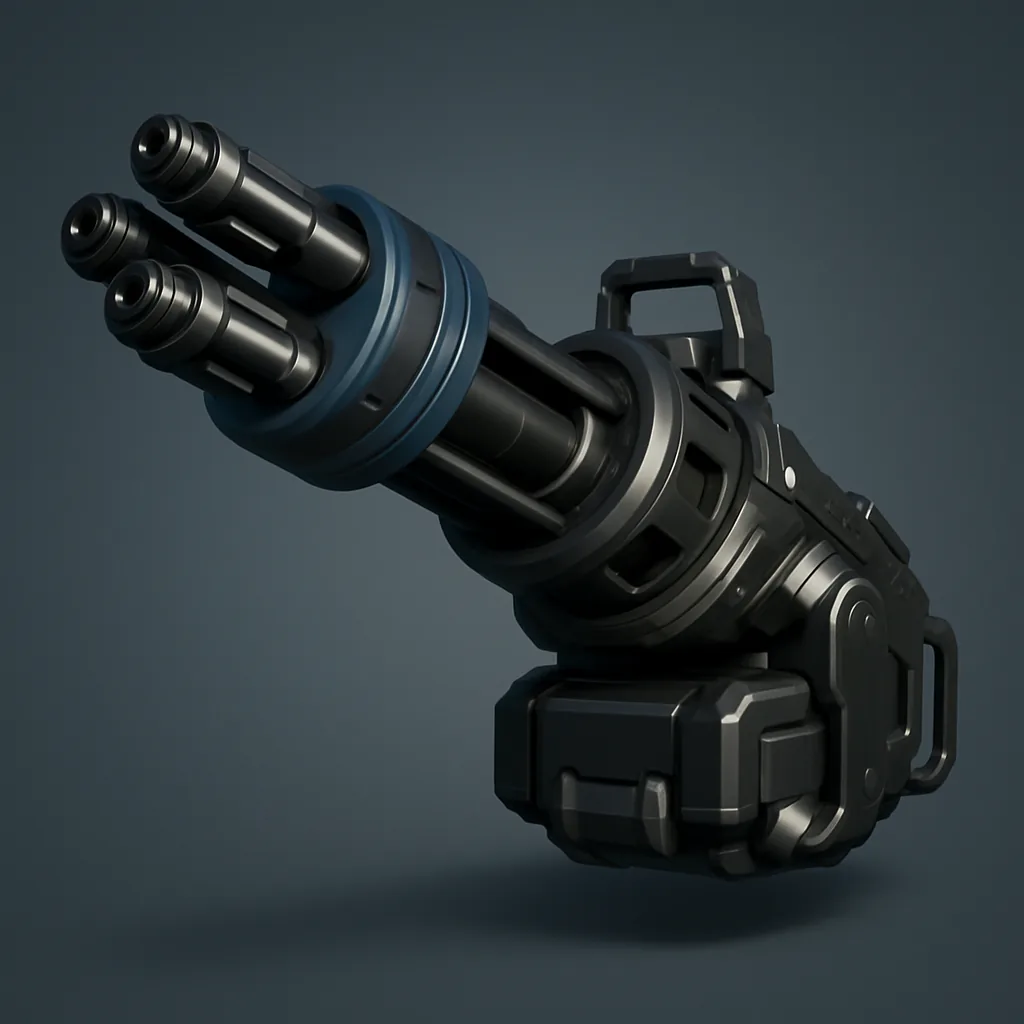 Laser Gatling Gun Laser Gatling Gun | 59 |
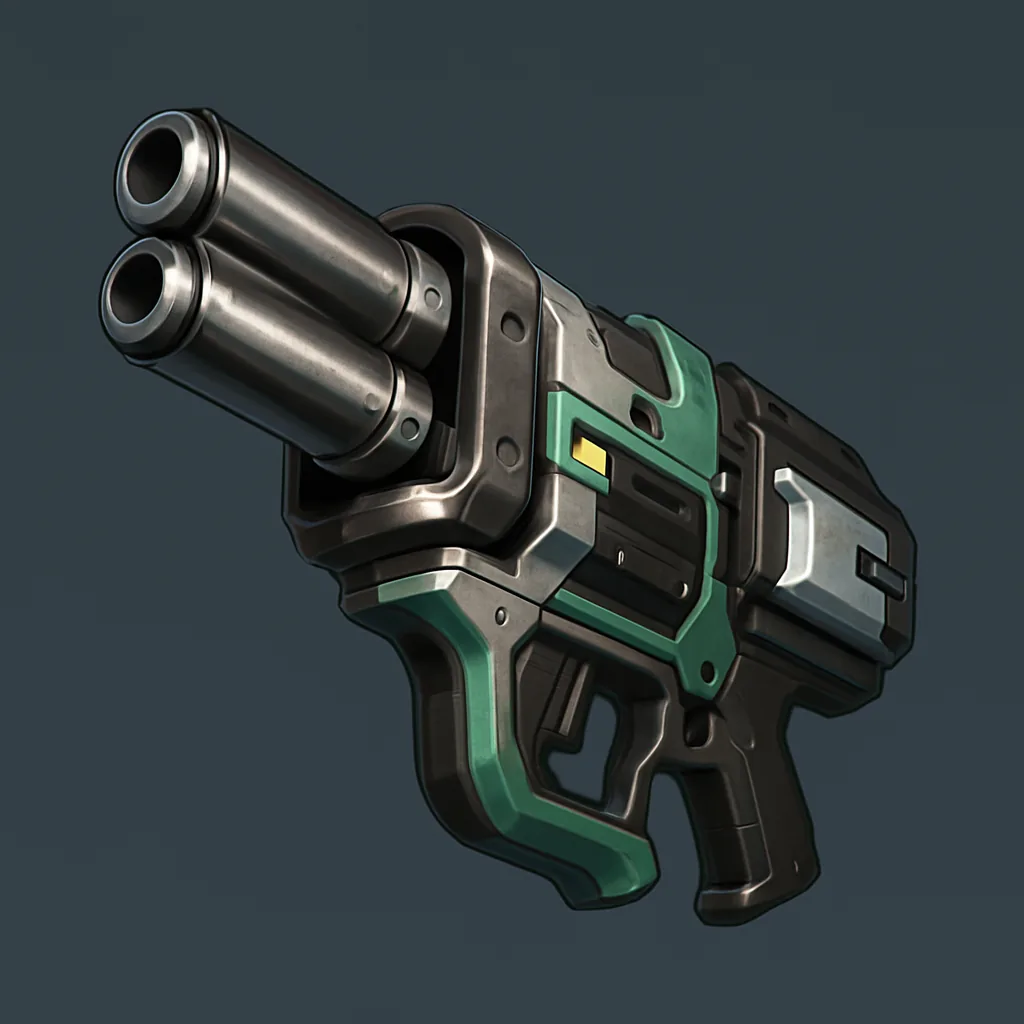 Plasma Cannon Plasma Cannon | 61 |
Try to grab schematics for Legendary Weapons and Armor on the way to Level 60, since they carry some of the highest stats in the game. For consumables, stock Advanced Recovery Meds and Revival Potions, plus one combat dish. Food buffs do not stack, so pick a single meal before the fight.
| Dish | Buff |
|---|---|
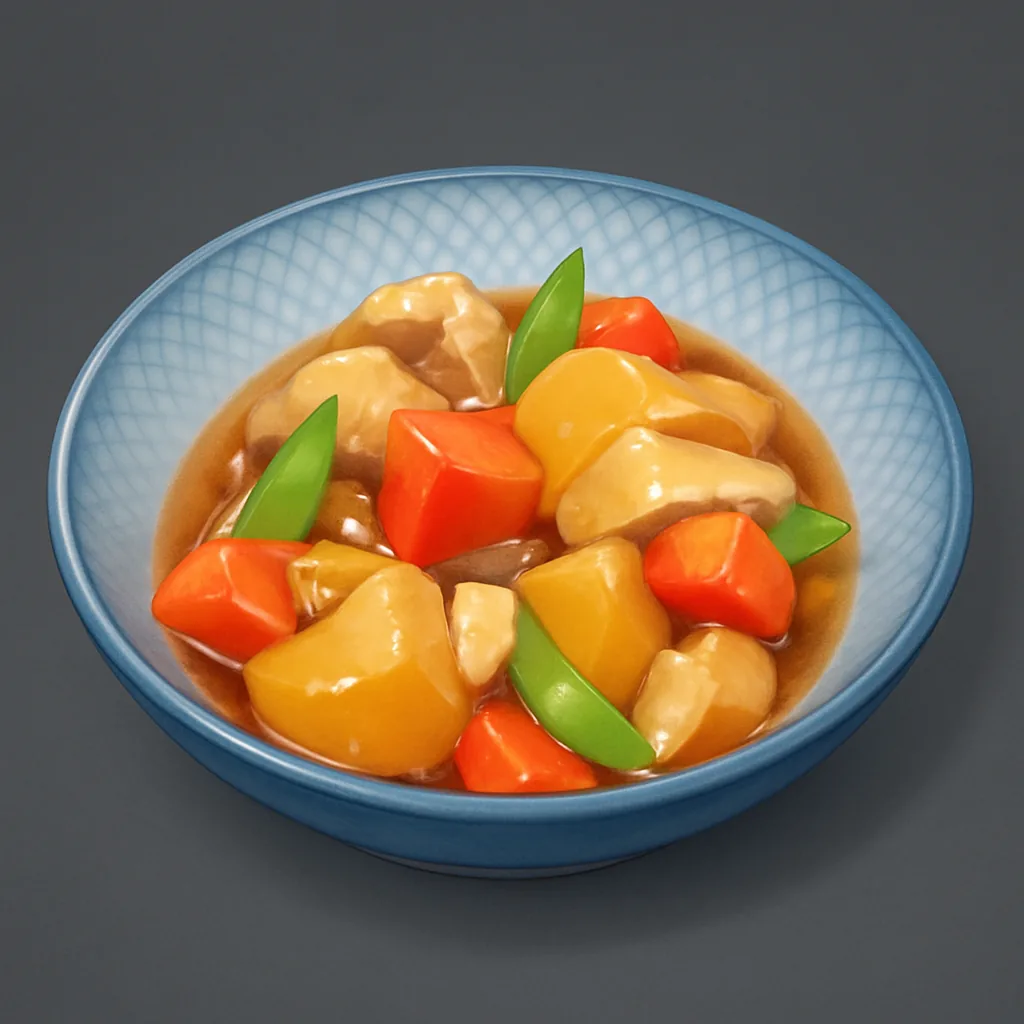 Galeclaw Nikujaga Galeclaw Nikujaga | Defense +25% for a time |
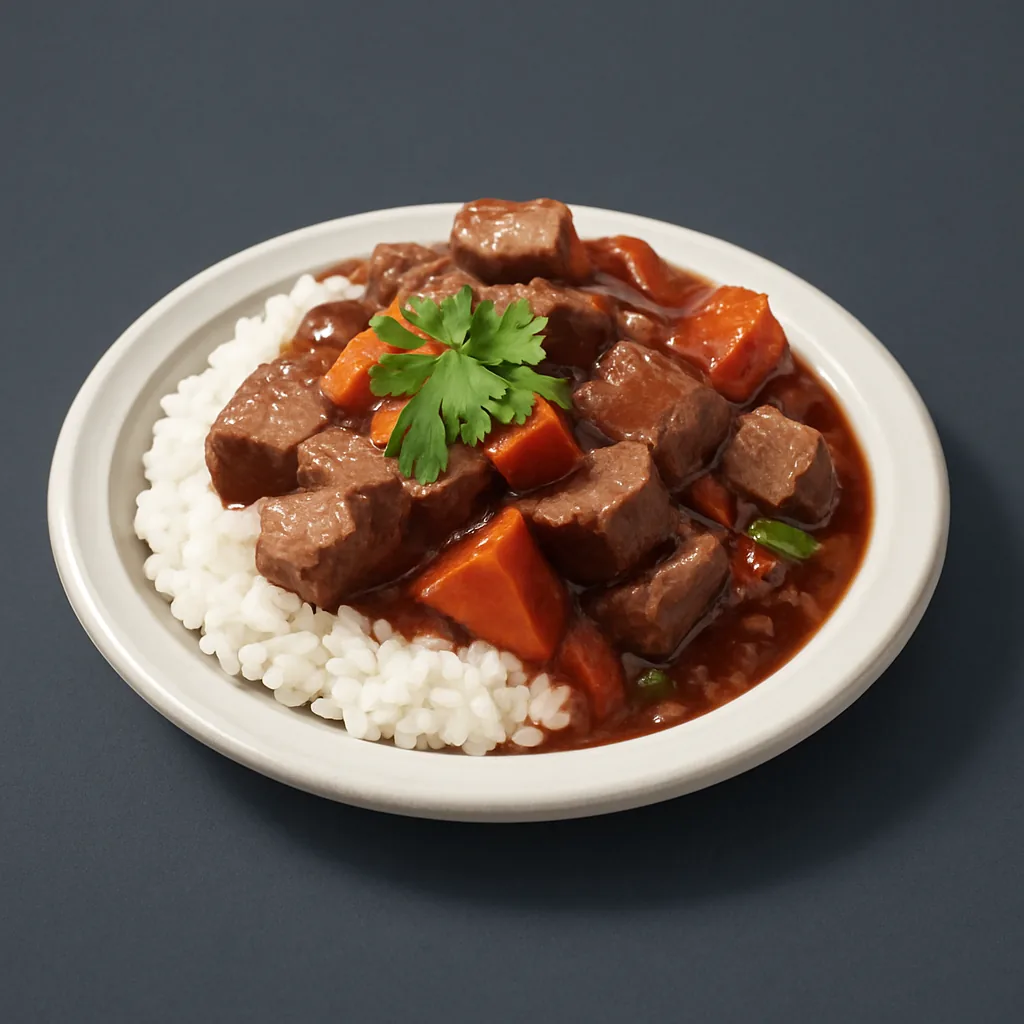 Mammorest Curry Mammorest Curry | Attack +25% for a time |
 Mozzarina Cheeseburger Mozzarina Cheeseburger | Attack +20% and stays full longer |
How to beat Bjorn and Bastigor
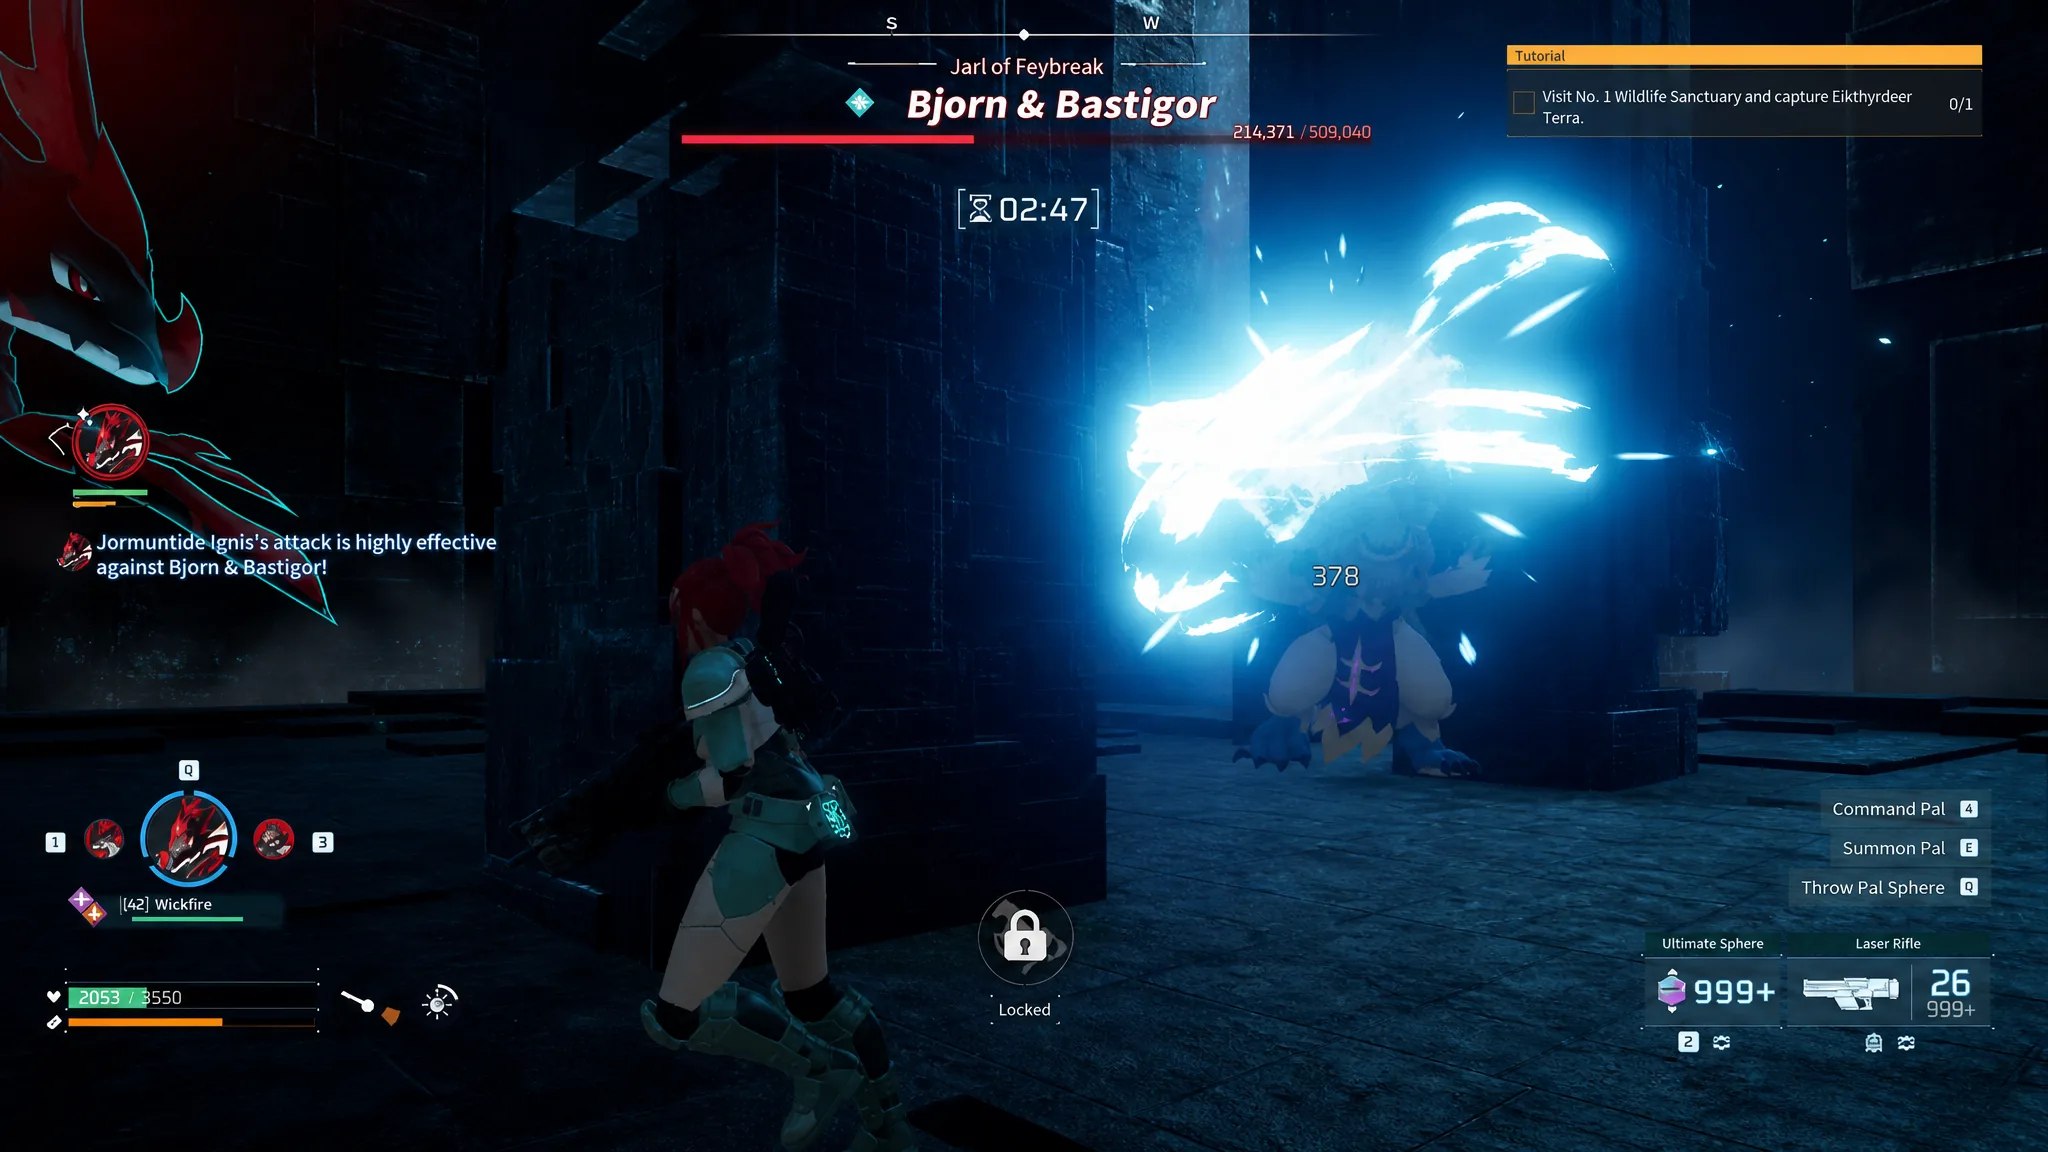
Treat this as a two-target fight. Bjorn rides on Bastigor’s back and controls a chunk of its aggressive behavior, while Bastigor is a large bipedal Pal with wide area-of-effect Ice attacks. The core loop is simple. Let a Pal hold Bastigor’s attention, keep your distance, and focus fire on Bjorn.
Bastigor attack patterns to watch
| Attack | How to avoid it |
|---|---|
| Ice mist and crystal rocks | Move off the misted patch before the crystallized rocks erupt from it. |
| Homing ice crystals | Keep moving before they fire, since they only have limited tracking. |
| Charged mega beam | Hide behind a pillar during the 2 to 3 second charge. A direct hit can one-shot you. |
| Ground slam / enraged charge | Back away from the ice explosion, then dodge sideways to avoid the charge and the delayed cracks. |
| Icicle drop | Watch the ground circles and step out of the landing zone. |
| Vertical ice shards / avalanche | Dodge sideways as the spikes fire in sequence with a slight delay. |
| Boulder toss | Happens when you crowd the boss, so keep your distance. |
Rewards and how to confirm the clear
When the fight ends, the health bars empty and you receive your clear rewards. A fast travel point activates on top of the tower, and an altar appears southwest of it. Interacting with that altar teleports you into Sunreach, the sky islands region, which confirms the boss is down.
| Reward | Detail |
|---|---|
| Character EXP and Pal EXP | Amount depends on your World Settings |
| Ancient Technology Points | 5 for the first clear |
| Fast travel point | Unlocks atop Feybreak Tower |
| Sunreach altar portal | Opens access to the sky islands |
| Achievement | Sovereign of the Feybreak Realm |
If you push the tower on hard mode, you also earn a unique Bjorn Hat headpiece. Once you drop into Sunreach, the next challenge is the Level 68 duo Auri and Shaolong, so keep your Fire team and cold gear ready before you activate the portal.