

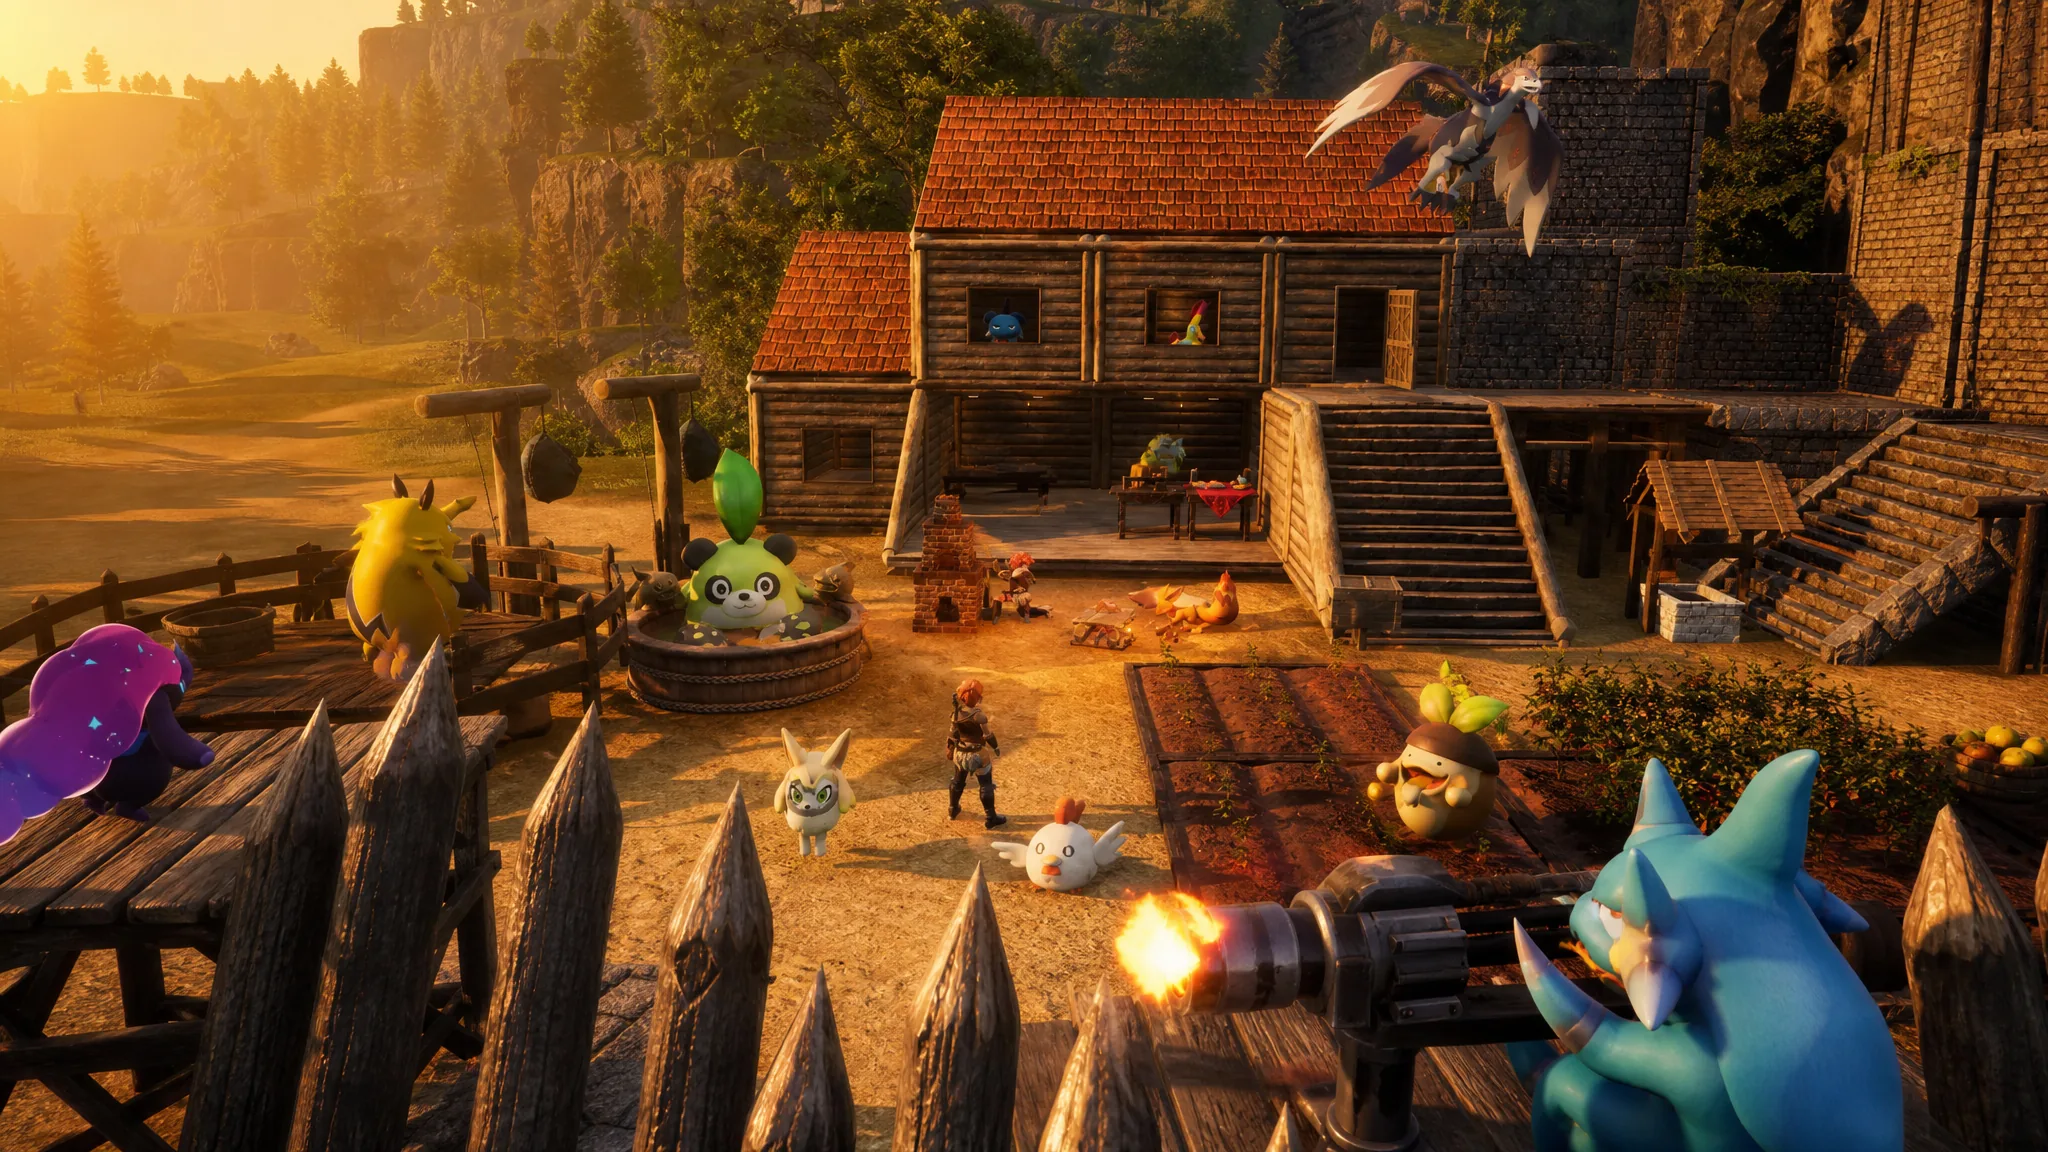
Once you plant a base in Palworld, hostile groups will eventually come for it. A raid throws waves of wild Pals or armed human factions at your settlement, and they will smash buildings, knock out your working Pals, and target you directly if you get too close. Handled well, the same attack turns into extra experience, loot, and a chance to catch higher-tier Pals early.
Quick answer: Build your base with stone or metal walls arranged as a funnel, keep strong combat Pals stationed at home, craft an Alarm Bell so those Pals switch from working to fighting, and stock ammo for any mounted weapons. If a wave is too strong, pay the negotiator or withdraw your Pals and leave so the raiders retreat.
How raids trigger and end
Raids are random events that hit one base at a time. They trigger most often while you are present at a base, but they can still fire while you are out exploring, including in single-player, so an undefended base is always at risk. A raid can only reach a base that is accessible on foot, which is the whole basis for smart placement.
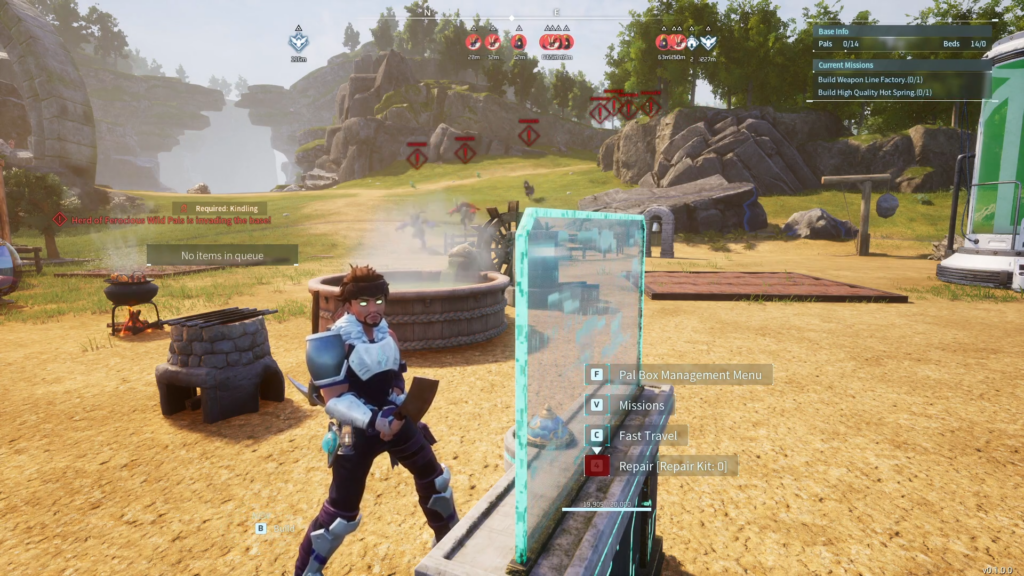
The difficulty scales with your base level. Early bases usually get one or two waves of weaker, land-based enemies, while higher base levels bring three to five waves of stronger, more varied attackers. An on-screen warning announces the raid, after which enemies spawn at a distance and walk toward you, typically along a nearby dirt road.
Raiders are not there to level your whole base. Their goal is to damage your structures, your Pals, and you. A raid ends when every raider is defeated, when every Pal at the base is defeated, or when enough time passes and the survivors retreat to their spawn point and despawn. That retreat rule matters, because holding a wall long enough can outlast an attack on its own.
Raiders stay passive while approaching and while fleeing. If you catch them on the road before they reach your base, or as they run away, you can freely attack, capture, or clear them without them fighting back. They only turn aggressive once inside the base boundary, where they tend to focus you first if you are in range.
Who shows up: raiding factions and wild Pals
Attacks come in two forms. Wild Pal herds barrel in to wreck buildings and hurt your workers, while human factions send armed NPCs to break structures and loot storage. Which faction appears depends partly on where you build. The Free Pal Alliance tends to strike around Crescent Moon Shore, while the Eternal Pyre faction raids near Mount Obsidian.
| Attacker | What to expect |
|---|---|
| Syndicate | Thugs, gunners, hunters, grenadiers, and elite operatives with rocket launchers and gatling guns |
| Free Pal Alliance | Crossbow-wielding devout members and eco-militants |
| Brothers of the Eternal Pyre | Fanatics with flamethrowers and assault rifles, plus Fire Pals like Reptyro |
| PAL Genetic Research Unit | High-level enemies with pulse and laser rifles |
| Wild Pal herds | Ground herds and, in late game, flying Pals that target buildings and workers |
The Palpagos Islands Defense Force is not a raiding faction. Those NPCs stay neutral unless you attack first, gain a Wanted status, or enter a Wildlife Sanctuary they guard. You do not need to plan base defenses around them.
Pick a location that limits entry points
Placement is the single most powerful defense you have. Because raiders have to walk in, a base with only one or two natural approaches is far easier to hold than one sitting in an open field. Look for spots hemmed in by cliffs, water, or steep terrain so attackers are forced onto a single path you can watch and control.
The strongest version of this trick is geographic. A base built on top of a mountain or plateau ringed by sheer cliffs on every side cannot be reached on foot, so ground raids never connect. The trade-off is convenience and resource access, so many players keep one cliff-locked fortress for storage and breeding while defending their more accessible bases with walls and Pals.
When scouting a spot, map out where enemies actually approach from over a few raids. Alternate routes that look threatening on paper often go unused, so concentrate your defenses on the direction attackers really take rather than trying to cover every angle.
Build with stone or metal and funnel the attackers
Walls are the cheapest, most reliable deterrent in the game. Even basic stone walls have such high defense that most incoming hits deal only 1 damage, and upgrading to metal makes them sturdier still. Avoid wooden walls and foundations wherever you can. A single enemy with Fire attacks can set them alight, and anything built on top of a burned foundation goes down with it.
Do not seal your base completely, though. If you wall off every side, your Pals often get stuck behind the barrier with no line of sight to the enemy, and area attacks reach through the wall and wipe them out anyway. Gates are also unreliable, since they have less durability than walls and can bug into a closed state that traps your own Pals.
The proven layout is a funnel. Leave a deliberate opening and use walls to channel raiders into one chokepoint where your Pals and mounted weapons focus fire. Placing a work station like a Logging Site near the opening keeps a few Pals nearby to engage the moment enemies arrive. Slightly raised foundations can add a barrier while still letting your Pals see and hit the enemy.
Stone Structures unlock in the Technology Tree at Level 18, and Metal Structures at Level 30. Metal costs a lot of Ingots that other recipes also demand, so stone is usually enough for the walls themselves. Metal chests are still worth prioritizing over wooden ones to protect your stored items.
Station strong Pals and ring the Alarm Bell
Your combat Pals do most of the real fighting. Work Suitability matters for daily jobs, but during a raid, raw combat strength decides the outcome. Weak, low-level workers get flattened quickly, so plan which Pals will hold the line before an attack starts.
Reliable defenders include Panthalus, which constantly patrols the base and attacks intruders, along with high-defense picks like Astegon and Knocklem, capable fighters such as Sekhmet and Katress Ignis, and tanky bruisers like Mossanda and Anubis. When a warning appears, swap weaker workers out for your strongest fighters from your party or Pal Box.
The Alarm Bell ties this together. Interacting with it shifts every base Pal from working to fighting so they actually engage the raiders instead of standing at their stations. It unlocks at Level 7 for 1 Technology Point, and crafting one takes 20 Stones and 5 Paldium Fragments.
Offense is often the best defense. Because raiders ignore you until they reach the base, you can hop on a fast mount, ride out to the spawned group with the red diamond icons, and kill them on the road before they endanger anything.
Traps and mounted weapons by unlock level
Static defenses add firepower and control to the funnel. Traps immobilize or damage enemies that step on them, and mines can freeze or electrocute Pals, which also makes them easier to capture. Mounted weapons need a Pal with Handiwork suitability to man them, so keep a Handiwork Pal free and stock the matching ammunition in a nearby chest before a fight.
| Level | Defense | Effect |
|---|---|---|
| 7 | Sandbag | Assigned Pals watch for approaching enemies |
| 8 | Hanging Trap | Catches small Pals and humans that pass through |
| 10 | Bear Trap (Small) | Immobilizes small Pals or humans |
| 19 | Stone Defensive Wall / Gate | High-durability barrier and passage |
| 21 | Bear Trap (Large) | Immobilizes large Pals |
| 26 | Mounted Crossbow | Handiwork Pal fires Arrows at enemies |
| 30 | Mine | Detonates when stepped on |
| 33 | Electric Mine | Electrocutes; makes Pals easier to catch |
| 38 | Ice Mine | Freezes; makes Pals easier to catch |
| 40 | Mounted Machine Gun | Handiwork Pal fires Rifle Ammo at enemies in range |
| 50 | Mounted Missile Launcher | Handiwork Pal fires Rocket Ammo at enemies |
Mounted weapons have shown reliability quirks, including Pals abandoning their posts and the missile launcher struggling against elevated targets. Test your setup in your current build before leaning on turrets alone, and treat walls and combat Pals as the backbone with emplacements as support.
Pay the negotiator or skip a raid
When the raid timer appears, a negotiator arrives and offers to call off the attack for a payment in gold coins. The price varies with your base level, location, and the attackers involved. Paying cancels the raid but also skips the loot and drops you would have earned by winning, so it is best used only when your defenses aren’t ready.
Do not attack the negotiator to save money. Killing or capturing them instantly starts the raid before the countdown ends. If your Pals and gear are strong, it is usually better to let the waves come and collect the rewards.
Two last-resort escapes exist for a bad moment. In single-player, returning to the main menu unloads the world and despawns the raiders, though you get no rewards, and the raid is gone when you log back in. Alternatively, withdraw every base Pal through the Pal Box and leave. With no Pals to fight and no player present, the raiders eventually retreat without accomplishing much. Neither trick works on a dedicated server, which keeps running while you are logged off.
How to know your defense worked
You have cleared a raid once the last wave is defeated and the on-screen warning disappears. Clearing every wave hands out the rewards, which can include Copper, Silver, and Gold Keys, Training Manuals, Dog Coins, Pal Souls, and the usual enemy loot drops. Any enemy Pal in the raid can also be captured just like a wild one, which is a fast way to grab higher-tier Pals earlier than you would find them out in the world.
If a raid keeps overwhelming you, the usual culprits are wooden structures burning down, Pals stuck behind a fully sealed wall, weak workers left in place instead of combat Pals, or mounted weapons with no ammo stocked. Fix those first, keep an Alarm Bell within reach, and most raids settle into a routine you can farm rather than fear.





