Hartalis (Ultra) is a two-phase raid boss in Palworld with a single trait that decides every army built against it: each phase punishes a different element, and its model floats high enough off the ground that many popular attacks miss completely. Beating it cleanly comes down to matching the right skill to the right phase and keeping your Pals out of its wide-area attacks.
Quick answer: Run 15 Helzephyr Lux with Thunder Rail for the Electric-weak Phase 1, then swap in a Bellanoir or Bellanoir Libero army with Nightmare Ray and dark skills for the Dark-weak Phase 2.
Hartalis (Ultra) boss stats and phase weaknesses
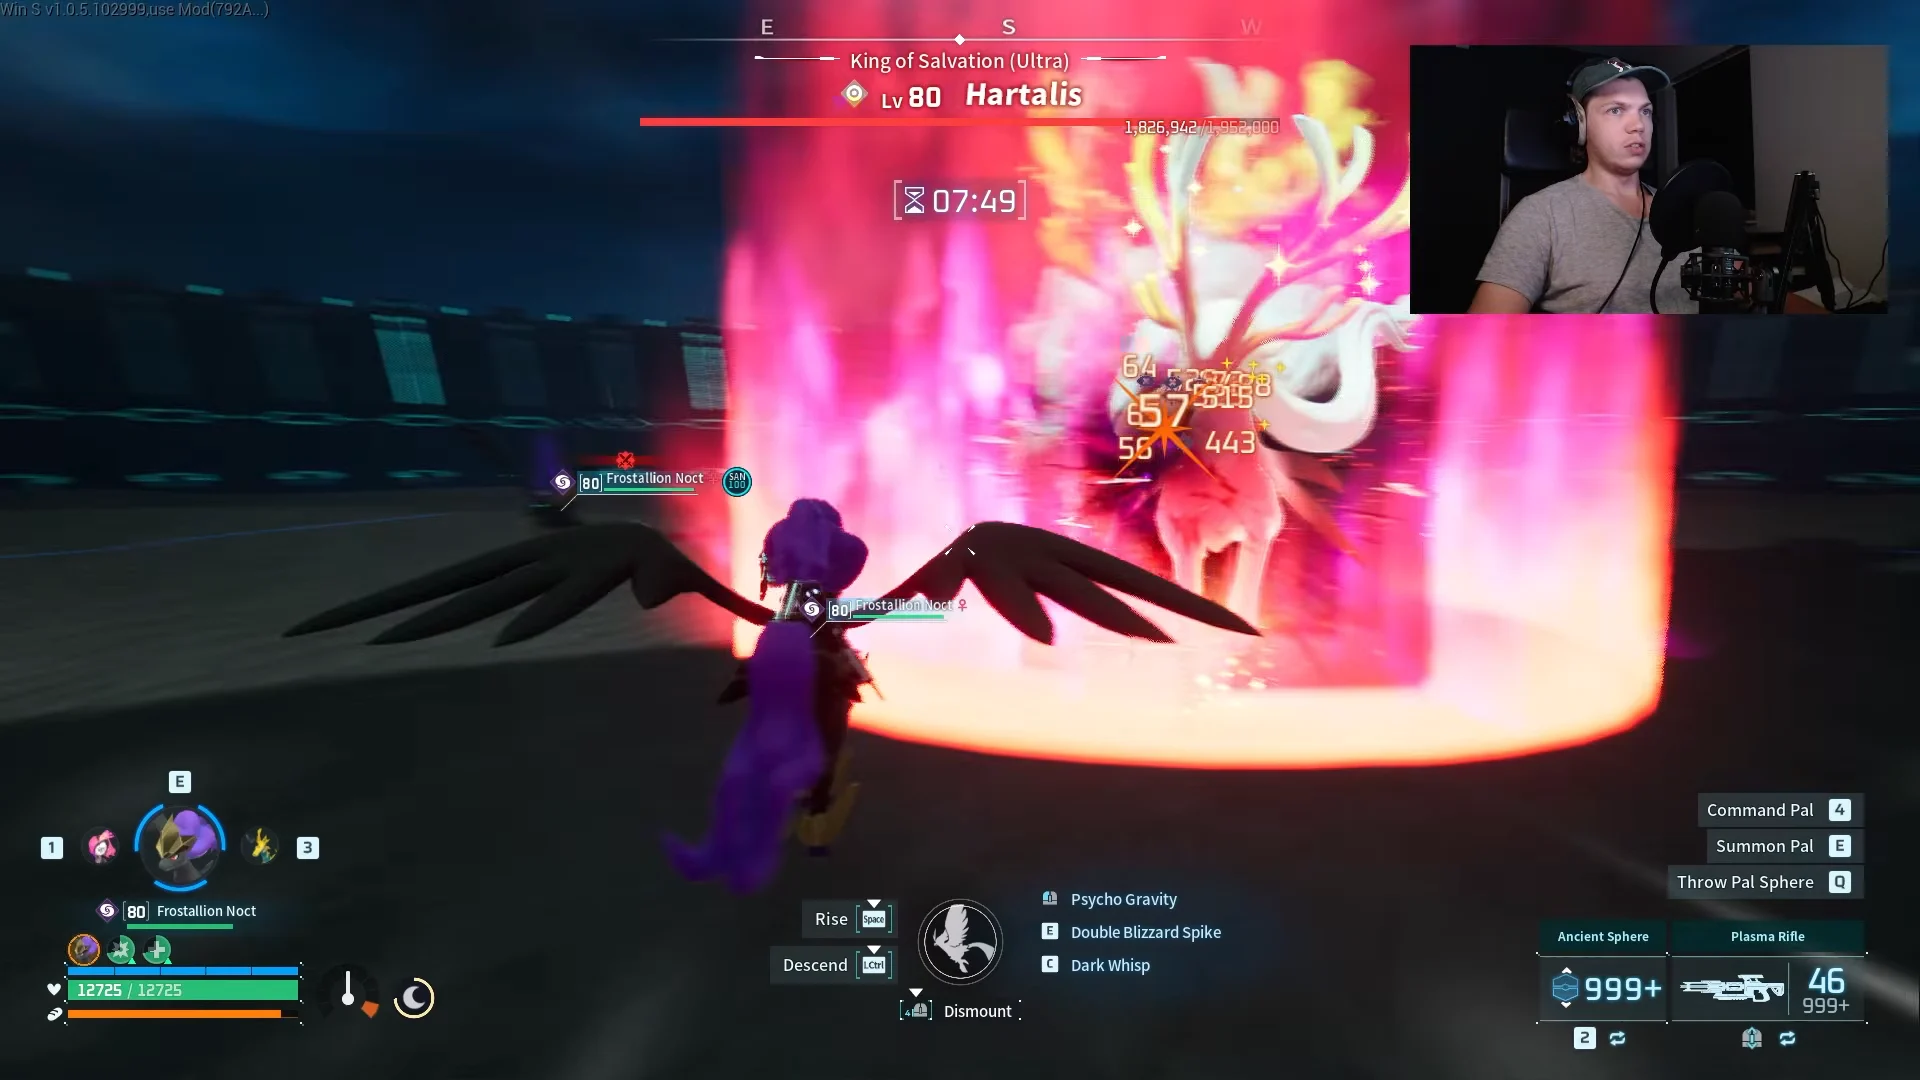
The Ultra version, listed in-game as King of Salvation (Ultra) Lv 80 Hartalis, carries a total health pool of 1,952,000. The fight splits into two distinct phases, each with its own elemental weakness. Building one team for both phases is possible, but swapping armies at the phase change produces the fastest and safest clears.
| Attribute | Phase 1 | Phase 2 |
|---|---|---|
| Weakness | Electric | Dark |
| Level | 80 | 80 |
| Total HP | 1,952,000 | |
The complication is the boss hitbox. Hartalis sits noticeably higher than most enemies, so grounded frontal moves like Omascul’s Soul Drain and Spark Blast pass beneath it and deal zero damage. Any army recommendation has to account for attacks that actually connect with an elevated target.

Phase 1: Helzephyr Lux with Thunder Rail
Phase 1 is vulnerable to Electric, and your best response is a full squad of 15 Helzephyr Lux. Their power lies in the moveset as a whole, not one standout trick. Thunder Rail deals the most damage, with its eight-second cooldown, quick-moving projectile, and consistent multiple hits on the boss model. Thunderstorm and Lightning Streak complete the rotation and keep damage going.
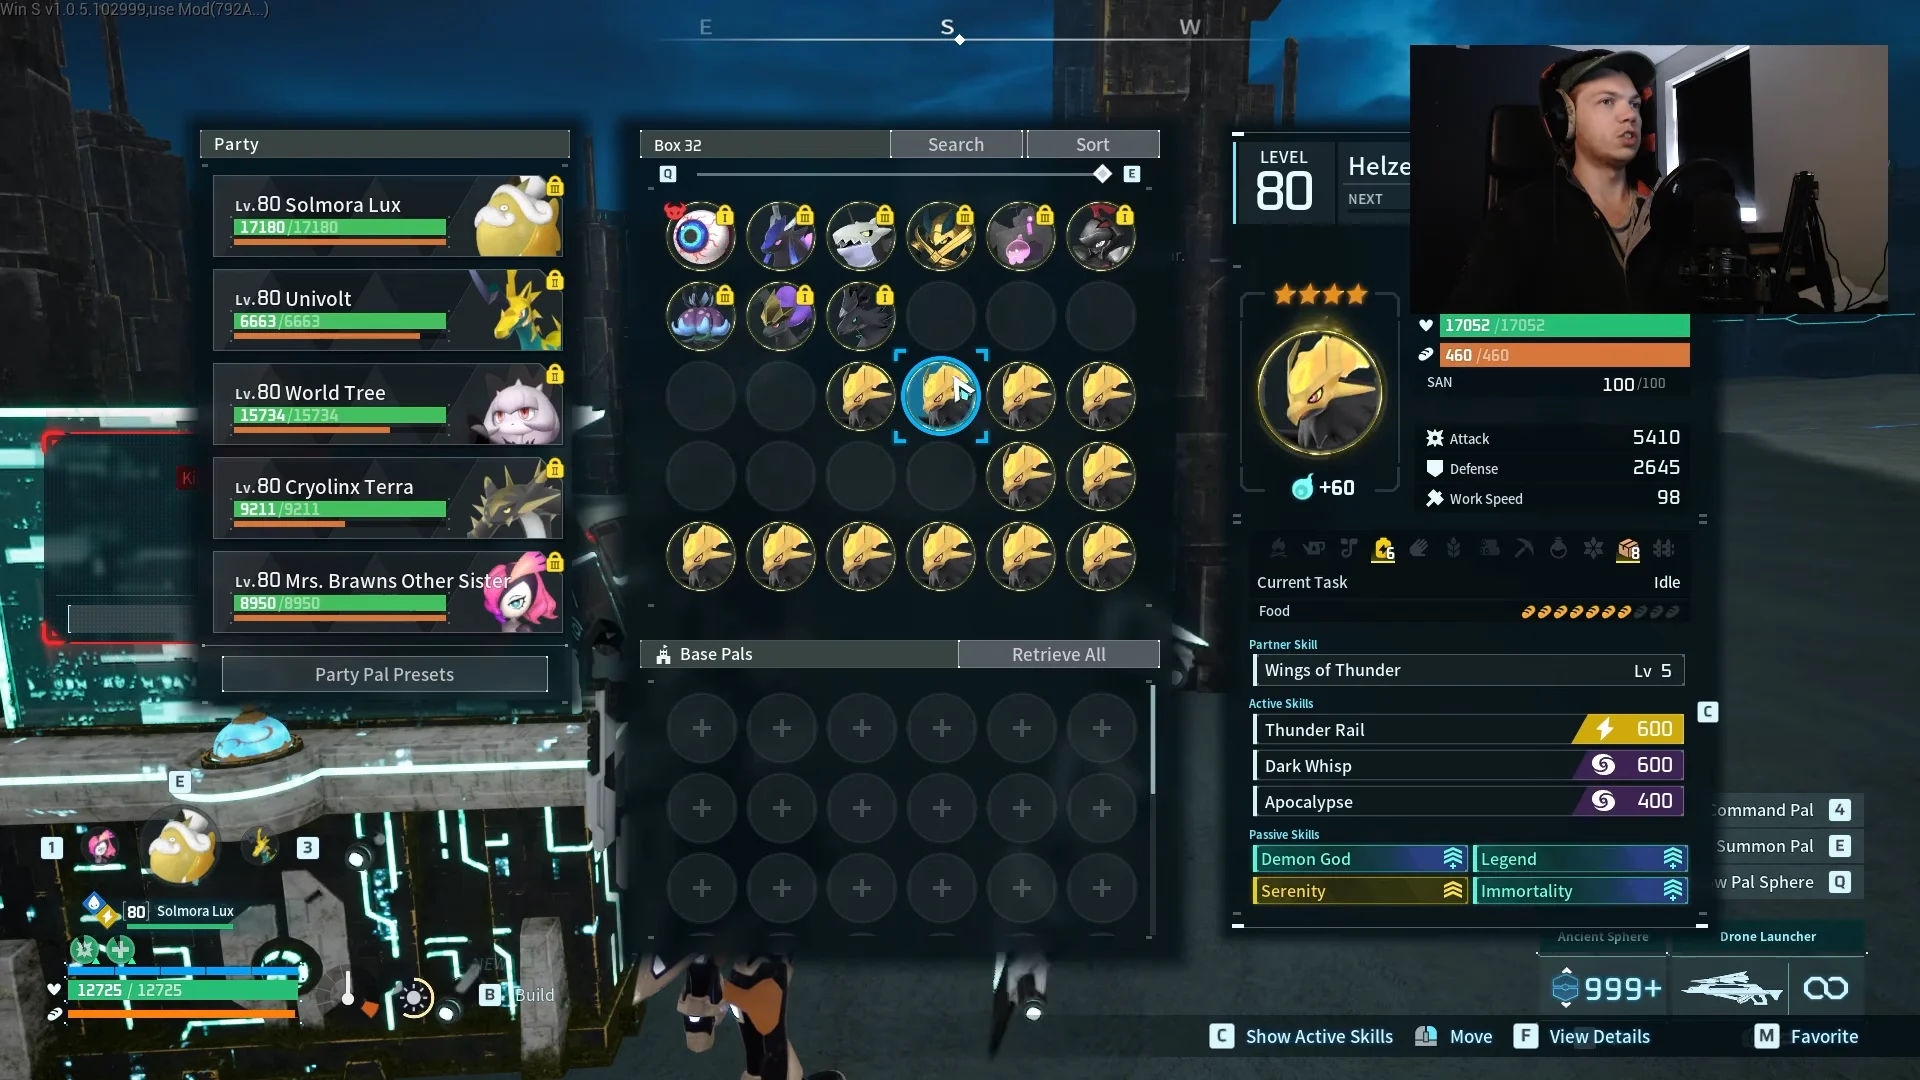
A consistent passive spread for these Pals is Eternal Flame, Serenity, Immortality, and either Diamond Body or Demon God. Immortality keeps them alive through incidental damage, while the offensive passives push their Electric output higher.
| Skill | Power | Cooldown |
|---|---|---|
| Thunder Rail | 90 | 8s |
| Thunderstorm | 150 | 30s |
| Lightning Streak | 75 | 16s |
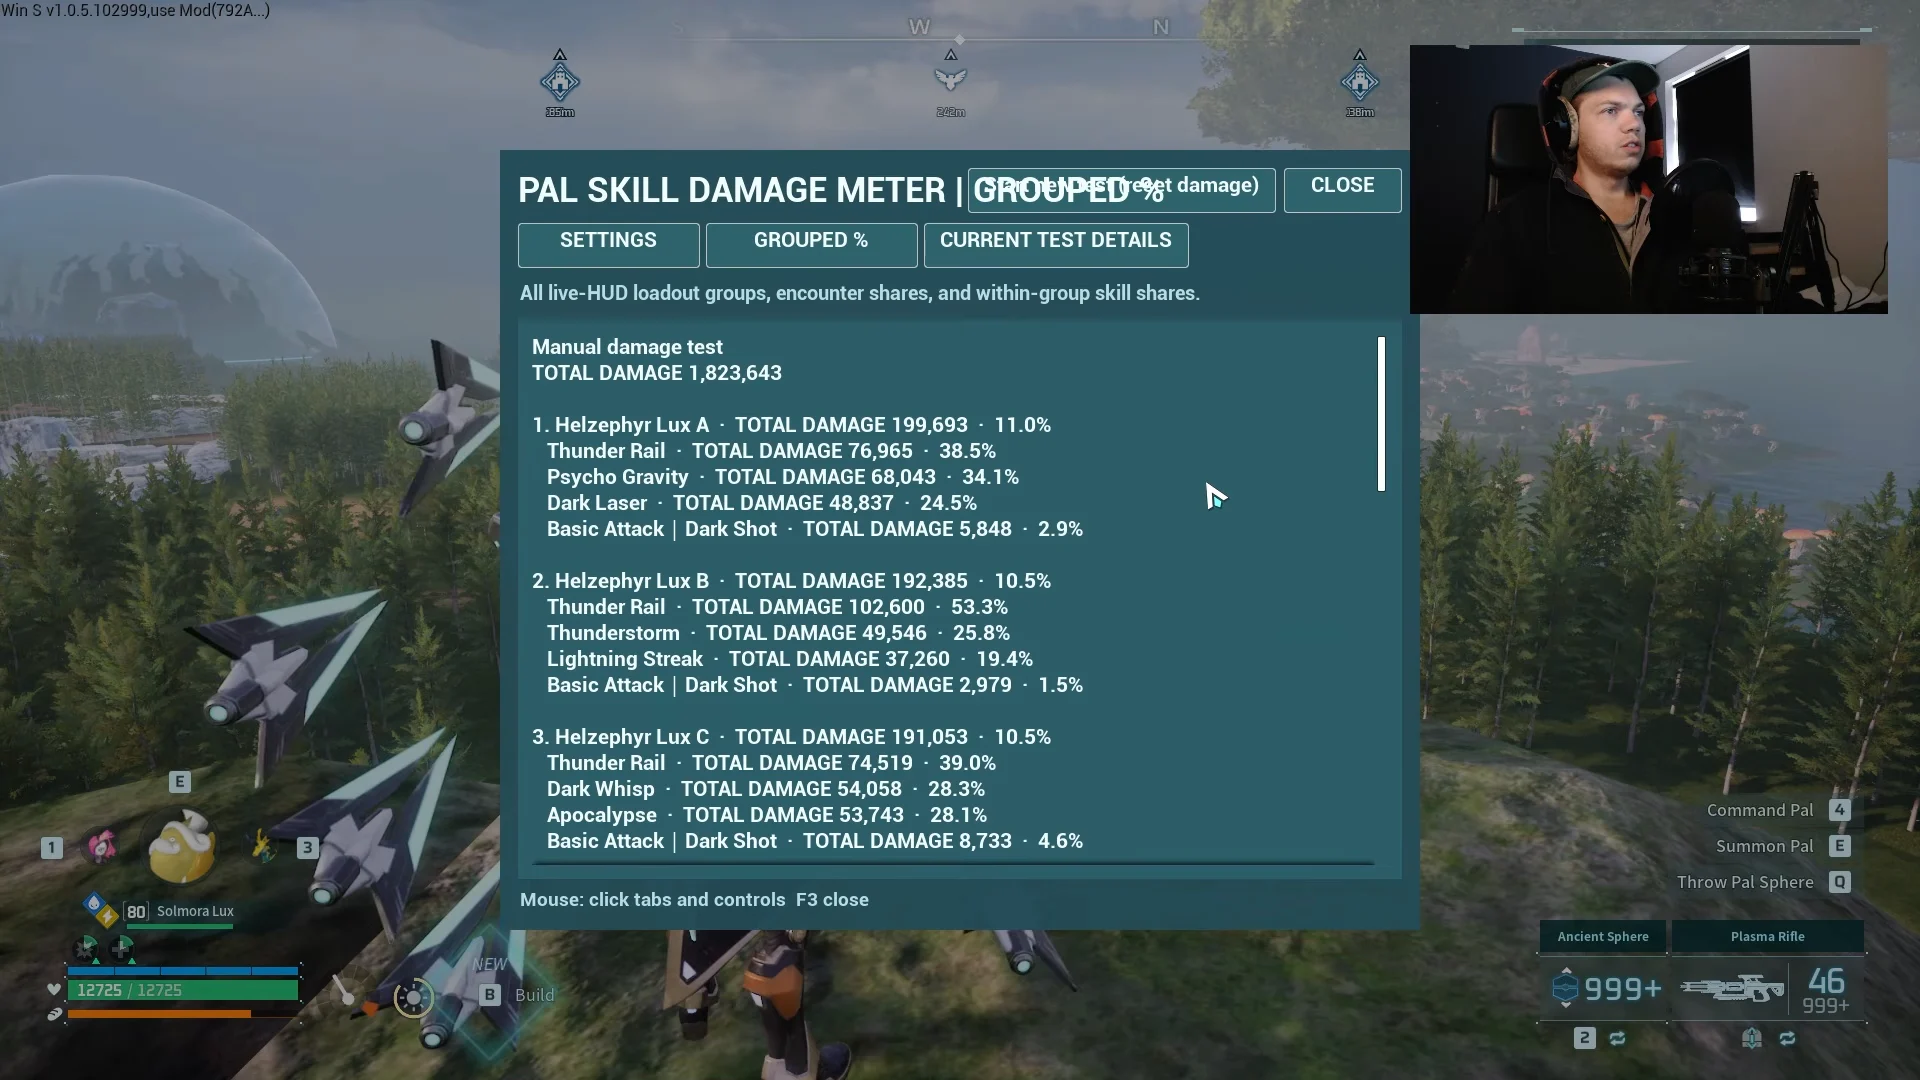
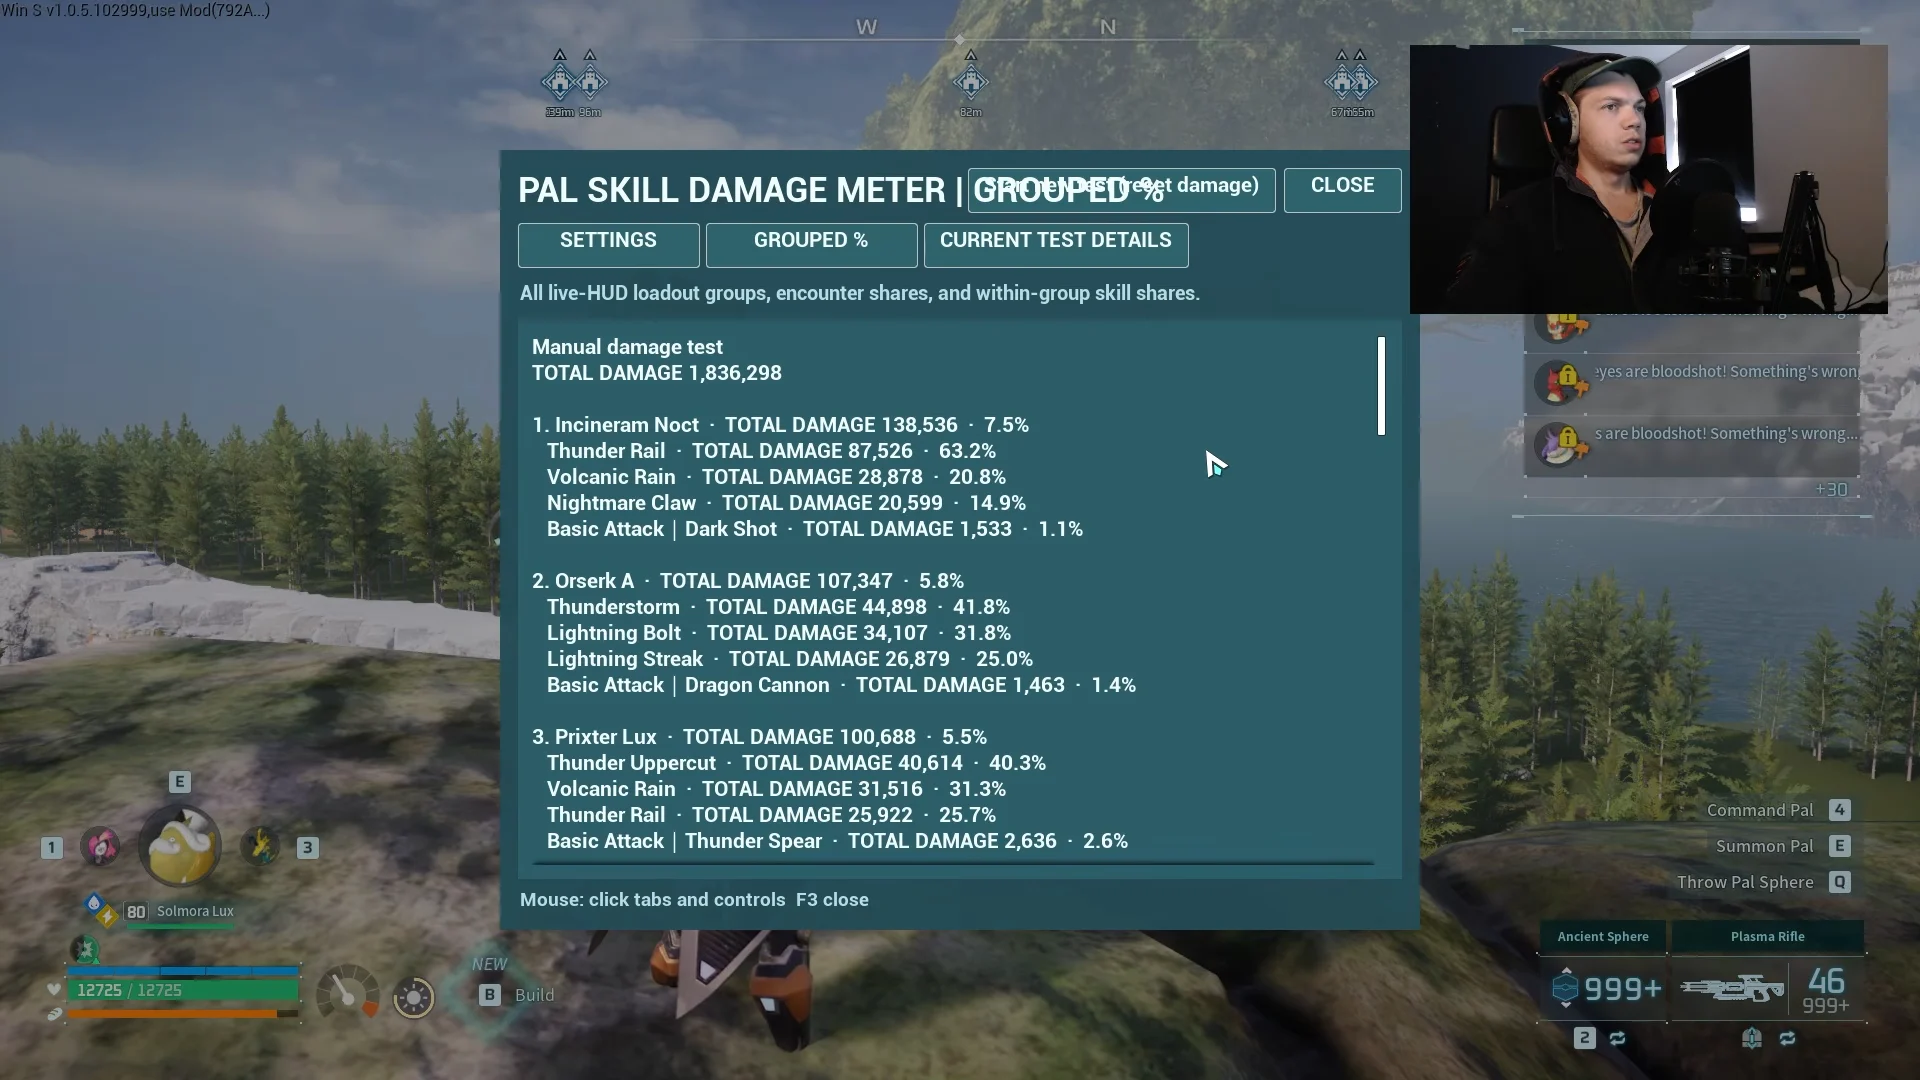
Damage meter testing confirms the ranking. Thunder Rail comes out on top, with Thunderstorm and Lightning Streak close behind, while Spark Blast registers zero because it slips under the floating hitbox.
Phase 2: Bellanoir and Bellanoir Libero for Dark damage
Phase 2 shifts the weakness to Dark and introduces wide, lethal mechanics, including Sacred Rain and Divine Wing. This is where Bellanoir and Bellanoir Libero pull ahead. Their strength is positioning as much as raw damage. Nightmare Ray naturally pushes the caster backward as it fires, keeping the Pal outside the danger zone of Sacred Rain while it keeps attacking.
Pair the army with dark moves like Psycho Gravity and either Dark Laser or Dark Wisp. On Bellanoir Libero specifically, a strong passive line is Serenity, Immortality, Twin-Edged Holy Blade, and Siren of the Void, which lets it survive the phase as long as its own attacks keep landing.
| Skill | Power | Cooldown |
|---|---|---|
| Nightmare Bloom | 160 | 30s |
| Nightmare Ray | 140 | 30s |
| Dark Laser | 150 | 55s |
| Psycho Gravity | 130 | 30s |
| Dark Wisp | 100 | 22s |
Bellanoir Libero’s exclusive Nightmare Bloom also doubles as a burst tool for breaking the boss’s Dark barrier, whose health is much higher in the Ultra fight.
Pals and attacks that fail against Hartalis
Several popular raid Pals underperform here, and the reasons are worth knowing before you commit an army. The pattern is consistent: big hitboxes and melee lunges get caught by Phase 2’s area attacks, and low-arc moves miss the raised model.
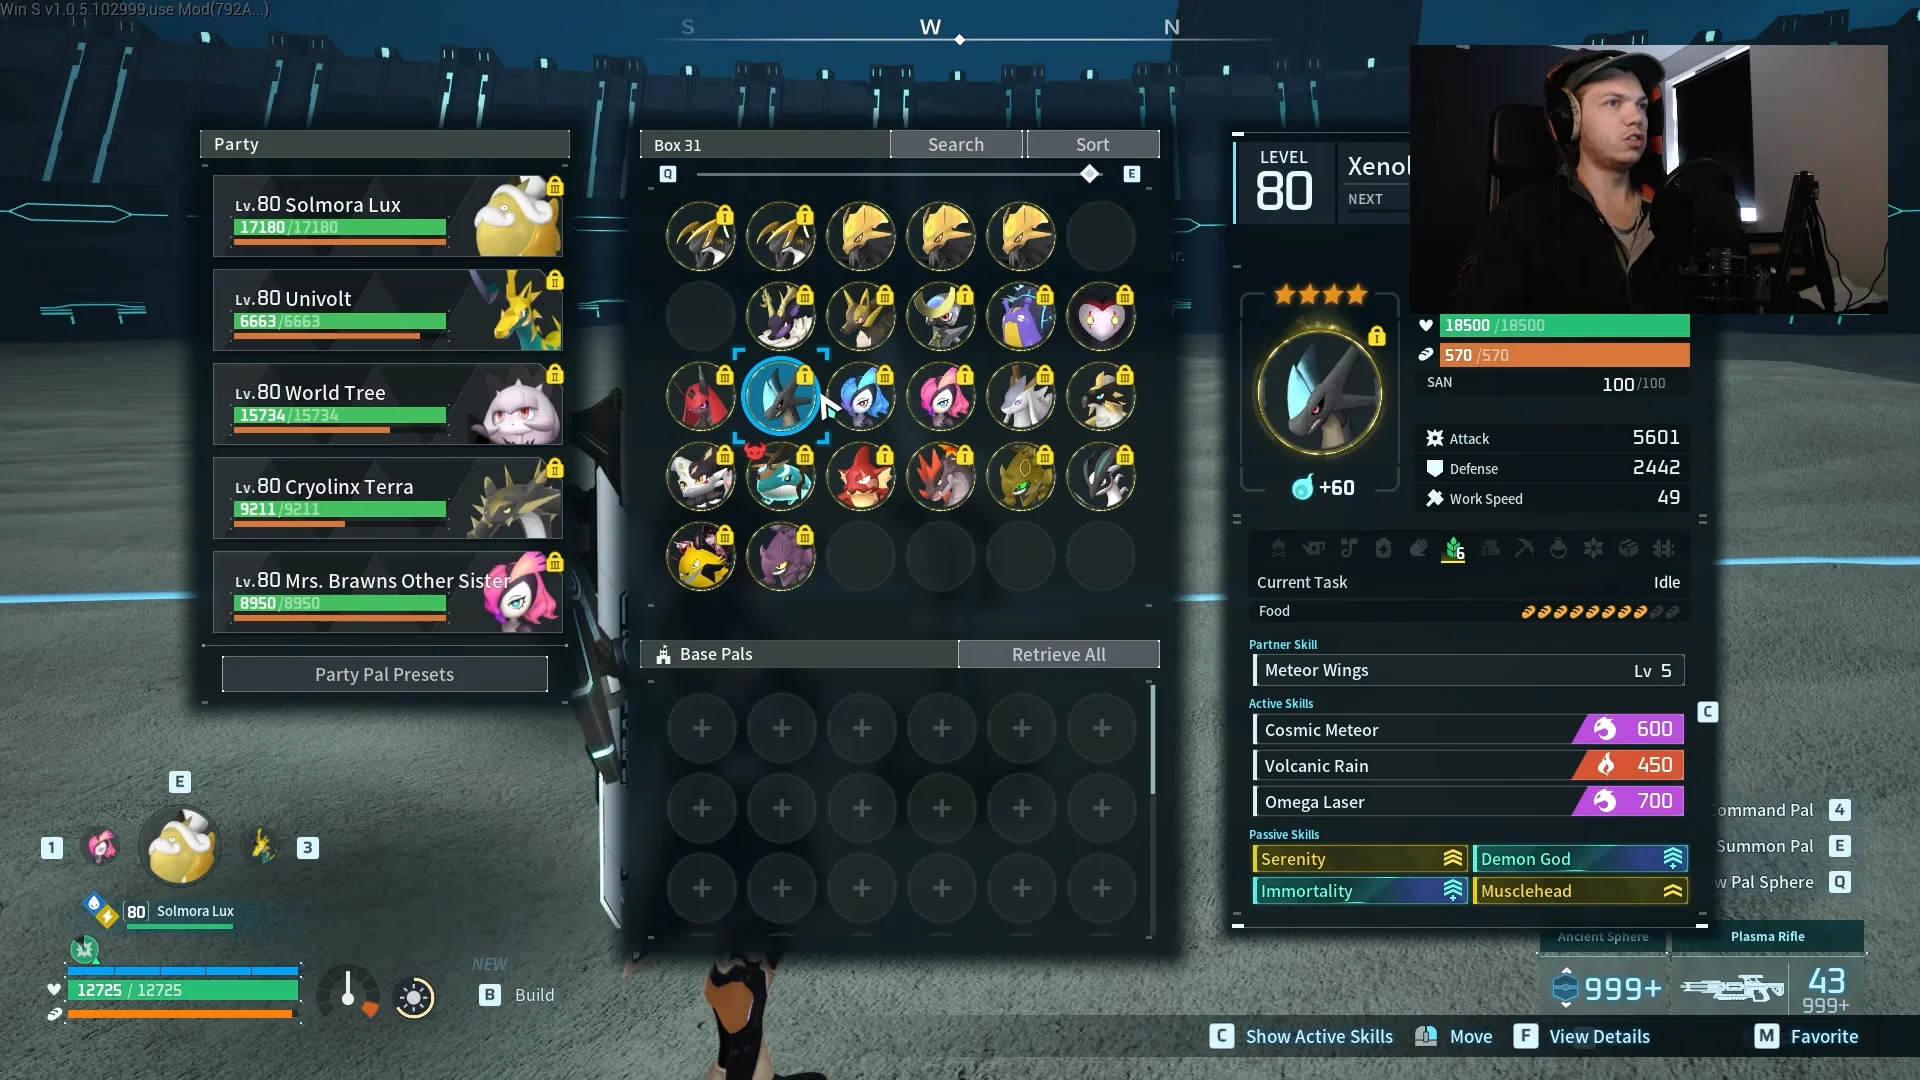
- Frostallion Noct deals high damage but its huge hitbox gets wiped by Sacred Rain.
- Shadowbeak with Divine Disaster and Necromus with Twin Spears lunge into the danger zone and go down.
- Omascul’s Soul Drain and Spark Blast whiff entirely against the elevated hitbox.
- Volcanic Rain builds on Incineram Noct, Prickster, and Splatterina hit hard on paper but swing wildly with the boss’s positioning.
Among the exclusive-attack testers, Incineram Noct and Orserk did perform well, which is why Orserk remains a solid all-purpose pick for players who prefer a single army across both phases.
How the two-army swap plays out
The optimized clear runs in roughly two and a half minutes and hinges on a Palbox Control Device placed inside the arena before the summon. The Helzephyr Lux army handles Phase 1, and when the boss raises its elemental barrier, targeted burst breaks it quickly. At the phase transition, the entire active army is recalled at the device and the Bellanoir line is deployed for the Dark-weak second phase.
A tanky flying Pal such as Frostallion Noct, ridden with defensive food buffs, can draw the boss’s aggro and pull Divine Wing away from the ranged army. If any attackers faint during Sacred Rain or Purifying Light, they can be swapped for backup Helzephyr Lux or Moldron at the device to keep damage flowing until the timer would otherwise run out.
Raid Pals cannot inherit passives like Demon God through cross-breeding shortcuts, so acquiring rainbow passives on Bellanoir Libero takes heavy breeding. Plan the army around the Pals you can realistically produce rather than a perfect passive spread.
When the boss falls, the on-screen elimination banner confirms the clear and the Ultra rewards drop, including the Hartalis (Ultra) Slab for repeat runs alongside Ancient Civilization Core and the Crown of Salvation. If your Phase 1 team is still standing at the swap and your Bellanoir army survives the area sweeps, the pairing is working as intended.