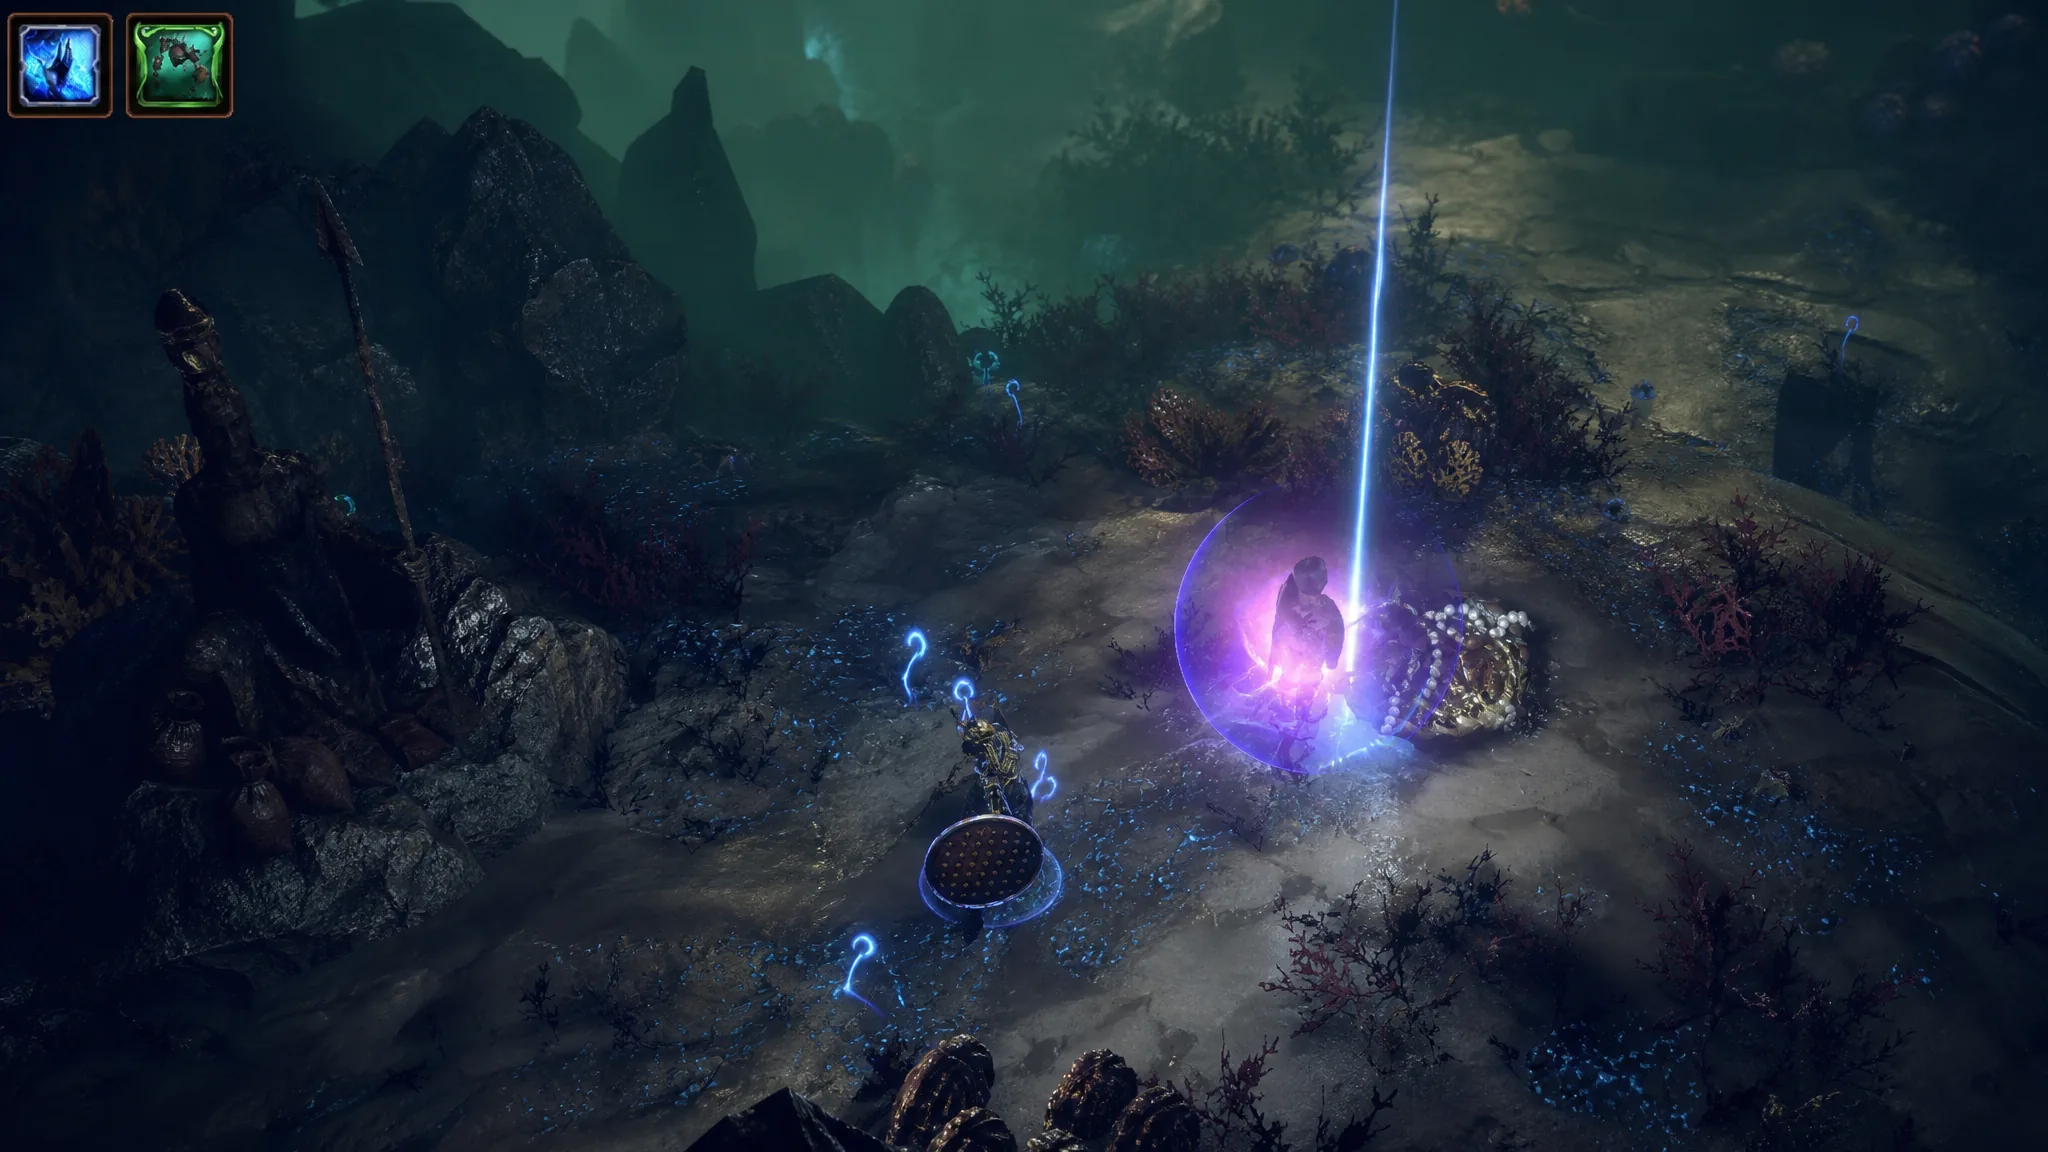
Voyages let you build your own underwater expedition in Curse of the Allflame. You collect Charts, reveal their modifiers, and lay them out on the Voyage Board with Val aboard the Sovereign to steer what loot comes back up. Because the current league has no Atlas Tree, all of your “juicing” happens inside the mechanic itself.
Quick answer: Reroll the board first to secure strong Area Modifiers like Golden Lantern, then place a Chart with a good Adjacent Modifier next to the corner affected by that Area Modifier so both effects stack on the same run.
The two levers that control Voyage loot
Two systems decide what you send back to the surface. Adjacent Modifiers come from the Charts you place, and Area Modifiers belong to the board’s edges. Together they set the quantity, rarity, and type of loot in a run, so every layout is a balance between the two.
Adjacent Modifiers
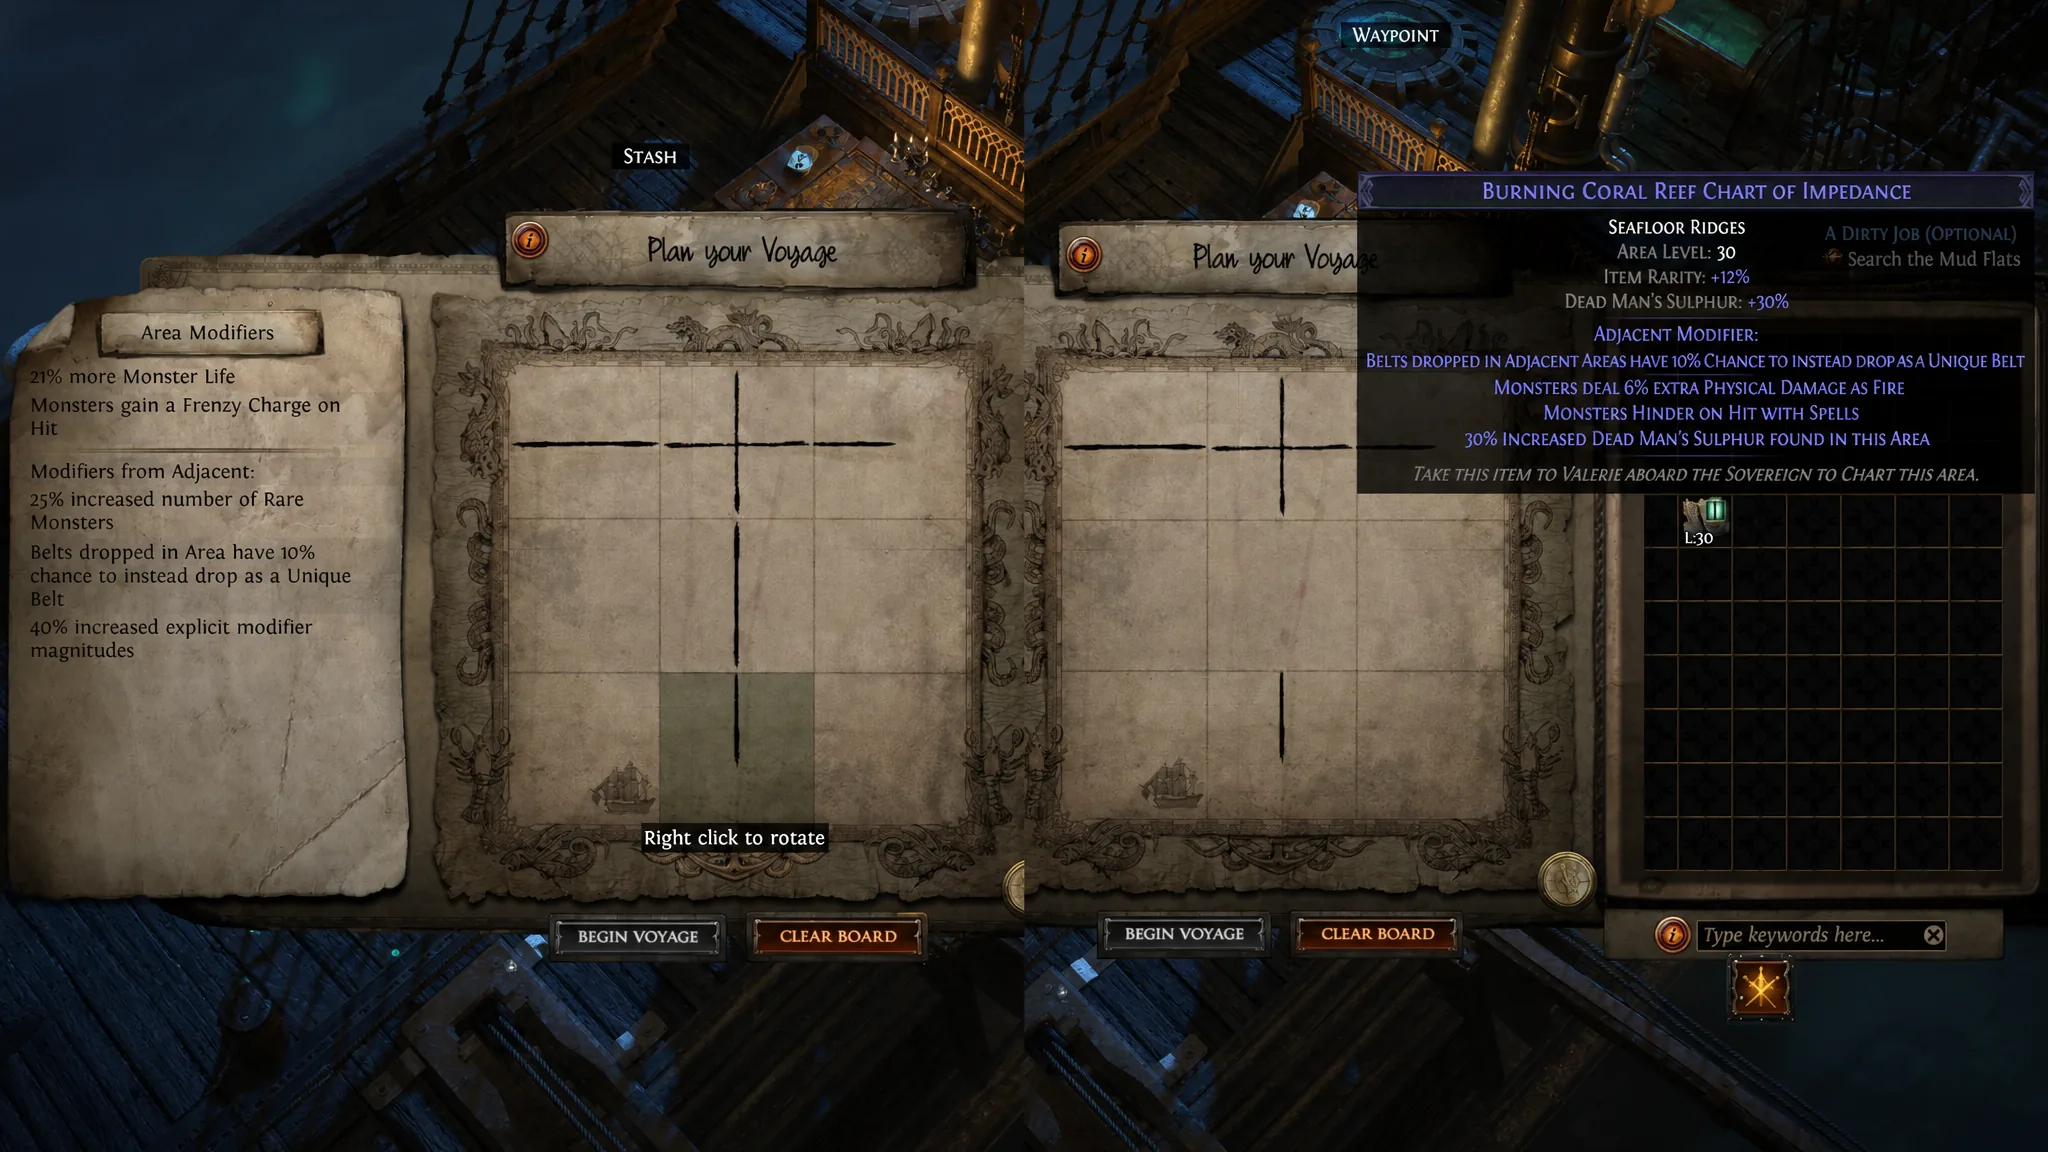
Adjacent Modifiers are implicit mods on a Chart. They only appear after you complete that Chart’s section of the Fathomless Depths, and they affect only the Charts directly connected to it. A mod such as “Belts dropped in Adjacent areas have 10% chance to instead drop as Unique Belt” will apply to the Charts sitting on both sides of it.
Placement matters because a Chart only influences squares it actually touches. Right-click a Chart to change its orientation, but remember that a connection is required to place one Chart beside another. Charts with a single connection line work best tucked into the middle-corner spots of the board.
Area Modifiers
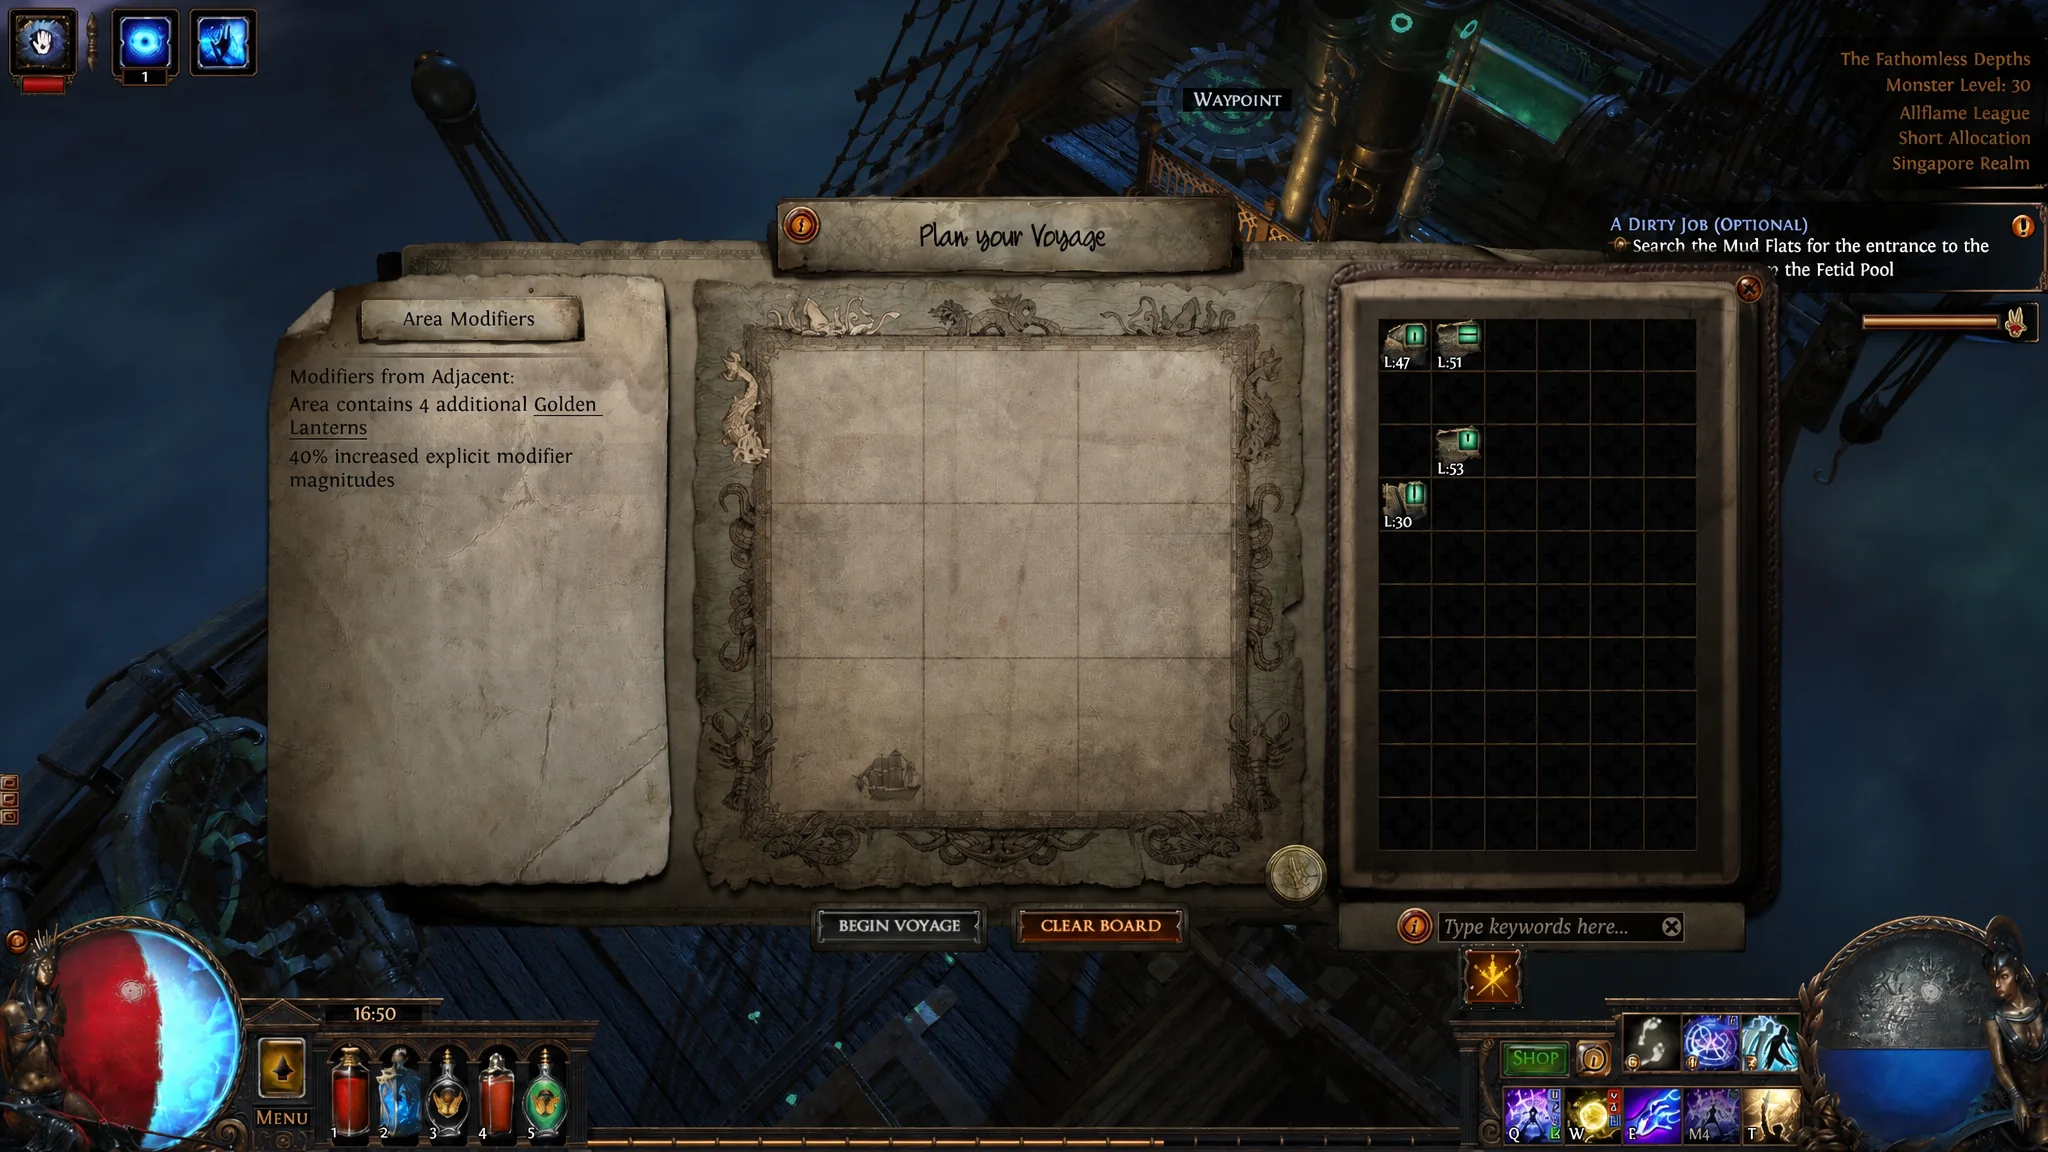
The board itself carries modifiers along its edges, separate from any Chart. Each edge shows a small drawing, and hovering over it reveals the modifier it applies to the Charts placed beside it. These edge effects reach the corner squares that Adjacent Modifiers alone cannot cover, which is why they are worth planning around.
Reroll the board for better Area Modifiers
Because Area Modifiers are not Charts, you can reroll them using the compass below the board. Rerolling costs Dead Man’s Sulphur, so heavy Allflame crafting can leave you short and unable to spin again. Keep enough on hand if you plan to fish for a specific roll.
Reroll until you land on a strong edge, then lock it in. Golden Lantern is one of the standout results to aim for, and there are likely more valuable rolls to discover as players map out the full pool. Early in the league everyone is diving blind, so treat a good roll as the anchor of your layout.
Stack modifiers on the same Chart
The core of juicing a Voyage is overlapping effects on one target area. A corner Chart benefits from an edge’s Area Modifier, but not from center Adjacent Modifiers, so pairing the two deliberately pushes far more value into a single square.
Note: Charts placed toward the center touch more neighbors, so save your best Adjacent Modifiers for interior spots where they can influence several areas at once.
Edit Chart mods before you dive
You can modify a Chart’s explicit modifiers before using it. Adjusting these mods may influence which Adjacent Modifier the Chart rolls once completed, and it also changes the monsters you face during the Voyage, since underwater enemies scale with what the Charts carry. Rerolling explicit mods is a way to make a run easier when a layout looks too dangerous.
Chase special areas and Dead Man’s Sulphur
Beyond raw modifiers, some destinations on the board hold their own rewards. These are worth routing toward once your layout is set.
| Reward focus | What it gives you |
|---|---|
| Special areas | Ducats, Uniques, and Bosses tied to specific destinations |
| Golden Lanterns | A high-value Area Modifier roll worth heading straight for |
| Dead Man’s Sulphur | Stacks quickly across Voyages and feeds Allflame crafting |
Voyages are also one of the fastest ways to pile up large amounts of Dead Man’s Sulphur in a single sitting, which then powers your Allflame crafting. That creates a loop worth watching, since the same resource you gather underwater is what you spend to reroll the board for your next run. Balance how much you burn on crafting against how much you keep for chasing better Area Modifiers, and each Voyage becomes a deliberate plan rather than a random pile of Charts.