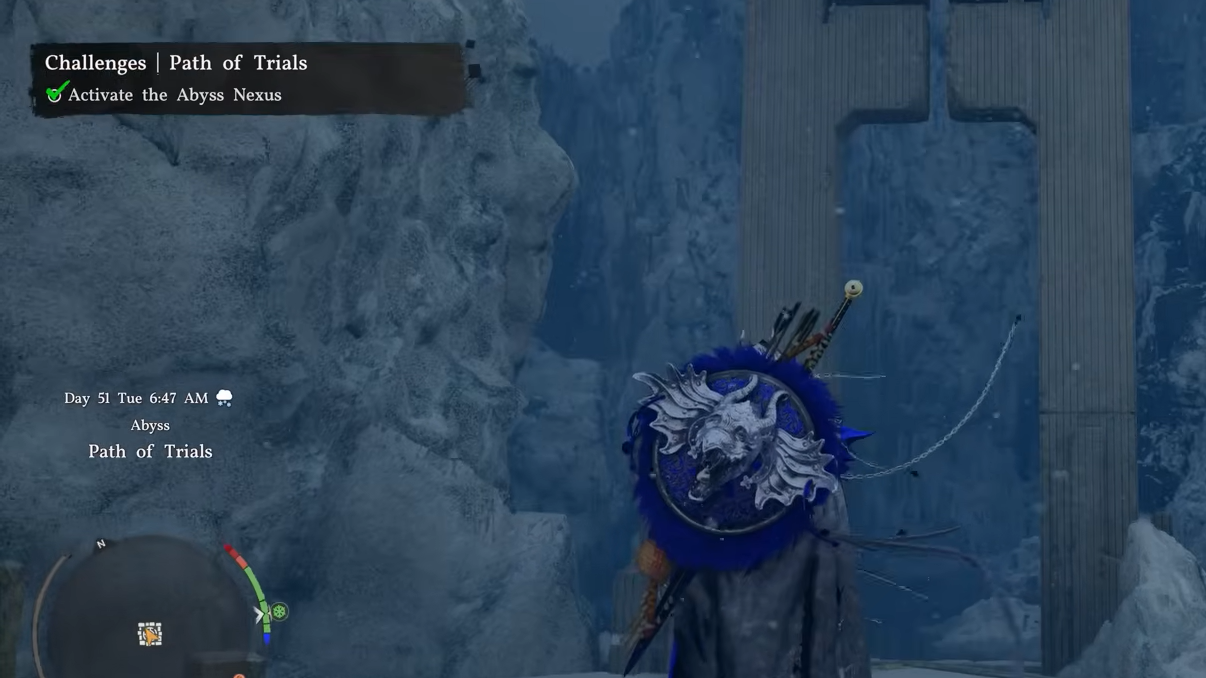
Path of Trials Abyss puzzle solution in Crimson Desert
Thaw the frozen power block in lava, slot it fast, and claim the Frost skill reward.
Thaw the frozen power block in lava, slot it fast, and claim the Frost skill reward.
by Pallav Pathak
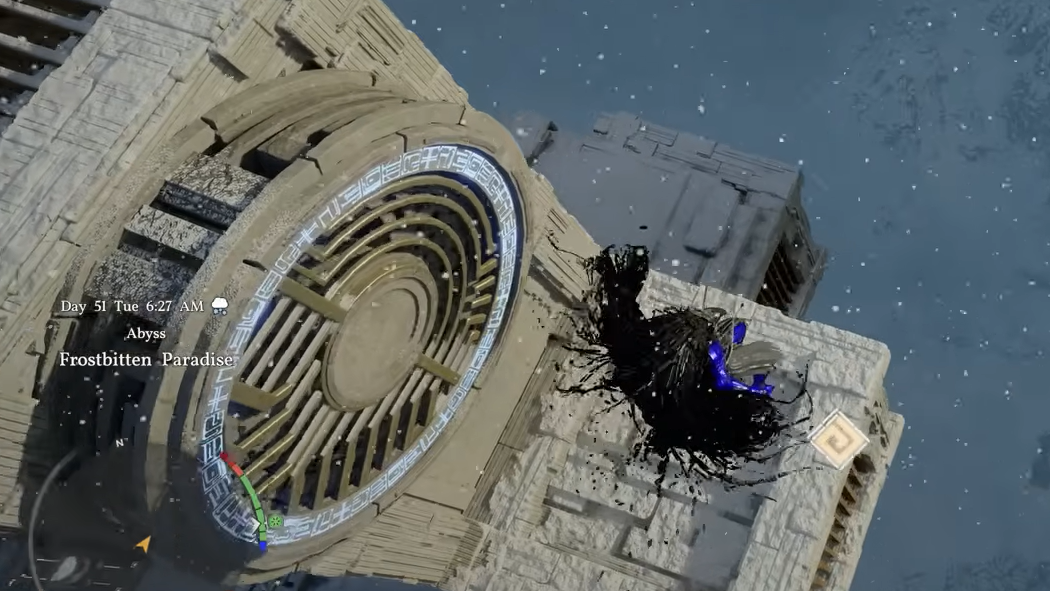
The Path of Trials is a frost-bitten Abyss island in Crimson Desert that gates the Frost skill behind a puzzle about heat, ice, and timing. It sits in the Sleet Isles cluster, reached through the Spire of Ringing Truth chain after clearing Ether Rest and Frostbitten Paradise. The trick is a power block that refuses to function while frozen, and a cold environment that chips away at your health the whole time you’re outside.
❄️
Quick answer: Pull the blue power pillar out of its wall slot to drop the forcefield, carry the flat power block into the lava room to thaw it, then quickly return it to the open slot on the ground and use Force Palm to lock it in. Activate the button above to restore the Abyss.
Image credit: Pearl Abyss (via YouTube/@Dan Allen Gaming)
Before you go: requirements and prep
Path of Trials assumes you already have the core Abyss traversal toolkit. If any of these are missing, you’ll get stuck at the approach or mid-puzzle. Cold damage is also constant outdoors, so resistance gear or lantern hopping matters more here than in earlier islands.
Requirement
Details
Prerequisite puzzles
Spire of Ringing Truth unlocked, Ether Rest and Frostbitten Paradise completed
Required skills
Axiom Force, Flight, Force Palm, Force Current
Recommended skill
Focus (for stamina while flying)
Recommended stat
Ice resistance 5+
Rewards
Frost skill, Abyss Artifact, fast travel teleport
Next island
Sanctorum of Darkness
How to reach the Path of Trials island
From Frostbitten Paradise, head north past the platform where you picked up the previous Abyss Artifact. The stepping platforms ahead collapse the instant you touch them, so sprint across without pausing. At the far side, pass through the triangular gate and hit the alignment pillar with Axiom Force, then turn it to power the fans that carry you up to the island proper.
The stepping platforms ahead collapse the instant you touch them, so sprint across without pausing | Image credit: Pearl Abyss (via YouTube/@Dan Allen Gaming)
Use Flight into the first set of north-facing fans to reach the large structure above. From there, ride the three small fans up to the larger fan, or just glide directly to it if your stamina allows. The big fan on top launches you eastward to the next structure.
On the second level, take the large fan next to the two smaller ones to climb higher, then use the fan inside the hall to shoot across to another pair of fans.
On the second level, take the large fan next to the two smaller ones to climb higher | Image credit: Pearl Abyss (via YouTube/@Dan Allen Gaming)
Ride those two fans up, then glide north to the final structure. Pop Focus mid-flight if your stamina bar is running low, since there’s no safe landing spot in between.
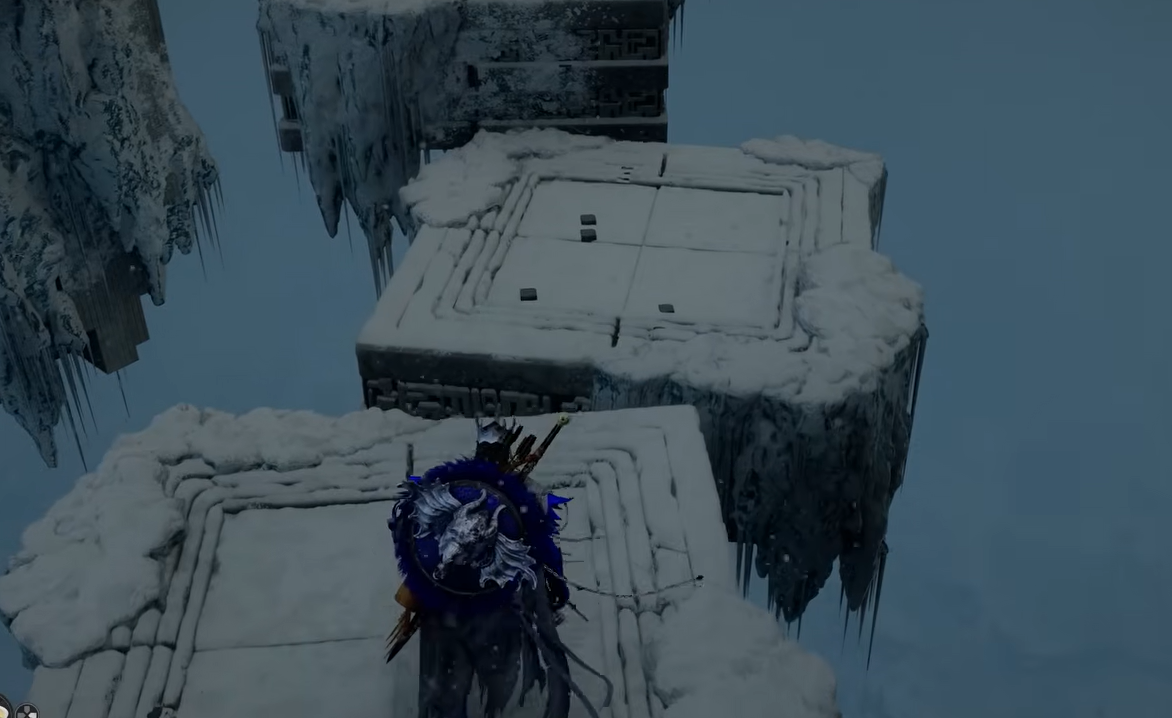
The last stretch is a row of shifting platforms. Either wait for them to line up and sprint across, or use Axiom Force to yank yourself onto each one while they’re misaligned. Touch the Abyss Nexus at the end to unlock fast travel to the island.
The last stretch is a row of shifting platforms | Image credit: Pearl Abyss (via YouTube/@Dan Allen Gaming)
Solving the Path of Trials puzzle
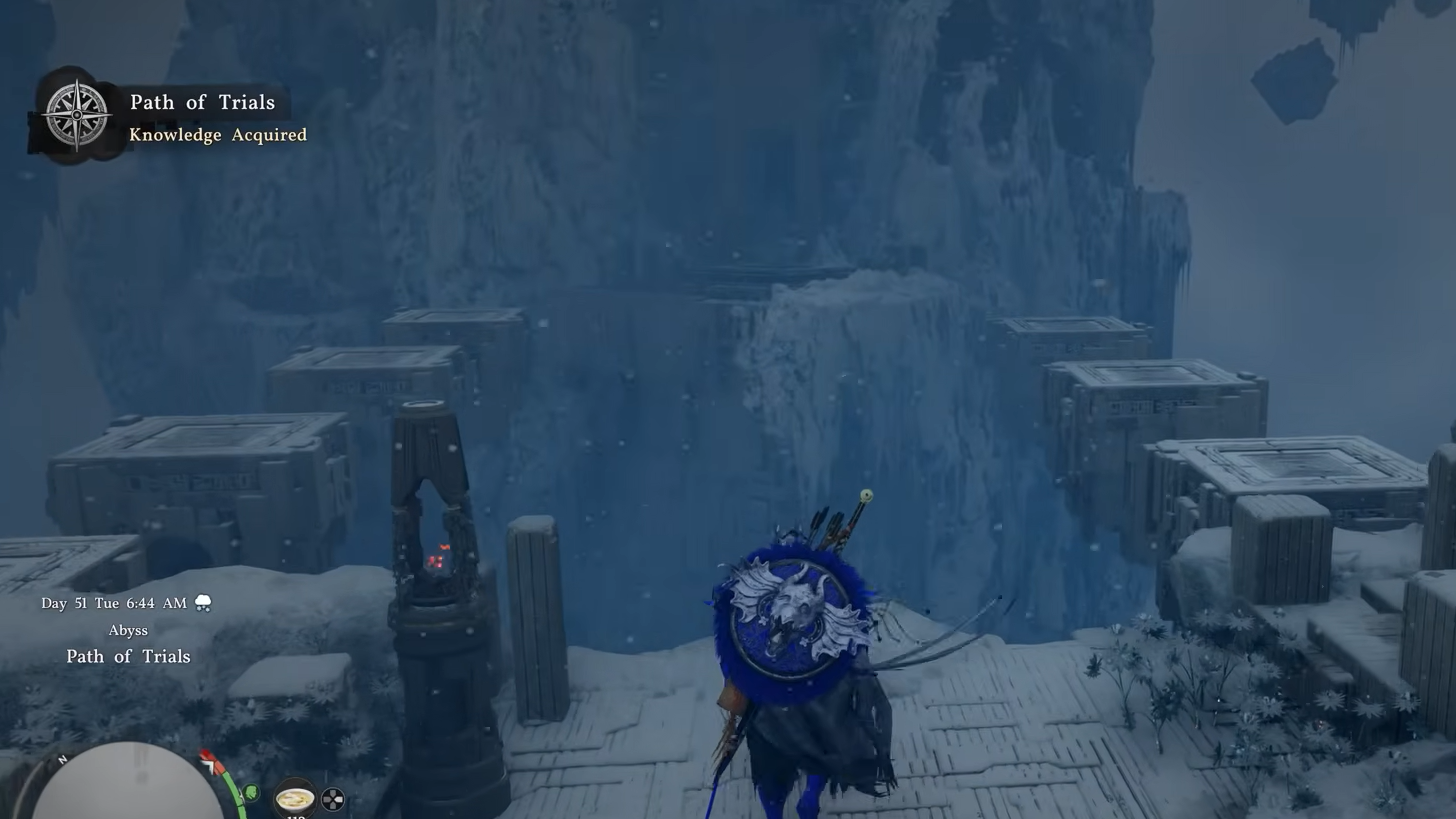
Everything outside the lava room is freezing, and standing too long in the open drains your health. Light the lanterns you pass and linger next to them between actions. The puzzle itself is a two-part loop: remove one power block to drop a forcefield, then thaw a second power block in lava and race it back before it refreezes.
From the entrance area, look north and use Axiom Force to reach the opening just above and to the right of the far north lantern. This puts you on the upper ledge where the main puzzle machinery lives.
Use Axiom Force to reach the opening above | Image credit: Pearl Abyss (via YouTube/@Dan Allen Gaming)
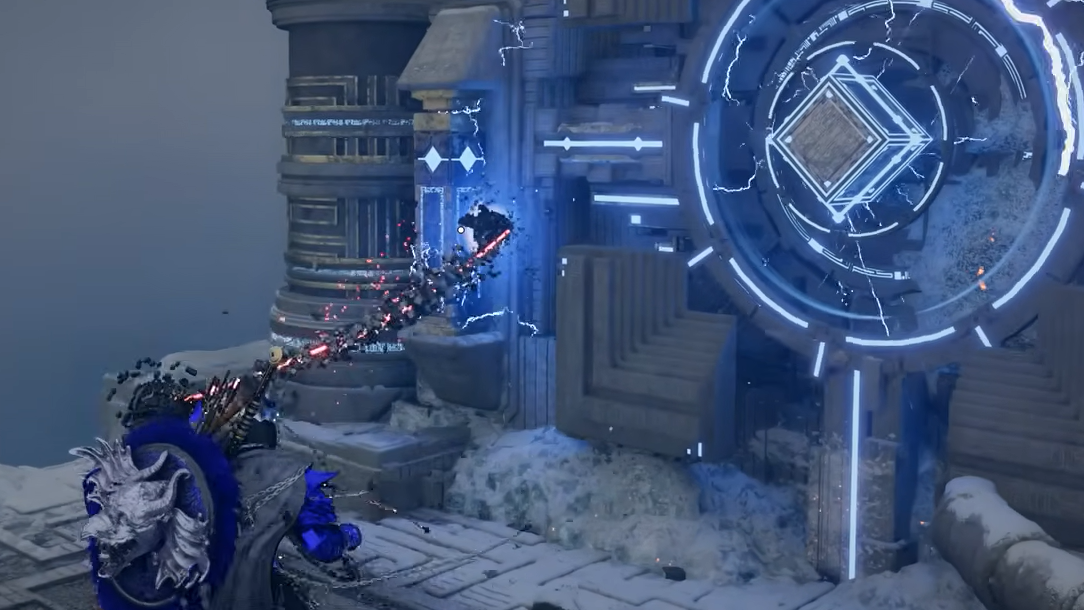
Head west past the lit lantern and through the passage. You’ll find a blue power pillar slotted into the wall near a large square panel. Pull it out with Axiom Force and leave it on the ground. This drops the forcefield that was blocking the nearby doorway.
Pull out the blue power pillar with Axiom Force and leave it on the ground | Image credit: Pearl Abyss (via YouTube/@Dan Allen Gaming)
Grab the flat square power block sitting in the south corner of the platform, right next to the empty slot where it belongs. The slot is frozen shut, so the block won’t register yet. Carry the block back around the corner toward the doorway you just unblocked.
Grab the flat square power block sitting in the south corner of the platform | Image credit: Pearl Abyss (via YouTube/@Dan Allen Gaming)
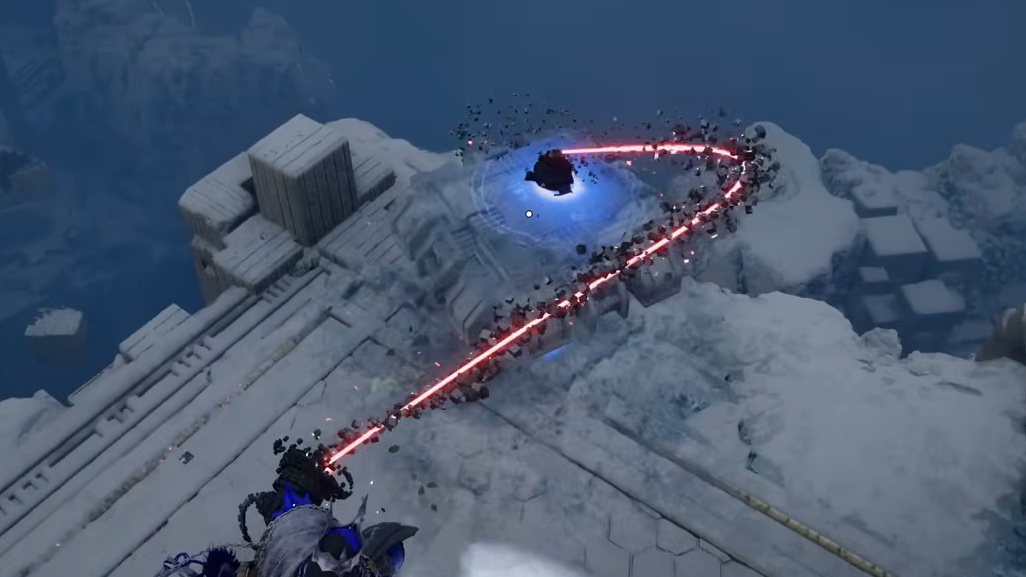
Drop into the warm lava chamber below. Dip the block into the lava for a couple of seconds until it visibly glows with active power. Staying on the upper ledge while you dunk it with Axiom Force is the fastest way, since you won’t have to climb back up afterwards.
⏱️
The block refreezes if you spend too long outside after thawing it. If the glow fades before you reach the slot, haul it back to the lava and repeat. You can do this as many times as you need.
Quickly carry the glowing block to the open slot on the ground near where you first found it. Use Force Palm to seat it firmly in place. If you hear the locking sound and the block stays lit, it’s in.
Use Force Palm to push the block in its slot | Image credit: Pearl Abyss (via YouTube/@Dan Allen Gaming)
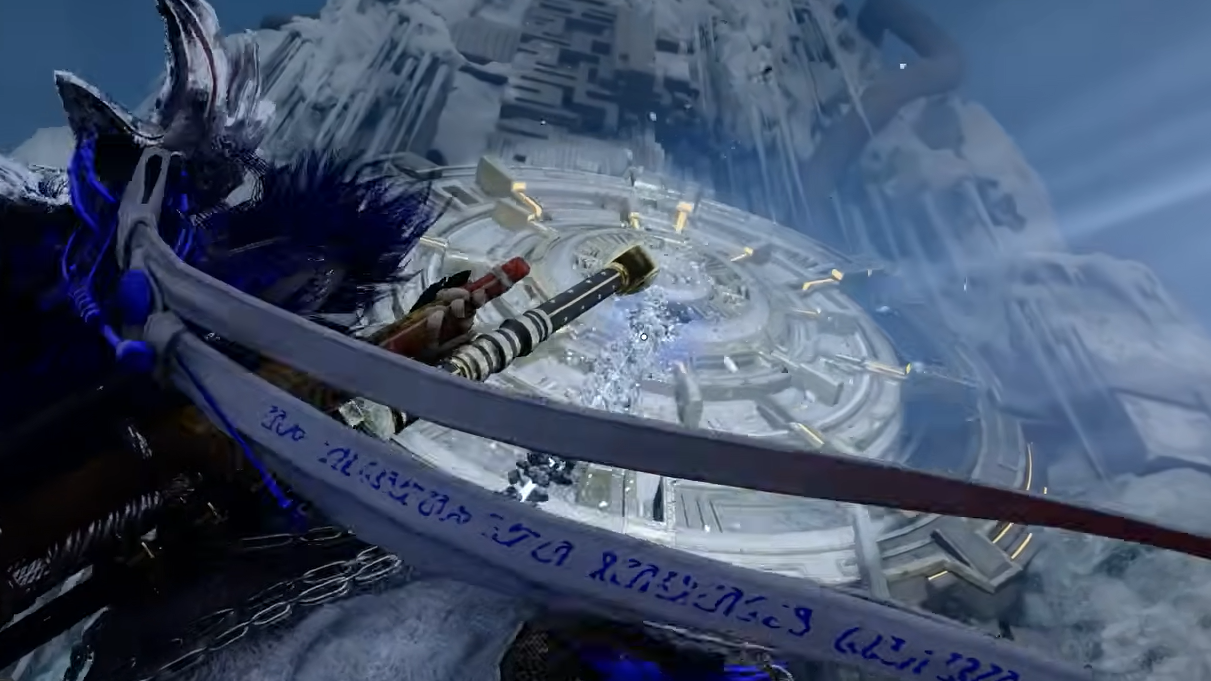
Look up at the large circular device on the wall above the slot. Use Axiom Force to grab and align it, then hit it with Force Current to activate it. Climb up past the device using Axiom Force on the grapple points above, then finish the climb to the top to restore the Abyss.
Use Axiom Force to grab and align it, then hit it with Force Current to activate it | Image credit: Pearl Abyss (via YouTube/@Dan Allen Gaming)
How to know it worked
When the circular device powers on, the Abyss Artifact appears at the summit for you to collect. You’ll also get a Frost skill notification, though it’s easy to miss because the pop-up is small. Frost can then be equipped from the radial menu that holds your food items, and it can be combined with Imbue Element skills for ice-infused attacks. Further upgrades live in the Red Skill Tree.
If the final button won’t activate, the most common cause is that the power block refroze before you sealed it with Force Palm, or the block isn’t fully seated in the slot. Pull it out, take it back to the lava, and try again with a tighter route.
What unlocks next
Finishing Path of Trials opens the skybridge to the Sanctorum of Darkness, the next island in the Spire of Ringing Truth chain. The full frost-and-flame chain runs Ether Rest, Frostbitten Paradise, Path of Trials (Frost), Sanctorum of Darkness, Loop of Life, and Tree of Slumber (Flame). Frost pairs naturally with the Flame skill you’ll earn later, so holding onto Abyss Artifacts for the Red Skill Tree pays off once both elements are unlocked.