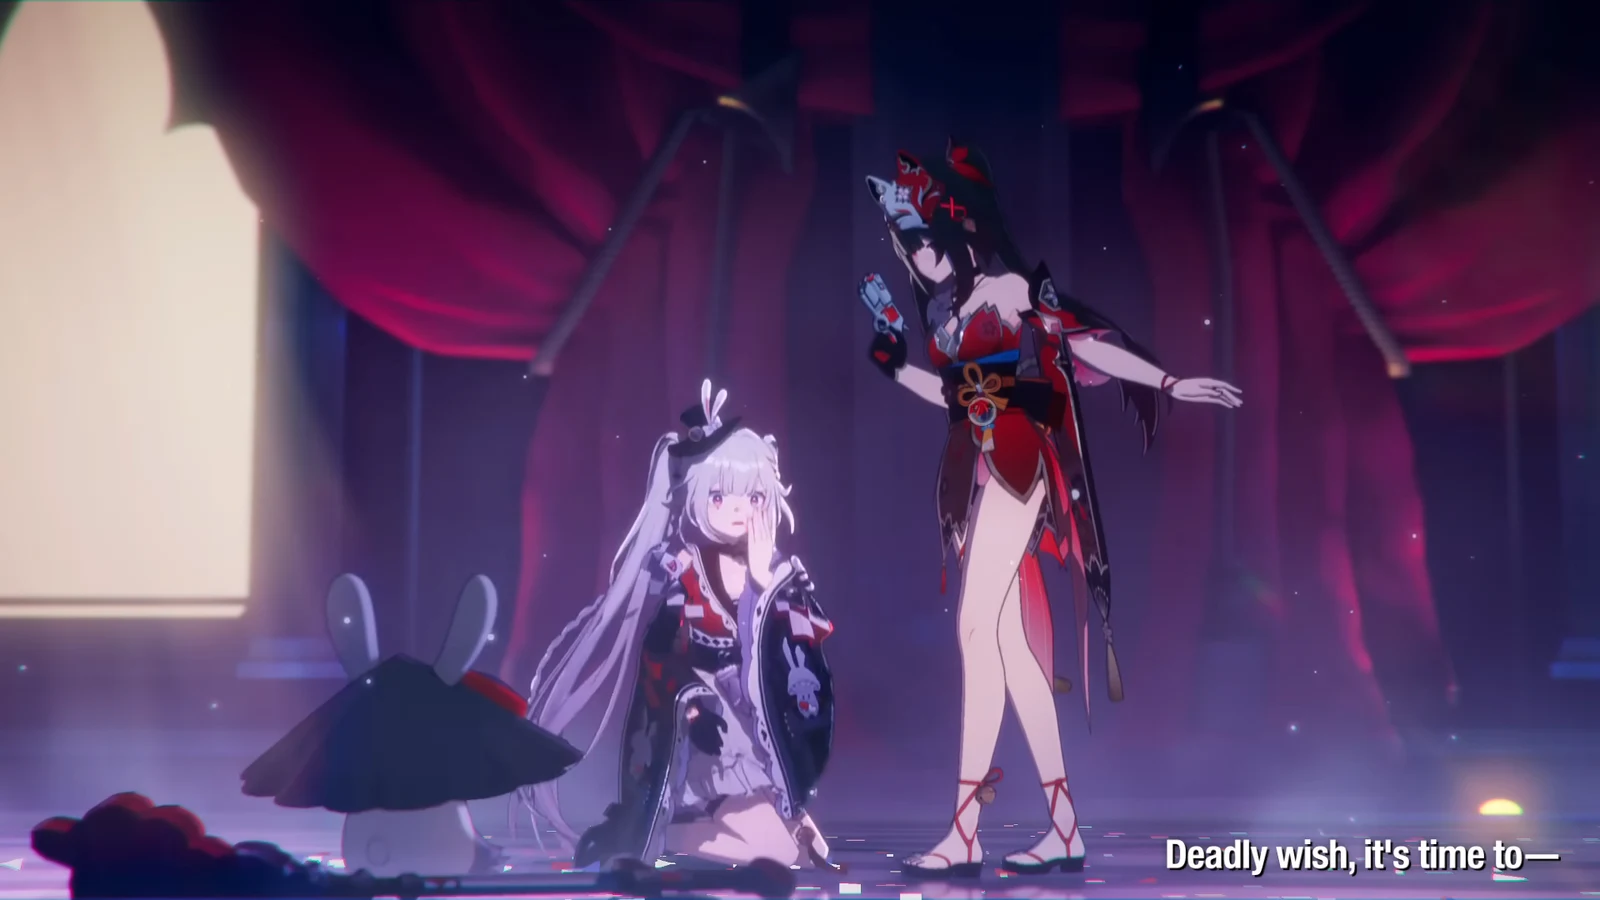
In Anomaly Arbitration, Pearl and Aventurine Waveflair form an Elation pairing for squads that keep attacking without turn gaps. Teammate actions build Waveflair’s damage, while Pearl protects the group and helps sustain the pace. Use two different setups for Lighthouse and Cocolia, both focused on stacked ultimates and bouncing hits.
Quick answer: Assign carry duties to Aventurine Waveflair, have Yao Guang enable Elation, and rely on Pearl for sustain. Start with techniques, use chained ally attacks to build Fervor and Punchline, and unleash the Enhanced Elation Skill during boss phases.
The core Elation team and each role
Aventurine Waveflair anchors the team as a Quantum Elation sub-DPS; his damage rises with the frequency of actions taken across the party. Yao Guang speeds up resource generation for everyone and is considered essential to an Elation lineup. Pearl serves as the Path of Elation healer, supplying shields and healing while contributing to the follow-up cycle that drives the team.
| Role | Character | Function |
|---|---|---|
| Carry | Aventurine Waveflair | Quantum Elation AoE via Fervor and Punchline bounces |
| Enabler | Yao Guang | Speeds up party-wide Elation resource generation |
| Sustain | Pearl | Shields, healing, and Elation support |
| Flex | Mortenax Blade / Trailblazer | Extra frequent attacks to stack Fervor |
How Aventurine Waveflair builds Fervor and Punchline
Aventurine Waveflair’s Talent grants him 1 Punchline and 1 Fervor whenever an ally attacks. Reaching 10 Fervor makes him use his Elation Skill at once. The following Aha Instant turns that cast into its Enhanced form, spending all Fervor on additional bounce damage.
His Skill lands a true AoE hit with a 240% multiplier. His Ultimate inflicts 400% ATK AoE damage, restores resources, and increases his SPD. For his standard Elation Skill, he deals 60% Quantum Elation AoE damage before bouncing 10 times among random enemies. The Enhanced Elation Skill keeps that base and gains one bounce per Fervor spent, up to his 30-stack cap. Taking more actions with allies builds a bigger reserve and a stronger enhanced burst.
| Ability | Fervor gained | Punchline gained |
|---|---|---|
| Skill | 4 | 2 |
| Ultimate | 8 | 5 |
| Ally attack (Talent) | 1 | 1 |
| Technique | 2 | — |
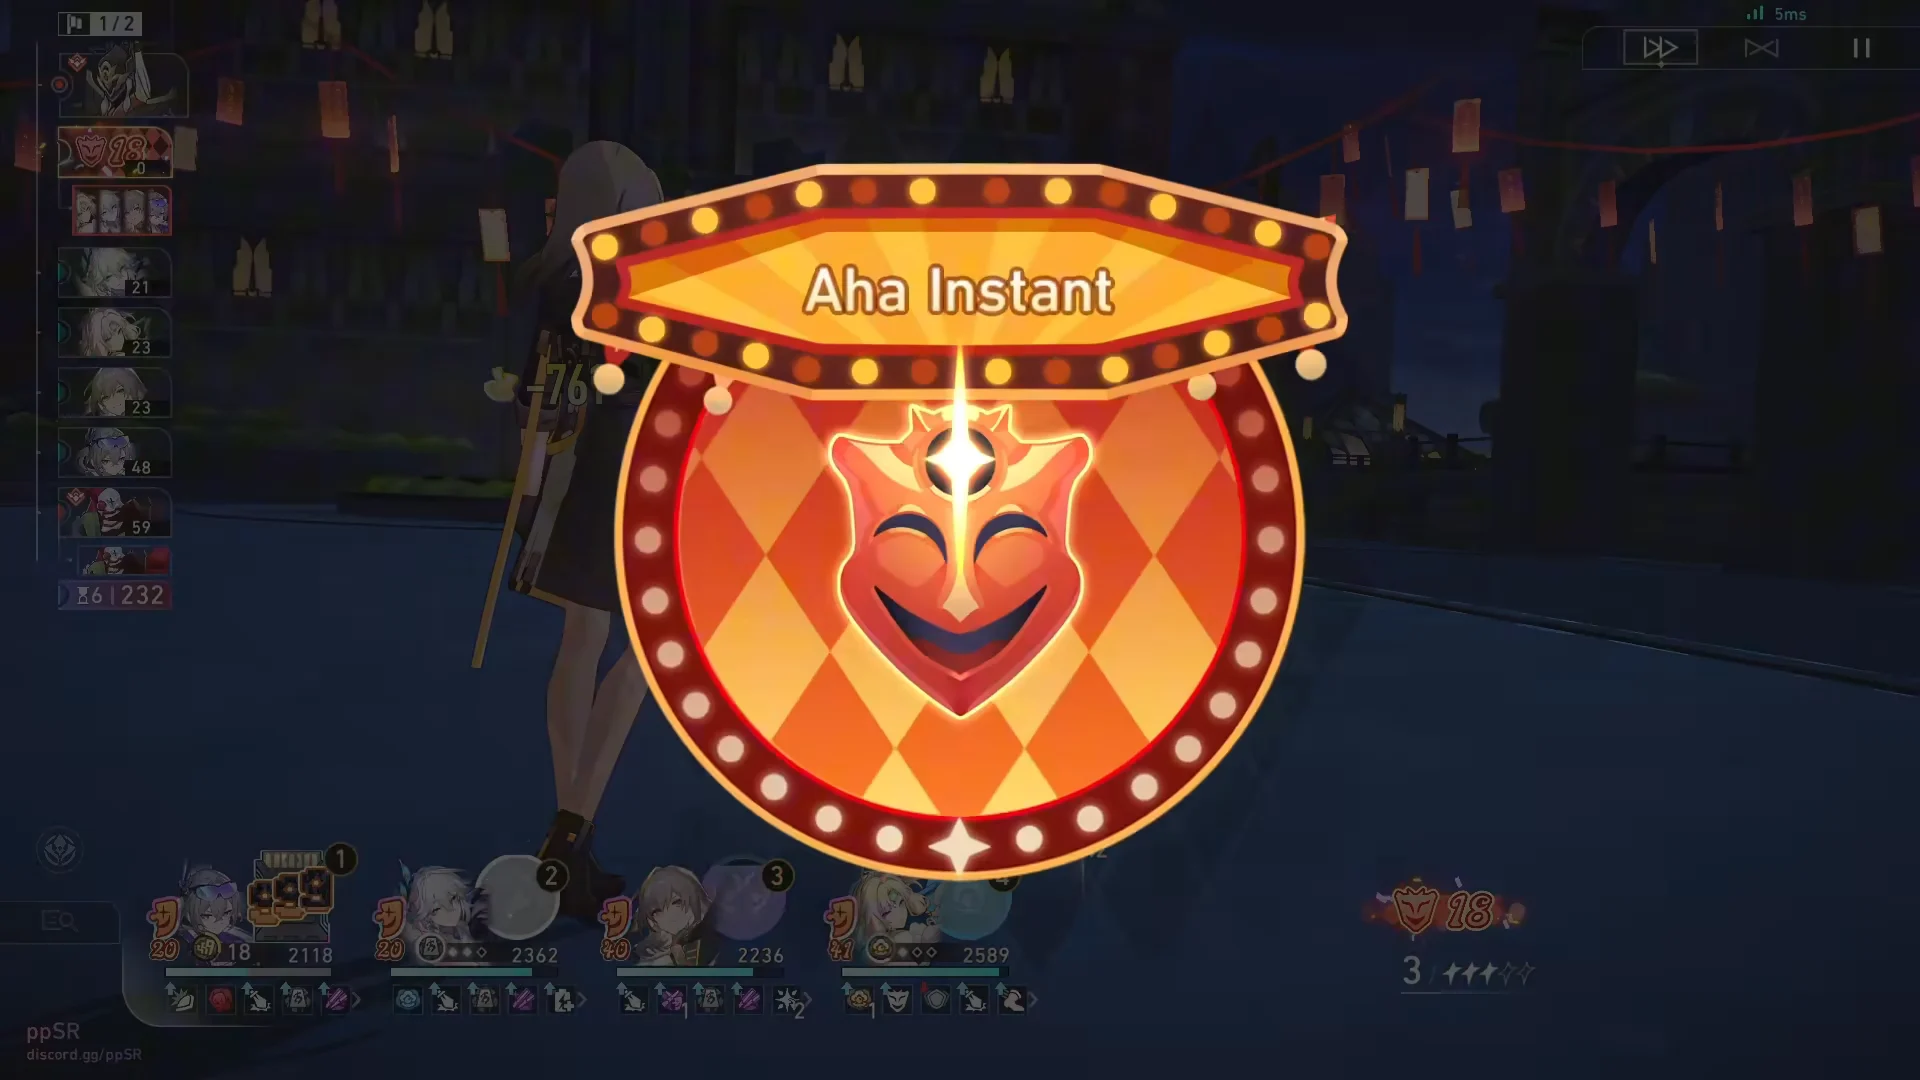
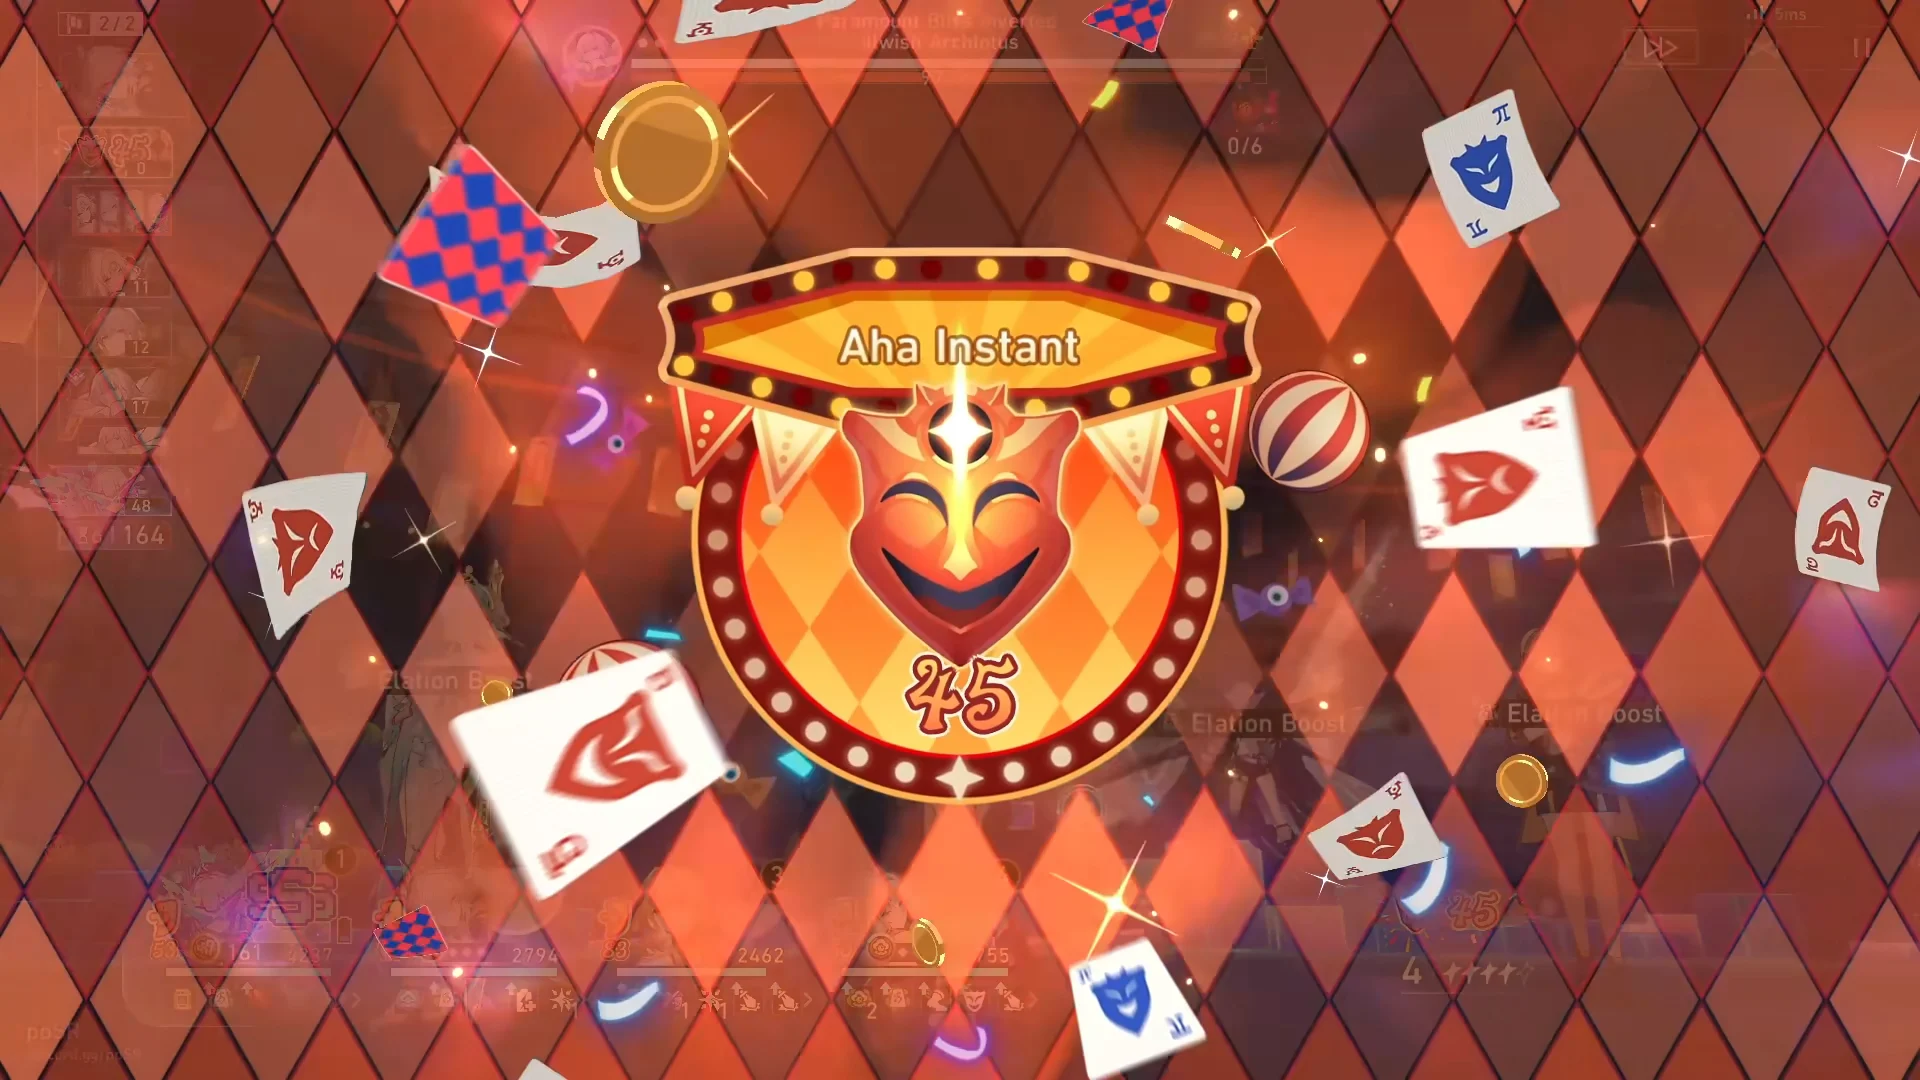
The Aha Instant banner is your visual cue that a follow-up burst is landing. Higher stack counts on the banner translate directly into larger card-damage totals, so keeping the party acting is the whole point.
Aim for a SPD threshold of 160 on Aventurine Waveflair to activate his conversion trace, which grants a baseline Elation DMG bonus and keeps scaling with every point of SPD past that mark.
First run: Clearing Lighthouse then Cocolia
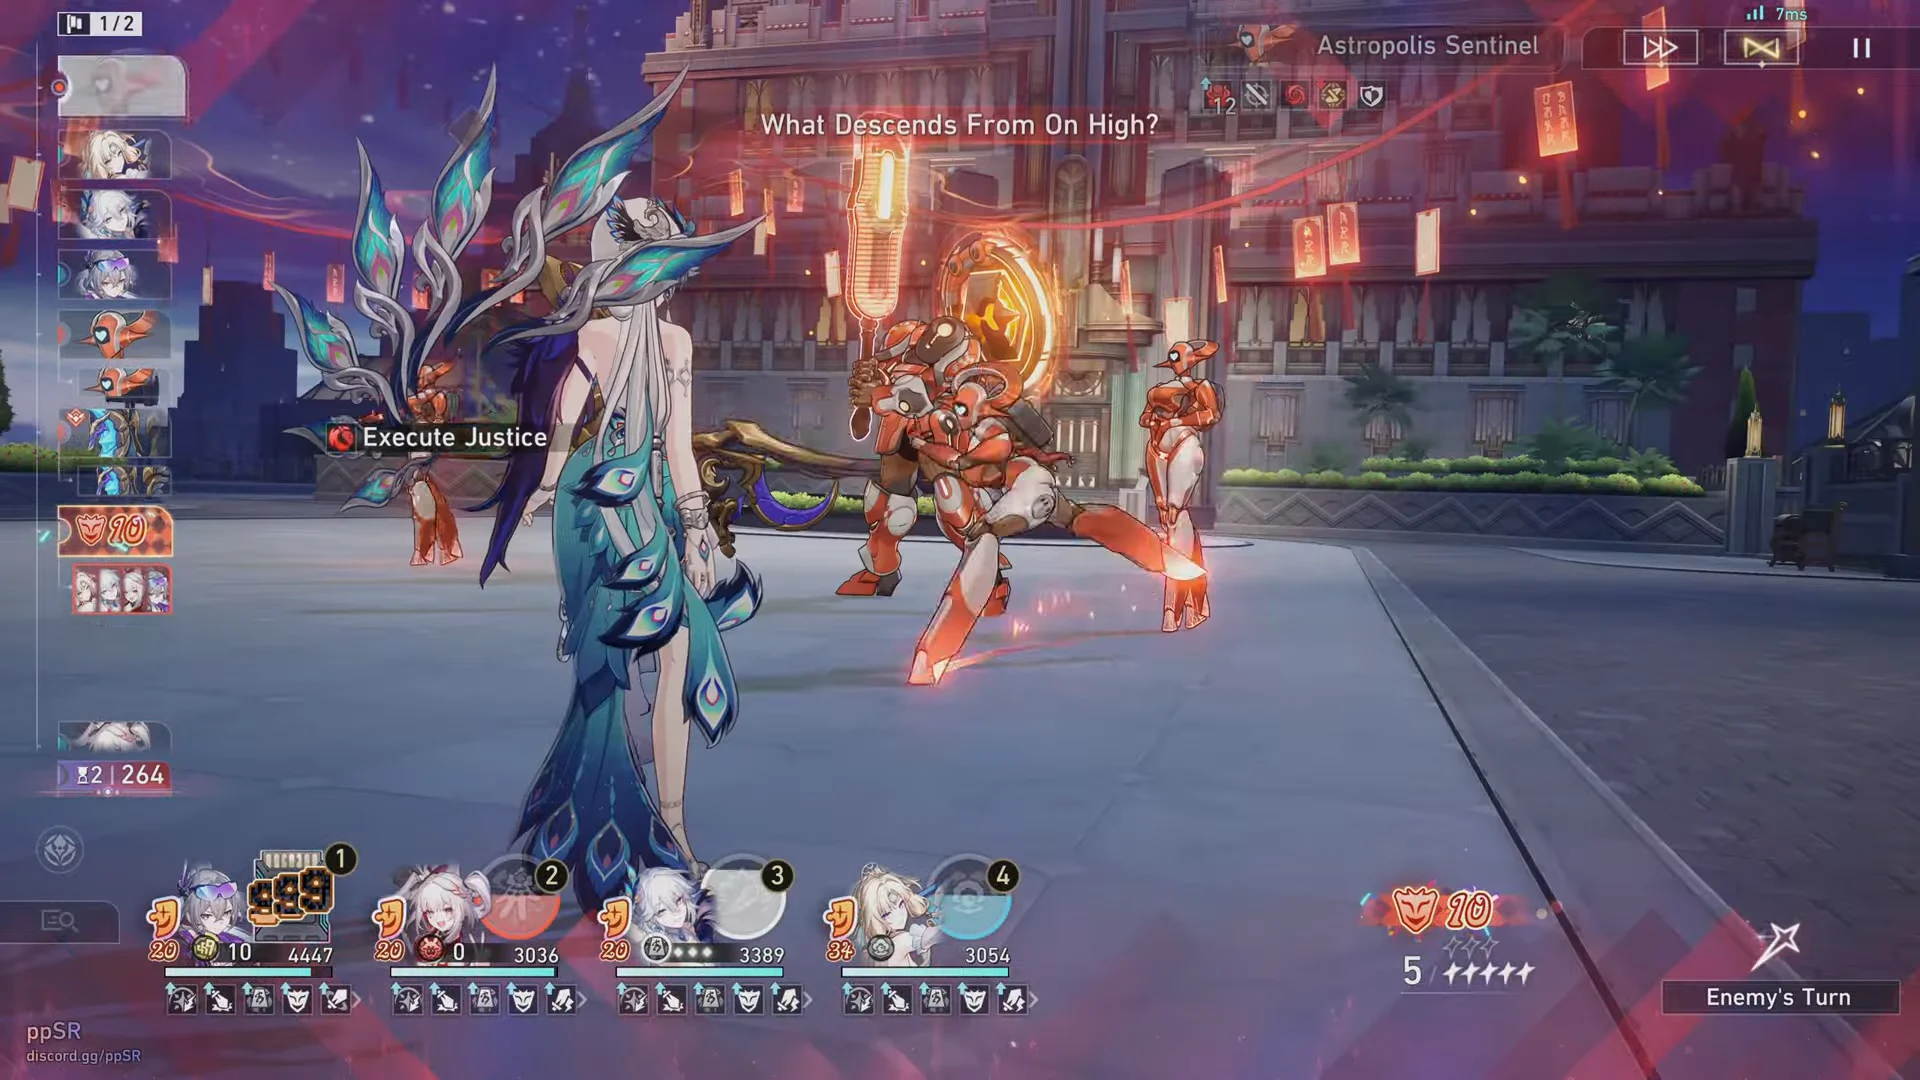
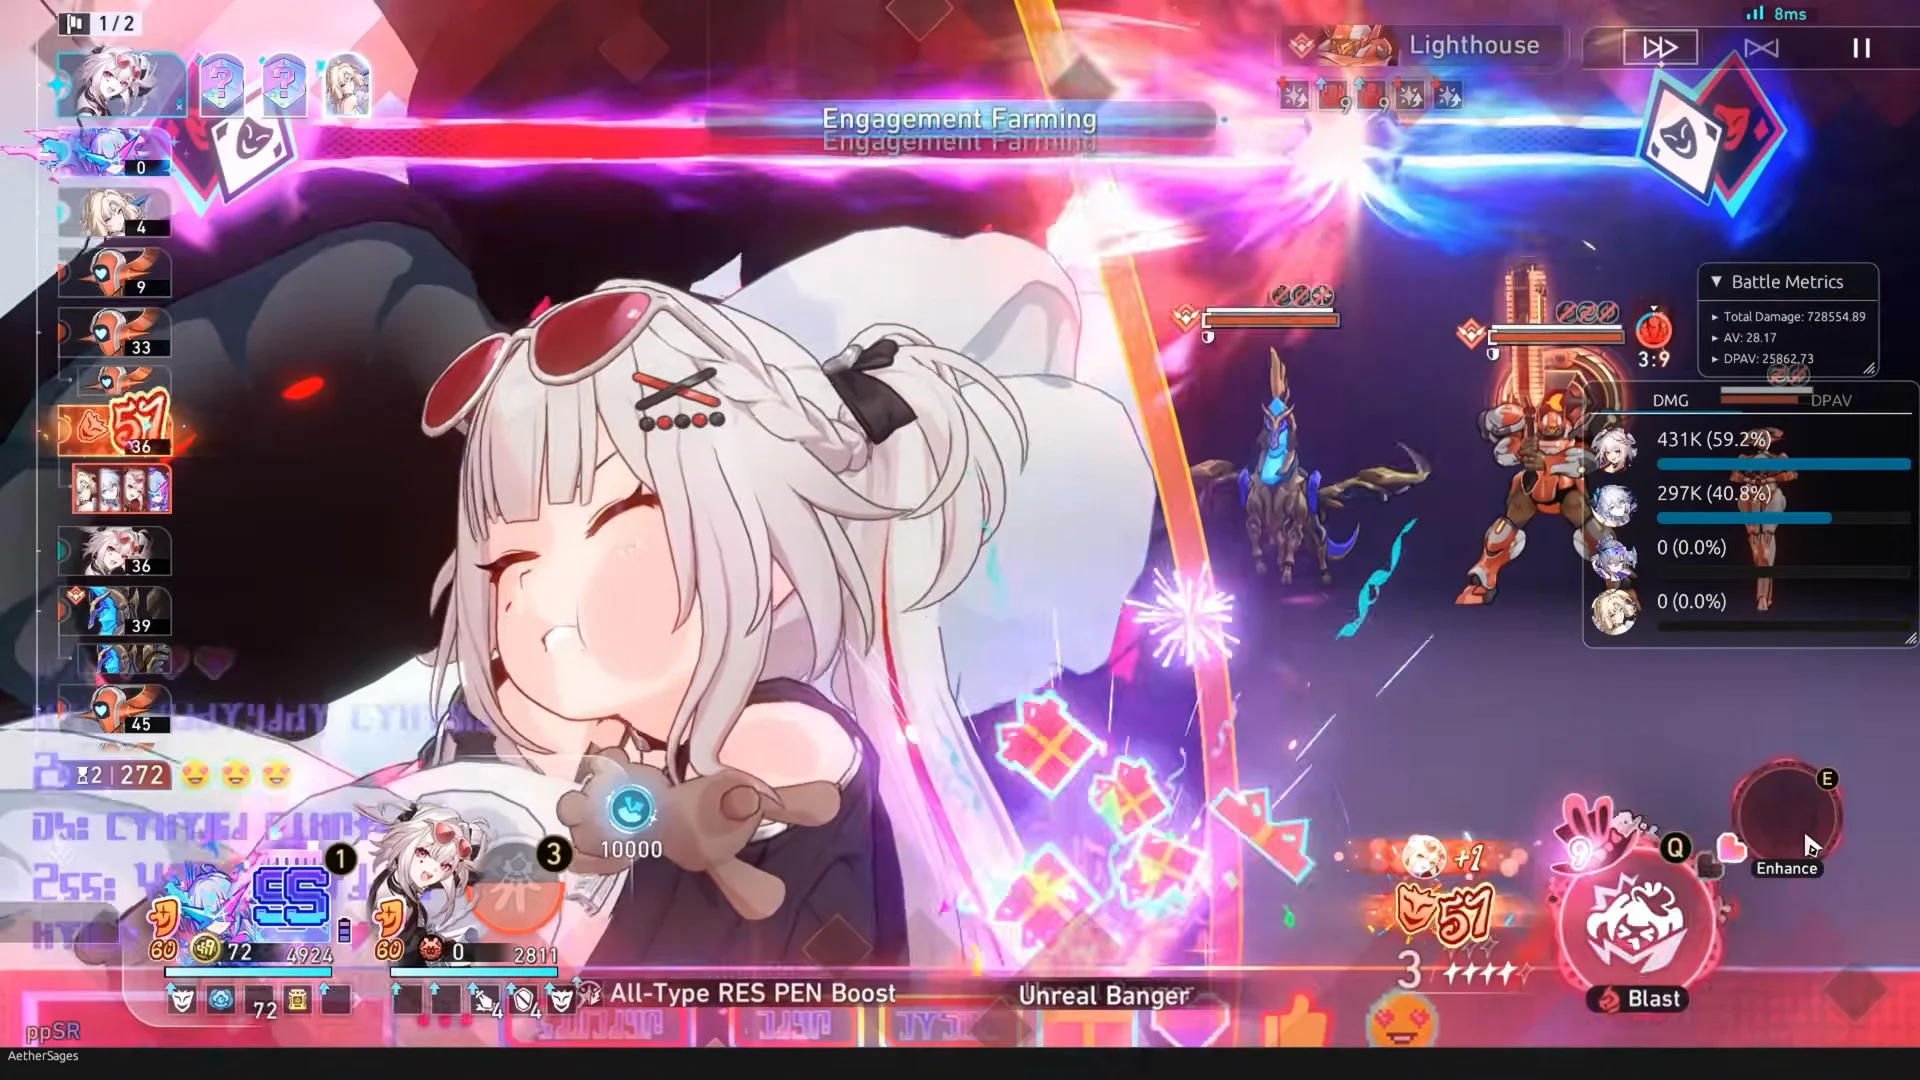
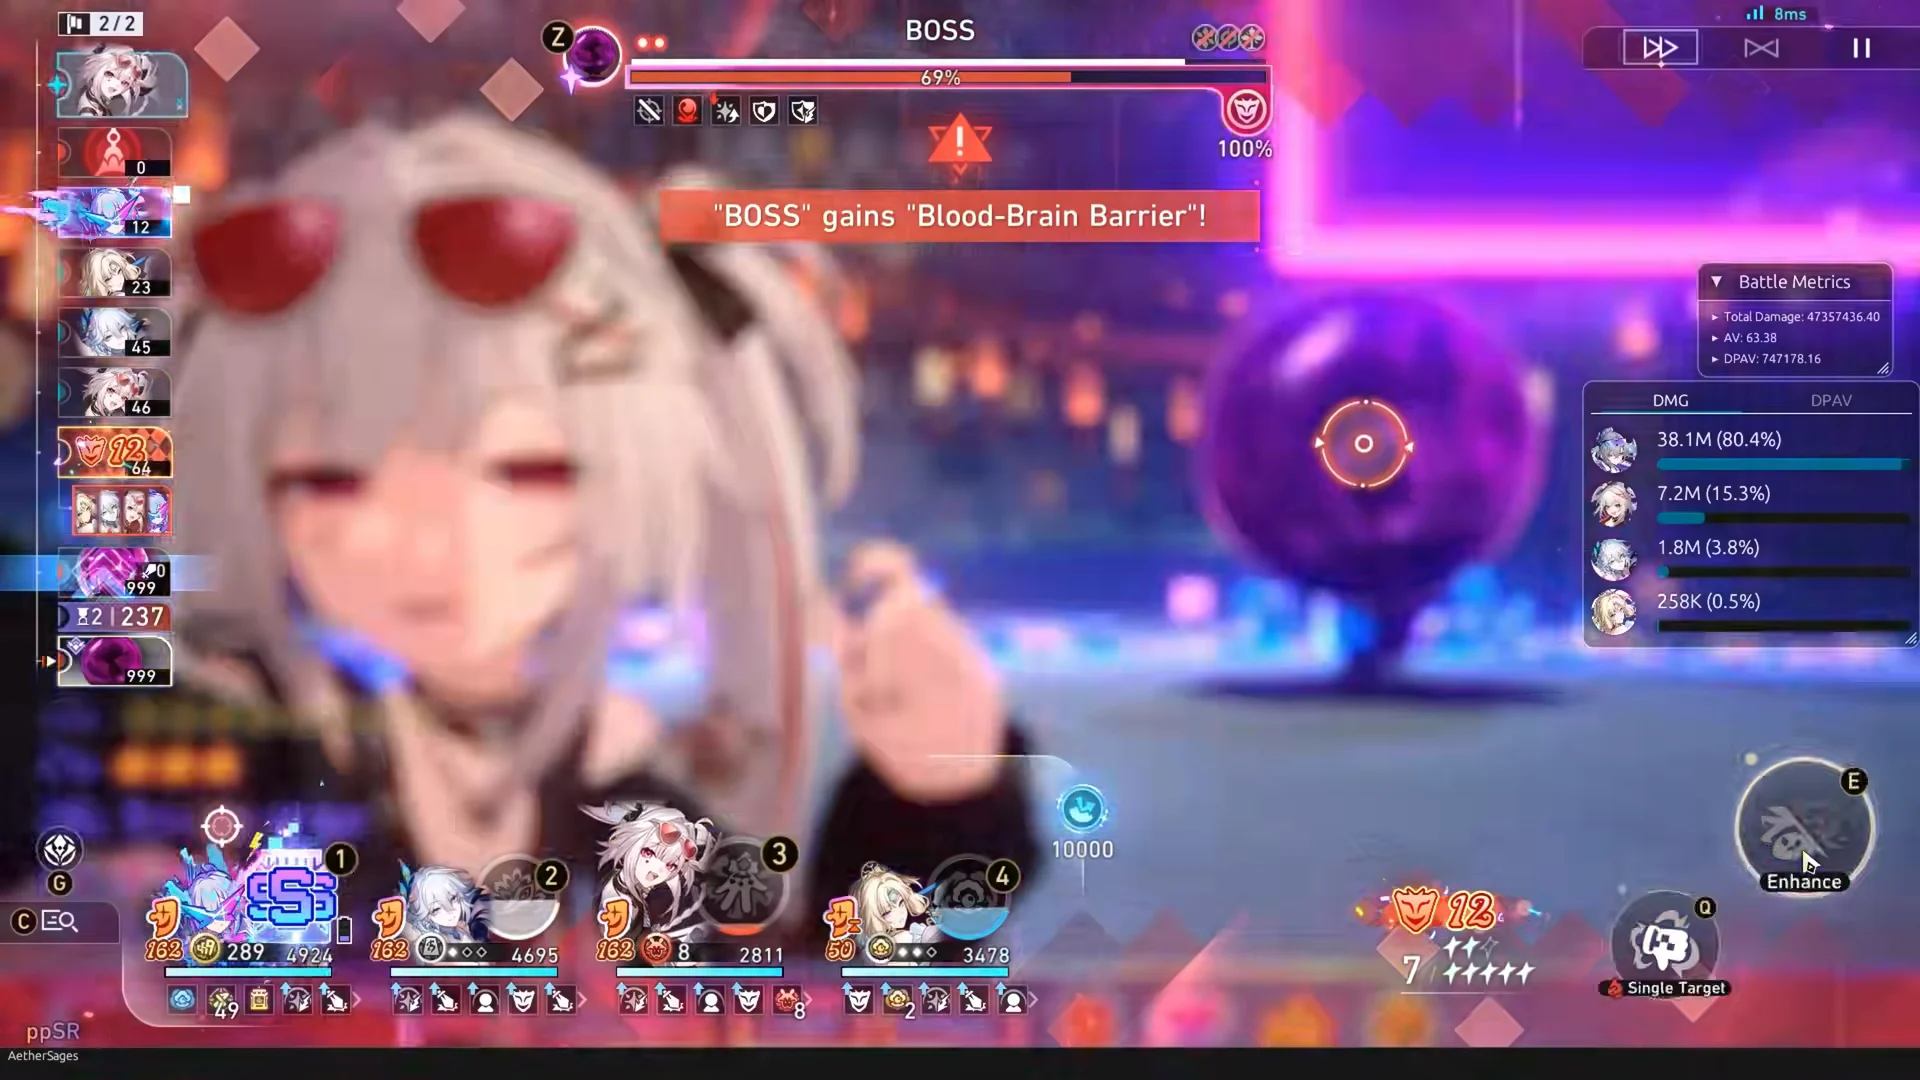
Second run: Pearl-led follow-up variant
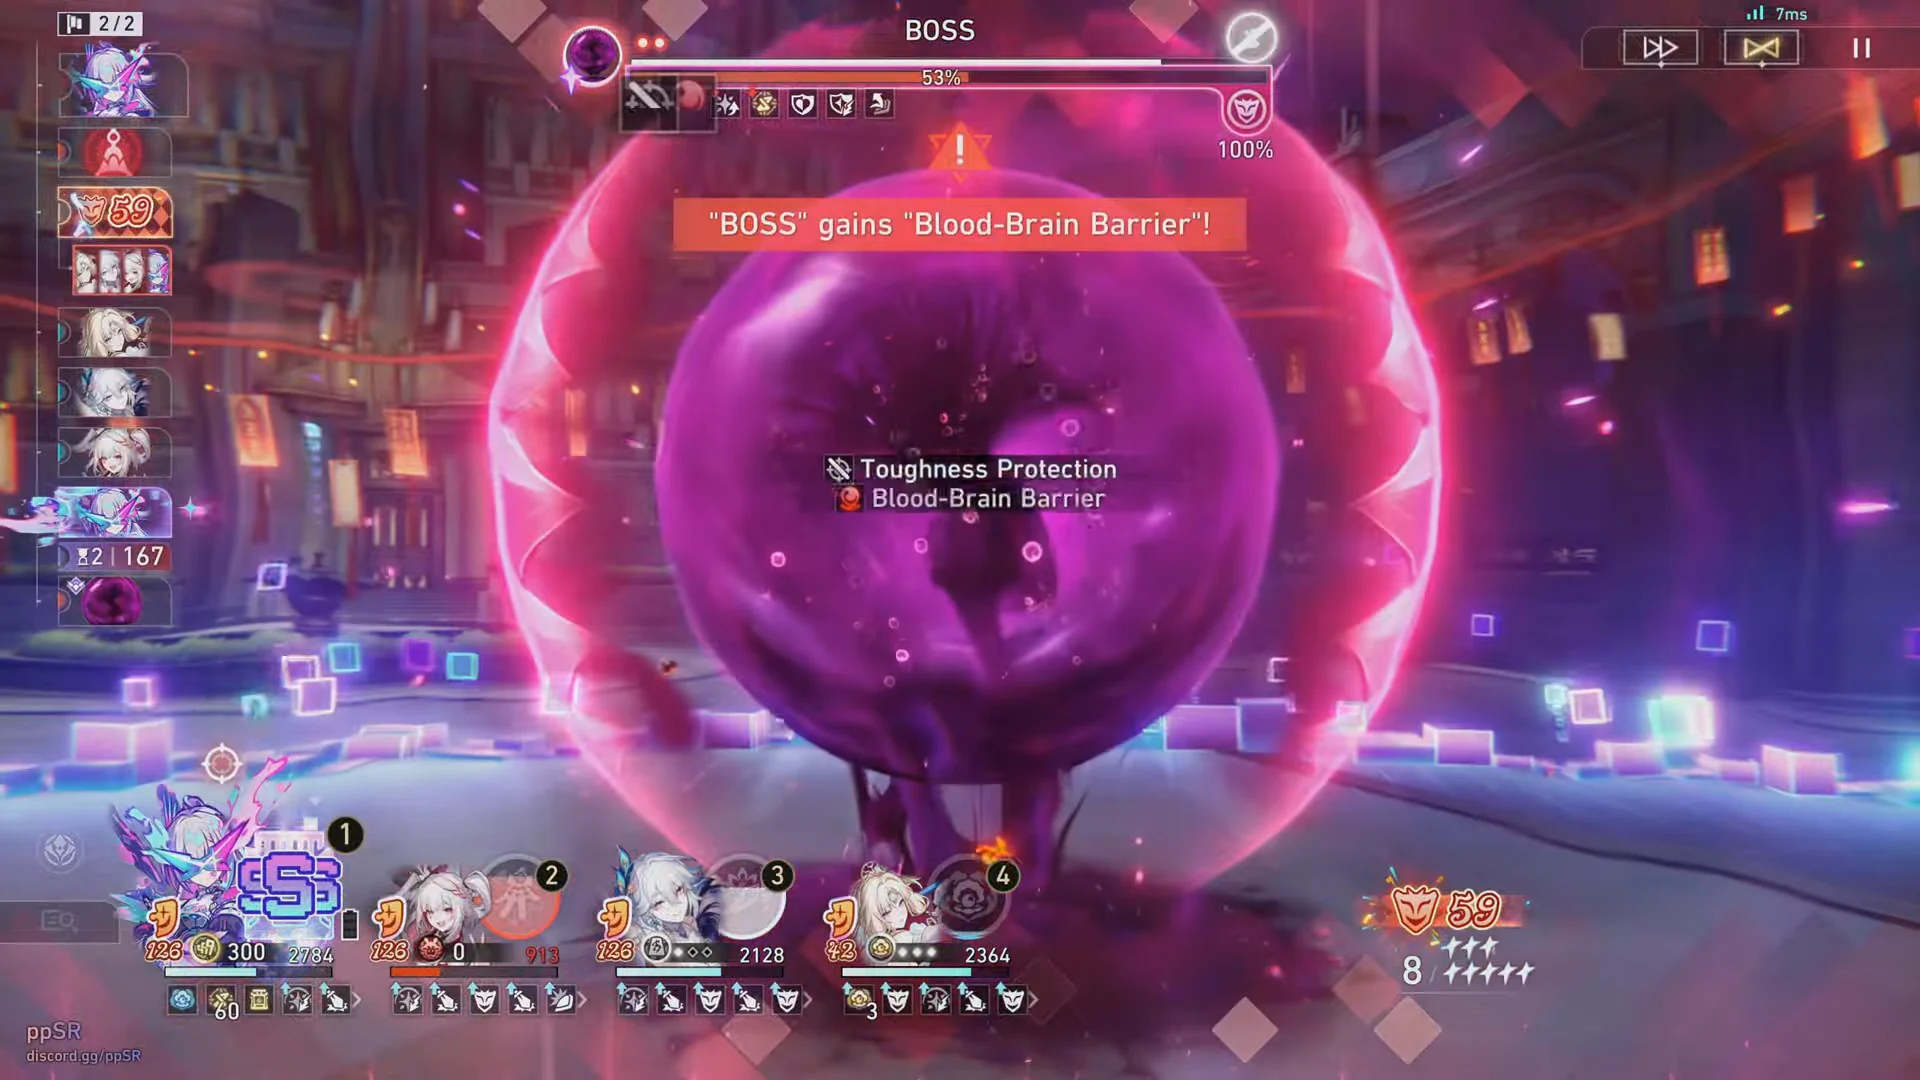
Gear and Light Cones for the carry
Aventurine Waveflair wants Elation equipment because his damage runs entirely through Elation DMG in both team versions. His signature Light Cone is the top pick, offering Crit Rate, SPD, Elation DMG, and Skill Point recovery. The Elation Battle Pass cone and the free Mushy Shroomy’s Adventures are lower-cost alternatives.
| Slot | Recommendation |
|---|---|
| Relic set | Ever-Glorious Magical Girl (4-piece) |
| Planar set | Punklorde Stage Zero |
| Body | Crit Rate / Crit DMG |
| Feet | SPD |
| Sphere | Quantum DMG% or ATK% |
| Rope | ATK% or Energy Regeneration Rate |
| Stat priority | ATK, SPD, Crit Rate, Crit DMG |
Keep Pearl’s gear flexible until her final scaling is clear. Start with SPD boots and an Energy Regeneration rope, and save HP% and DEF% main-stat pieces as options. Her signature Light Cone, Colors for Tomorrow, boosts DEF, heals the team, and increases enemy vulnerability based on your Elation count. For a free substitute, Mushy Shroomy’s Adventures makes enemies take more Elation DMG.
Why this team fits Anomaly Arbitration
Anomaly Arbitration is a permanent mode that asks you to build three separate Knight teams and then a strongest squad for the King in Check final stage. Several stages reward follow-up attack pressure, which is exactly what this Elation core delivers. Knight 2 in the Happiness Syntax phase, for example, weakens its damage-reduction stacks whenever an enemy takes a Follow-Up ATK.
Beat all three Knight stages before facing the King to make the final boss considerably easier. The mode offers Lone Stardust, Self-Modeling Resin, Interference Keys, and avatar frames available for a limited time.
Stellar Jades aren’t available from Anomaly Arbitration; play it for materials and cosmetics instead of farming currency.
The mode refreshes on a six-week cycle, on a Wednesday after version maintenance; the next phase begins with Version 4.6. Pearl is the featured character in Version 4.6 Phase 1 and the fourth Stoneheart to become playable. Build this follow-up core now, and you can add her as soon as her banner opens.