Broken camps in Permafrost can be rebuilt on the spot. Damaged wall panels and missing stairs show up as bright blue, see-through shapes where the finished piece belongs, and the Building Tool turns each one into a solid structure using resources from your inventory. The work is tracked by a BASE RENOVATION counter, and it feeds directly into quests such as House Camp Flipper.
Quick answer: While in a Renovation zone, equip the Building Tool (key B), target a blue outline, and click the left mouse button when the “Renovating” prompt appears. The required materials come from your inventory for each piece, and the counter increases by one.
What you need before renovating
Two things have to be ready: the Building Tool in your hand, and the exact resources for each piece sitting in your inventory. The Building Tool’s key (B) appears on the HUD hint list at the right edge of the screen next to the line “Building Tool”.
Each type of piece has its own cost:
- Armored Wall segment: 10 Scrap + 1 Wire
- Wooden Stairs flight: 6 Wood
- Radio Station Bench in the Church: 3 Scrap + 4 Wood
Scrap comes from the Dismantle Bench, where 1 Metal Junk gives 2 Scrap.
How to spot a Renovation zone
A camp that can be repaired shows its missing parts as blue, see-through outlines. A wall panel hovers in a gap in the metal wall; a flight of stairs sits on an empty scaffold. These are the shapes you fill in.
When you step close, a banner at the top of the screen reads “ENTERING” with “Renovation zone” beneath it. At the same moment a new block appears at the bottom of the quest tracker on the left: a wrench icon, the heading BASE RENOVATION, and a counter with a bar such as “0/3” or “0/2”. The second number tells you how many pieces that zone holds. Walk back out and the banner flips to “LEAVING” / “Renovation zone”, and the tracker block disappears while you are away.
Renovate a wall with the Building Tool
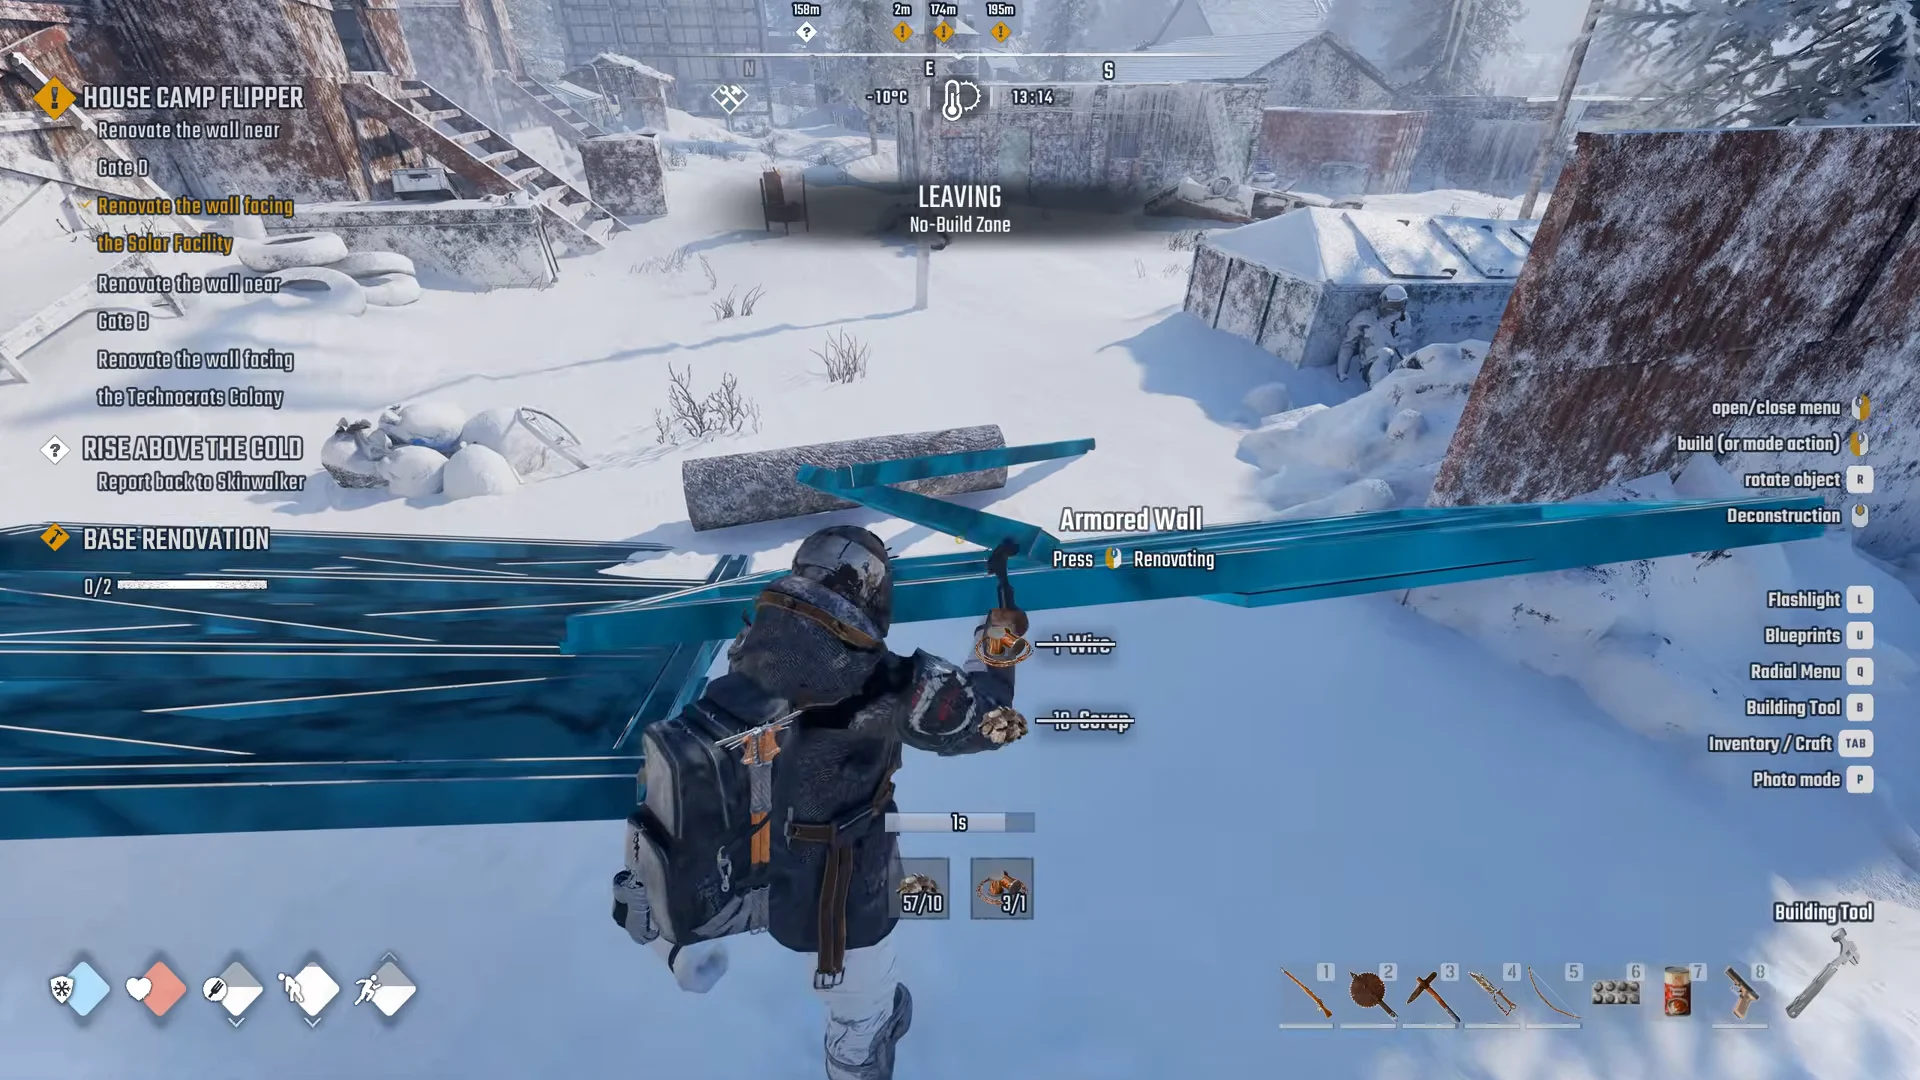
Clearing blue Rubble
A zone can also hold a blue heap labelled “Rubble” lying in front of a wall gap. With the Building Tool in hand, aim at it and the prompt reads “Rubble” with “Press (left mouse button) to remove”.
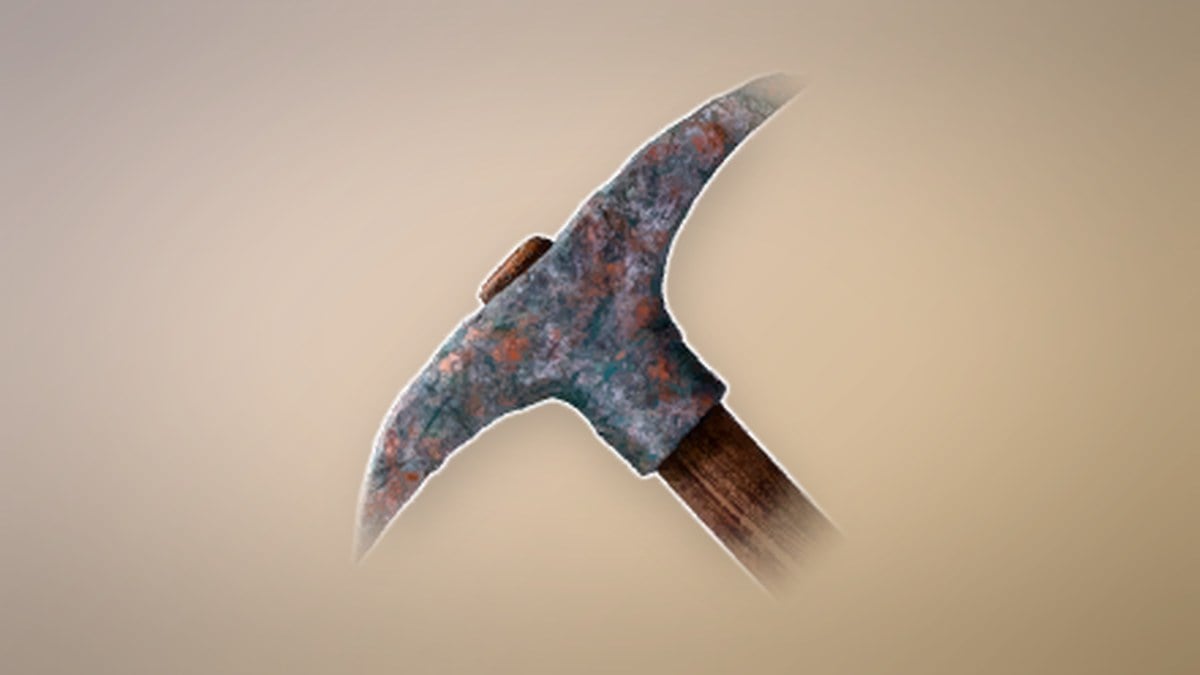
A path-blocking grey “Pile of rubble” is not that object. Its prompt says “to break”, and you need a pickaxe to clear it rather than the Building Tool.
When you are short on resources
If you cannot afford a piece, the shape under your crosshair turns red instead of blue. The cost box shows what you hold against the need, for example “0/5”, and the words “MISSING RESOURCES” appear beneath it. Fetch what is missing and return to that same piece to finish it.
How you know a zone is finished
The zone is finished once its counter reaches the total, for example 2/2 or 3/3. Its BASE RENOVATION block disappears from the tracker. Completing a zone alone produces no banner or reward box. If a quest includes that location, its objective line turns yellow and gains a tick as soon as the zone is done. Renovating is a trained skill too, so completing a piece can trigger a “LEVEL UP!” popup with “Renovating” beneath it.
A wall completed before its quest objective appears will still count toward it later, so you can rebuild the wall in advance.
Where you use renovation
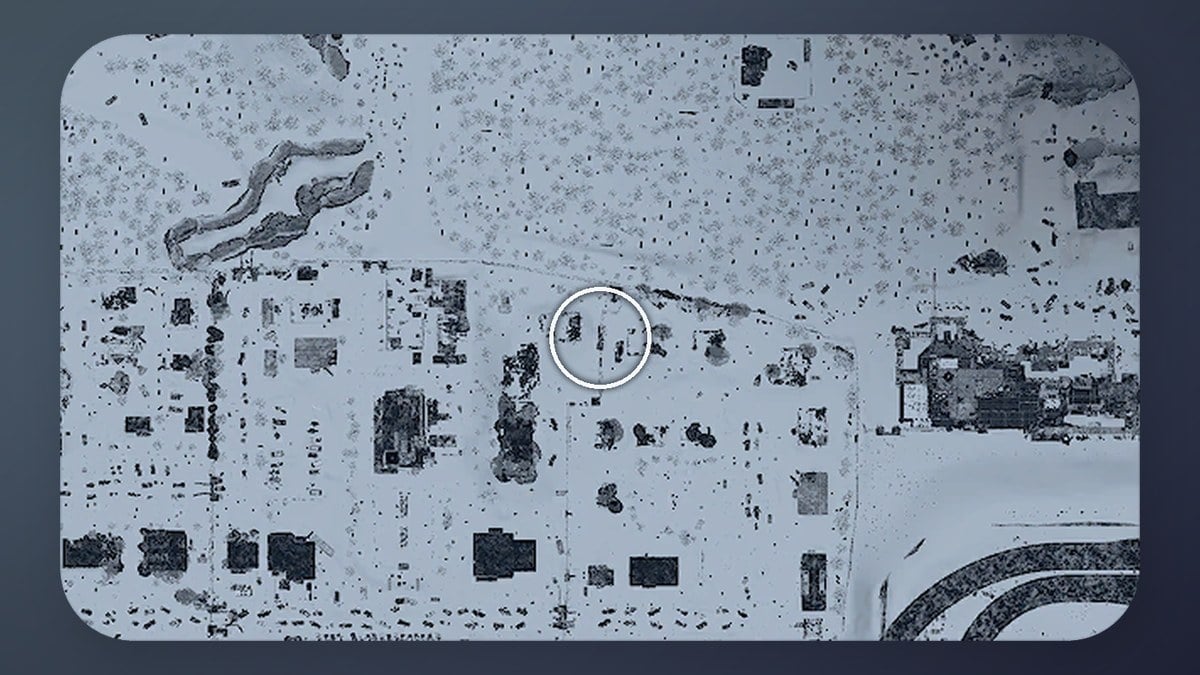
For House Camp Flipper, renovate four sections of the House Camp wall; each section’s zone contains 2 or 3 pieces:
- Near Gate D
- Facing the Solar Facility
- Near Gate B
- Facing the Technocrats Colony
The same mechanic repairs the Wooden Stairs on the scaffold beside the Church (a zone of 2) and the Radio Station Bench inside the Church (a zone of 1).