Quick answer: Fight the Gold Mask and its partner one at a time, guard or dodge their blade chains, and press E as soon as the prompt shows over a fighter.
This fight sits on the road on the Mountain of Imprisonment. The figures below are from Wayfarer.
Where the Gold Mask is
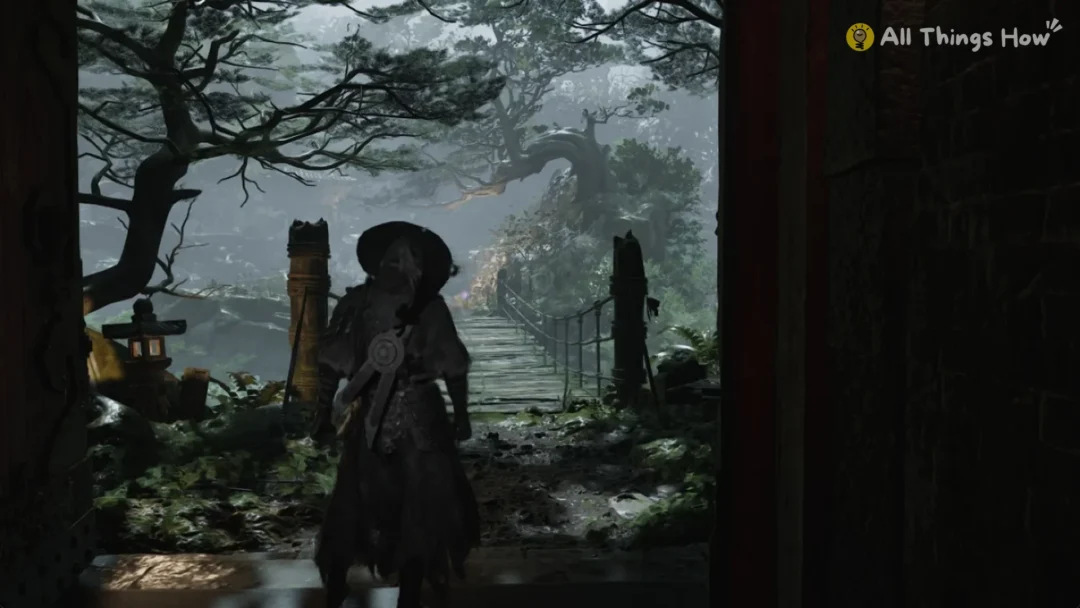
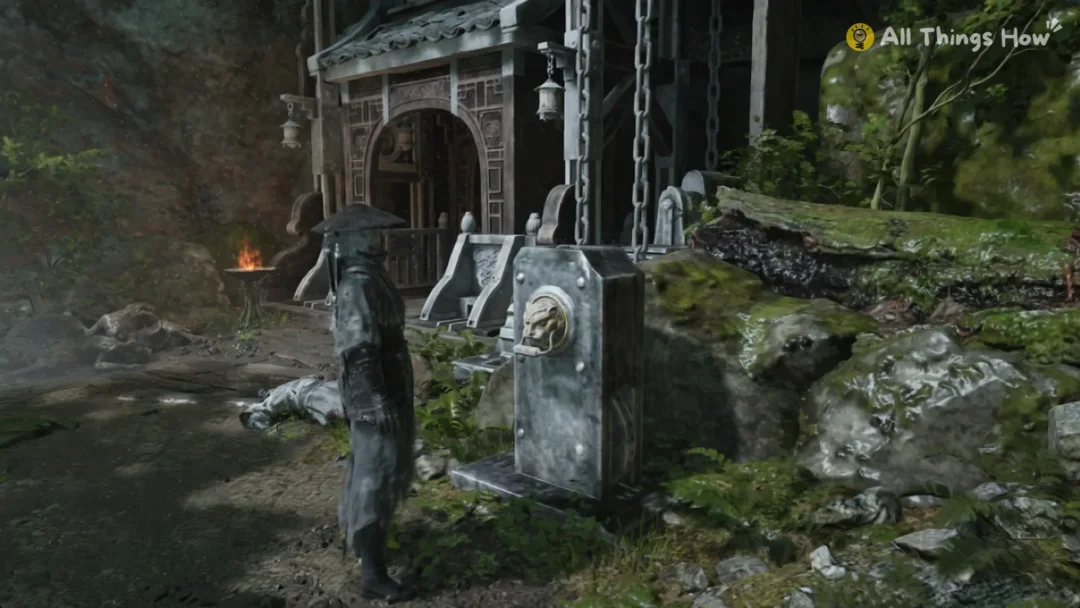
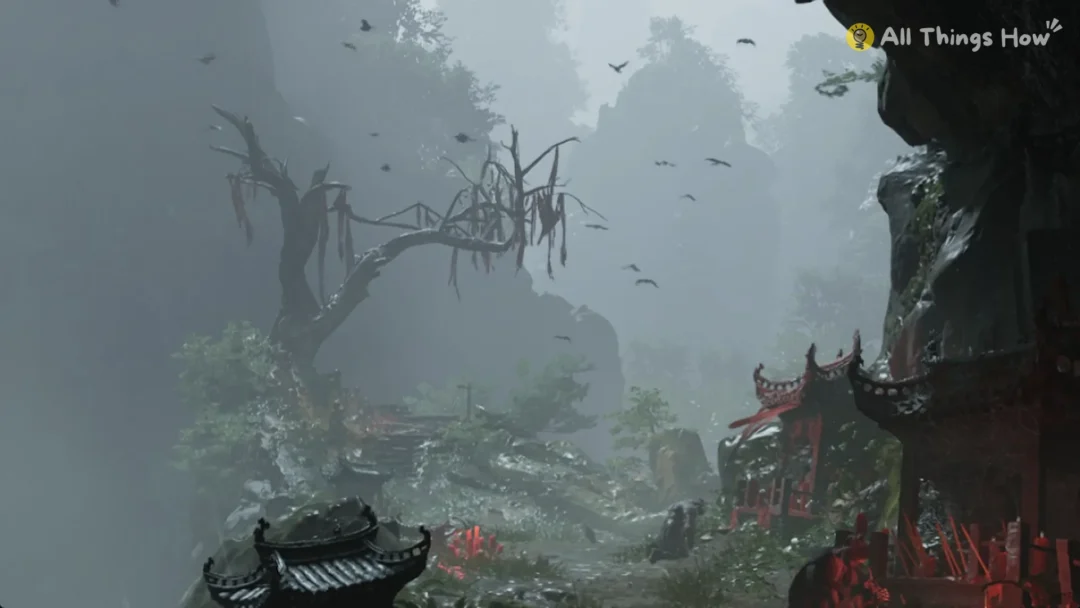
Below Shrine Outer Gate there is a plank ledge. Drop off its far end and you land next to a red ruined shrine.
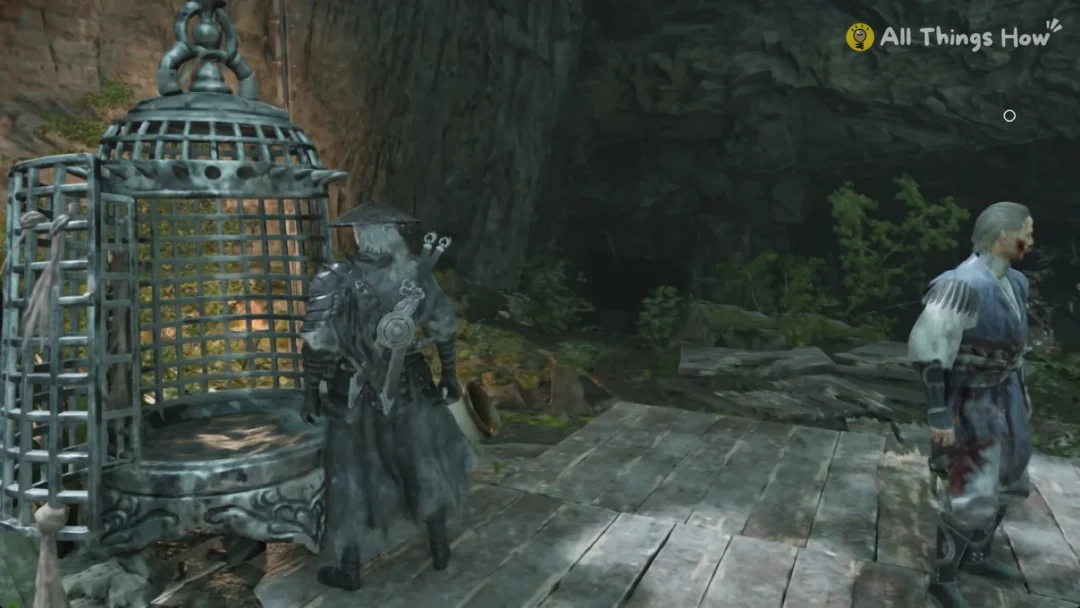
Follow the road a short way past that shrine. The Gold Mask patrols there, near a lit tripod brazier and a broken fence. It is not alone. A second masked fighter travels with it, so the encounter is a two-on-one.
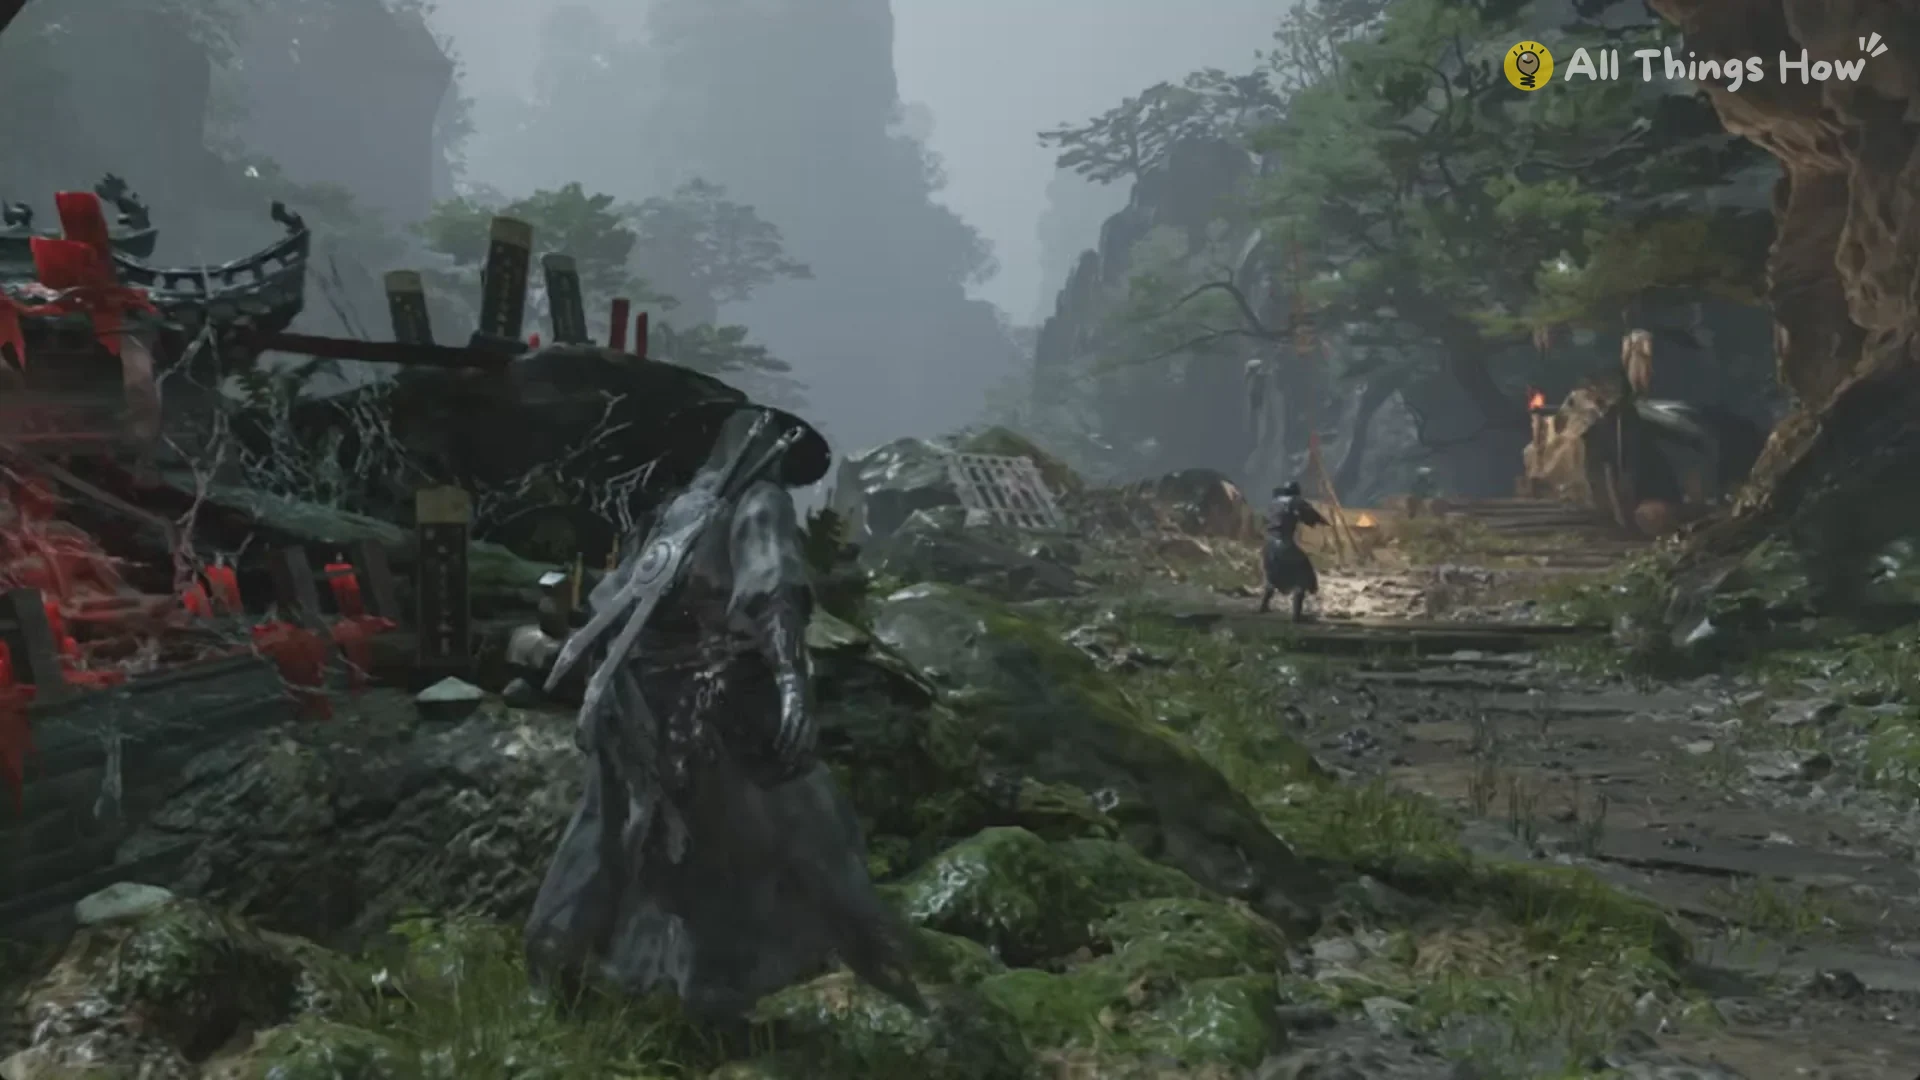
This Gold Mask does not hold the Shrine Gate Key. The key comes from a different Gold Mask group, on a deck reached by another route.
How to beat the Gold Mask
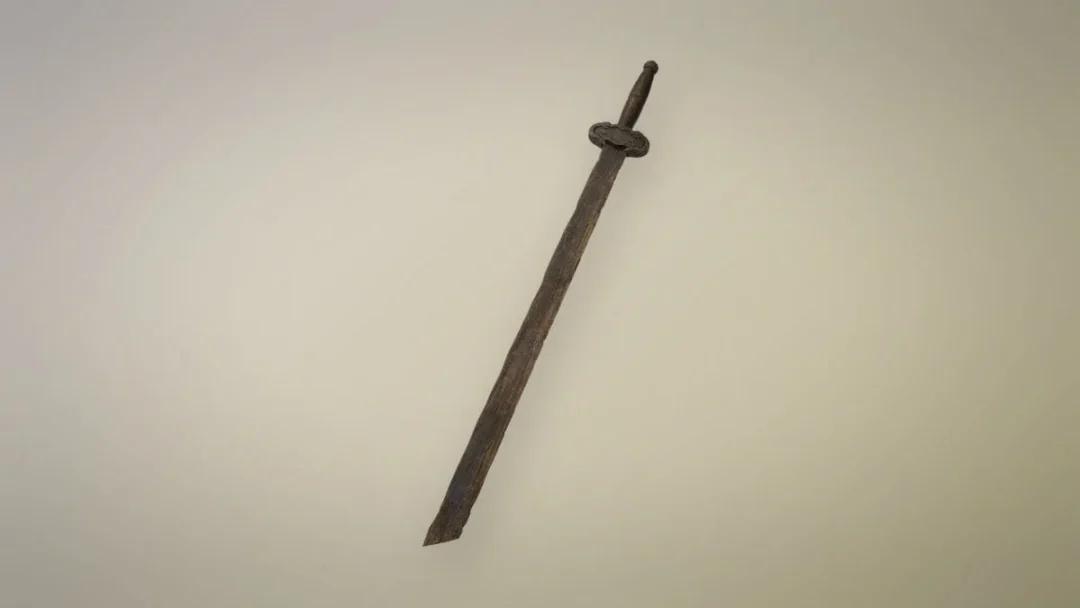
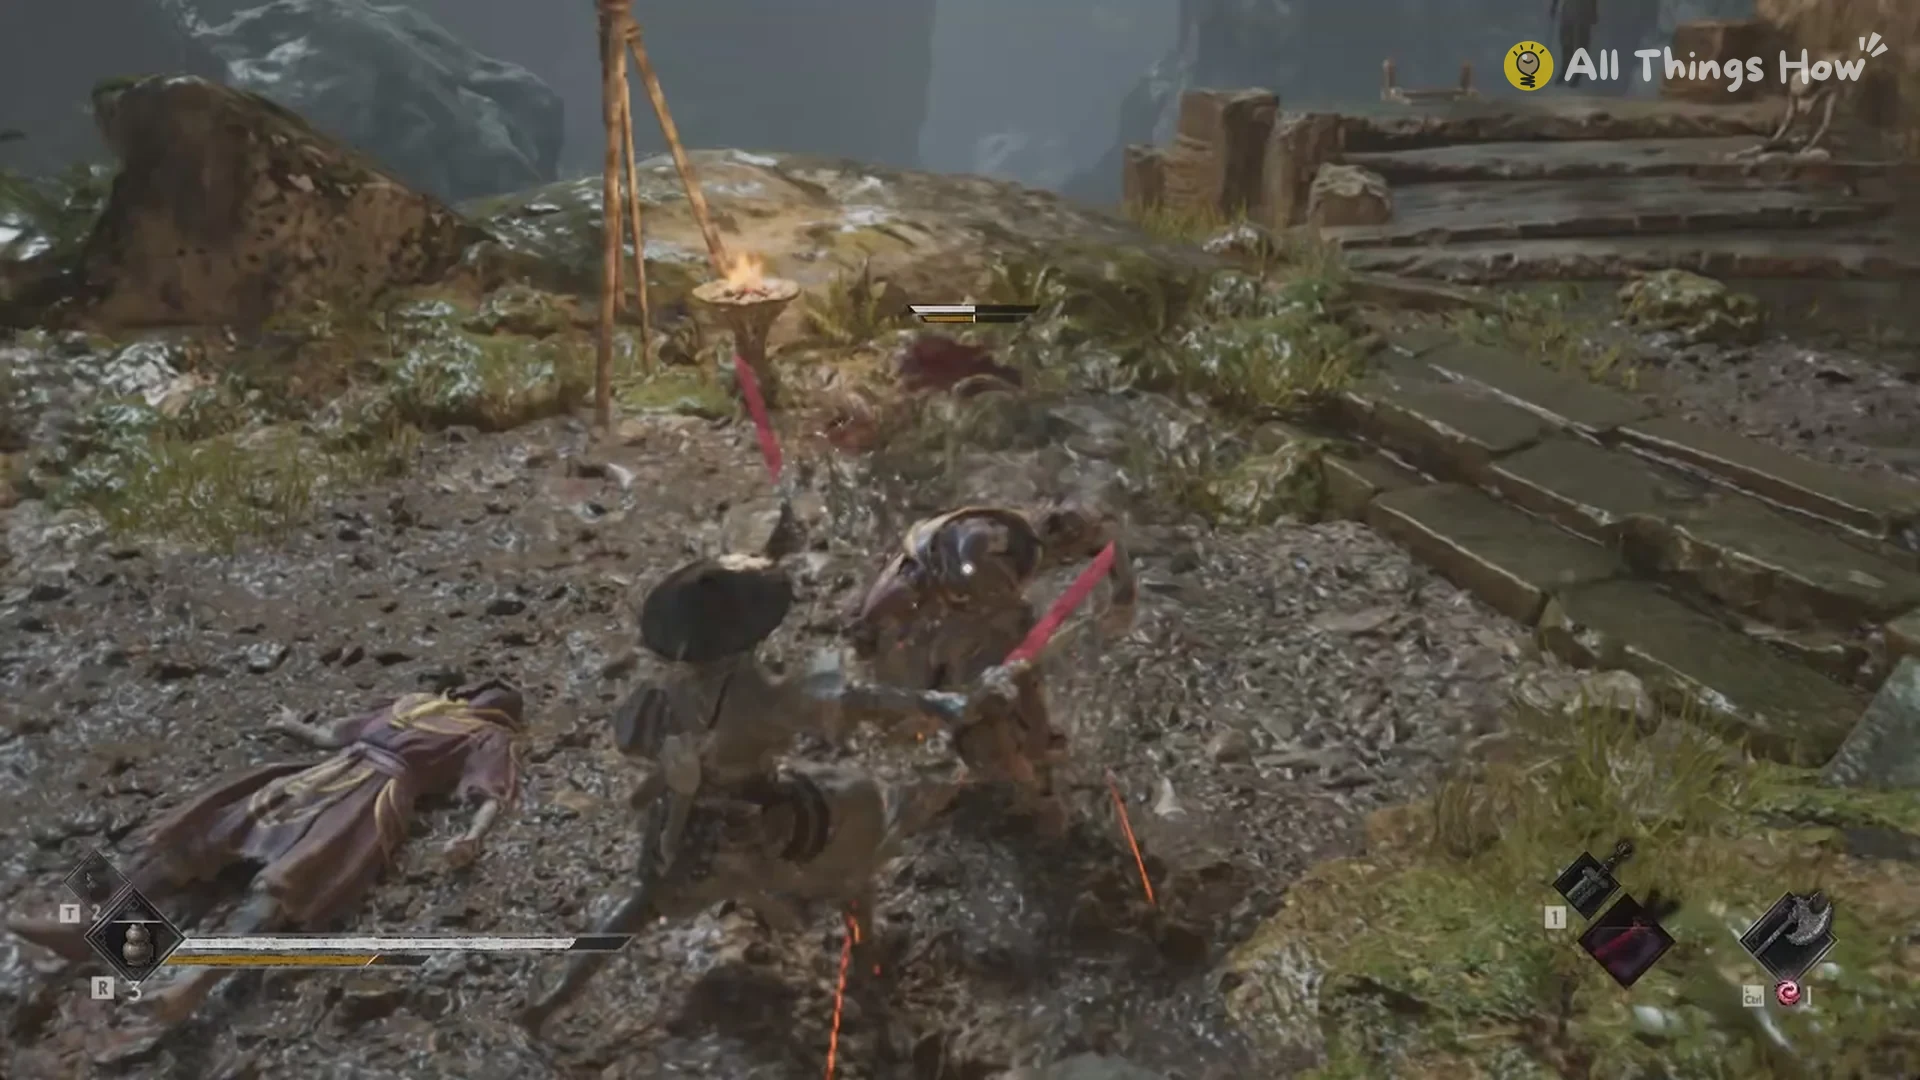
At close range, each fighter unleashes quick combos with a straight blade, and both pursue you. The battle shifts along the road and across the plank steps, leaving space to retreat when the pressure mounts.
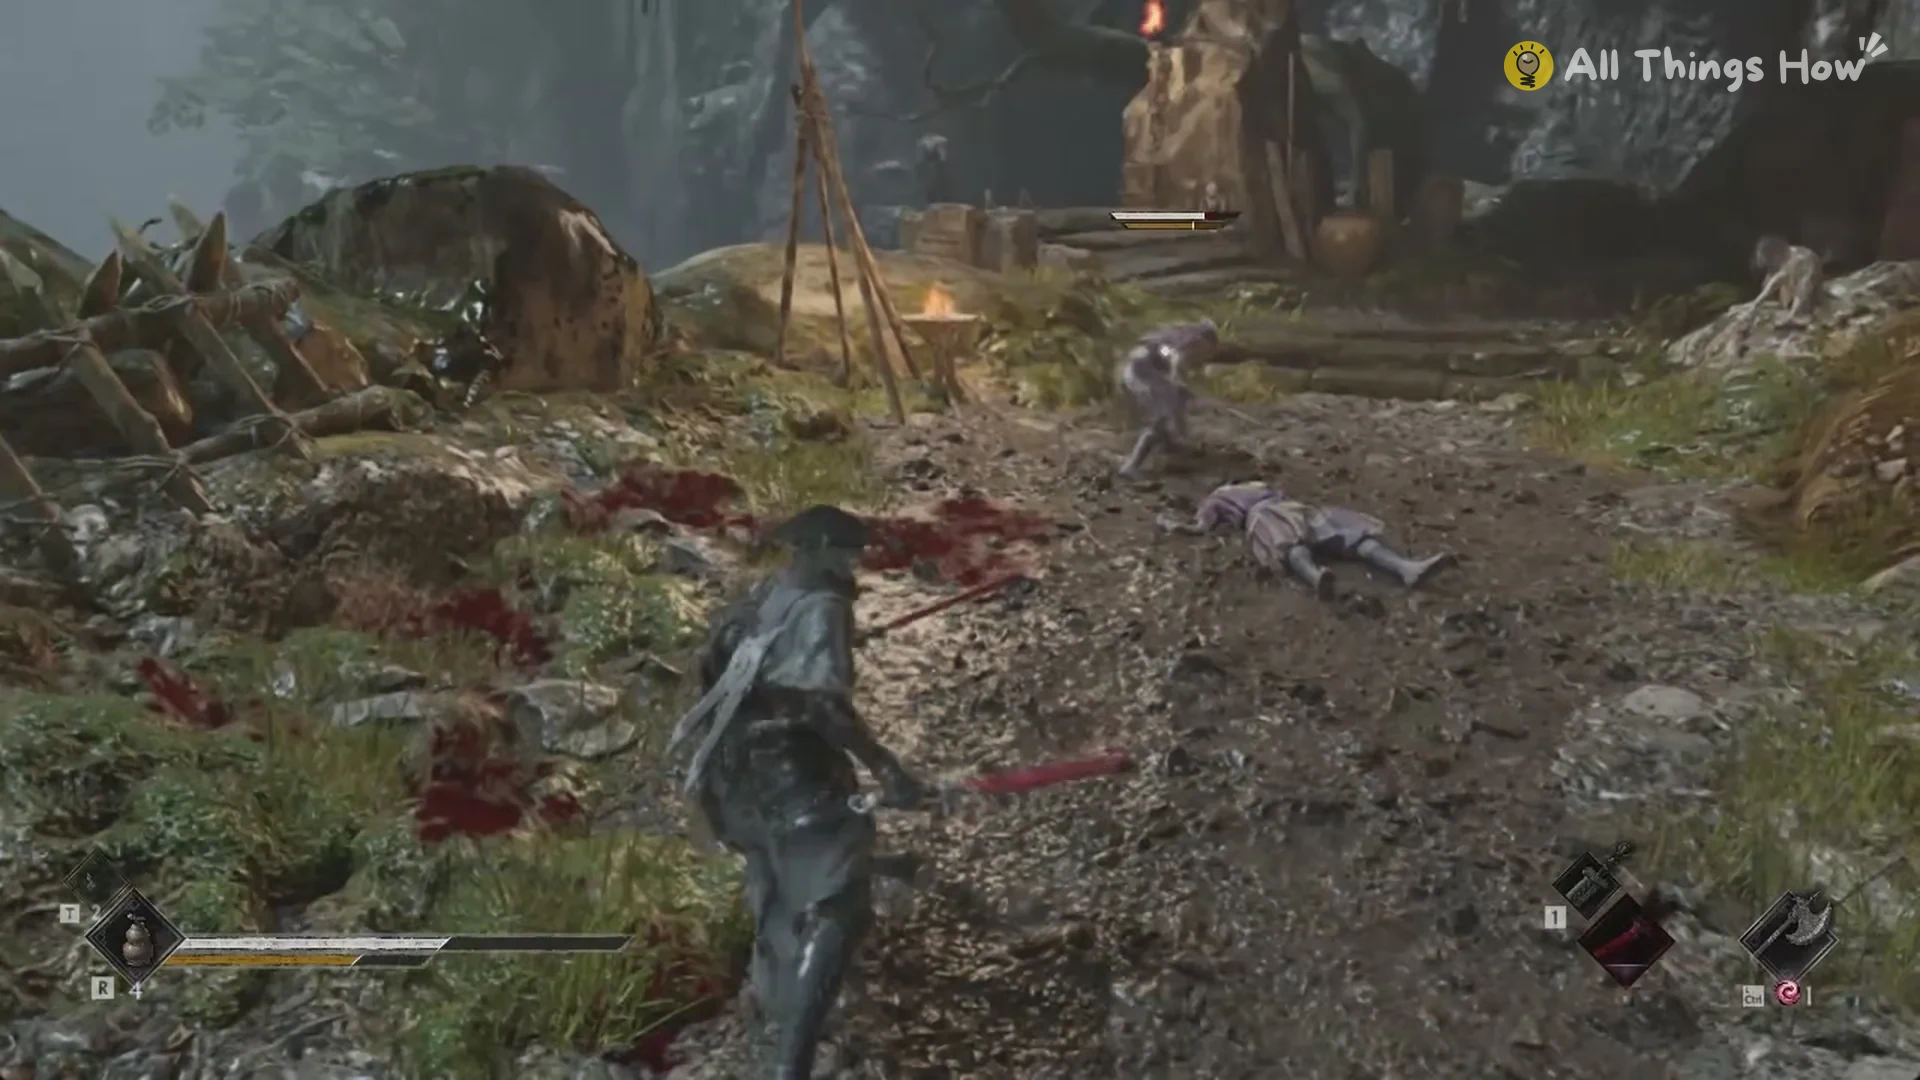
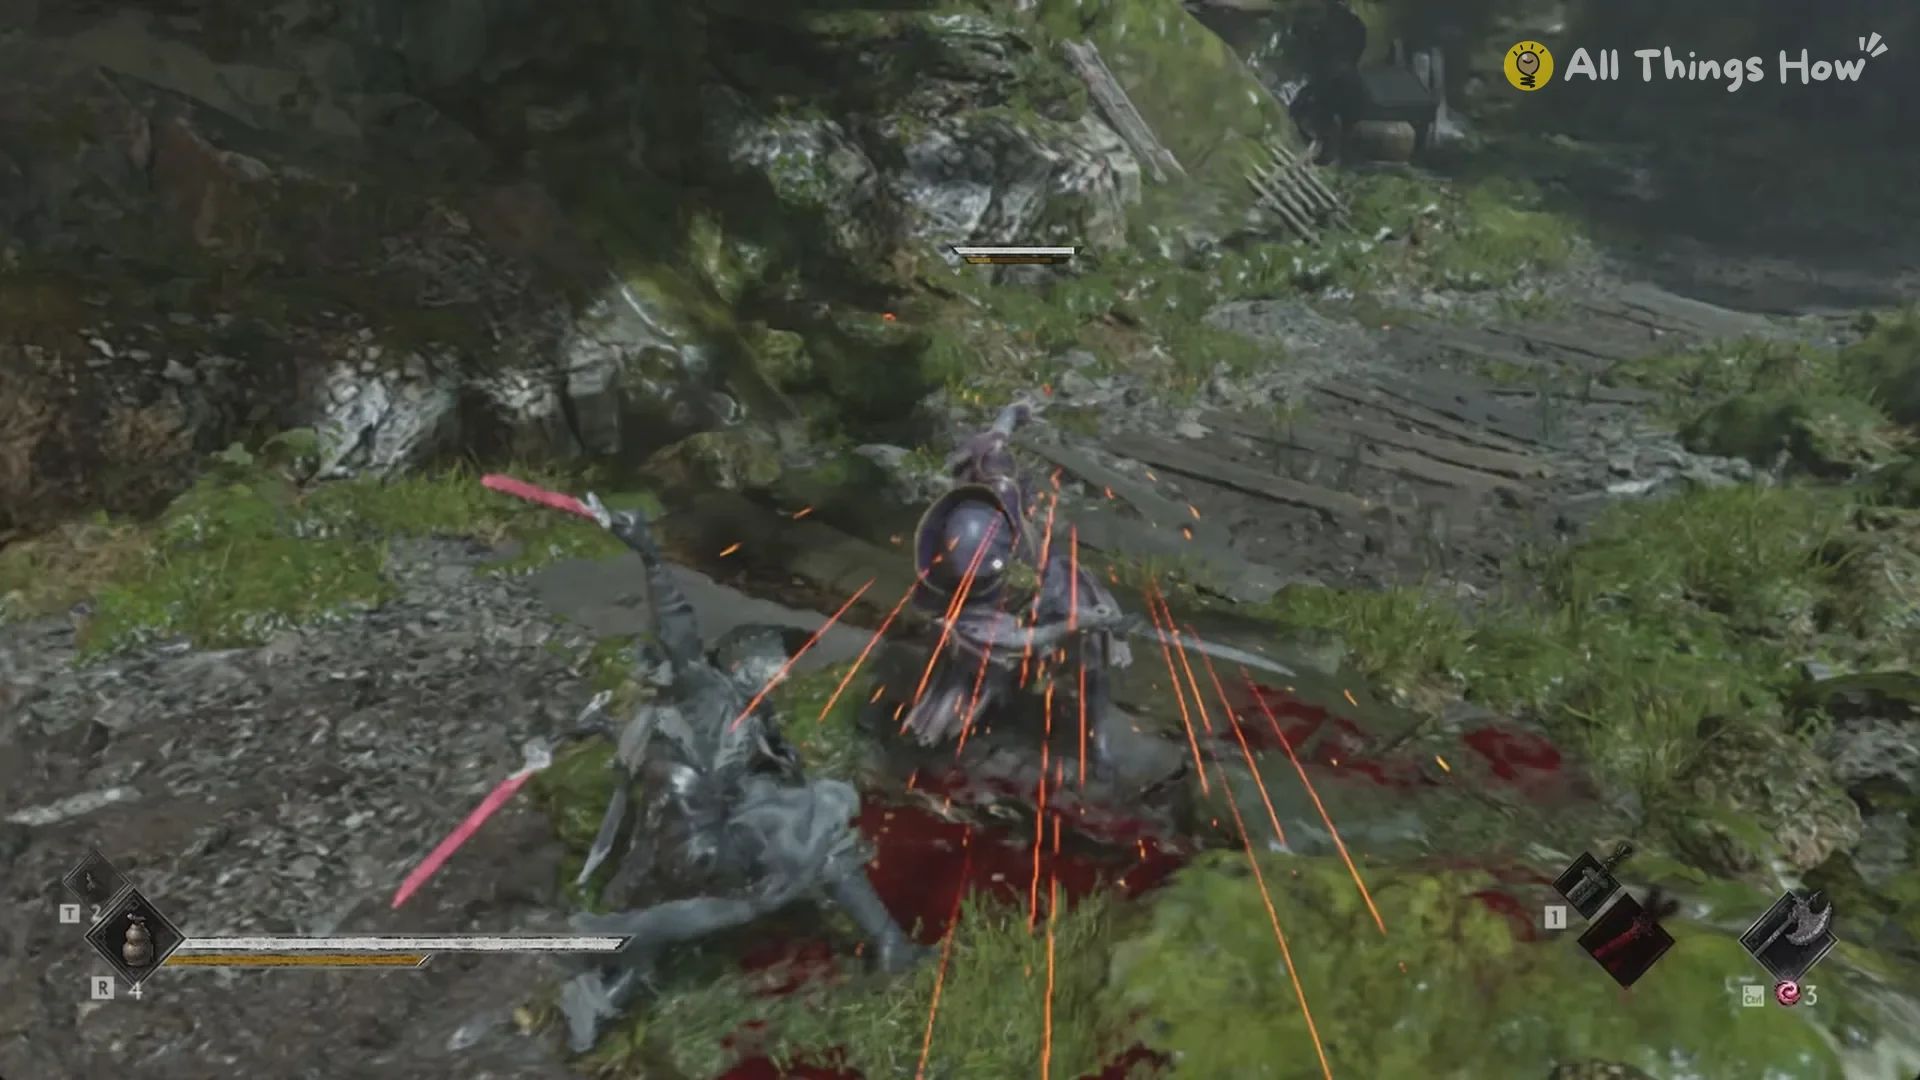
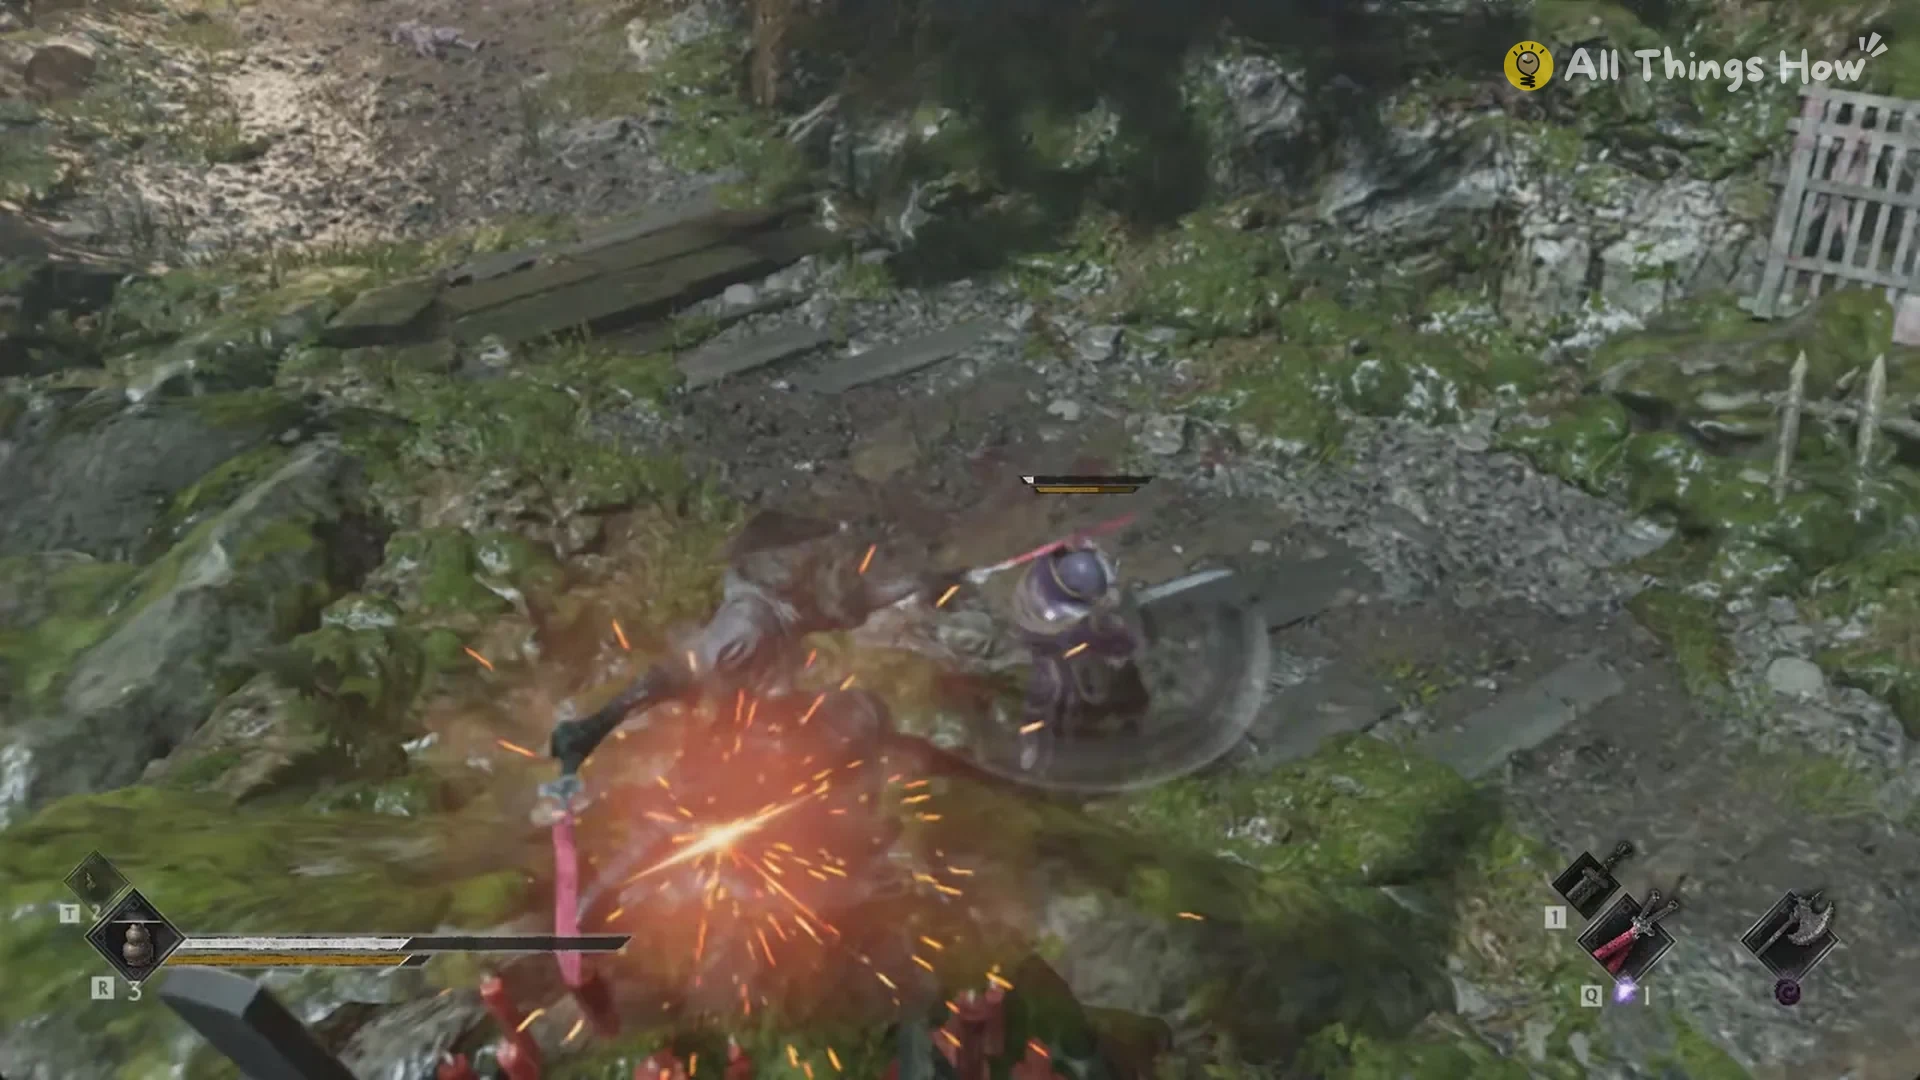
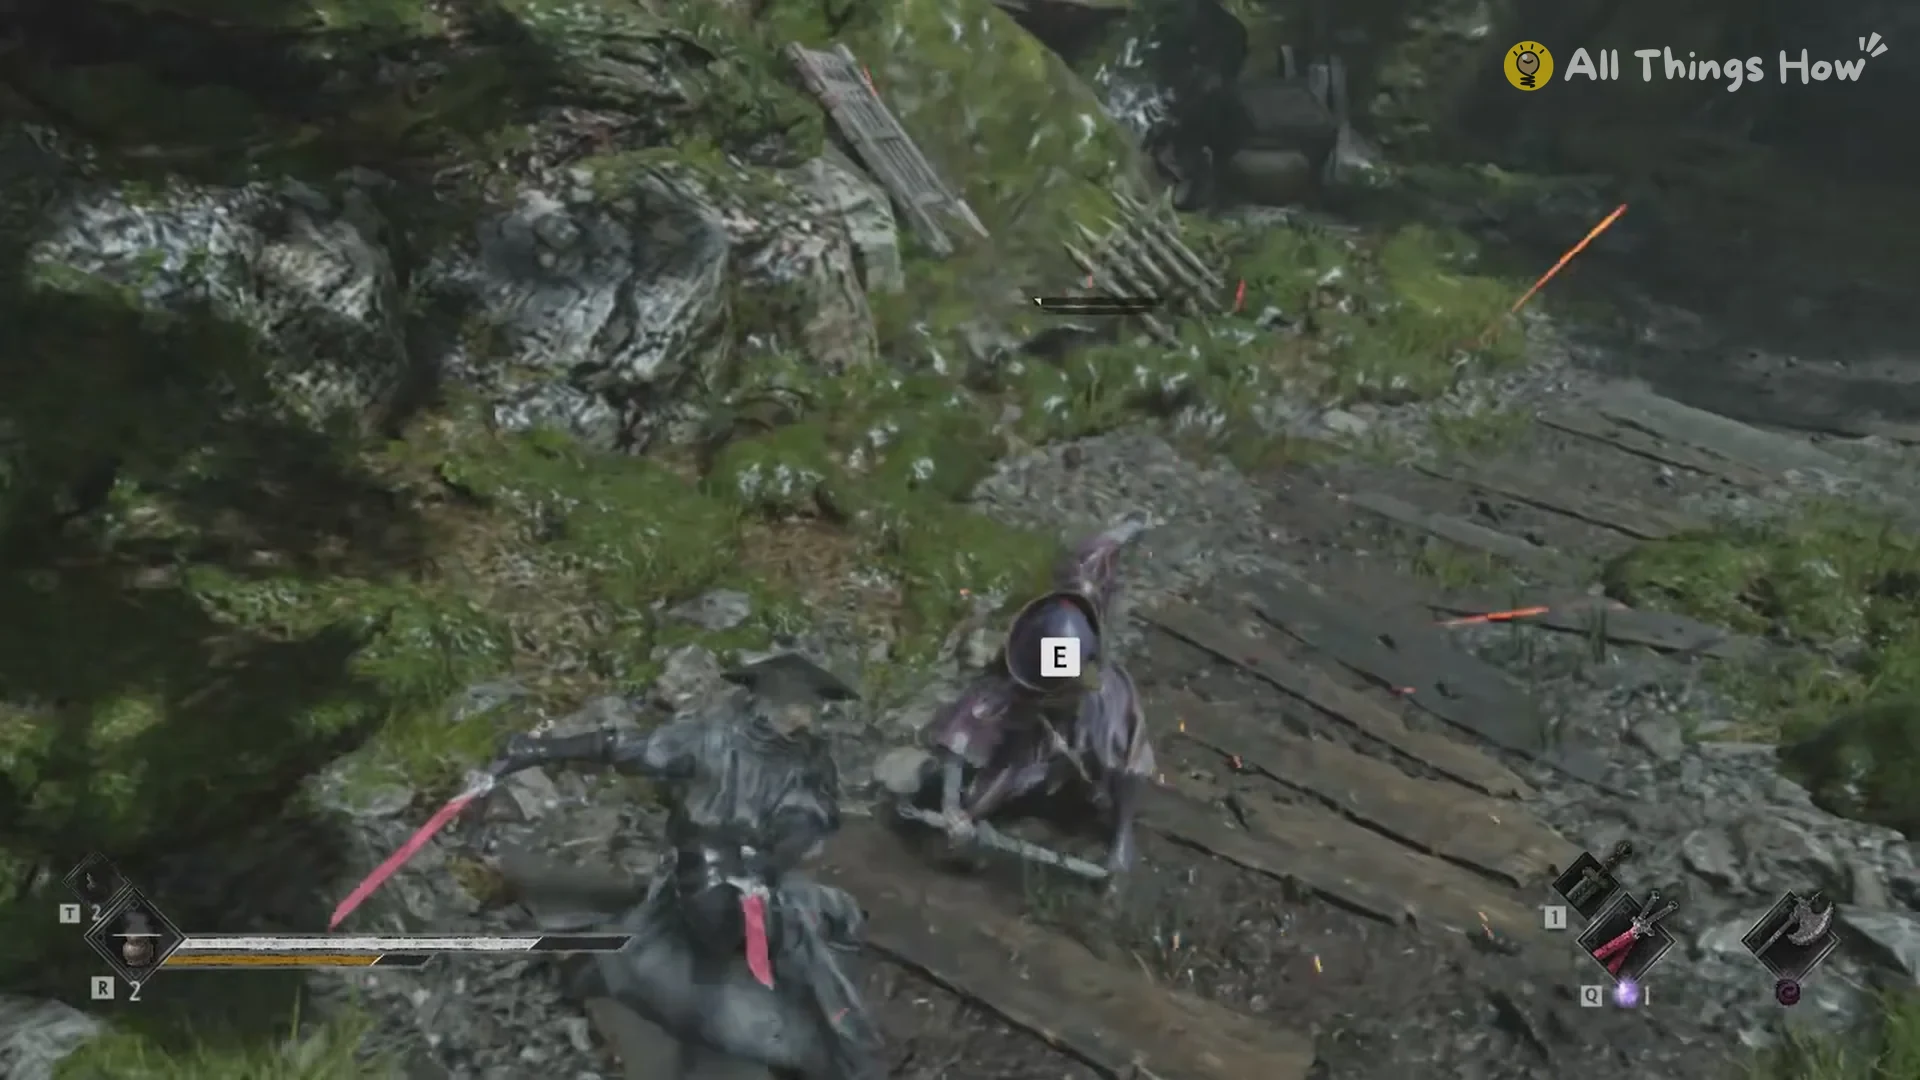
The finishing blow on the last fighter shows + 4,199 Remnant Dust on screen. On Wayfarer the whole encounter takes about three minutes and costs around 2 gourd heals, leaving you at about 80 percent health.
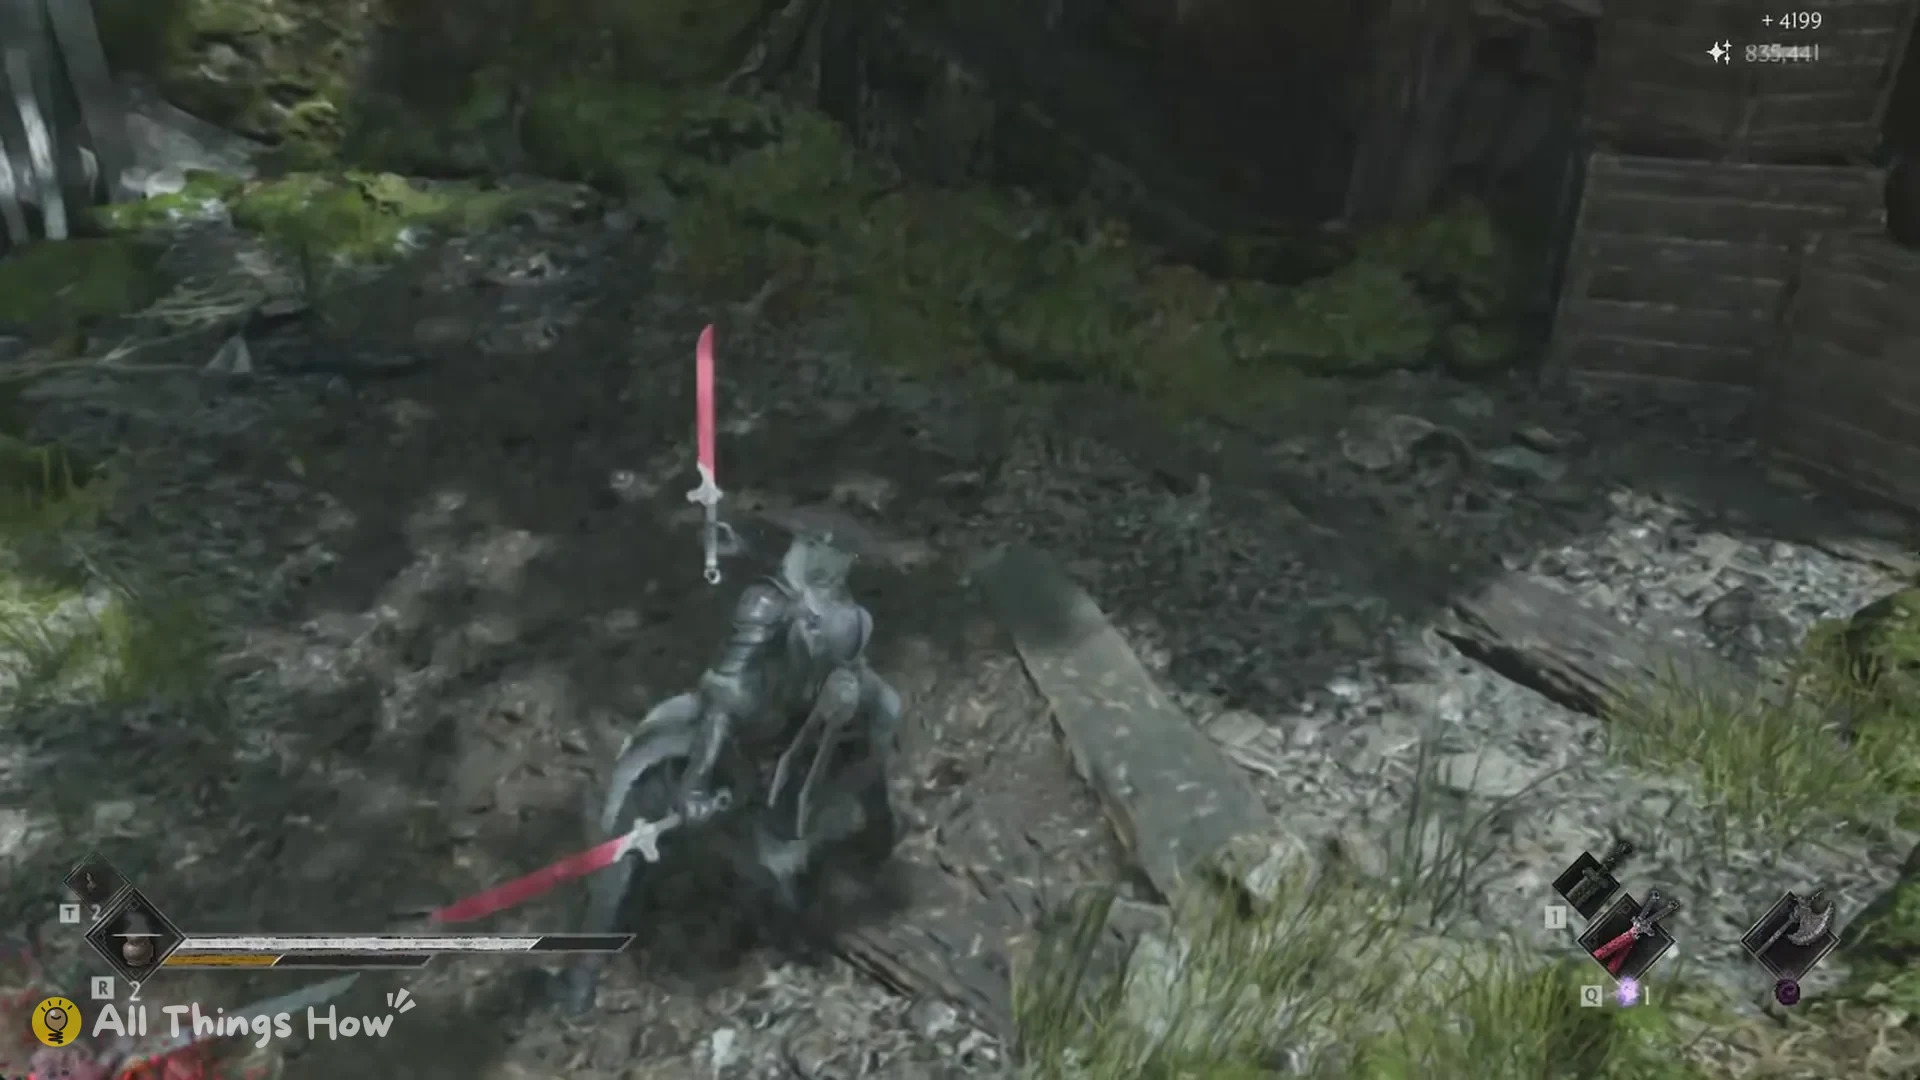
The Gold Mask stayed gone after later deaths and respawns at the bell.
What is past the Gold Mask
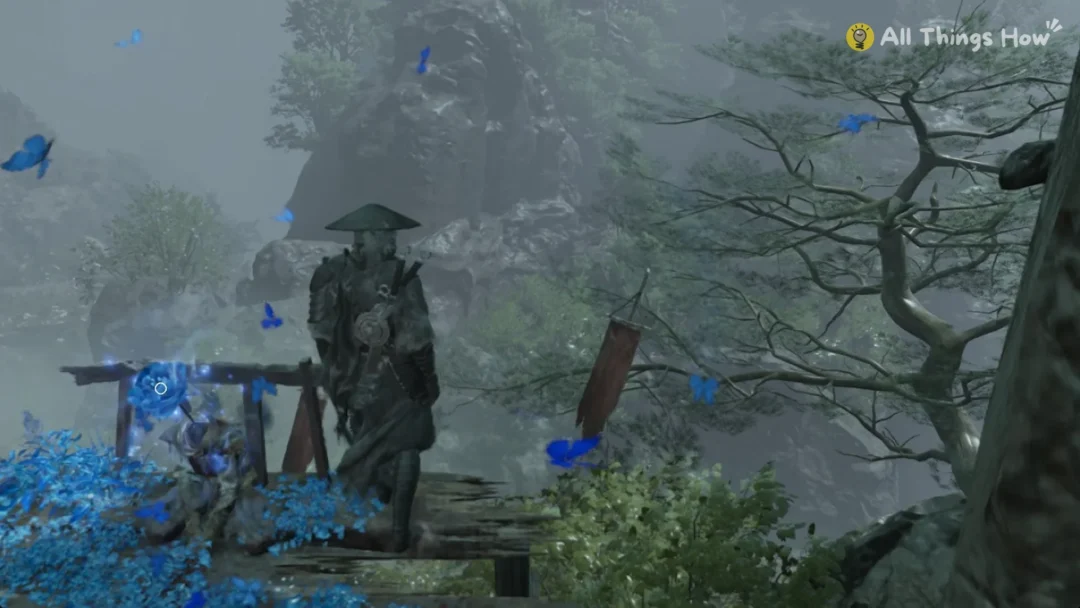
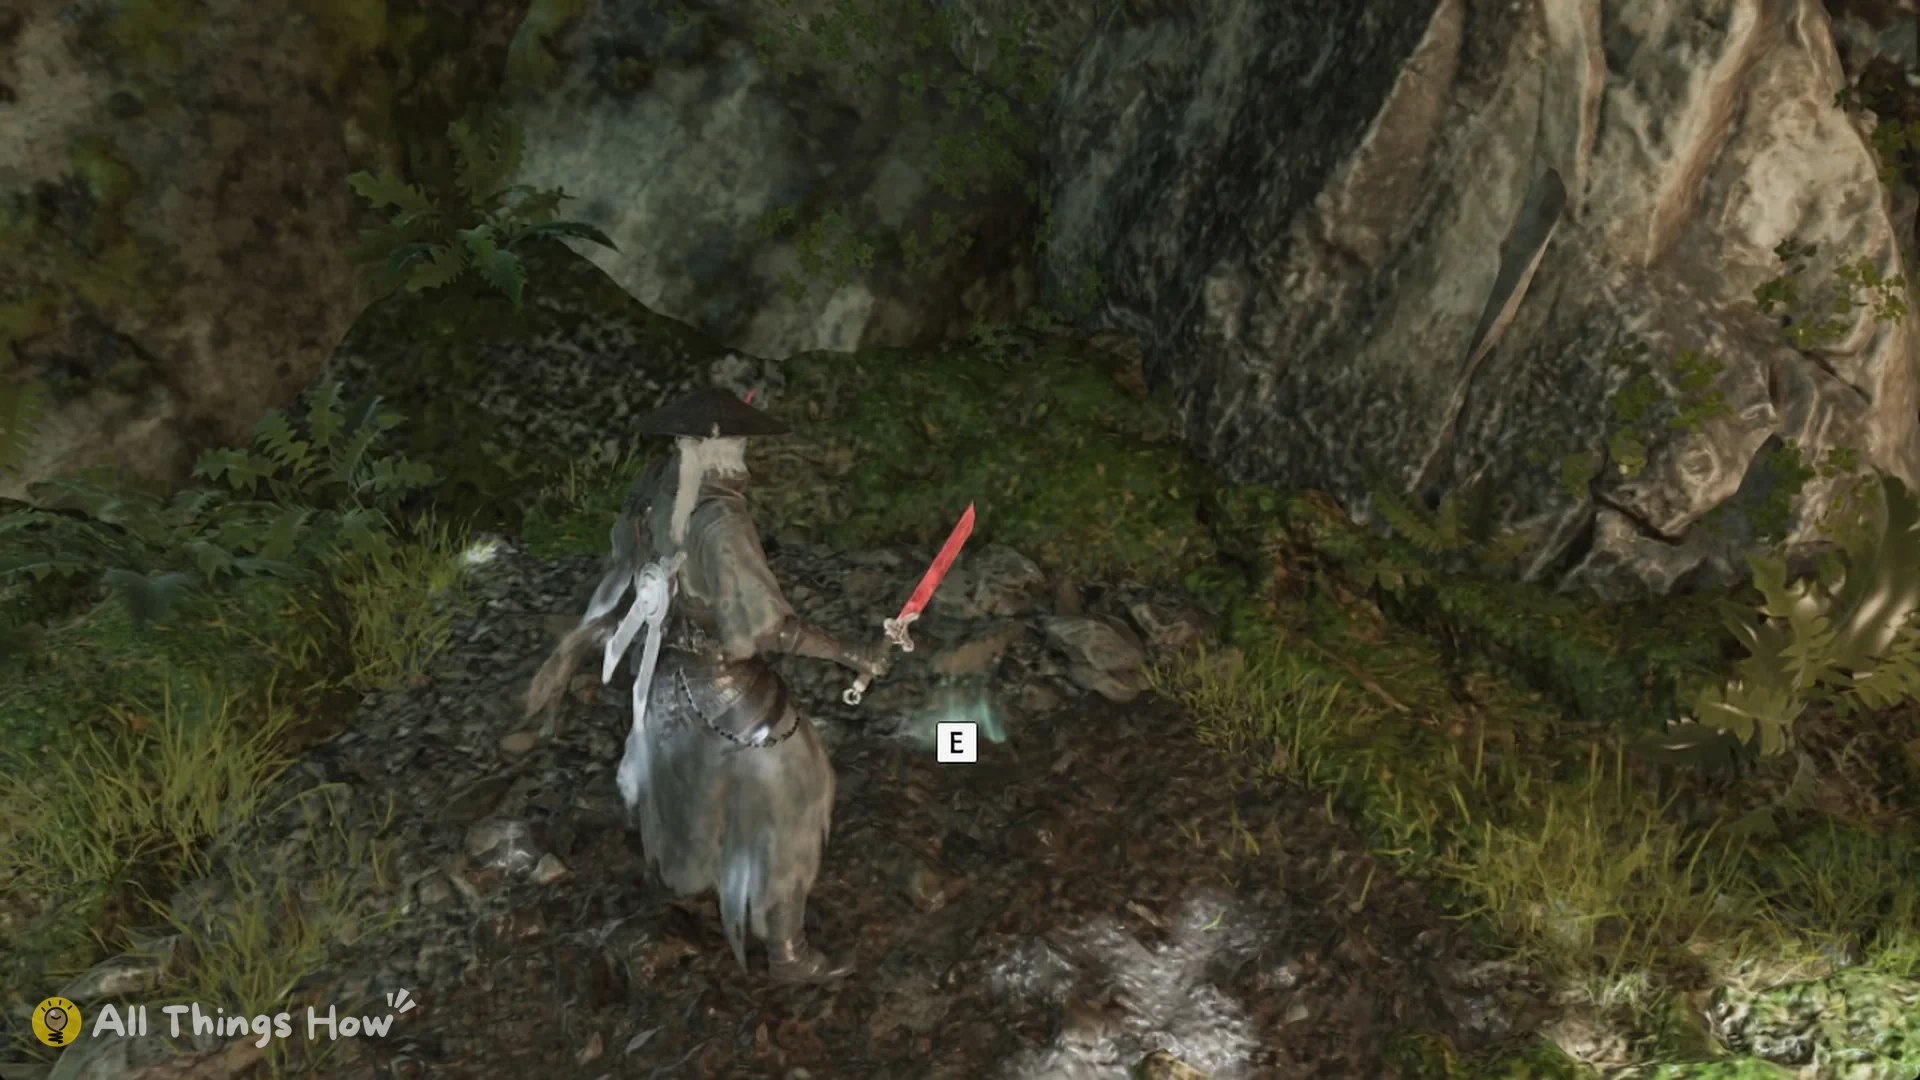
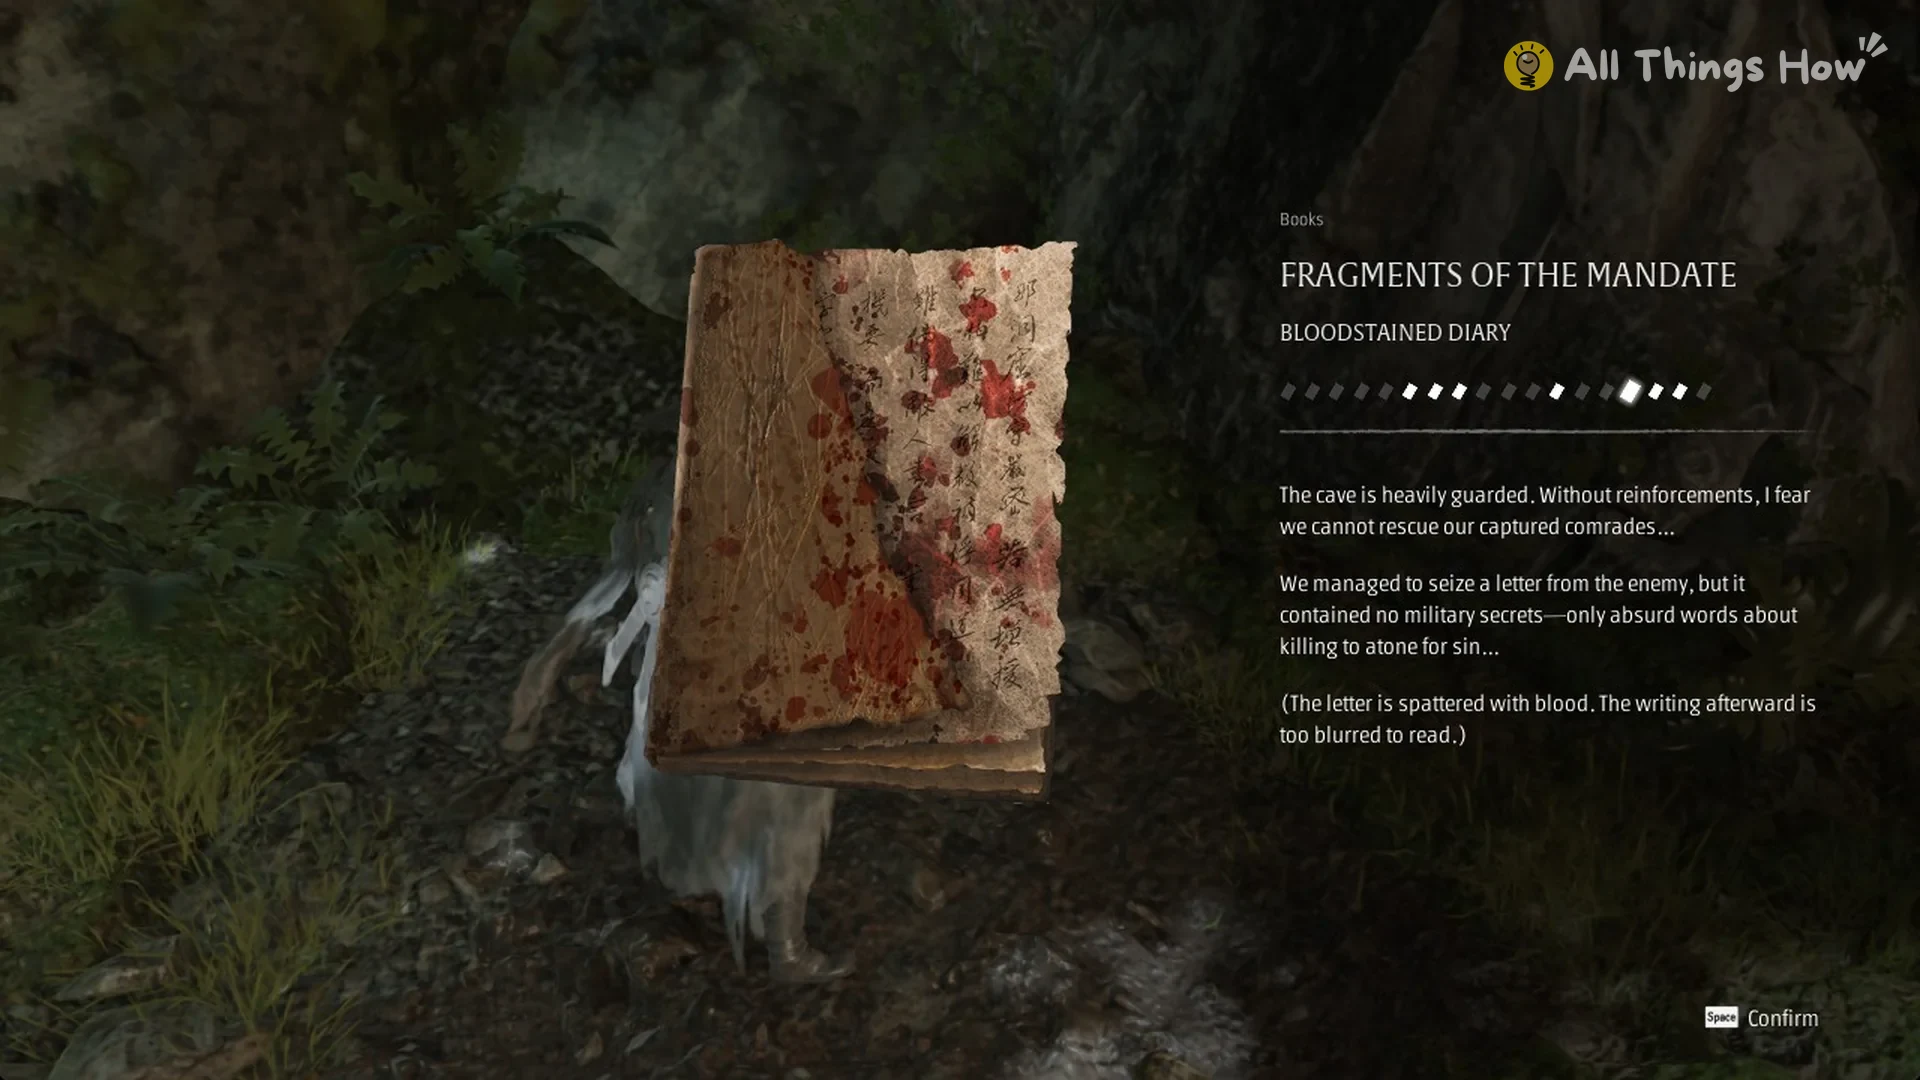
Keep following the same road. On the ground lies a page from the book FRAGMENTS OF THE MANDATE, titled BLOODSTAINED DIARY, with an E prompt over it. Its text reads:
“The cave is heavily guarded. Without reinforcements, I fear we cannot rescue our captured comrades…”
“We managed to seize a letter from the enemy, but it contained no military secrets—only absurd words about killing to atone for sin…”
“(The letter is spattered with blood. The writing afterward is too blurred to read.)”
Closing the page grants Remnant Dust + 5,500.
Further along, a ladder marked with a Space prompt and a set of planks descend to lower ground. From there, the route leads into a yard occupied by a Hound Trainer and Frenzied Hounds. The fight is difficult, so avoid the yard unless you need something there.