The Point Hope lighthouse hides a multi-step puzzle that ends with ghostly figures floating outside the top-floor windows. Complete every stage and you claim the Ferryman of the Drowned Badge and ID Card once the contract ends. The whole sequence runs across several floors, so expect a lot of climbing.
Quick answer: Throw the green, blue, then orange pool balls into any pocket, grab the key, unlock the top-floor cabinet, insert the gear from the Maintenance Room, ring the outdoor bell three times, then shine a UV light on the spinning lantern until it turns purple.
Set up a Friendly Ghost run first
The puzzle takes several minutes and forces you to move around the whole lighthouse, which is dangerous during a hunt. Start a Custom Difficulty game with a Friendly Ghost enabled so you can focus on the steps without worrying about being chased. Several stages also need working power, so note where the fuse box is in case the ghost flips the breaker.
For the final UV step, bring a Tier II or Tier III UV Light if you have one. A Tier I light can work, but it takes far longer to charge the lantern and is not reliable.
Solve the pool table puzzle for the key
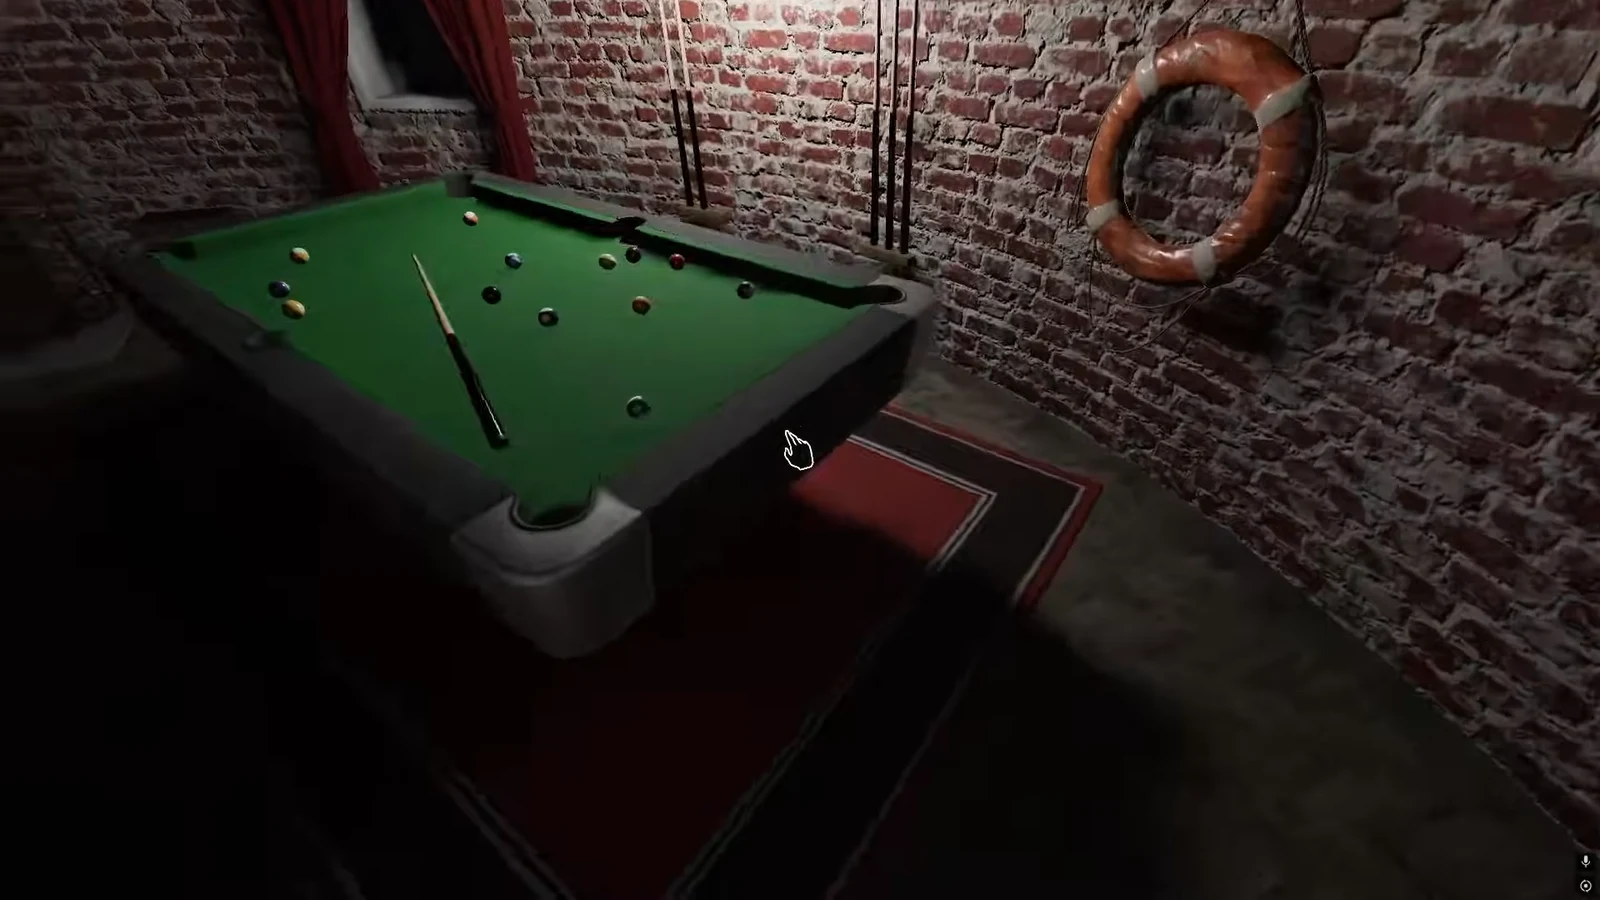
Head to the Games Room to find the pool table and three shell paintings on the wall. The paintings read green, blue, and orange from left to right. That color order is the exact sequence you must follow with the pool balls.
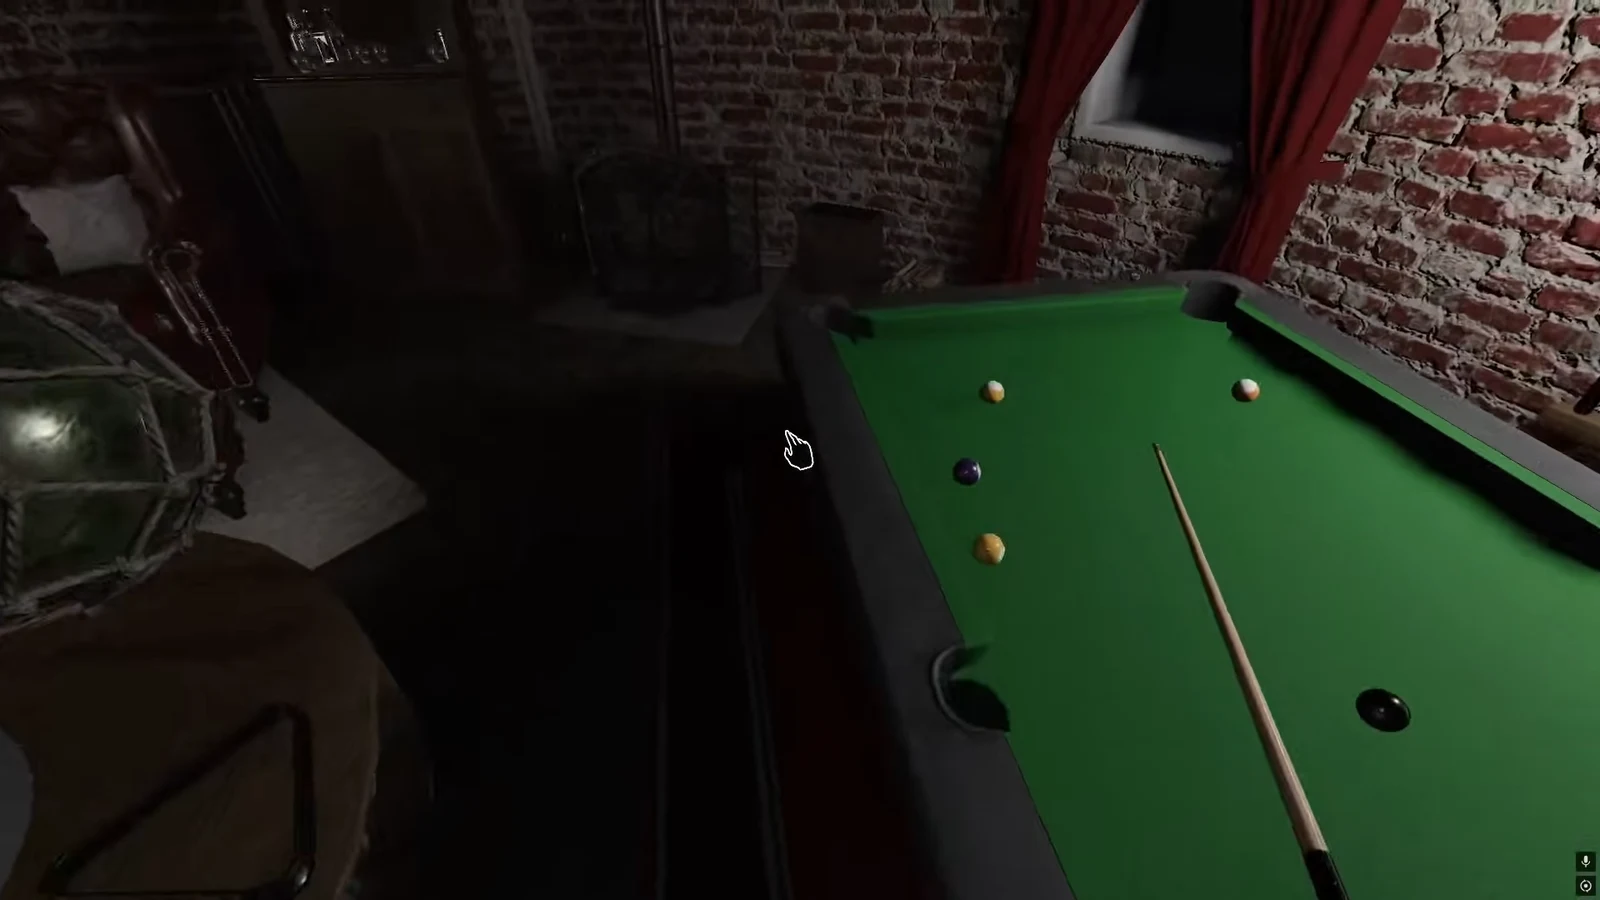
If you throw a wrong ball, the puzzle will not trigger and you have to exit the contract and start over. If the balls go into separate pockets and nothing happens, try putting all three into one pocket instead.
Find the gear and unlock the lantern cabinet
The key opens the Lantern Cabinet at the top of the lighthouse, but that cabinet has an empty gear slot. You need to grab the missing gear first, which sits in the Maintenance Room where the Monkey Paw can spawn.
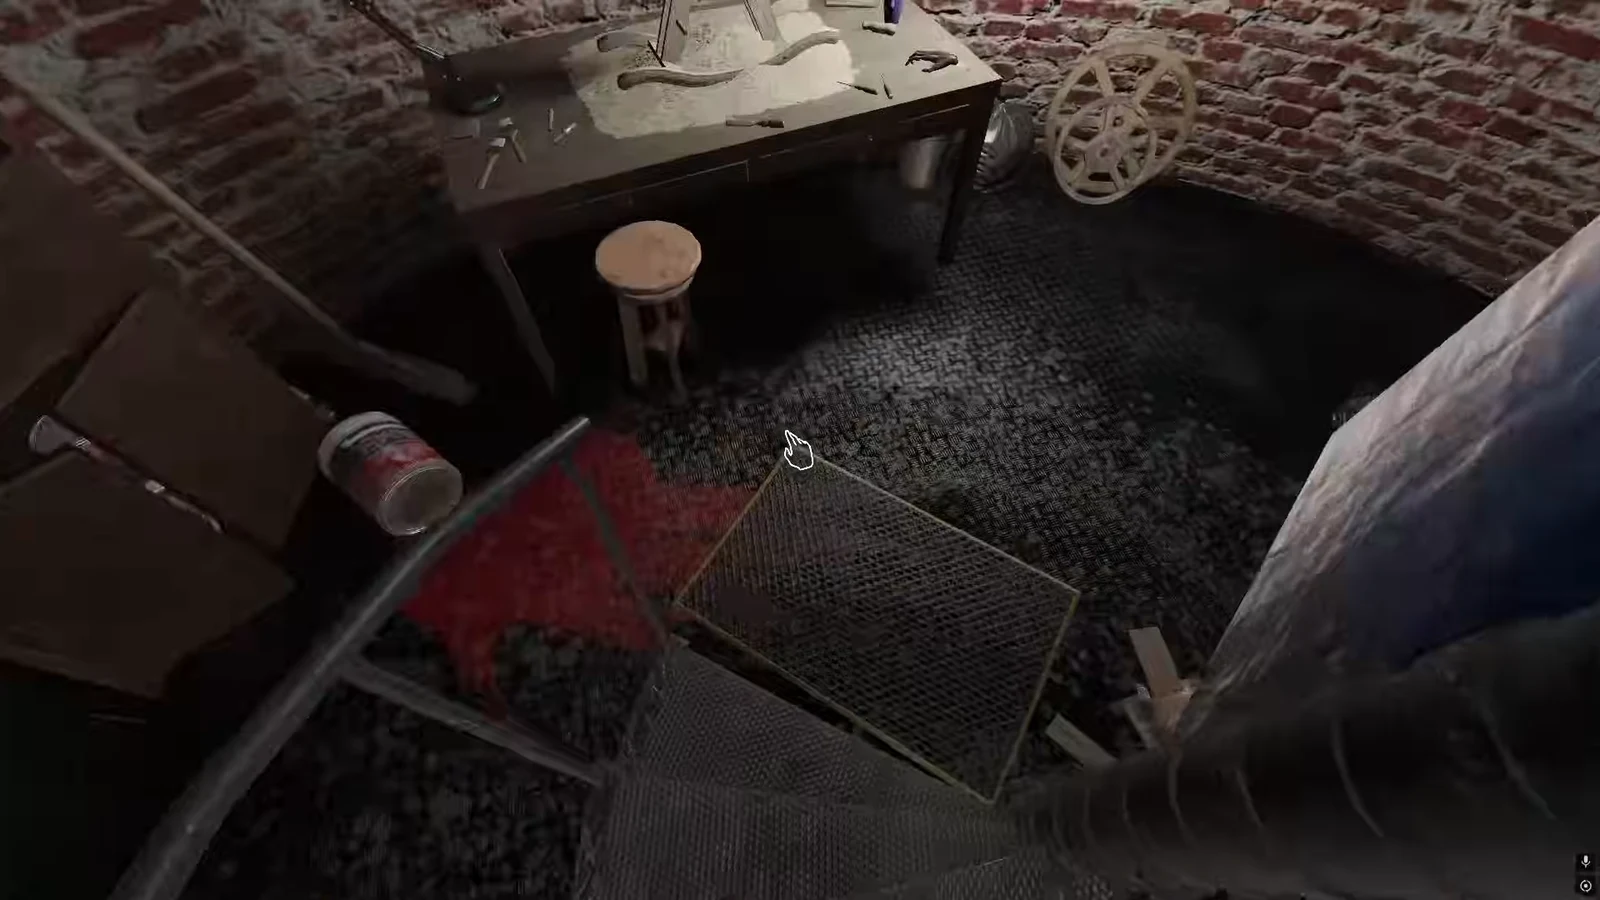
Once the gear is in, the large gears above your head start turning and the lighthouse lantern begins to blink. That is your cue to move to the next stage quickly.
Ring the bell three times outside
As soon as the gears start turning, rush down to the first floor and head outside. The bell sits on the walkway between the lighthouse entrance and your truck. Ring it three times at a steady, medium pace.
You will know it worked when you hear a loud swooshing or fire sound cue. If you ring too fast or too slow, the cue may not play. Some players have reported needing five rings rather than three, so keep ringing if the sound does not trigger. If you still cannot get the cue after messing up the timing, you may need to restart the contract.
Read the UV cave clue at the top
After the bell cue, climb all the way to the very top of the lighthouse and step out onto the balcony. That fire sound you heard was a cave lighting up on the shoreline below.
Walk around the balcony and look out at the ocean until you spot the cave. Rocks in front of it spell out “UV,” which confirms the puzzle is ready for its final step. In foggy or rainy weather the letters may be hard to read, but the fire should still be visible.
Shine UV on the lantern to trigger the ghosts
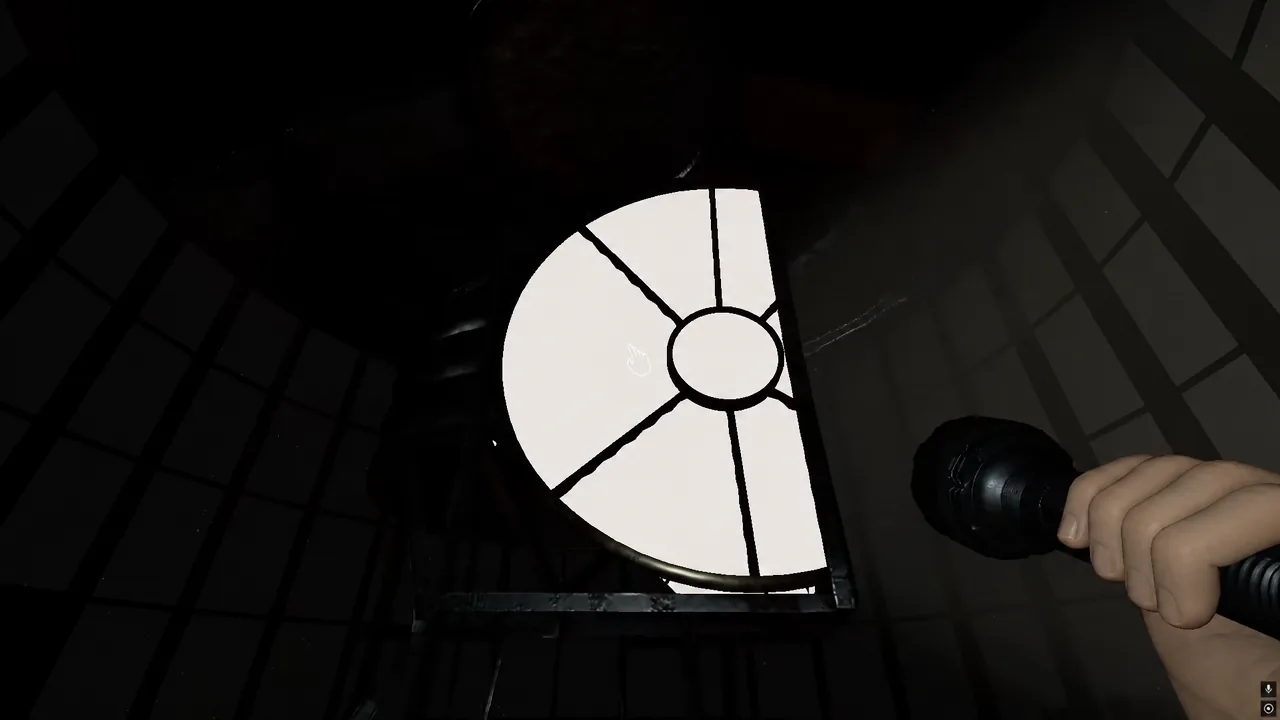
The final step activates the Easter egg. The lantern must be on and spinning for this to work, so if the fuse box has tripped, turn the power back on before you start.
Claim the Ferryman of the Drowned Badge
The reward unlocks automatically once you finish the puzzle and end the match. It does not matter whether you correctly identified the ghost. When the contract summary screen appears with your statistics, the Ferryman of the Drowned Badge, title, and ID Card become available and can be equipped right away.
The ID Card has a sea green, nautical theme covered in floating ghosts that match the ones you saw outside the lighthouse. The circular badge shows three ghosts standing together, and the whole card is animated with a shimmer that ripples across the design.
To equip it, click the edit button above your currently equipped card in the lobby, then choose the Ferryman of the Drowned card and badge. Your title comes bundled with whichever ID Card you equip, so it swaps automatically when you select the card.
Common reasons the puzzle stalls
| Stage | Why it fails |
|---|---|
| Pool table key | Wrong ball thrown, or balls split across different pockets. Restart and use one pocket. |
| Cabinet gear | Gear not placed. Press F to insert it into the empty cog. |
| Bell | Rung too fast or slow. Ring at a medium pace; some players needed five rings. |
| UV lantern | Power off or beam not held. Restore the fuse box, then hold UV on the spinning lantern for several seconds. |
Work through the stages in order and keep the ghost friendly, and the whole run can be finished in a single quick trip up the lighthouse. Once the green figures appear outside the windows, the badge is as good as yours.