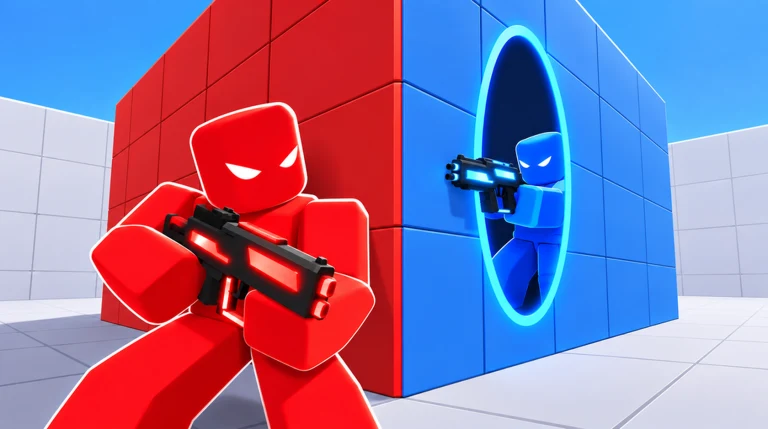
Aiming in PORTALS depends on two layers of settings that both start at a neutral baseline. One is the Roblox camera sensitivity that controls how far your view moves, and the other is the in-game sensitivity found inside the game’s own Settings menu. Dialing these in, learning the fire and aim bindings, and warming up in the Training Area is how you build consistent shots.
Quick answer: Keep Roblox Camera Sensitivity at 1, leave Mouse and Controller Sensitivity at 1.00x in the Gameplay tab, aim with Right Click (L2) and fire with Left Click (R2), then practice in the Training Area portal.
Sensitivity and field of view settings
PORTALS reads your Roblox camera sensitivity as the foundation for how quickly the view turns. The recommended starting point leaves this at the standard value of 1, with Camera Mode on Default (Classic) and Movement Mode on Default (Keyboard). Open the Roblox system menu to check it before touching anything else.
Inside the game, open Settings and go to the Gameplay tab. Both Mouse Sensitivity and Controller Sensitivity sit at 1.00x by default, and keeping them there gives you a clean one-to-one feel that pairs with the Roblox value above. Invert Mouse Y and Invert Controller Y are both Off.
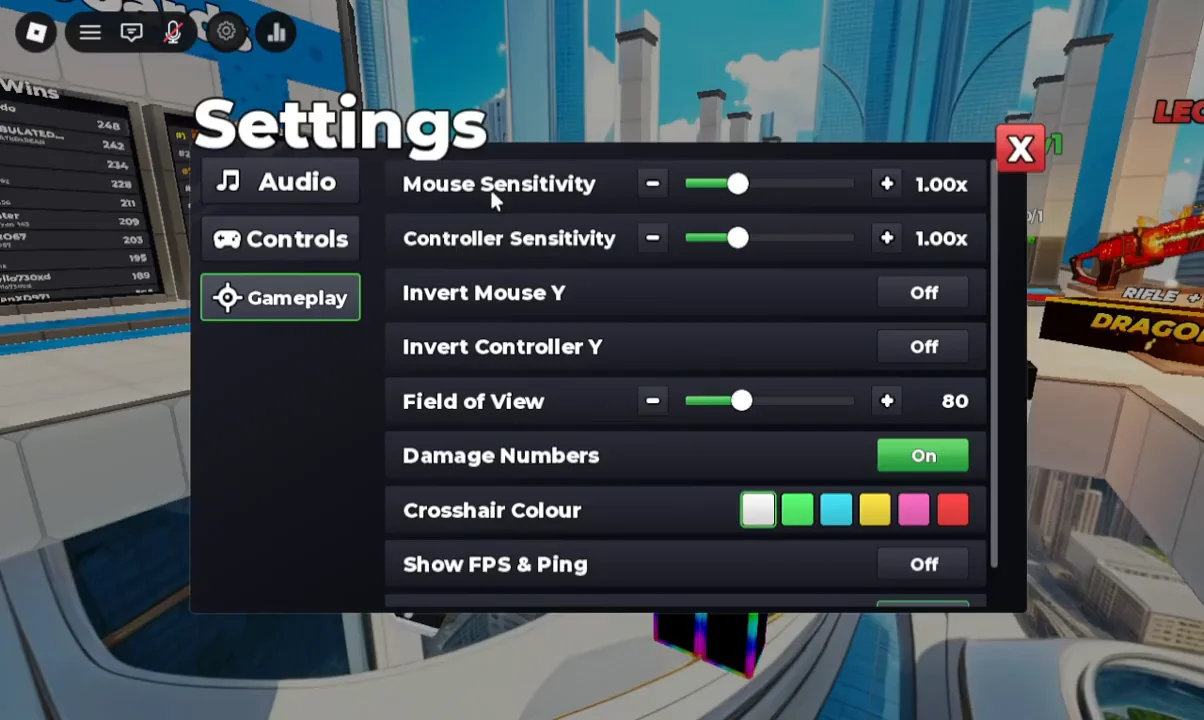
Field of View is set to 80 by default. A wider view shows more of the arena around your crosshair, while a narrower one zooms the action in. The same menu also lets you toggle Damage Numbers on, pick a Crosshair Colour, and switch on Show FPS & Ping if you want to watch performance.
Aim, fire, and portal key bindings
Combat in PORTALS splits between shooting enemies and placing portals, so the controls cover both. The Controls tab inside Settings lists every action for mouse and keyboard alongside its controller equivalent, and a Reset Keys option restores the defaults if you remap something by mistake.
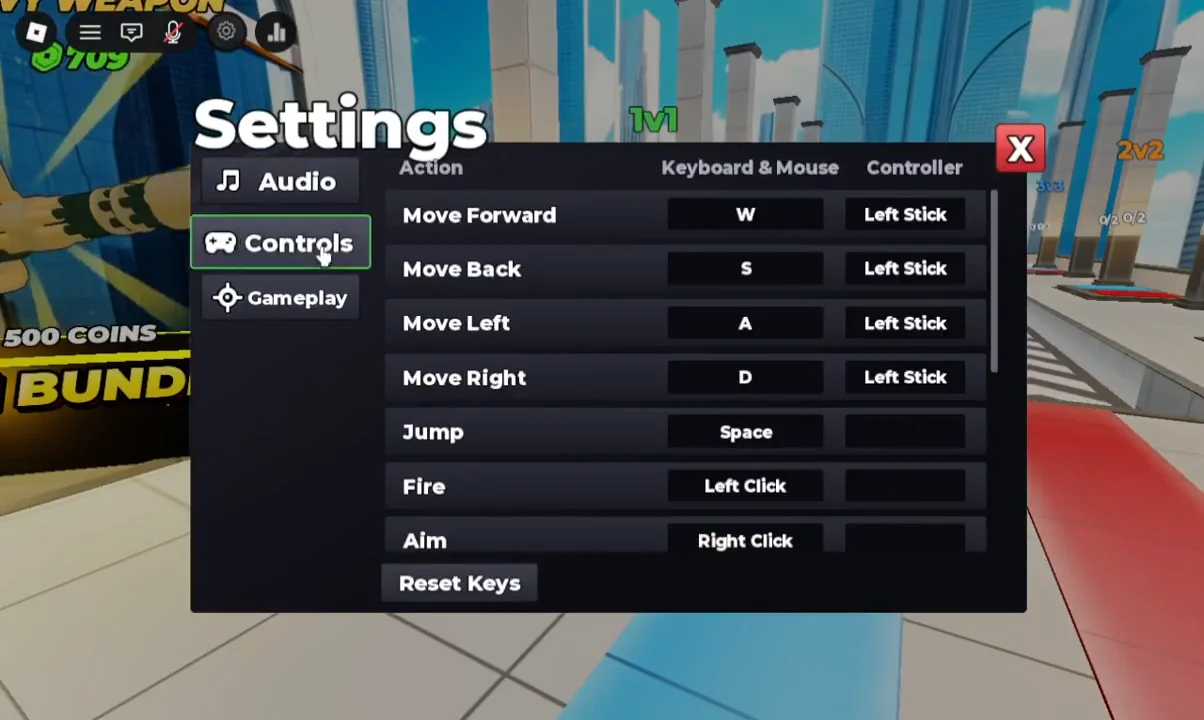
| Action | Keyboard / Mouse | Controller |
|---|---|---|
| Aim | Right Click | L2 |
| Fire | Left Click | R2 |
| Reload | R | X |
| Shoot Portal | E | R1 |
| Close Portals | Q | Y |
| Use Gadget | F | L1 |
| Jump | Space | A |
| Quick Loadout | L | D-Pad Up |
Movement stays on the standard WASD keys or the left stick. Because Aim and Fire sit on the mouse buttons and the portal controls sit on nearby keys, you can hold an aim with Right Click and still reach E to drop a portal without moving your firing hand.
Practice aiming in the Training Area
The green Training Area portal in the hub drops you into a space built for testing your aim before a real match. You can fire weapons freely, place portals on the surfaces marked for them, teleport through, and shoot the practice dummies.
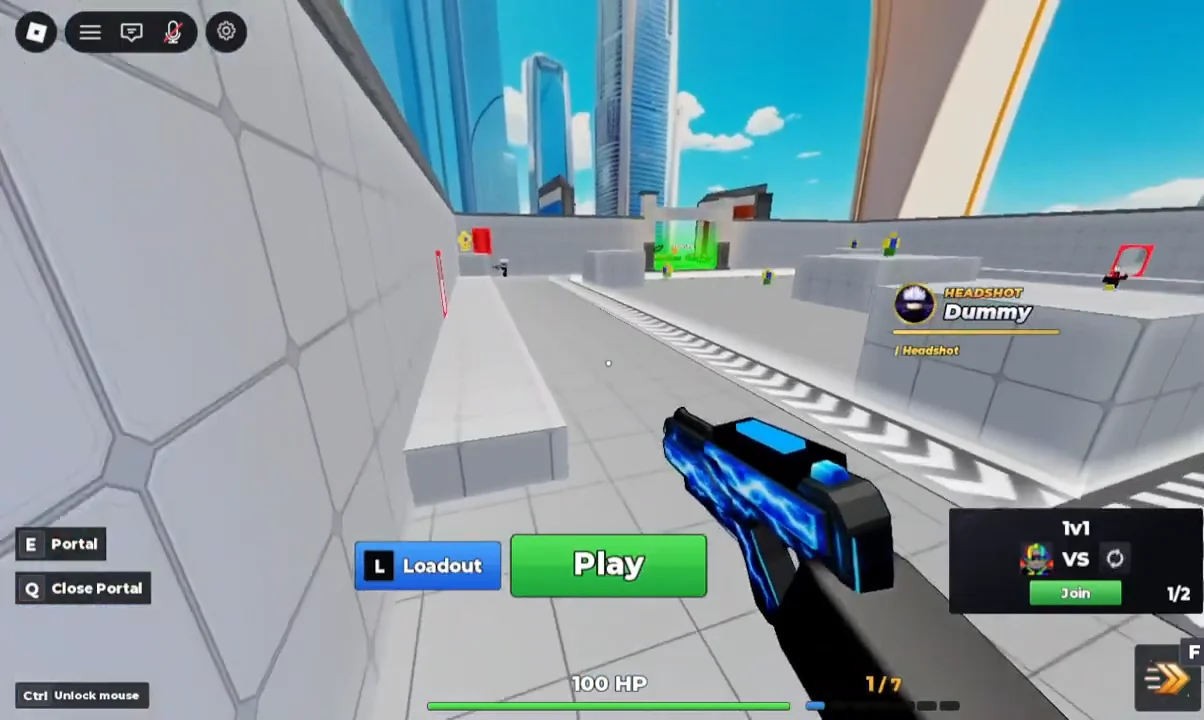
Dummies show floating damage text so you can see exactly where your shots land. A clean headshot flashes a critical hit for 90 damage, which is the clearest signal that your crosshair placement and sensitivity are working together. Use this to confirm a setting change feels right before carrying it into a match.
Head back to the hub at any time through the Return portal in the Training Area.
Watch live matches with Spectate
The Spectate menu lets you watch ongoing 1v1 and 2v2 matches across maps like Crown, Catwalk, and Pillars. Watching how other players hold their aim and time portal shots is a low-pressure way to pick up positioning before queuing yourself. Once you have your sensitivity, field of view, and bindings set to feel natural, both the Training Area and live matches will show whether your adjustments hold up.