BitLocker encryption, now enabled by default on many new Windows 11 installations, secures your data by encrypting your drive. However, automatic activation and unclear prompts about recovery keys can unexpectedly lock you out of your own PC, especially after hardware changes, updates, or forgotten credentials. Losing access to your device due to BitLocker is not just inconvenient; it can mean permanent data loss if you don’t have your recovery key. Here’s how to prevent BitLocker from locking you out, manage your recovery keys, and disable or control BitLocker on Windows 11.
Disable BitLocker Device Encryption to Prevent Lockouts
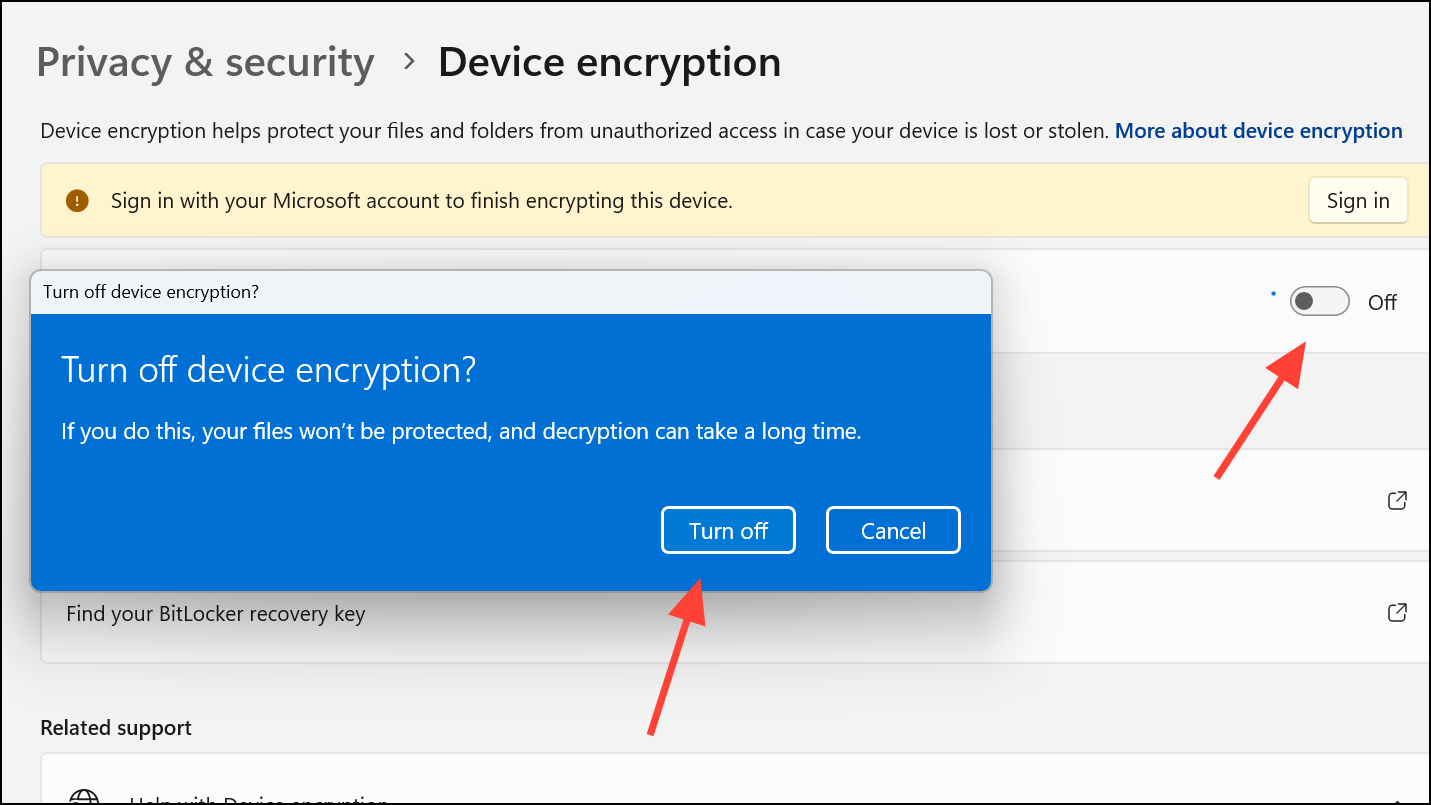
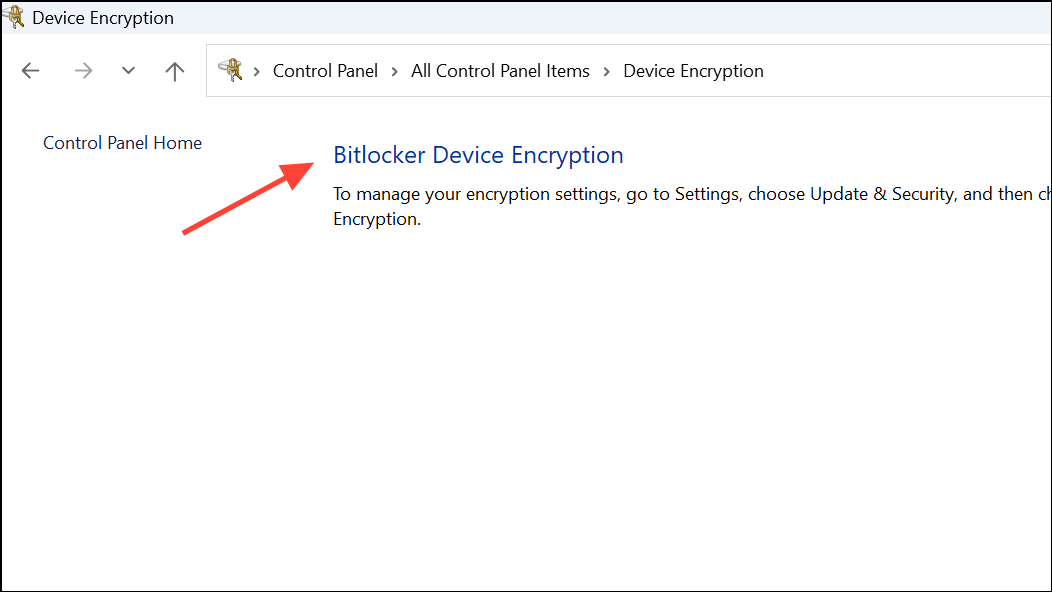
Windows + I. Go to Privacy & Security, then select Device Encryption if you’re using Windows 11 Home. On Windows 11 Pro, search for Manage BitLocker from the Start menu and open the BitLocker Drive Encryption control panel.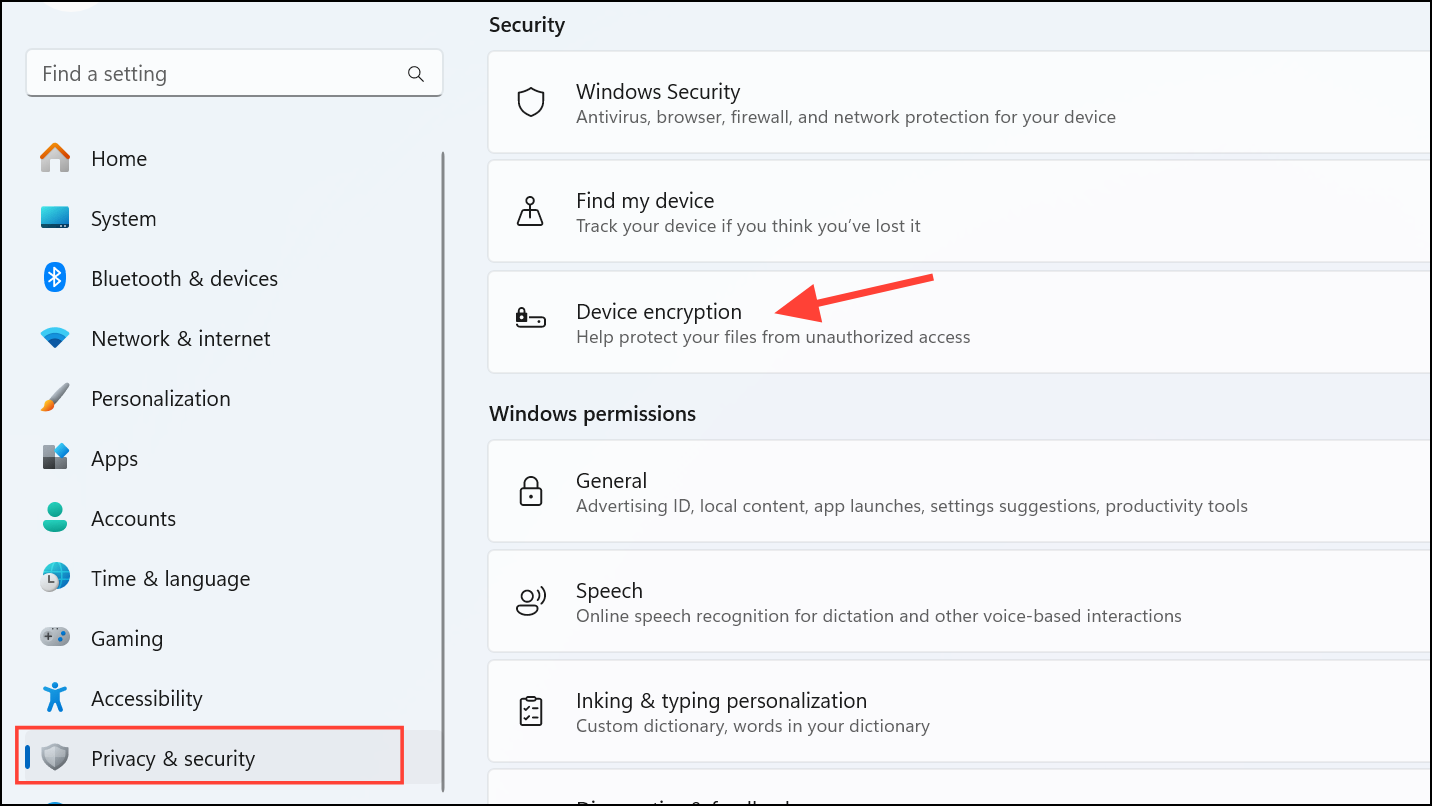
Save and Manage Your BitLocker Recovery Key
BitLocker relies on a 48-digit recovery key, often saved to your Microsoft account during setup. Without this key, you cannot regain access if BitLocker triggers a recovery prompt. To avoid a permanent lockout, always ensure your recovery key is saved in a secure, accessible location.
Prevent Automatic BitLocker Activation During Windows 11 Installation
Clean installations of Windows 11 24H2 and later often enable BitLocker by default, especially when signing in with a Microsoft account. To stop BitLocker from activating automatically during setup, use the following registry tweak:
Shift + F10 to open Command Prompt. Type regedit and press Enter to launch the Registry Editor.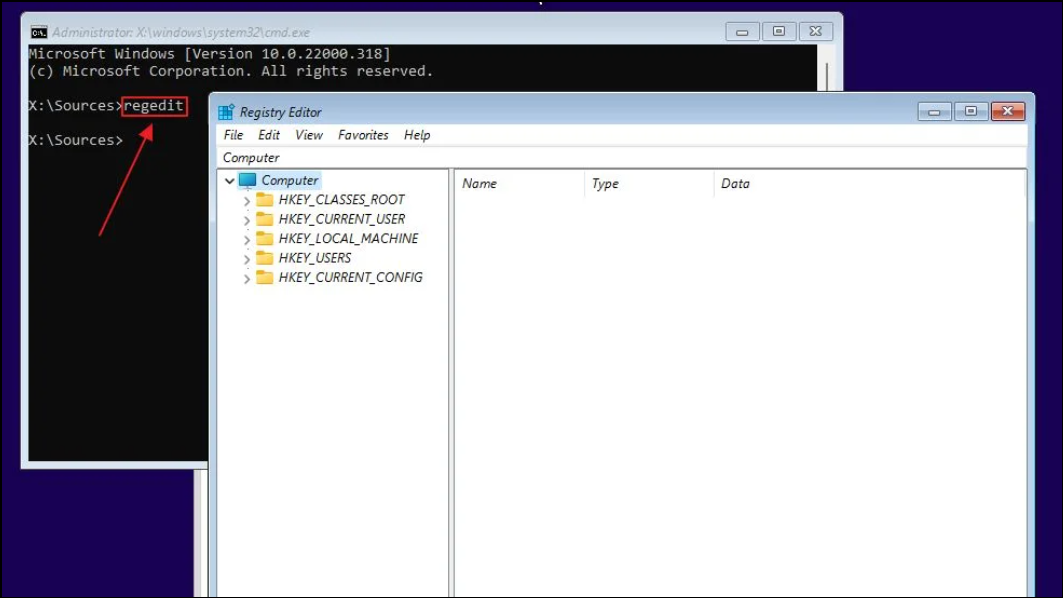
PreventDeviceEncryption. Set its value to 1.
Suspend or Disable BitLocker Before Hardware Changes or Updates
BitLocker may prompt for a recovery key after certain changes, like BIOS/UEFI updates, hardware swaps, or major Windows updates. Temporarily suspending BitLocker before these actions can prevent accidental lockouts.
Alternative Methods to Disable BitLocker
Using PowerShell
Disable-BitLocker -MountPoint "C:"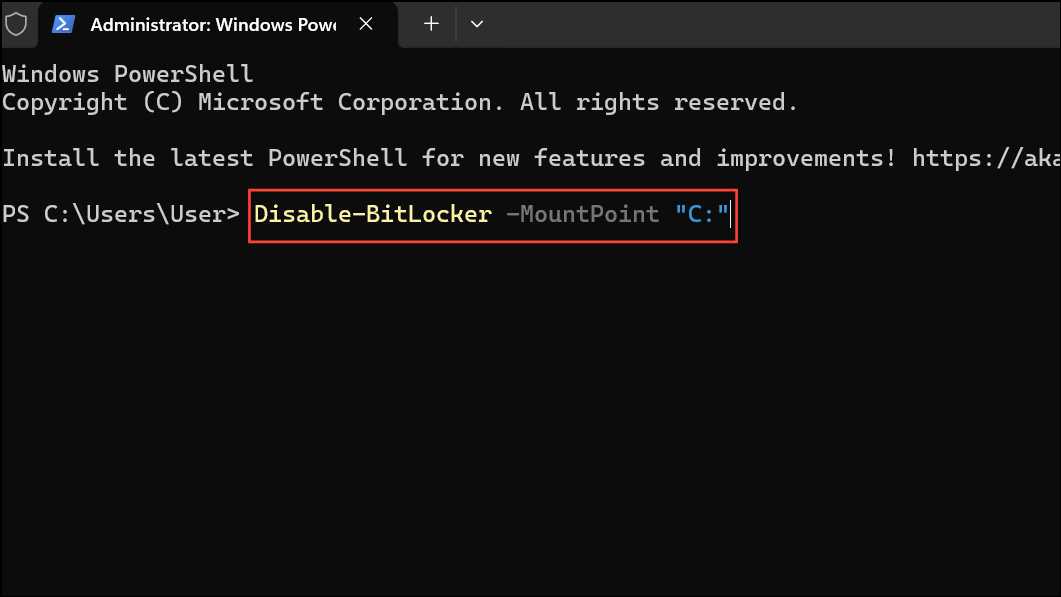
Get-BitLockerVolume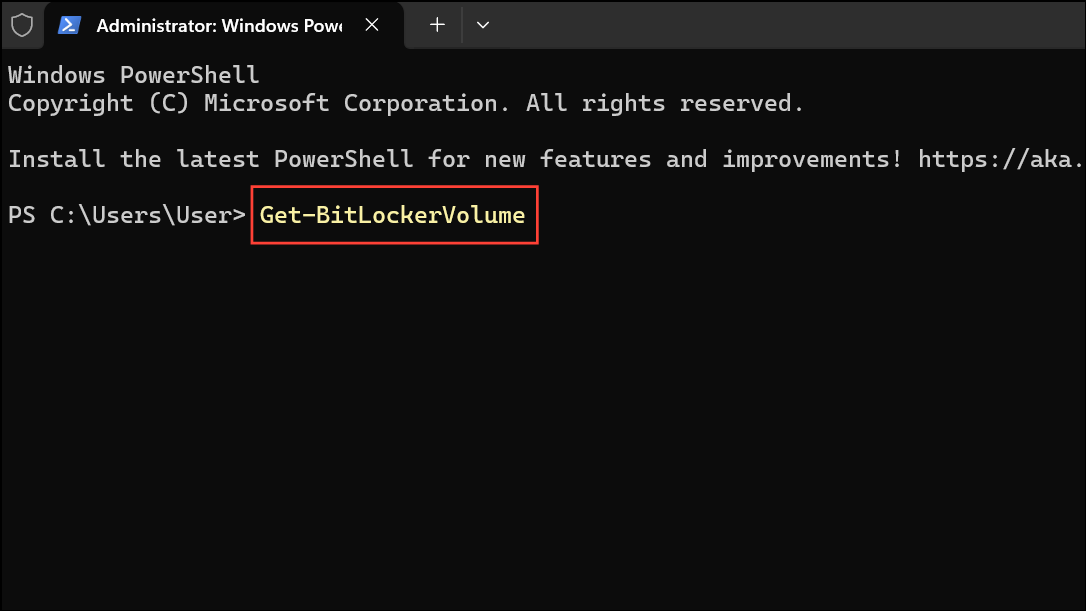
Using Command Prompt
manage-bde -off C: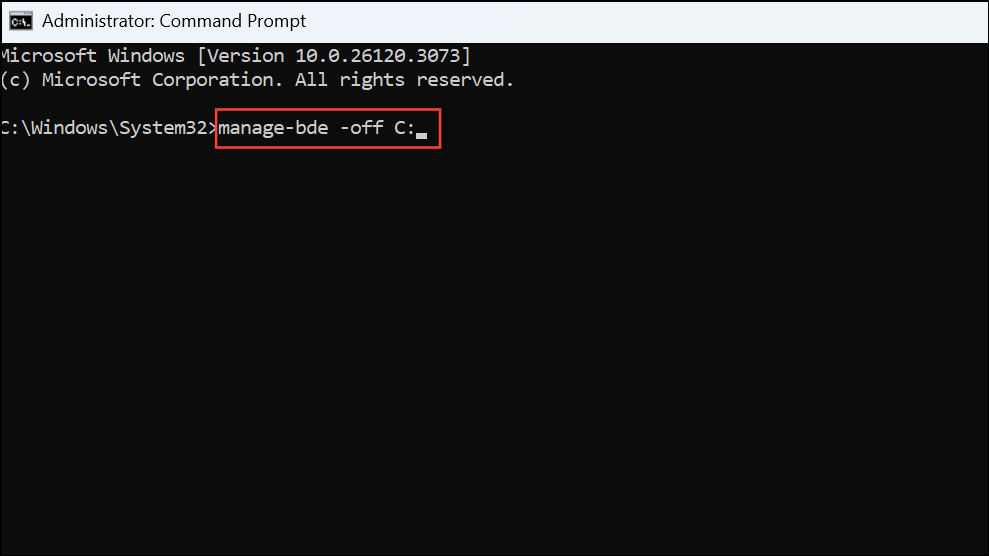
manage-bde -status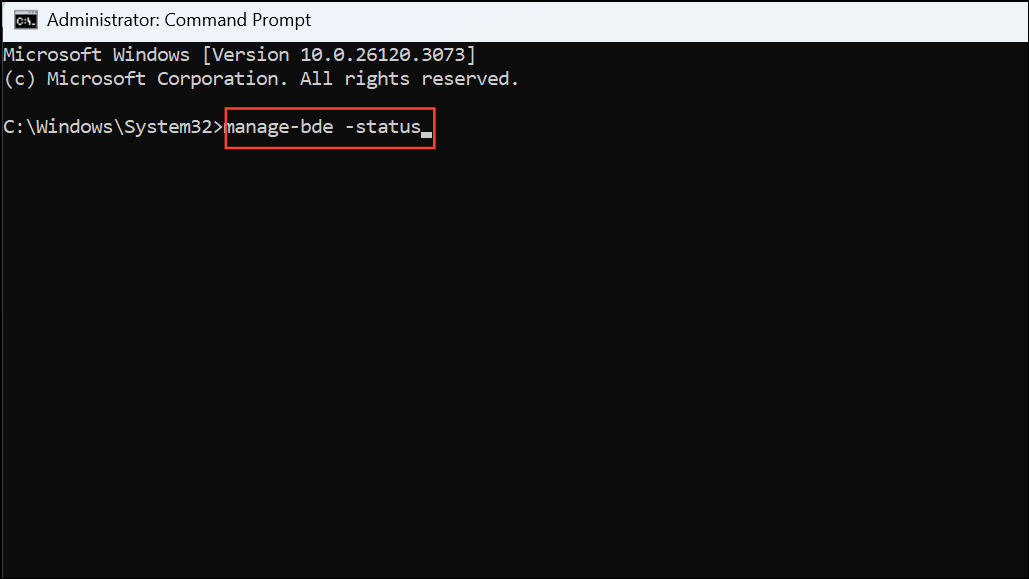
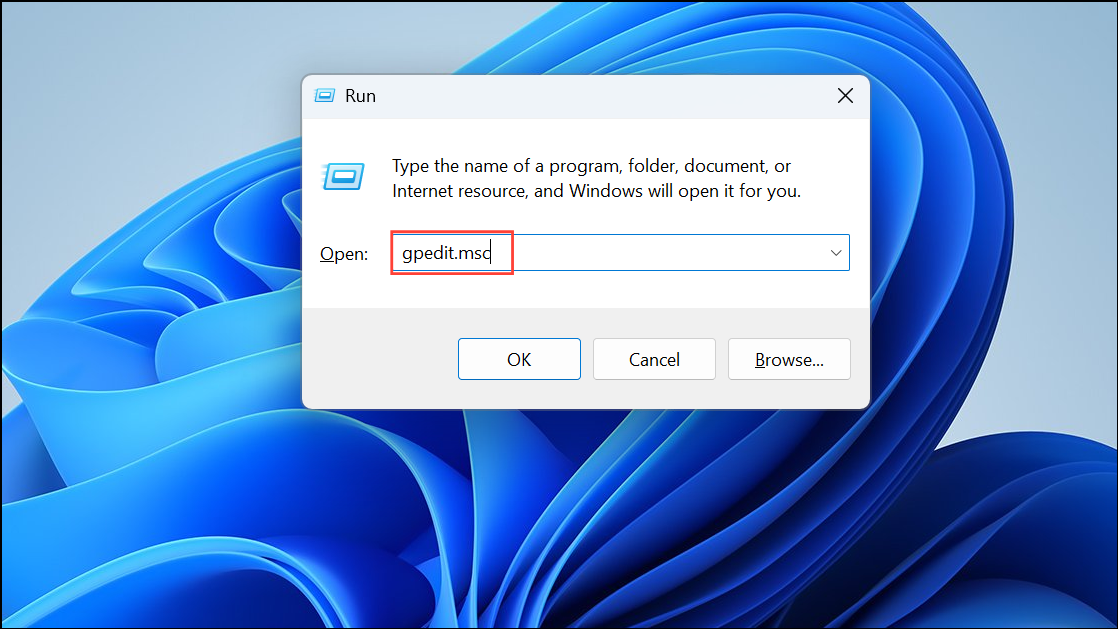
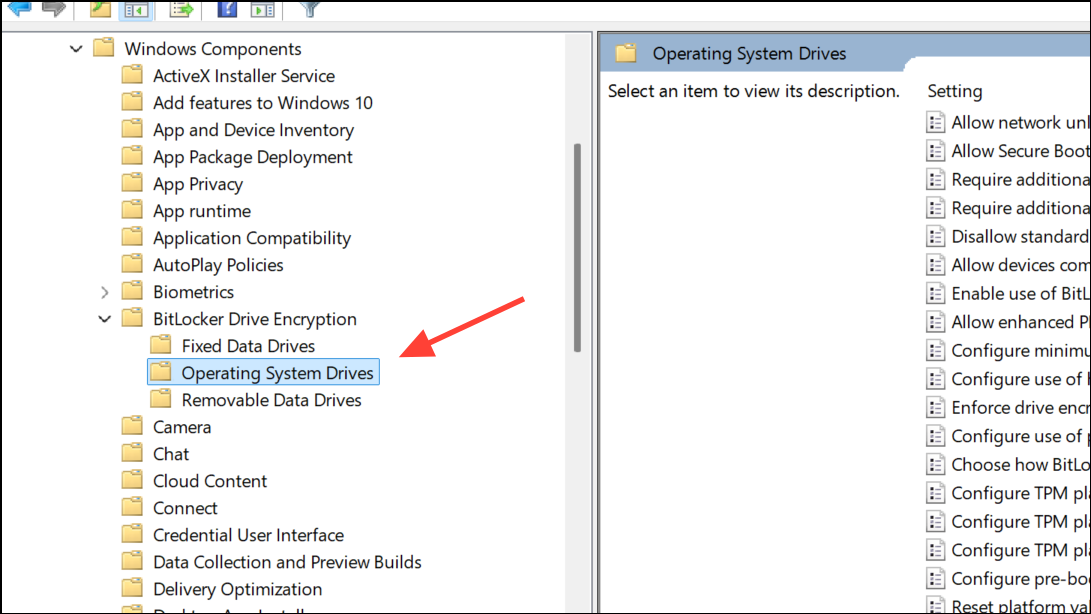
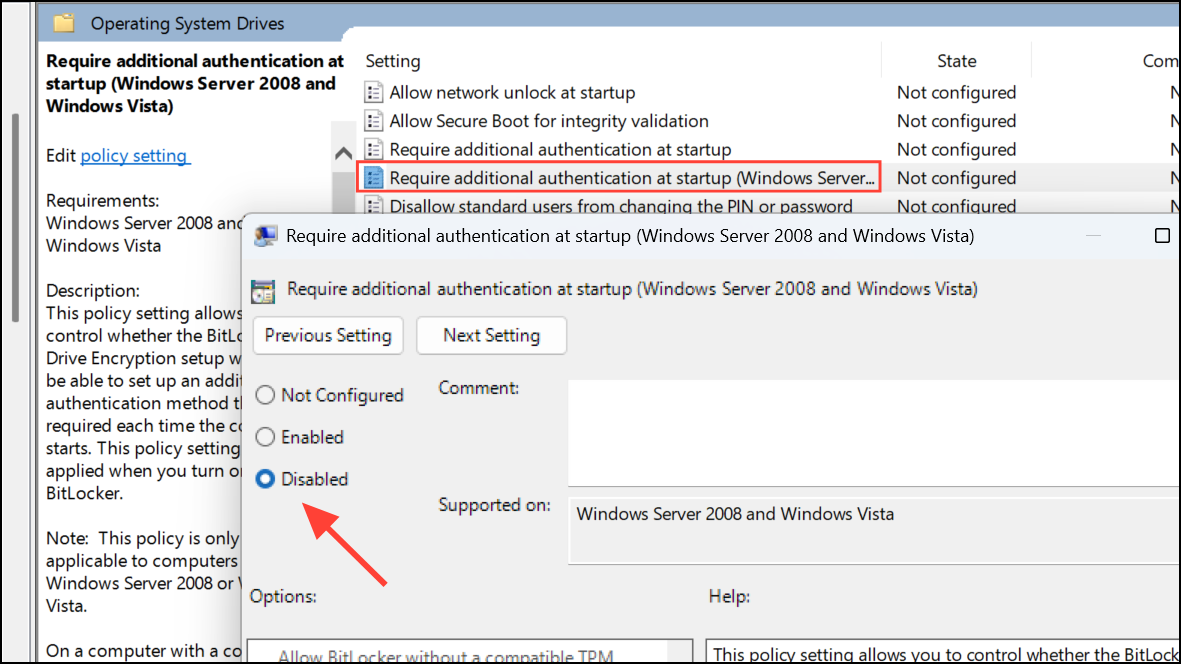
Using Group Policy (for IT Administrators)
gpupdate /forcePrecautions and Best Practices to Avoid BitLocker Lockouts
- Always save your BitLocker recovery key in multiple locations: online (Microsoft account) and offline (USB drive, paper copy).
- Document your Microsoft account credentials using a trusted password manager to avoid losing access to recovery keys.
- Before making hardware changes or major updates, suspend BitLocker or temporarily turn it off to prevent recovery prompts.
- Routinely check BitLocker status and recovery key accessibility through Control Panel or the BitLocker management interface.
- If your PC is managed by a work or school account, consult your IT administrator—recovery keys may be stored in your organization’s directory.
BitLocker provides strong protection for your data, but only when you control recovery keys and device encryption settings. Taking these steps will keep your Windows 11 PC accessible and your files safe from accidental lockouts.


