


A high-level character in Project Slayers 2 can still be stuck with a locked skill tree. That is because mastery is tracked separately from your character level, and separately for every weapon, Breathing Style and Blood Demon Art you own. It raises your damage and it is the currency that unlocks techniques, so the fastest route to a full tree is picking the right kill source for the level you are at.
Quick answer: Below level 65, clear the five Mizunoto at Mistfall Harbor. At 65, farm Ouwigahara dungeon points. Past 125, rotate Muzan or Kasugai Crow boss contracts on a busy public server.
How mastery is earned in Project Slayers 2
Mastery attaches to whatever you actually swing or cast. Basic sword attacks feed sword mastery. Spending breath meter on Water Breathing skills feeds Water mastery. Demons work identically, which is why a demon who only throws punches will never move a Blood Demon Art bar no matter how many hours they put in.
It also only comes from combat. Kills on bosses and NPCs move the counter, talking to quest givers does not. That makes every farm below the same question in different clothing: how many high-value kills can you chain in an hour, and can you split your attacks so two bars fill at once?
- When a weapon is equipped, its mastery total appears in the screen’s lower-right corner.
- Swapping Breathing Styles does not delete progress; the old style keeps its mastery.
- Mixing weapon swings with style abilities in one fight fills both bars from the same enemies.
- Mastery improves your damage and opens additional techniques; it is more than a visual progression marker.
Mastery farm comparison by requirement
| Method | Requirement | Mastery return |
|---|---|---|
| Mistfall Harbor Mizunoto | None | ~41 per skill |
| Ouwigahara dungeon points | Level 65, Forge quest | 3,500 points → 1,000 |
| Tier 3 chest NPCs | Emberheart Lantern | 500 per chest guard |
| Muzan / Crow contracts | Level 125 | 2,100–2,700 per clear |
| Ranked 1v1 wins | None | ~1,000 per win |
Boss contract payouts are not fixed numbers. They scale with the server you are on, which is covered further down.
Mistfall Harbor Mizunoto farm (no level gate)
Five Mizunoto slayers spawn at Mistfall Harbor in a tight cluster, close enough that a single area-of-effect skill lands on the whole pack. There is no level or quest requirement to get there, which makes it the default farm for anyone who has not hit 65 yet.
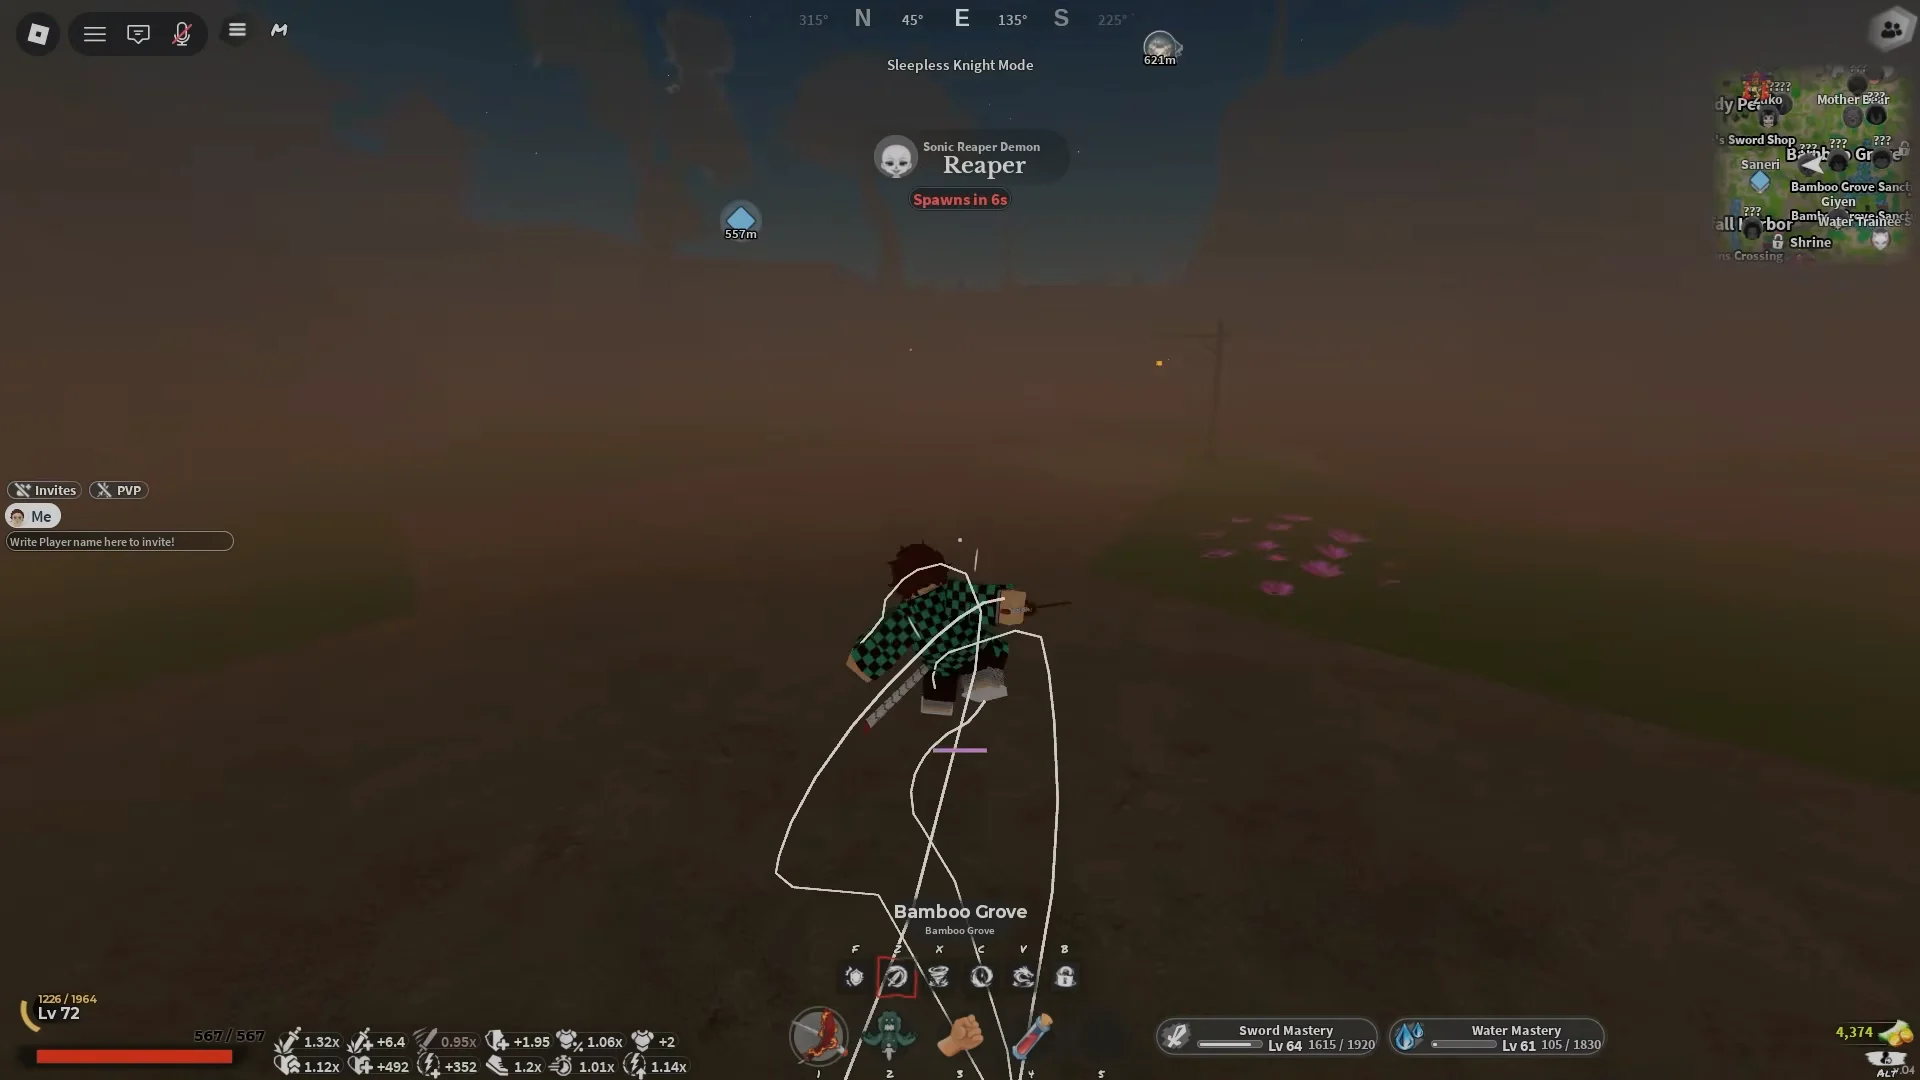

Kill all five before you leave. The mastery and EXP totals only print on screen after the last enemy drops, so finishing the group is also how you confirm the run registered.
Ouwigahara dungeon points (level 65 to 125)
Ouwigahara turns fighting into currency that is applied to mastery, removing reliance on random drops. Between the harbor farm and boss contracts, it is the best choice, and a productive session can move a character from about 100 to 150.
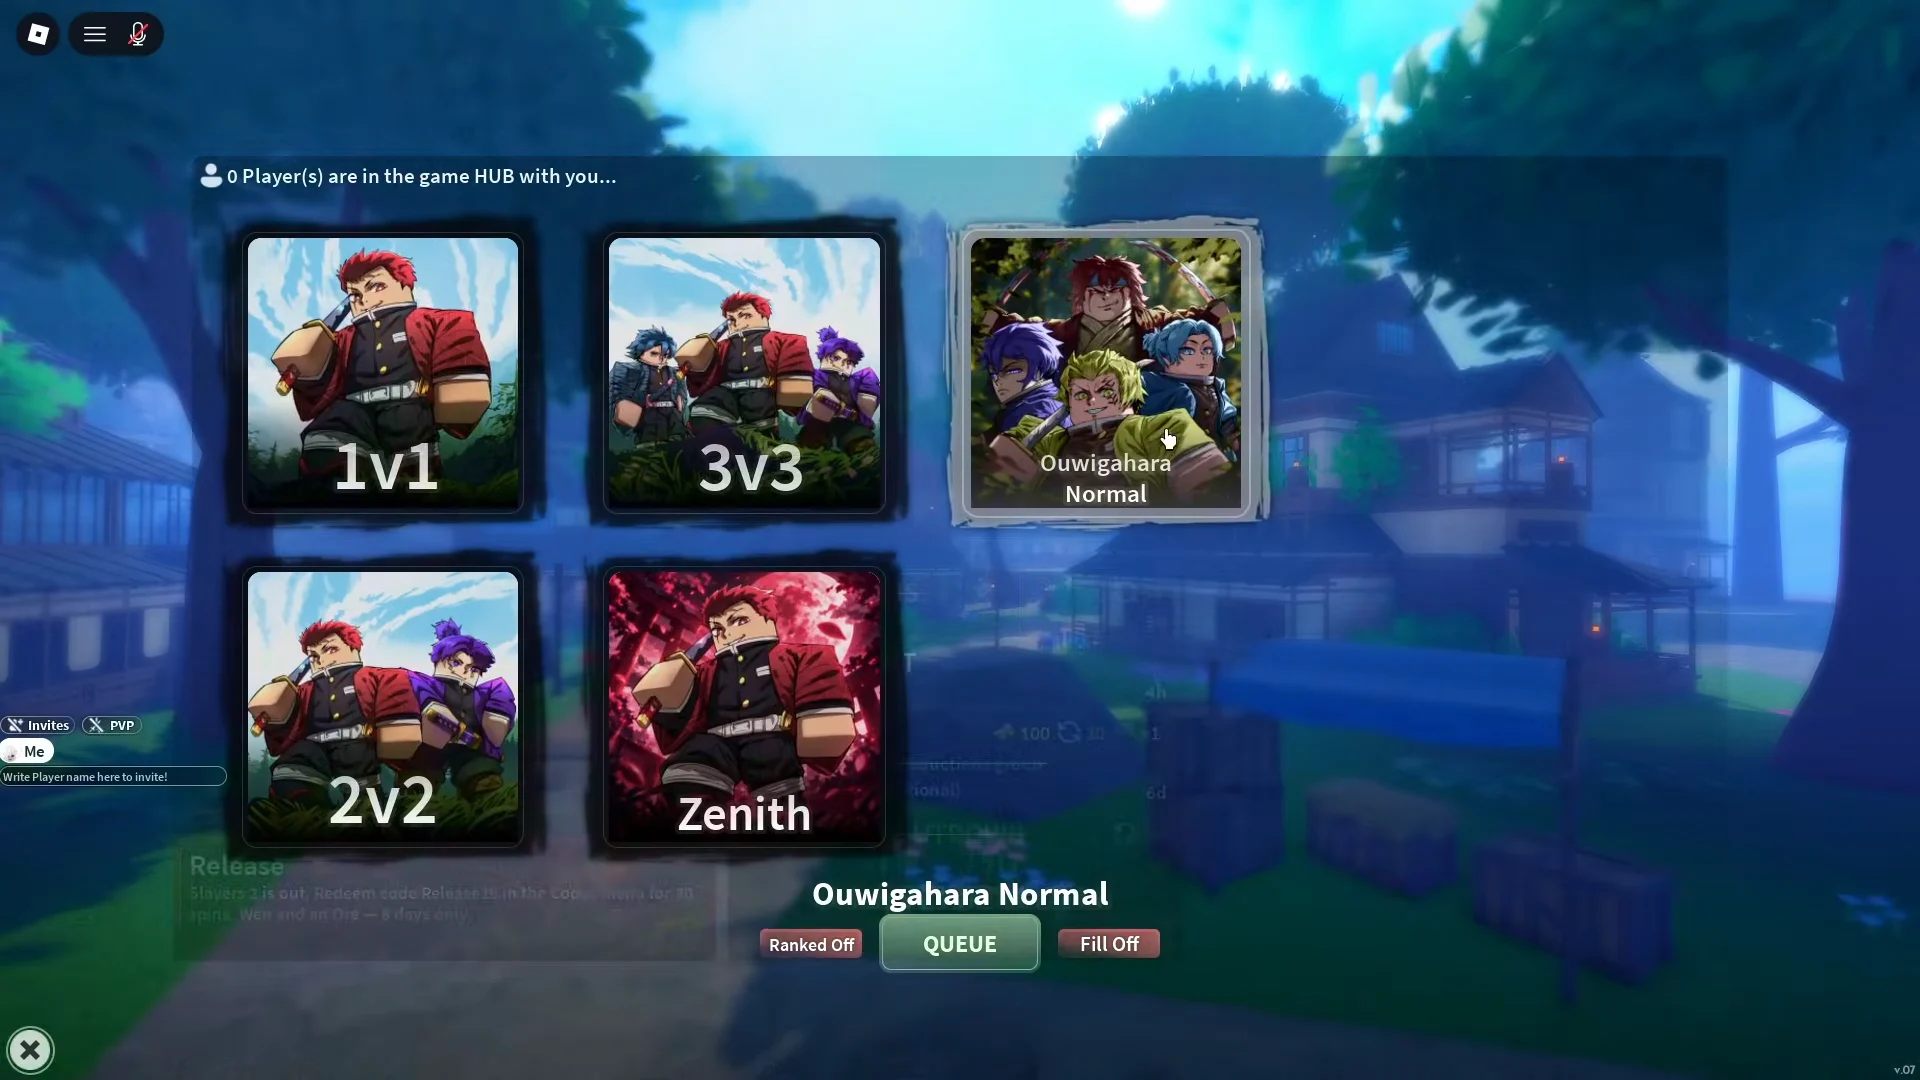
The exchange rate stops being competitive at the top end. Once you are sitting at 224 or 225, a crow boss rotation beats dungeon points outright.
Tier 3 chest NPCs in Iceveil Valley
The snowy Tundra around Iceveil Valley holds Tier 3 chests with NPC guards, and each guard you drop hands over 500 mastery. That is the biggest single-kill payout outside of boss bounties, and it has no level requirement attached.
Enter with the Emberheart Lantern equipped and a mount ready, since chest spawns are separated by long stretches. The battle is the only substantial obstacle. When the guards hit too hard, follow higher-level players who are clearing those chests and collect the rewards alongside them; for an under-geared character, this is the most forgiving farm listed.
Muzan and Kasugai Crow boss contracts at level 125
For either faction, boss bounties form the endgame routine and follow the same pattern: accept a target, reach it, defeat it, claim the mastery and EXP, and accept the next contract at once. Their high-yield forms become available at level 125 and carry you onward to the 225 cap.
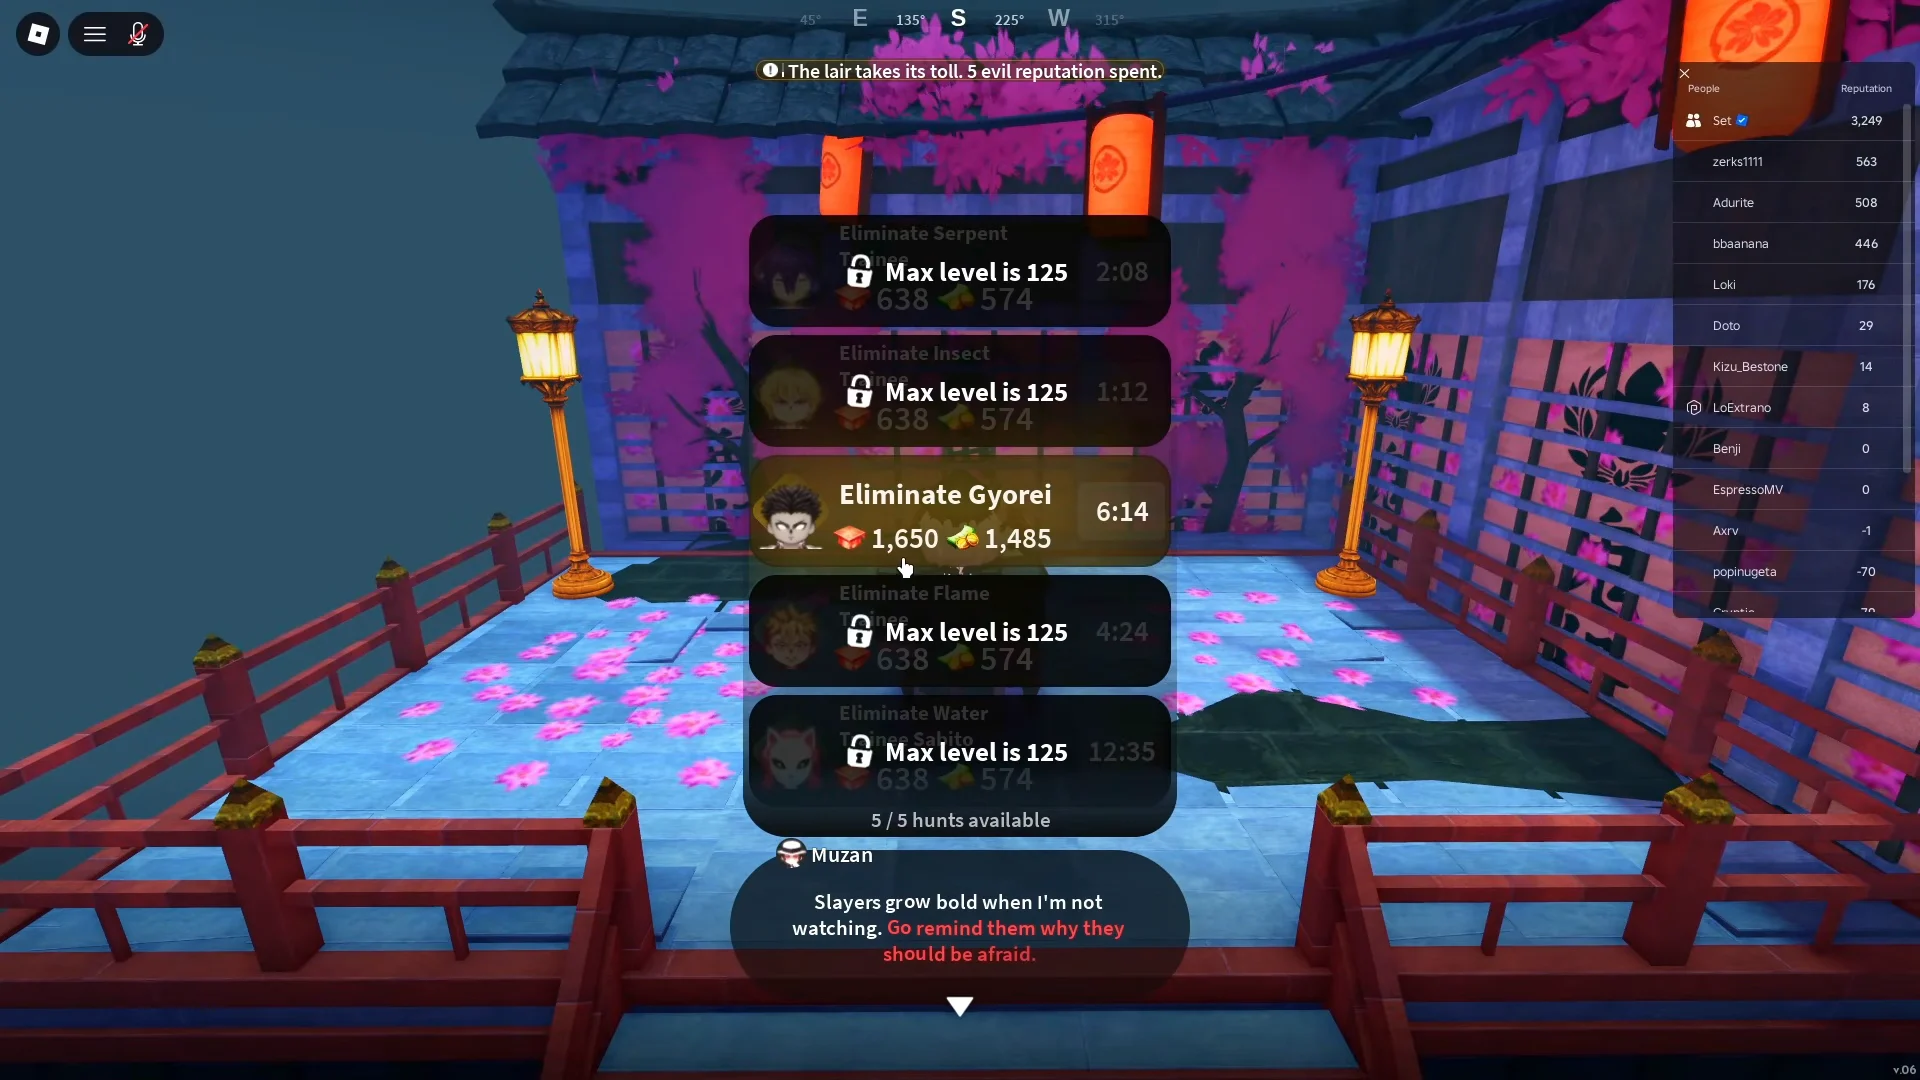
Demons pull theirs from Muzan at his lair, where the board lists eliminations such as Eliminate Serpent, Eliminate Gyorei and Eliminate Water. Every listing shows its EXP, Wen and mastery payout before you accept, so you can compare targets on the board.
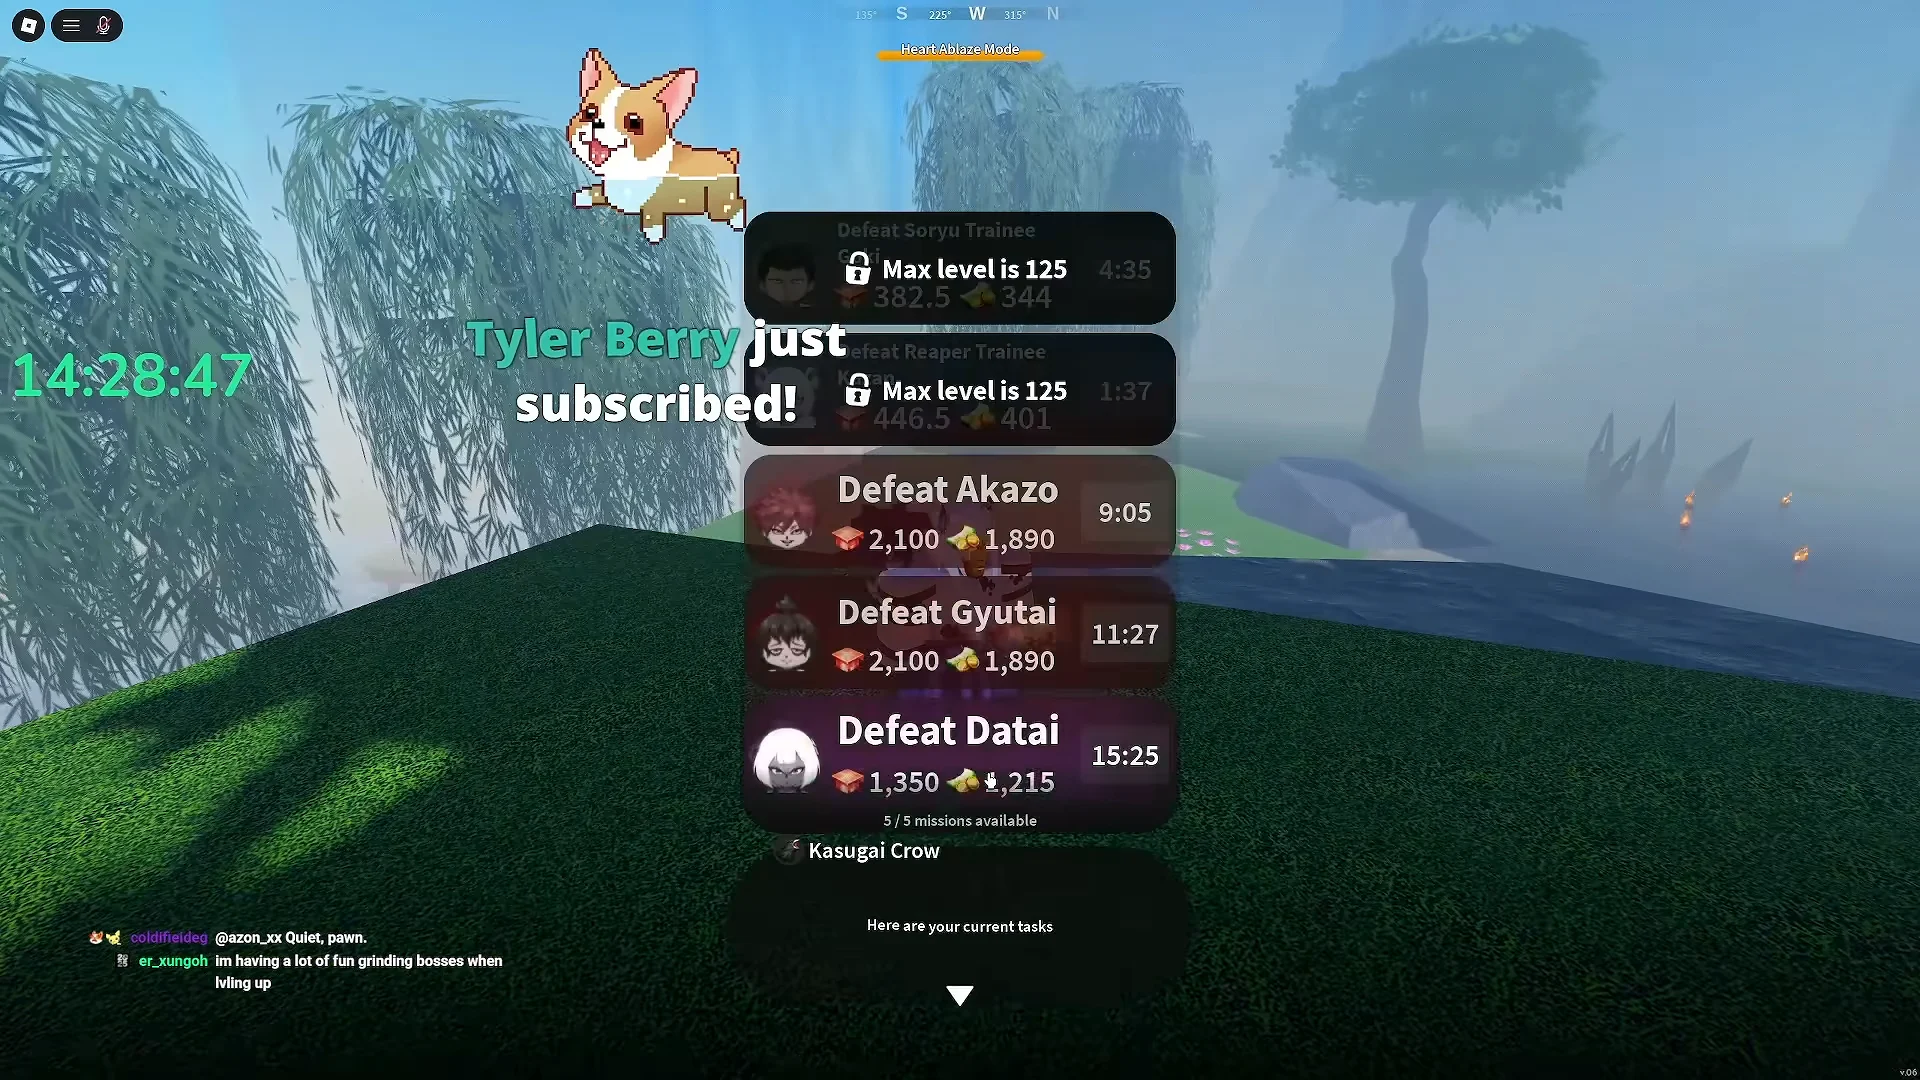
Slayers receive contracts through the Kasugai Crow, whose rotation includes Nezura, Datai, Akazo and Gyutai. For Nezura, take the contract, travel to the Final Selection Plains, defeat the target, then clear the loot drops and chests while leaving. The crow becomes available only after Final Selection is completed; that activity opens at level 45, though soloing it is much more practical around level 60.
Use EXP and Mastery potions immediately before completing a contract; their effects add to the displayed payout, making contract rotations a better use than trash mobs.
Since contracts are shareable, another player can kill your target during the run and disrupt it. Plan a fallback contract so you can move straight to another job instead of waiting at the board.
Server population changes your mastery payout
Contract value varies by server. Online population and the opposing faction’s progress determine quest scaling, meaning a busy public server pays noticeably more than a quiet private one. When the demon side is well developed, Slayer payouts can rise to roughly twice their normal amount.
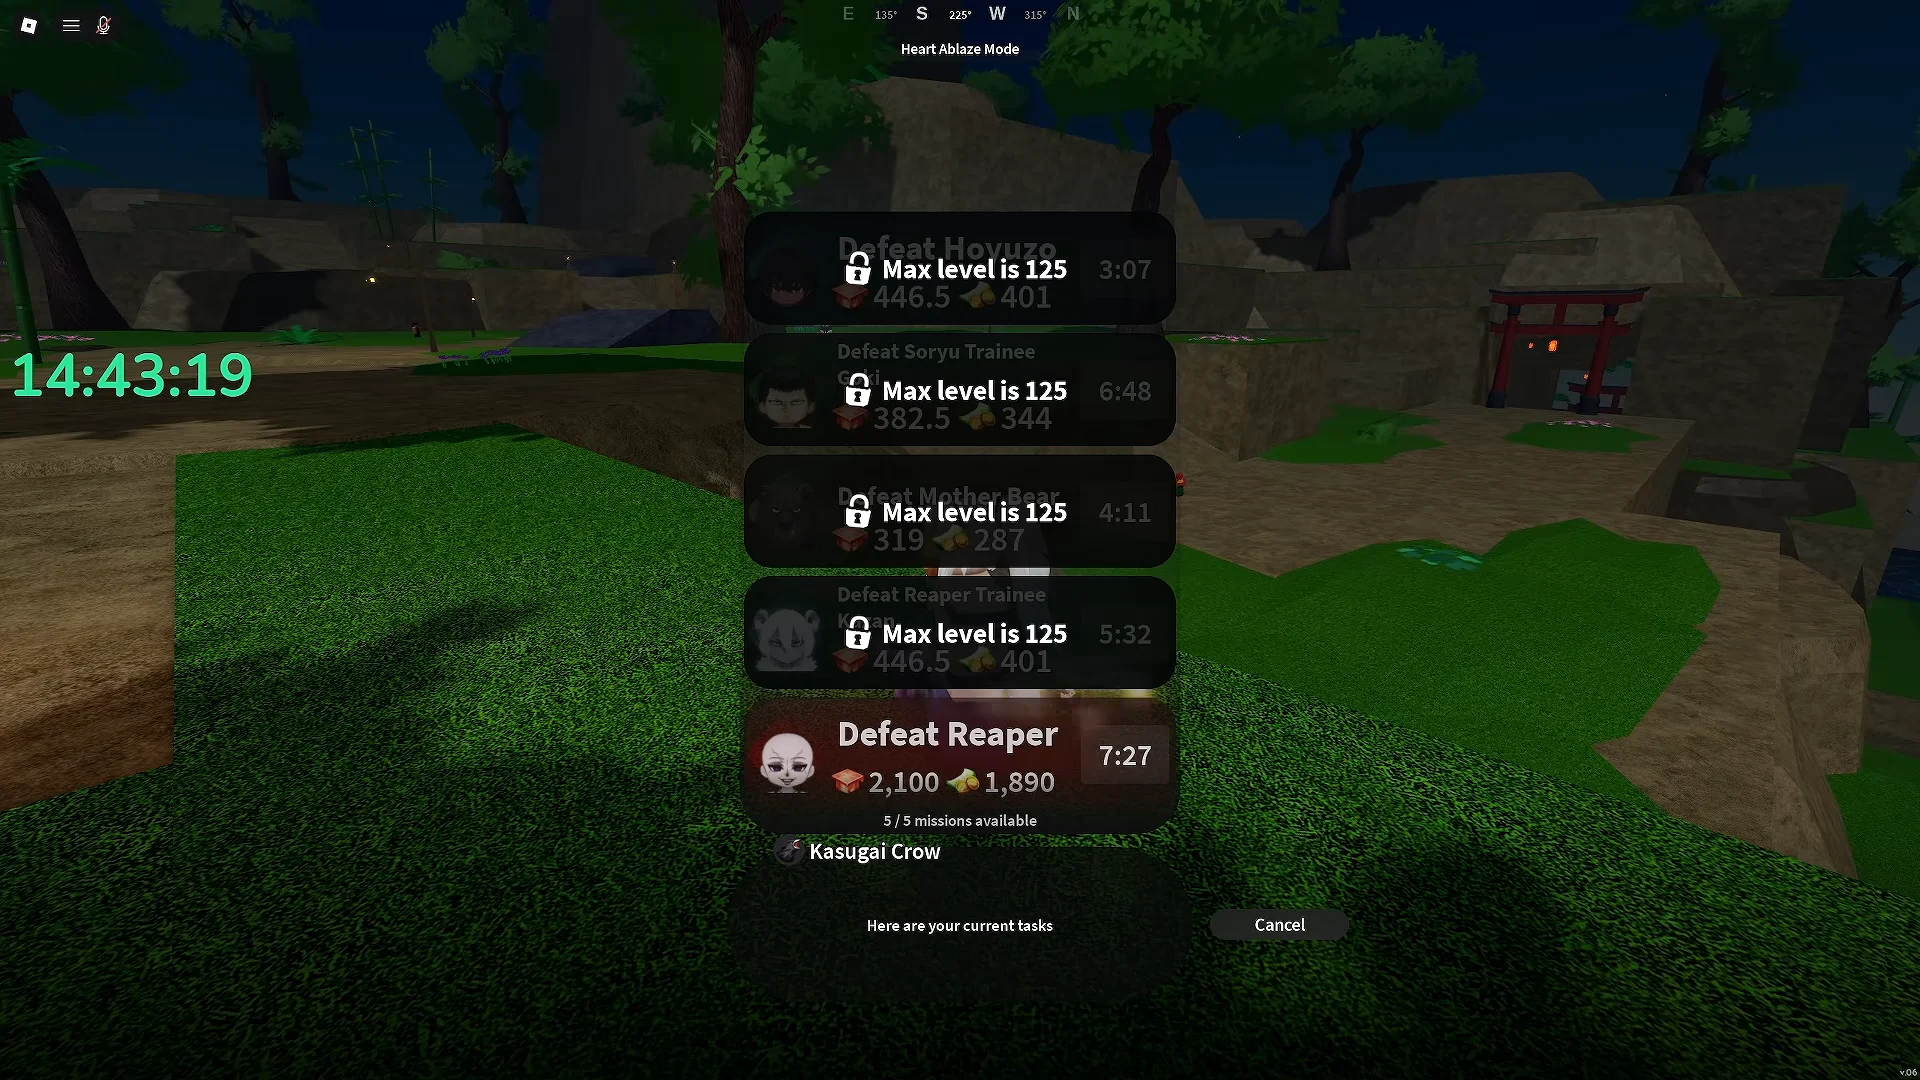
| Contract | Server | Mastery XP |
|---|---|---|
| Defeat Datai | Public | 2,700 |
| Defeat Reaper | Private | 2,100 |
You can increase the multiplier in two ways: operate an alt in the opposing faction to build the scaling, or wait for the server’s overall player progression to raise payouts naturally. On a populated server, regular quests and general mob farming also provide more EXP.
Ranked 1v1s and selling farmed loot
Winning a ranked 1v1 grants percentage-based EXP, making the matches useful for finishing a level just before a gate such as 65 or 125. Each victory gives about 1,000 XP per win toward mastery, so this remains viable but is plainly slower than rotating bosses.
Boss runs also fill your inventory with unwanted materials and equipment. Between rotations, sell those items to Ginzo at Mistfall Harbor; one full stack can bring in well over half a million Wen, and an individual sale can reach 563,250.
How to confirm mastery actually went up
Equip a weapon and use the lower-right readout to verify the total. It should update whenever you defeat a boss, clear a chest guard or exchange points. Once a mob group is cleared, the game displays separate gains for each category involved; for example, Water and Sword totals appearing together show that your attacks were divided instead of building only one bar.
Check the tree as a second confirmation. In the weapon or Blood Demon Art tree, each locked node lists its mastery requirement beside your current amount, letting you see the distance shrink after every run. If fresh techniques become available under your current Breathing Style or Blood Demon Art, you have reached an unlock threshold.
If you want a single loop to commit to, the cheapest path in terms of time is Mistfall Harbor until you can queue dungeons, Ouwigahara through the mid-100s, then Muzan or Kasugai Crow contracts once quest scaling kicks in past 125. Keep Tier 3 chests in reserve for the moments when the board is empty or someone has sniped your target.





