

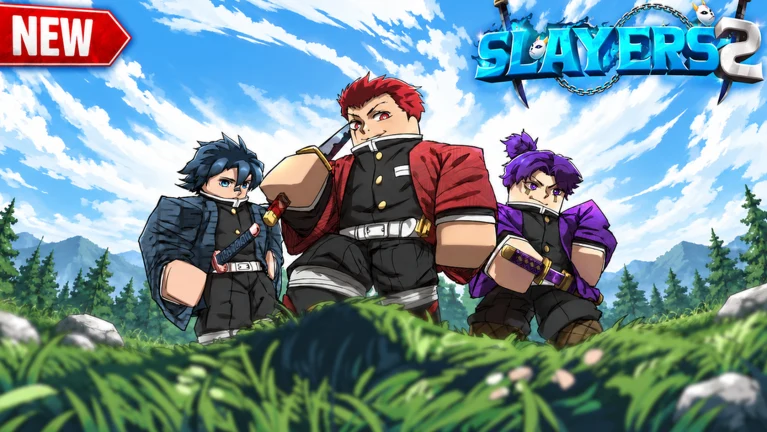
Building a Zenitsu Agatsuma character in Slayers 2 comes down to three locked doors: the clan roll, the Thunder Breathing trainer, and the boss that drops his gear. The Roblox action RPG from Ouw Production launched on September 18th, 2026, and none of those three unlocks are handed to you — each one has a hard requirement attached.
Quick answer: Roll the Agatsuma clan in character customization, then take 10 Demon Horns to Thunder Trainer Zentaro in the mountains, clear his training tasks, and defeat the Thunder Trainee to unlock Thunder Breathing.
Zenitsu build checklist: every piece and its requirement
The look and the kit are split across two different sources. Cosmetics and the clan come from the customization menu before you spawn, while the weapon, haori, and armour are all boss drops from a single NPC.
| Piece | Source | Requirement |
|---|---|---|
| Agatsuma clan | Clan spins in customization | Mythic-tier roll |
| Fancy Katana | Vendor Raze, Windy Peak village | 1,500 Wen |
| Thunder Breathing | Trainer Zentaro | 10 Demon Horns + Thunder Trainee kill |
| Slayer Uniform, Mizunoto rank | Final Selection event | Survive and kill the Hand Demon |
| Thunder Katana | Zentaro boss drop | Legendary drop |
| Black Dragon Armour | Zentaro boss drop | Legendary drop |
| Thunder Haori | Repeat Zentaro kills | Drop chance |
How to roll the Agatsuma clan and match Zenitsu’s look
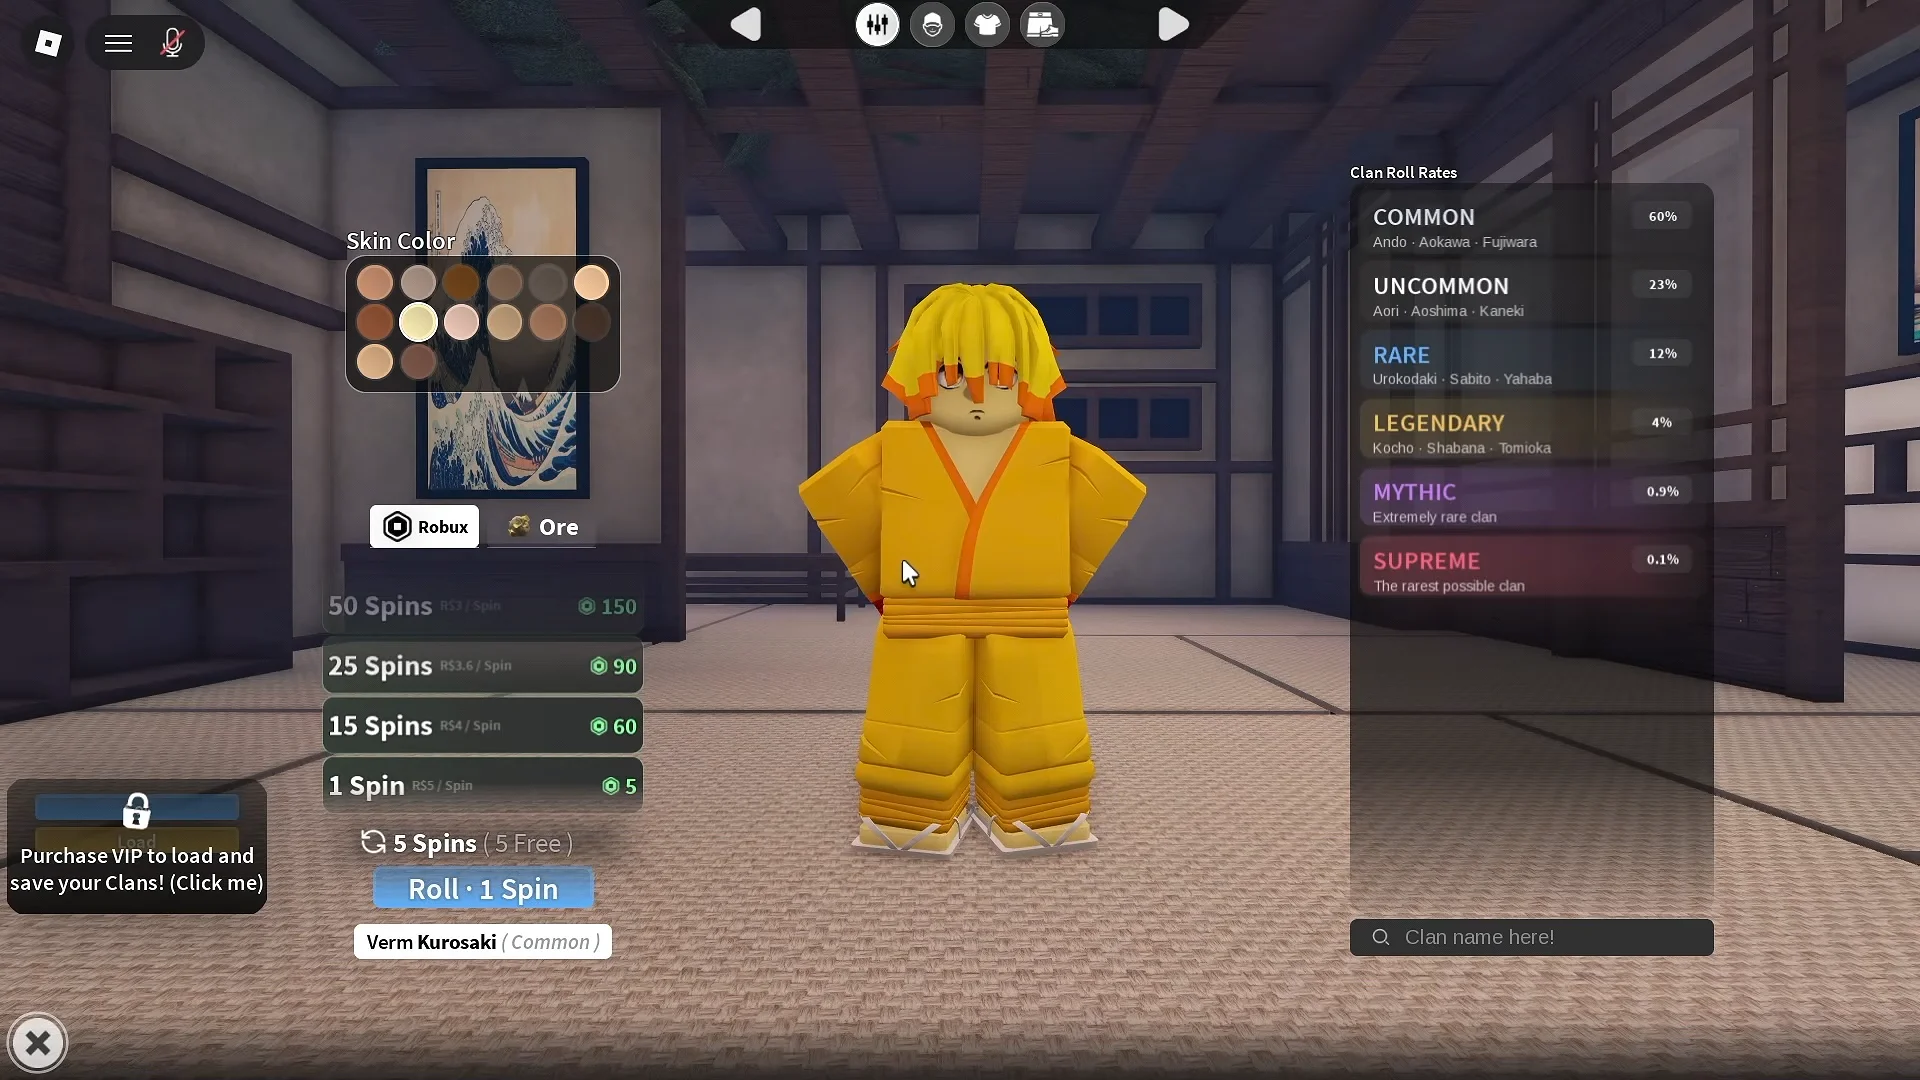
Clans are rolled in the customization screen, and the rate table runs from Common and Uncommon through Rare, Legendary, Mythic, and Supreme. Agatsuma sits in the Mythic bracket, so expect a long run of junk rolls before it lands. Free spins rarely get there on their own, and spin packs are bought with Robux. Extra character slots are also a paid purchase if you want to keep your existing character.
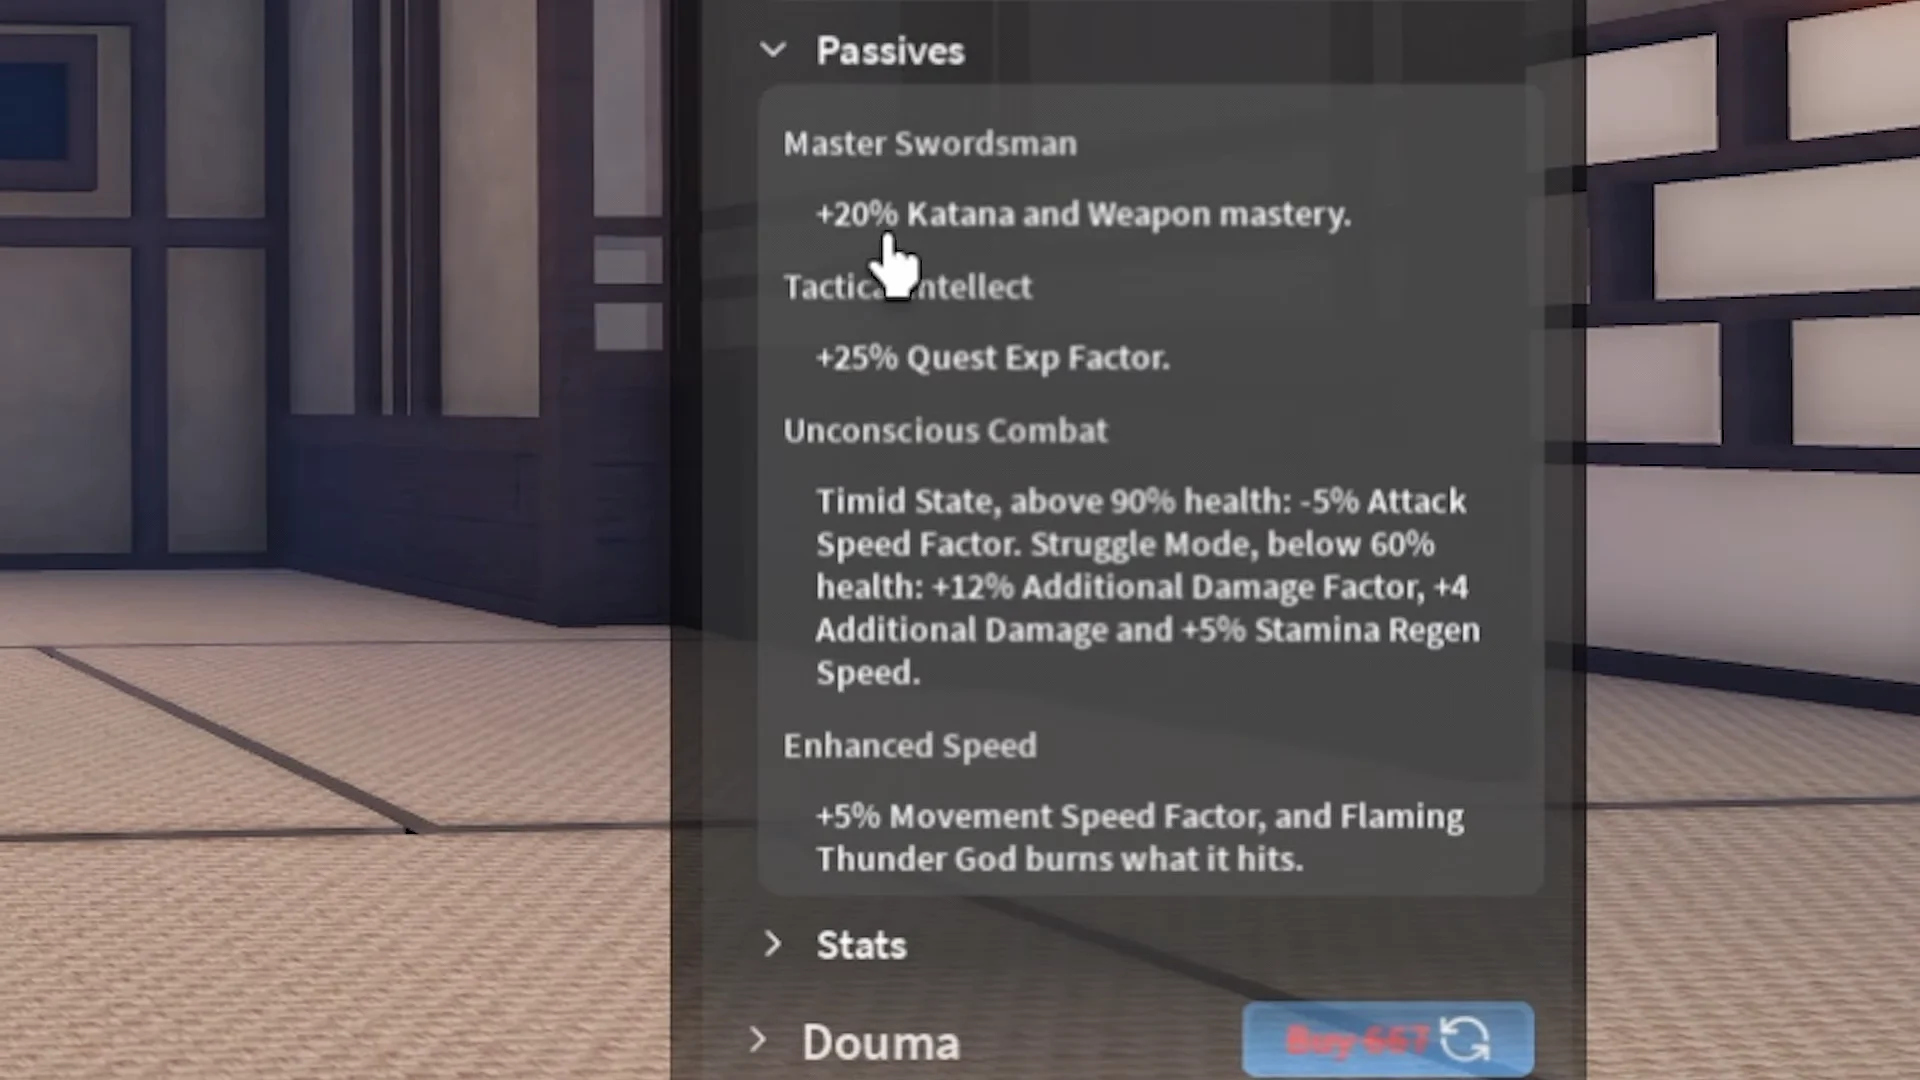
Once the clan is locked in, its passives sit in a separate tab. Agatsuma runs Master Swordsman, Tactical Intellect, Unconscious Combat, and Enhanced Speed. Tactical Intellect is the one that matters most for the grind ahead, since it adds +25% quest experience.
Leveling route from spawn to level 40
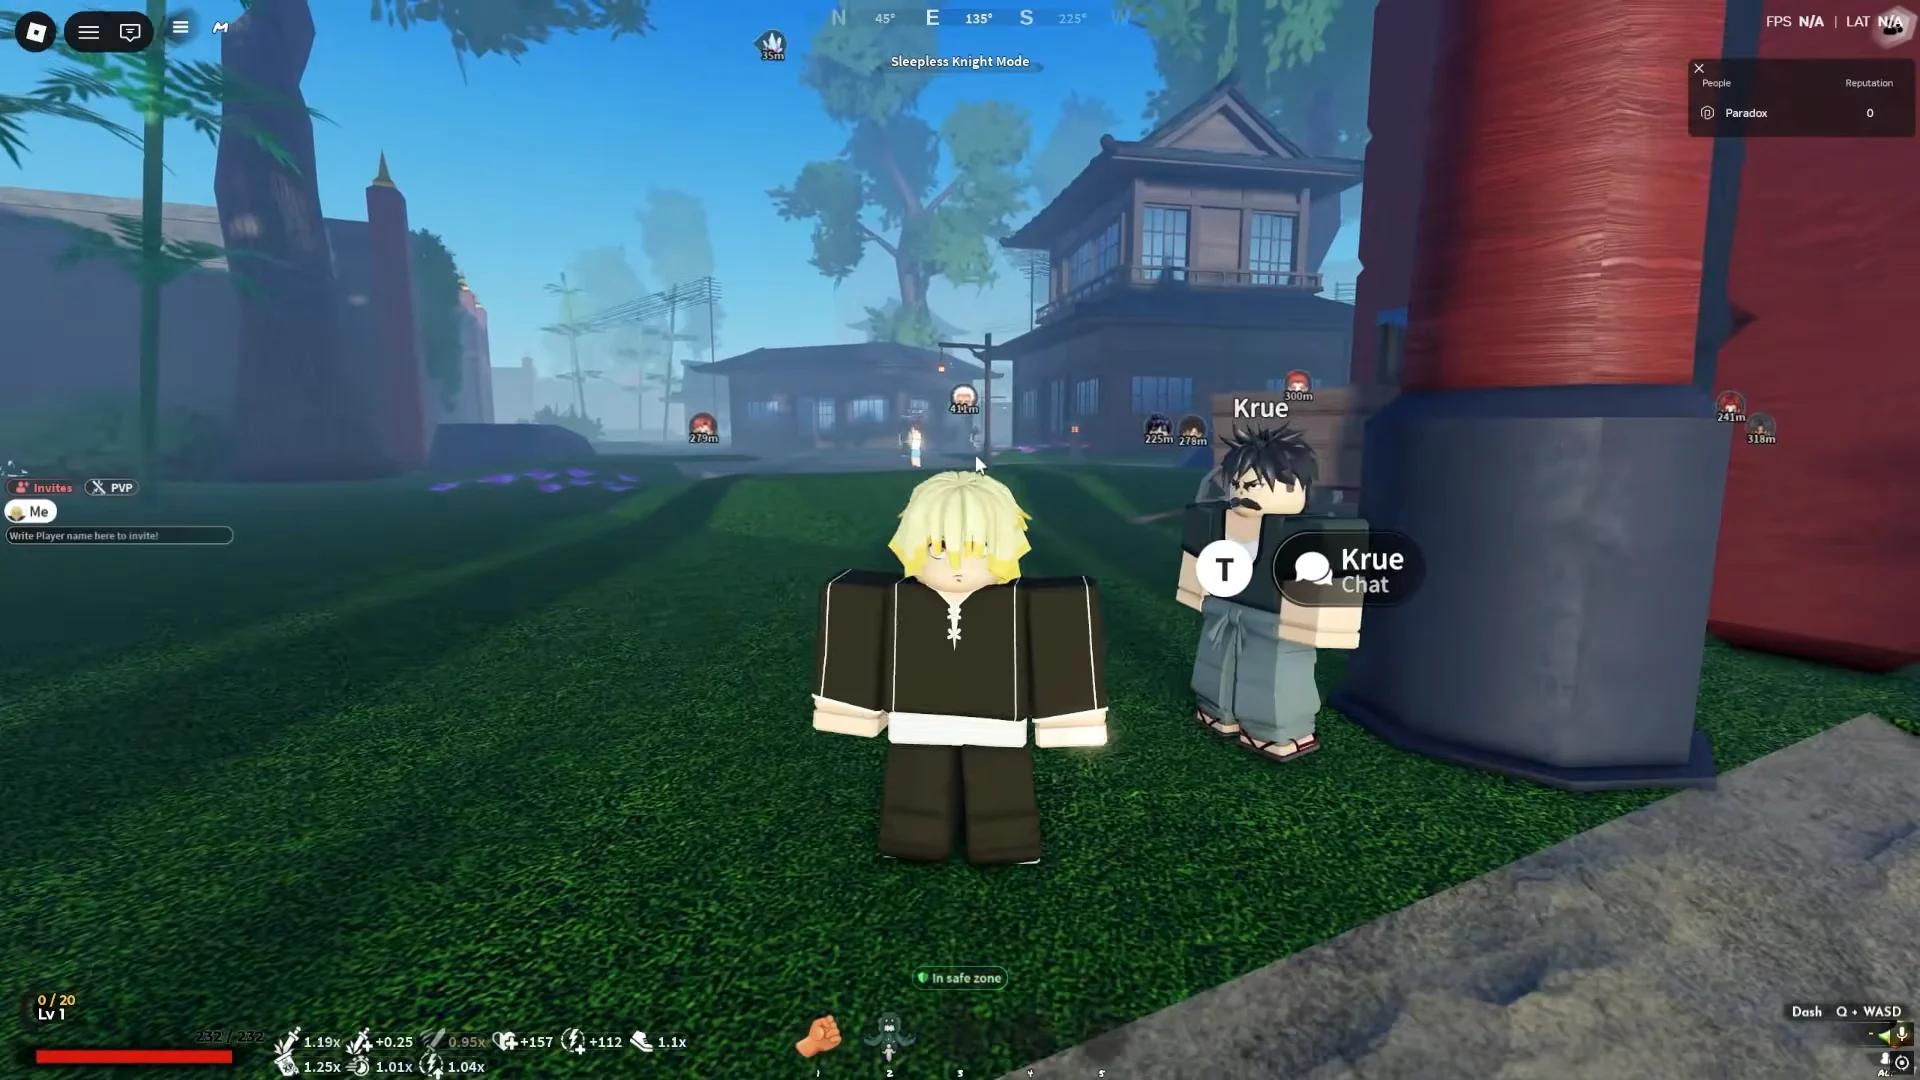
You spawn into Ouwland in the starting village with nothing but fists. The fastest path is quest chaining rather than pure mob grinding, because quest experience is where the clan passive pays off.
Unlocking Thunder Breathing from Zentaro
Thunder Breathing is a training questline, not a purchase. It focuses on high-speed movement and electrocuting slashes, and it has a material cost attached before the trainer will even start.
Collect 10 Demon Horns
The horns come from the cave behind the waterfall in Bamboo Grove. Speak to Wagwan there, take the contract to clear Hoyuzo’s Guards, and keep killing until you have 10 Demon Horns in your inventory.
Find Thunder Trainer Zentaro
Zentaro is out in the wilderness on top of the high mountain peaks. There is no shortcut path up — you climb the rock faces with Wall Climb, which is why that skill point matters earlier than it looks.
Clear the training tasks
Interacting with Zentaro starts a set of minigames that must all be completed before he moves you on.
- Meditating
- Cup Game
- Push-ups
- Aim Training
- Boulder Split
Defeat the Thunder Trainee
The final gate is a duel. Locate the Thunder Trainee and win the fight. You know it worked when the achievement pop-up for Thunder Breathing appears and the first form, Thunder Clap and Flash, becomes purchasable in the skill tree.
Thunder Breathing moves worth unlocking
Forms are bought individually in the skill tree as you level, so the kit fills out over a long stretch rather than all at once.
- Thunder Clap and Flash — the first form, available immediately after the unlock.
- Rice Spirit and Lightning Fold — the mid-route additions before Final Selection.
- Godspeed — a movement burst that covers large distances across the map quickly.
- Flaming Thunder God — the seventh form, with a full cinematic attack animation.
Final Selection: Slayer Uniform and Mizunoto rank
The Slayer Uniform half of the outfit comes from the Final Selection event, entered through its gate once you are strong enough to survive it. The run ends with the Hand Demon boss, and killing it completes the exam.
Success is confirmed by the rewards themselves. Clearing Final Selection grants the rank of Mizunoto, a Slayer Uniform, a Crude Iron Ingot, and a Kasugai Crow.
Thunder Katana, Thunder Haori, and refining
Zentaro is not only the trainer — he is also the drop source. Beating him yields the legendary Thunder Katana and the Black Dragon Armour, and repeated kills eventually drop the Thunder Haori. The haori worn over the Slayer Uniform with the Thunder Katana equipped is what finishes the Zenitsu set.
To push the weapon further, visit Refiner Hagane in Hidden Mist Village. Each refine adds damage and speed, but the success rate bottoms out at a 20% cap as the level climbs, so the run to +6 burns materials.
Farm Zentaro repeatedly rather than moving on after the first clear. The katana, armour, and haori do not all drop from a single kill.
God Speed and Indomitable Will in the original Project Slayers
In the first Project Slayers, Agatsuma is a Supreme clan at a 0.1% roll rate, and its perk sheet is built around two active skills. Indomitable Will triggers a rage outburst that slows movement and breathing without applying the usual stun.
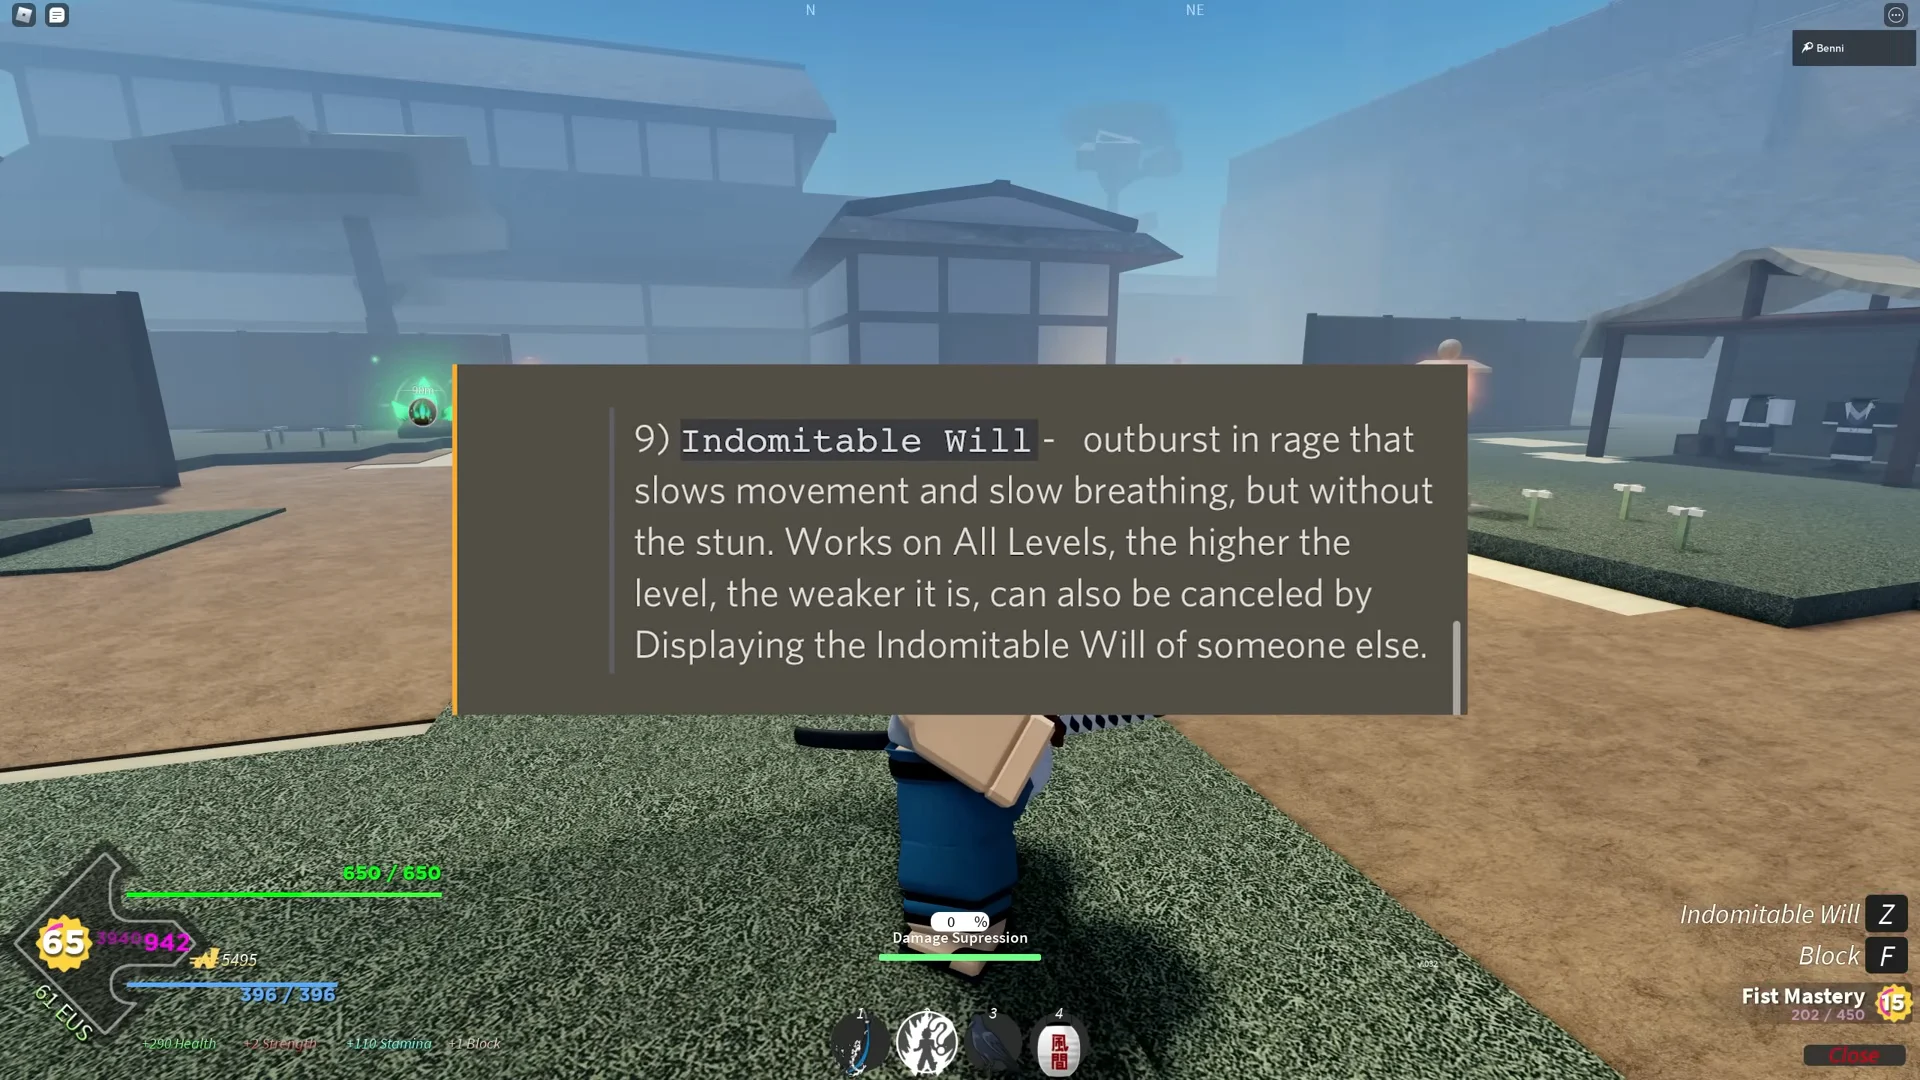
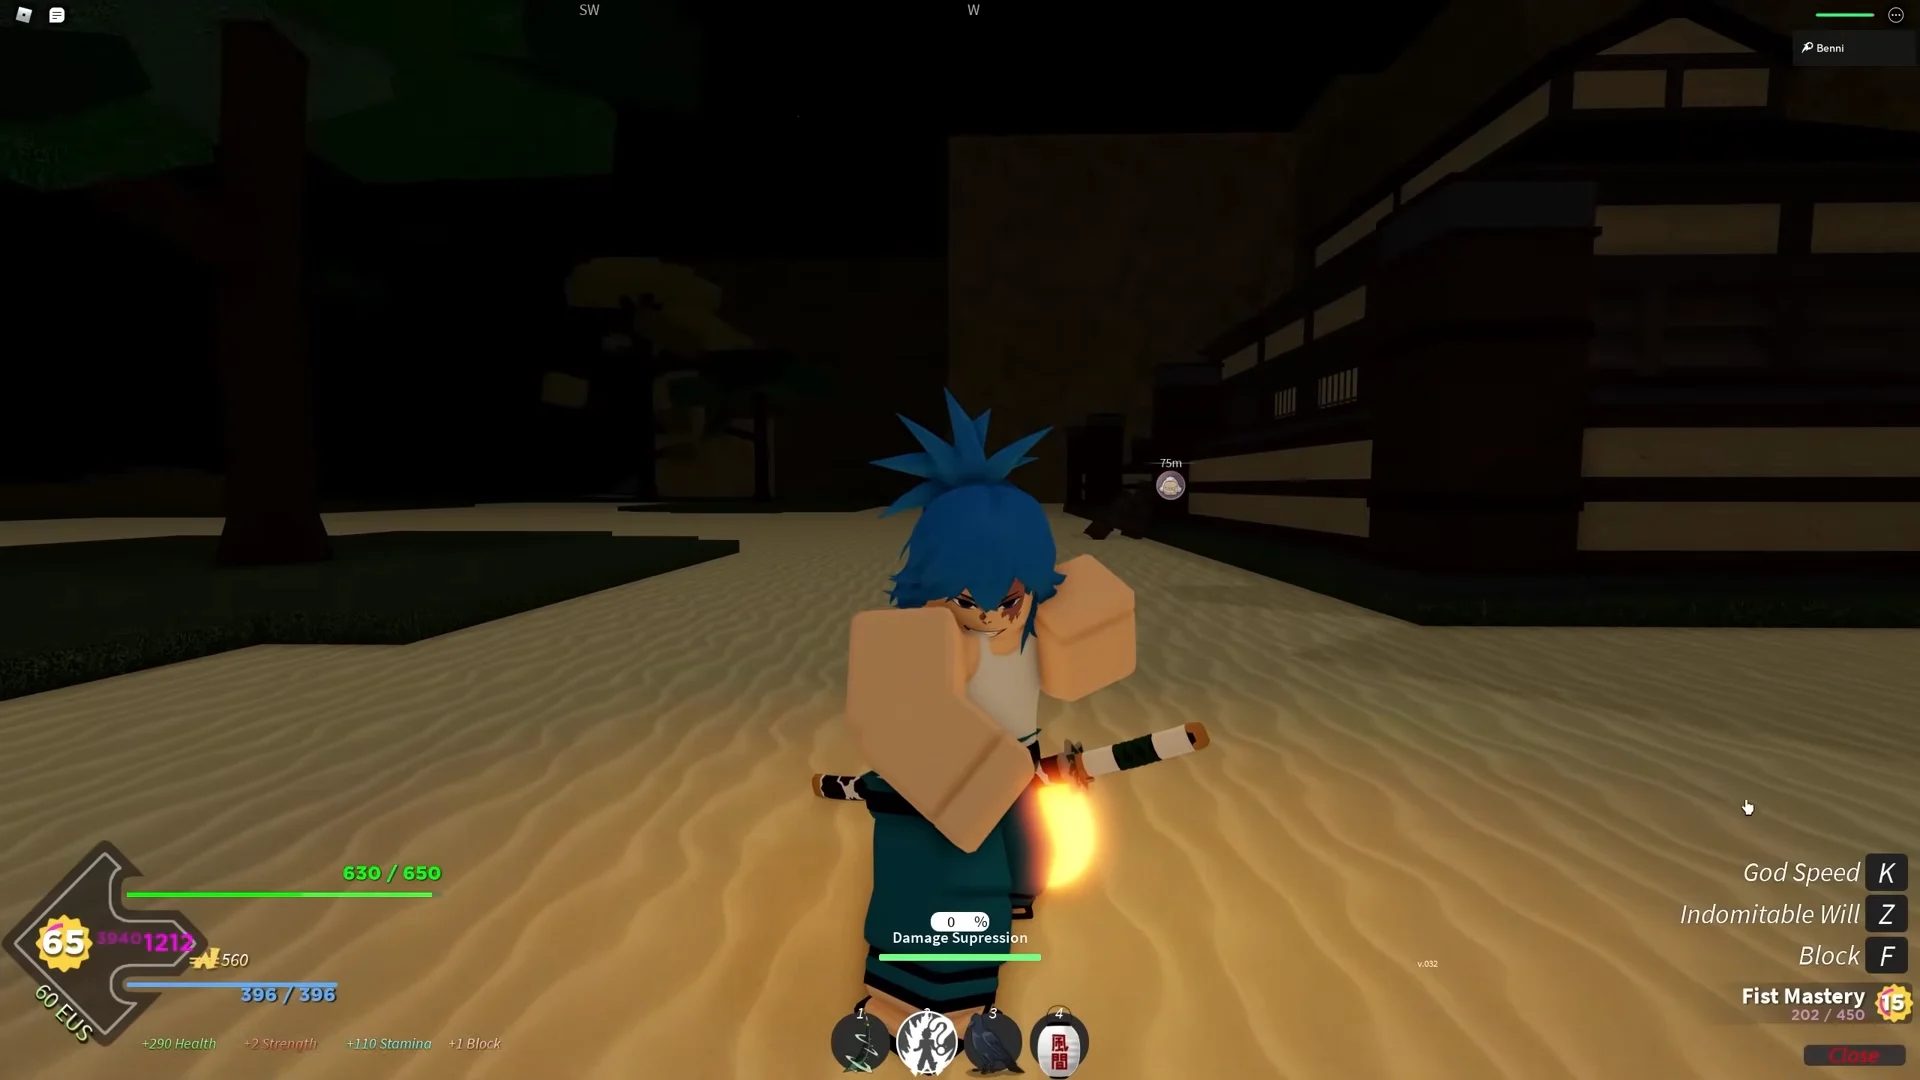
God Speed is the headline perk. It costs 45 stamina, grants a 45% speed buff with upgraded dashes, and adds a 50% damage bonus while using Thunder Breathing. The effect lasts 20 seconds on a one-minute cooldown, works with any breathing style, and requires a human or slayer character. In the skill UI it is bound to K, with Indomitable Will on Z.
Where the build gets tested: Daki in Iceveil Valley
The Upper Moon demon Daki spawns in a dark waterfall cavern reached by crossing Iceveil Valley and dropping down into the cave below. Set your spawn at the nearby camp before engaging — the fight is a long Thunder Breathing combo grind, and respawning at the camp saves the entire trek back.





