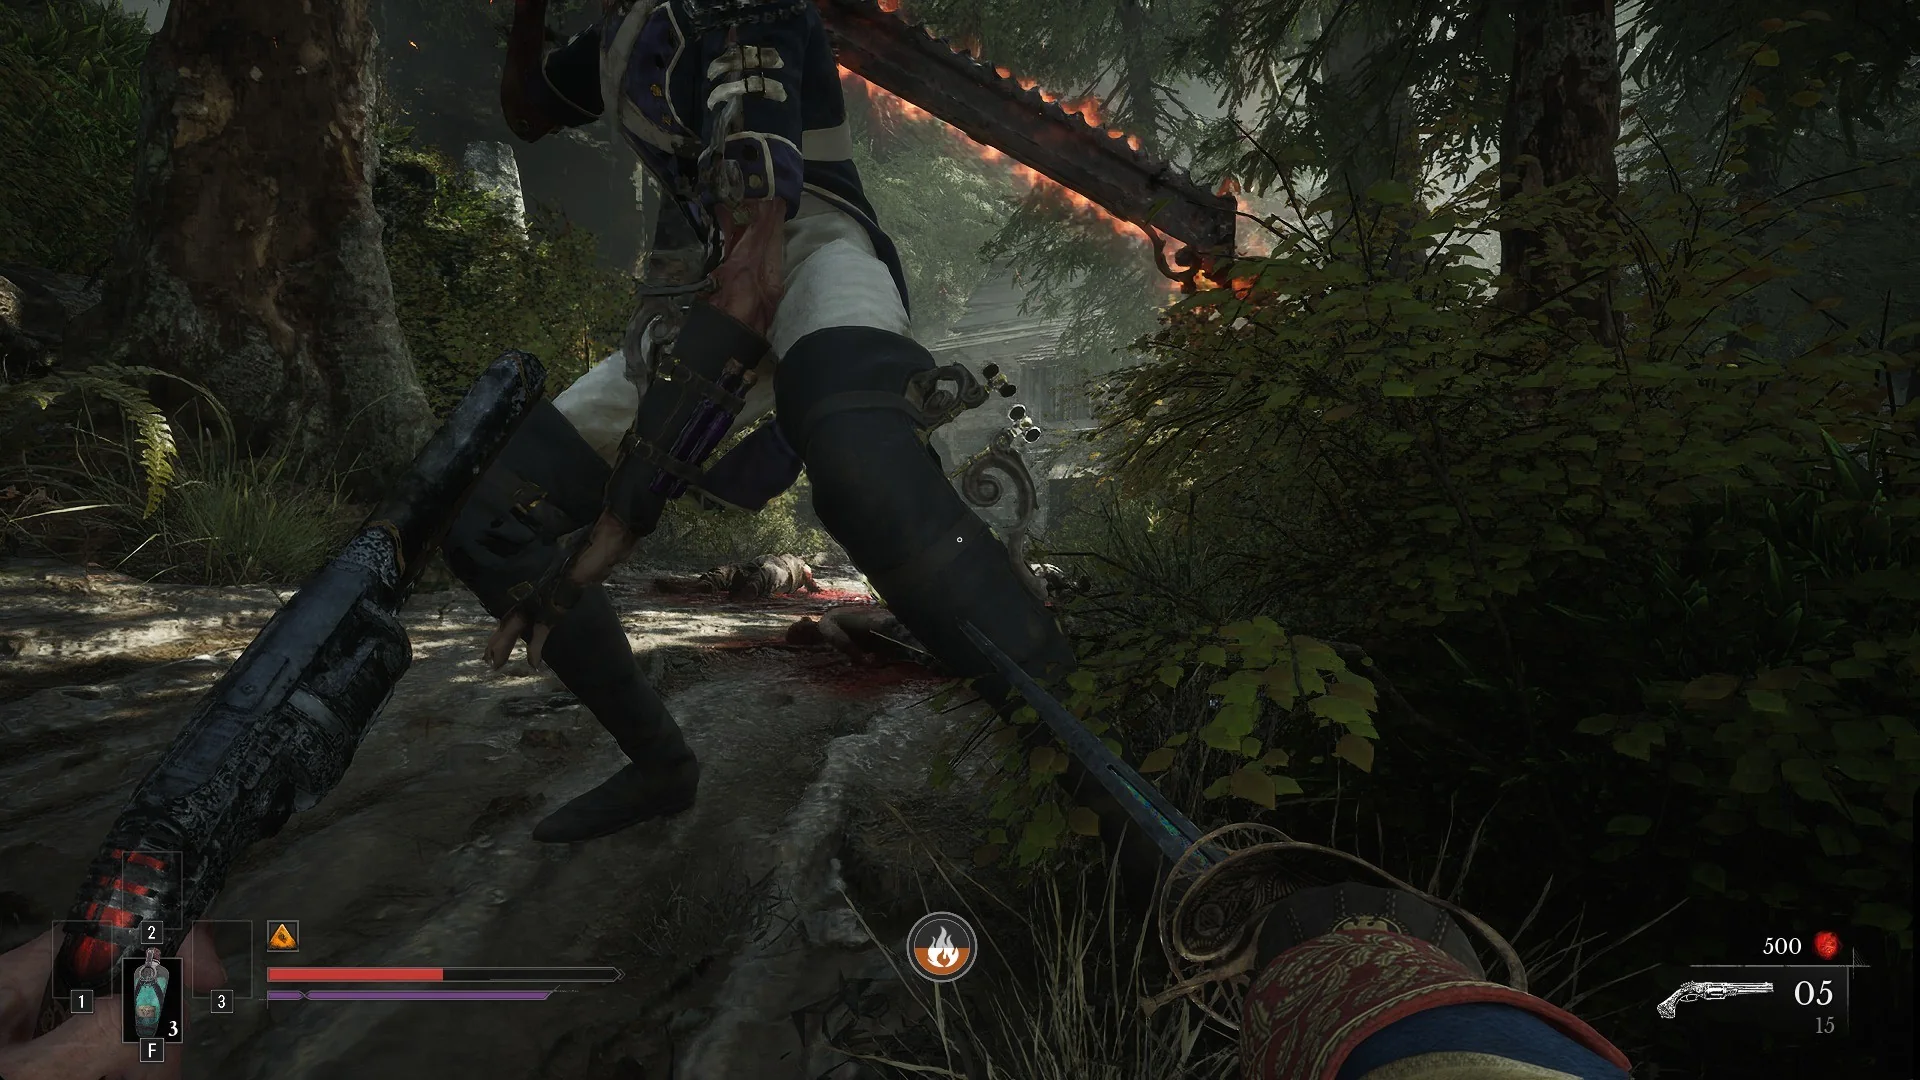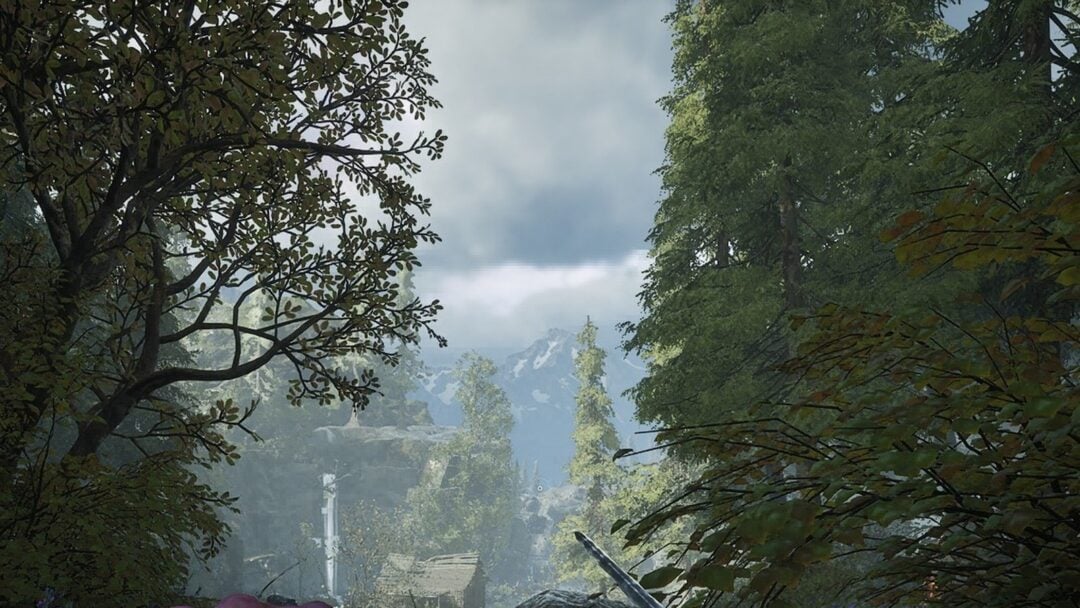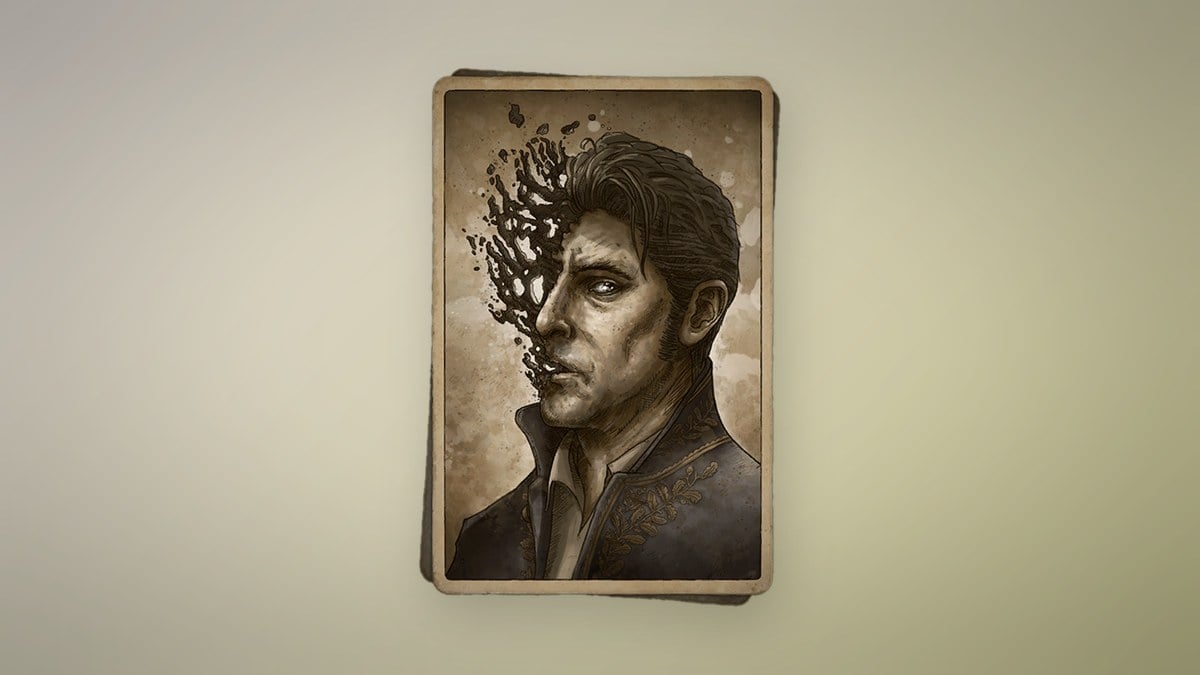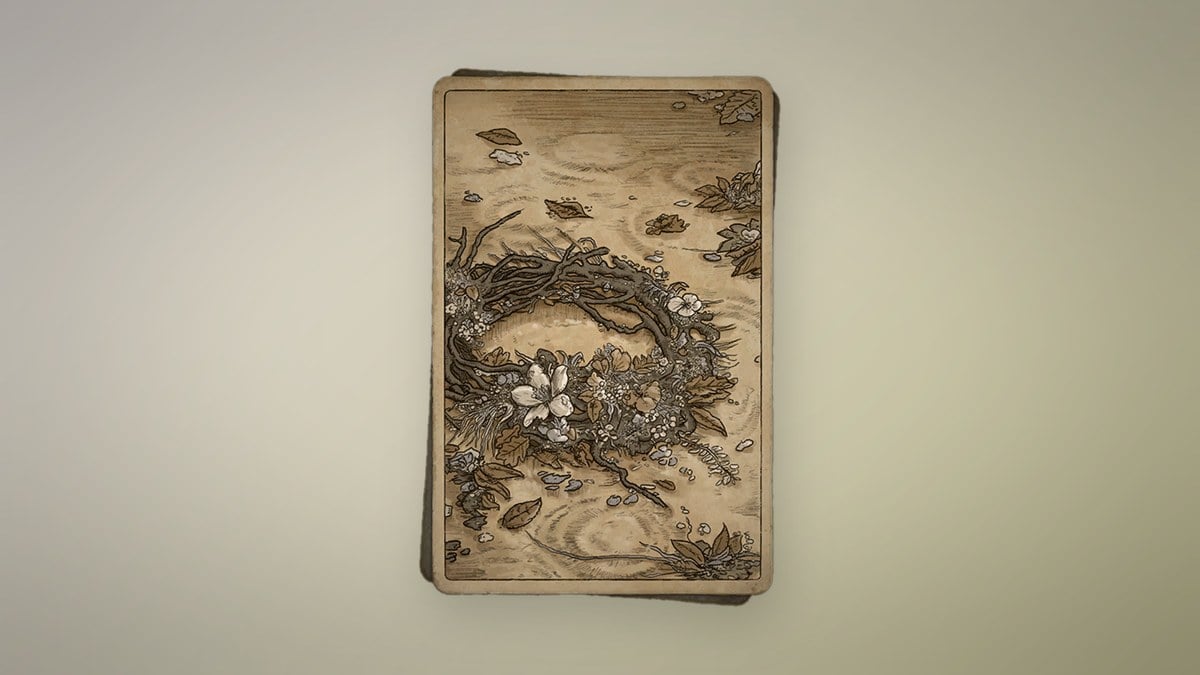
Chapter 6, Punishment, drops you into the Cursed Hollow, a flooded plague village. It begins the moment you travel to the Cursed Hollow Lantern from the Abandoned Church and ends when you step out of the ruined church at the far end into its graveyard.
Quick answer: Travel to the Cursed Hollow from the Abandoned Church, shoot the red locks to clear the huts, beat Anna in the flooded square, cross the cannons and forest, then take the Claymore in the church to reach the graveyard and finish.
Starting Punishment in the Cursed Hollow
The first Lantern here is a hanging hourglass beside a wooden fence. Light it to see “LANTERN REKINDLED”; in the travel menu it is named Eerie View. From this spot you can use the “[F] RETURN TO THE ABANDONED CHURCH” option to reach James’s Iron Bench and Louis’s lab, then travel back. When you arrive at the Cursed Hollow, “PUNISHMENT / NEW MAIN QUEST CHAPTER” appears and the chapter is underway.
Clearing the huts and catwalk locks
Drop onto the decorated street below. Garlands span the flooded square, which serves as the boss arena.
Anna, the Bride Drowned in Tears
Anna rises from the water in the decorated square wearing a wedding dress. She wields sickles, can submerge and surge back up with a lunge, and summons drowned villagers to help once she takes damage.
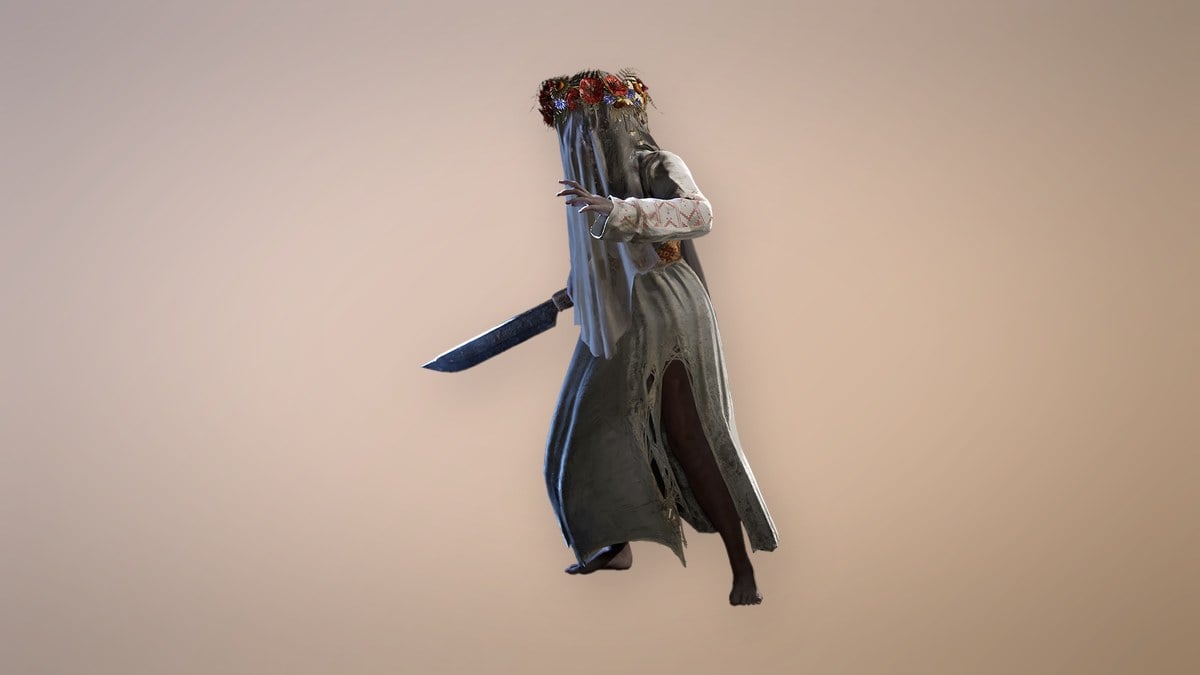
When she dies, the screen shows “ABOMINATION ERADICATED / REWARD: 14,000 CATALYSTS” and a new journal entry appears. Walk up to the altar of candles and a wreath in the square afterward. A blue memory scene plays and “TILL DEATH / NEW SIDE QUEST” begins. The quest text notes the wreath is missing a ribbon and points you to look around the chapel grounds.
Through the village streets to the army camp
[E] INTERACT and creates a shortcut. A Remnant’s Return waits on the other side. Follow the street to the next Lantern, where a small cottage sits ahead with a man watching from its loft window.To get from the riverbank to the forest, make your way across the flooded ground via planks and rooftops, using the [E] GRAPPLE posts. Then follow the rocky hillside path upward.
The forest and Seamus Diggory’s shack
At the summit of the trail, in the dark forest, an ornate red chest is set against a cliffside. Open it with “[E] OPEN (HOLD)” to obtain the Indestructible Shell Amber. Search around the abandoned carts for Special Ammunition, Fire-Clad Rounds, and an Oil Grenade.
The Curious Case of Seamus Diggory
Seamus is locked inside a wooden shack in this forest. He speaks through a window peephole, offers dialogue choices, and asks you to bring him blood.
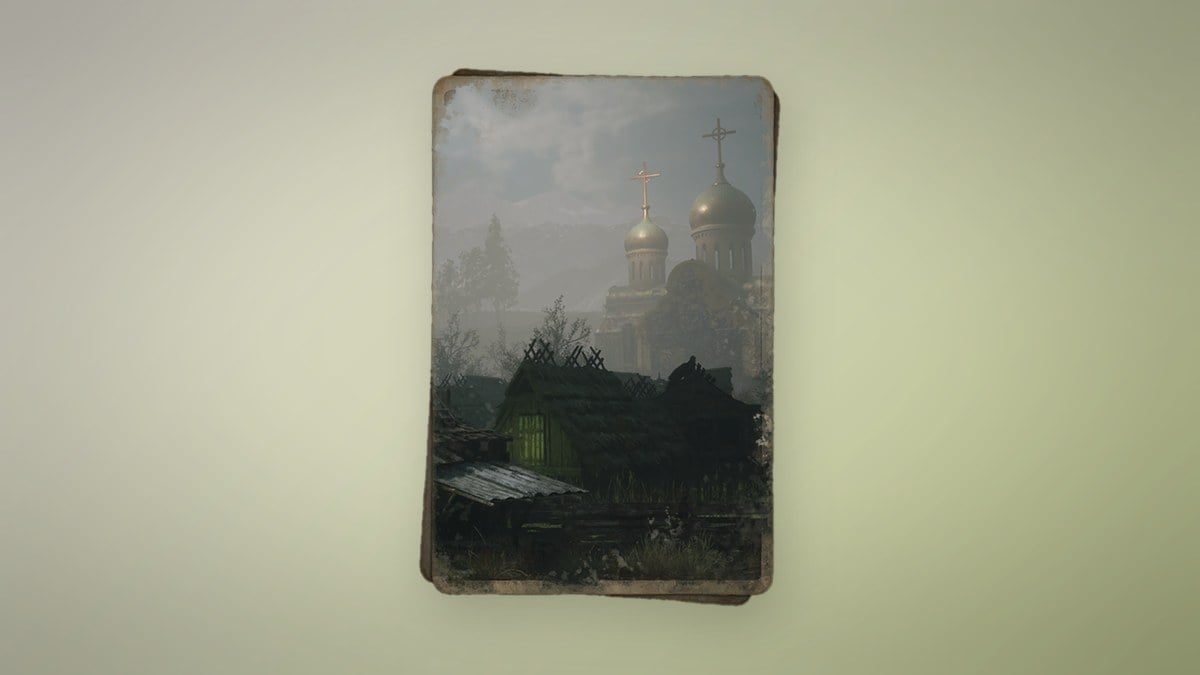
Collect the three pages of Seamus’s Journal around the homestead. A freshly dead pig in the yard fills your Empty Bottle, giving a Blood-Filled Bottle, and a barrel in the meat shed holds a Bottle of Wine while the quest updates. Return to the shack and hand him the blood bottle to see “THE CURIOUS CASE OF SEAMUS DIGGORY / QUEST COMPLETE” and receive a Ferrofluid Flask Power Upgrade.
Second village, farmland, and the church Claymore
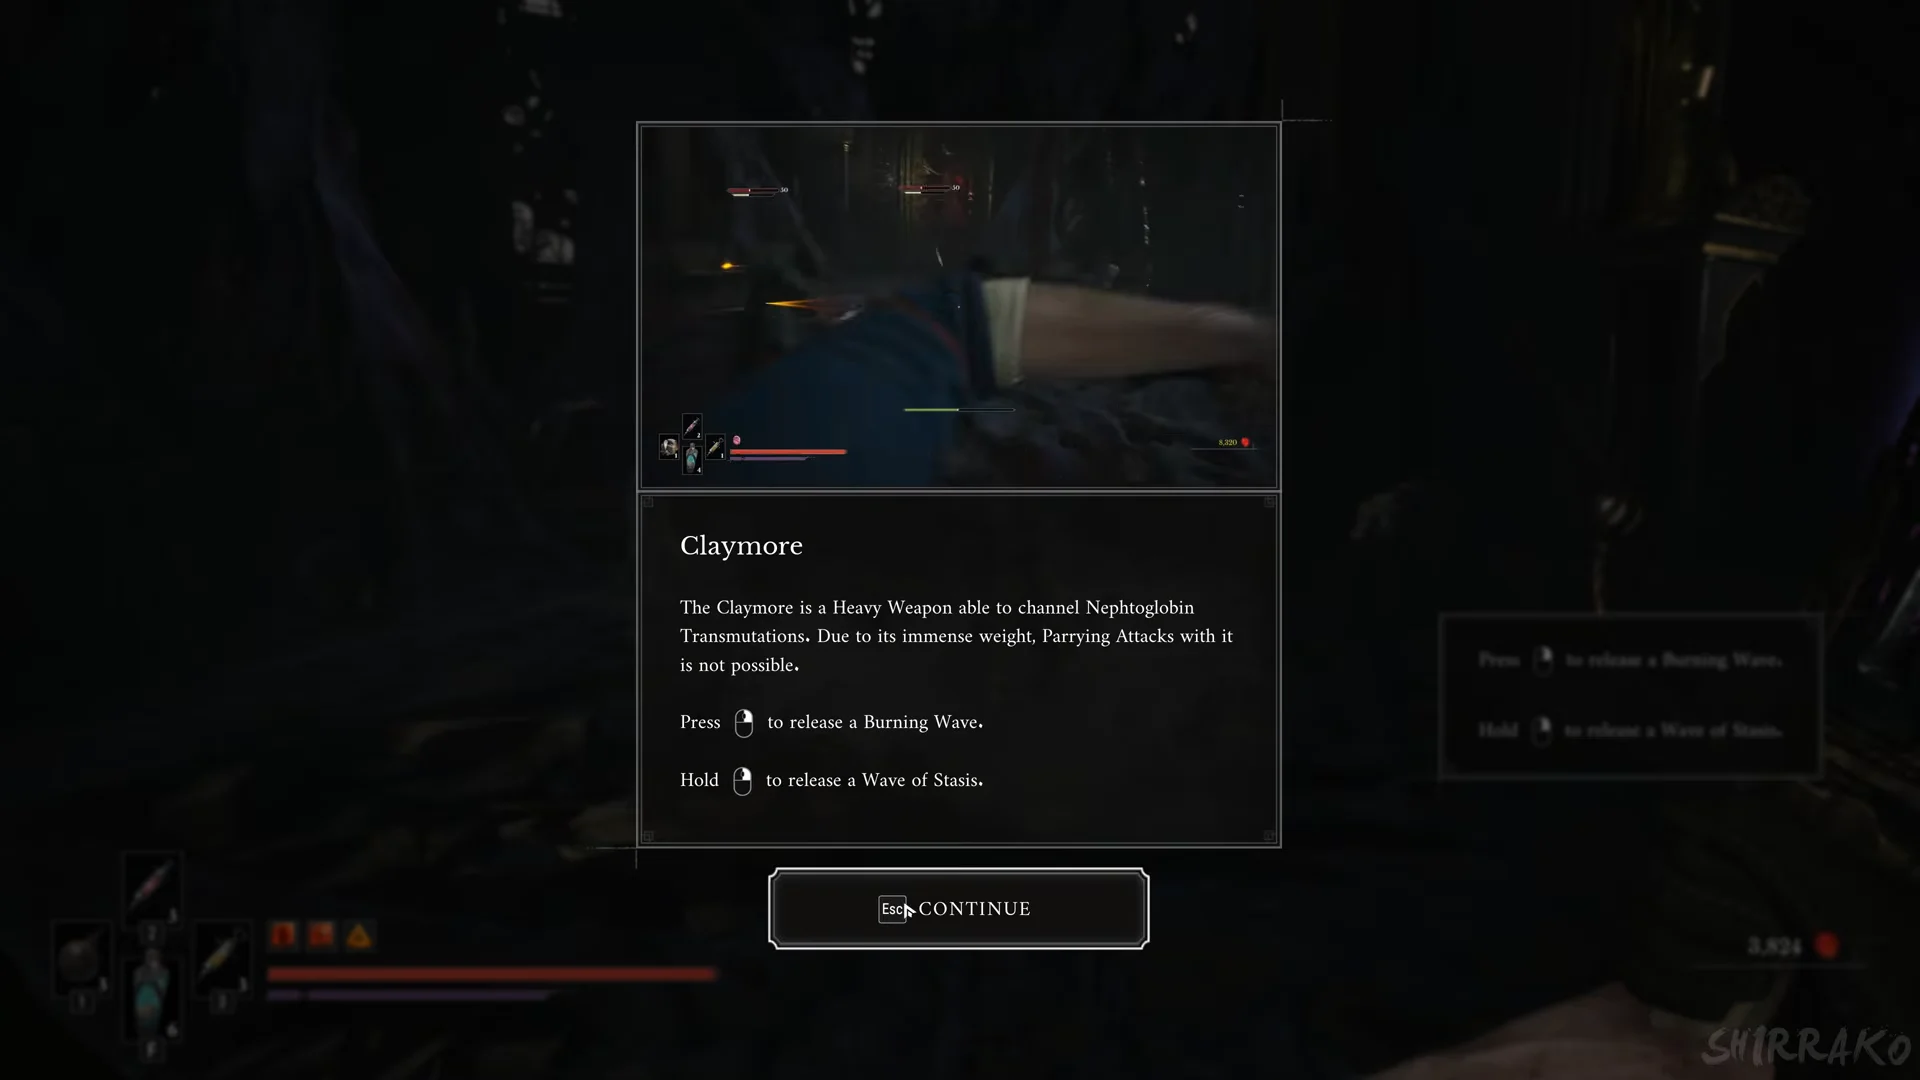
Deal with the guardians, then walk out through the graveyard.
Three Ambers in Punishment
| Amber | Where to get it |
|---|---|
| Wound that Heals | Dropped by the mutant guarding the narrow passage |
| Indestructible Shell | Ornate red chest against a cliffside in the forest |
| Life Diverted | Red chest behind the chalk-marked shack in the farmland |
After walking out through the graveyard, Chapter VII, Witch Hunt, begins in The Outskirts.