Recursions and Iterations is the main story mission that sends Dylan Faden under the Sinkhole to find a missing FBC research team led by Dr. Grist. It is also the mission where most players get stuck, because the route dead-ends at a gap you physically cannot jump. The fix is another quest entirely, and the rest of the Underpass only makes sense once you understand that the research camp exists three times over.
Quick answer: The Underpass chasm stays impassable until The Subway Fault grants you Reach. After that, work the three research sites, restore the power, ride the cable car, and place the final probe relay.
Why the quest stalls at the Underpass chasm
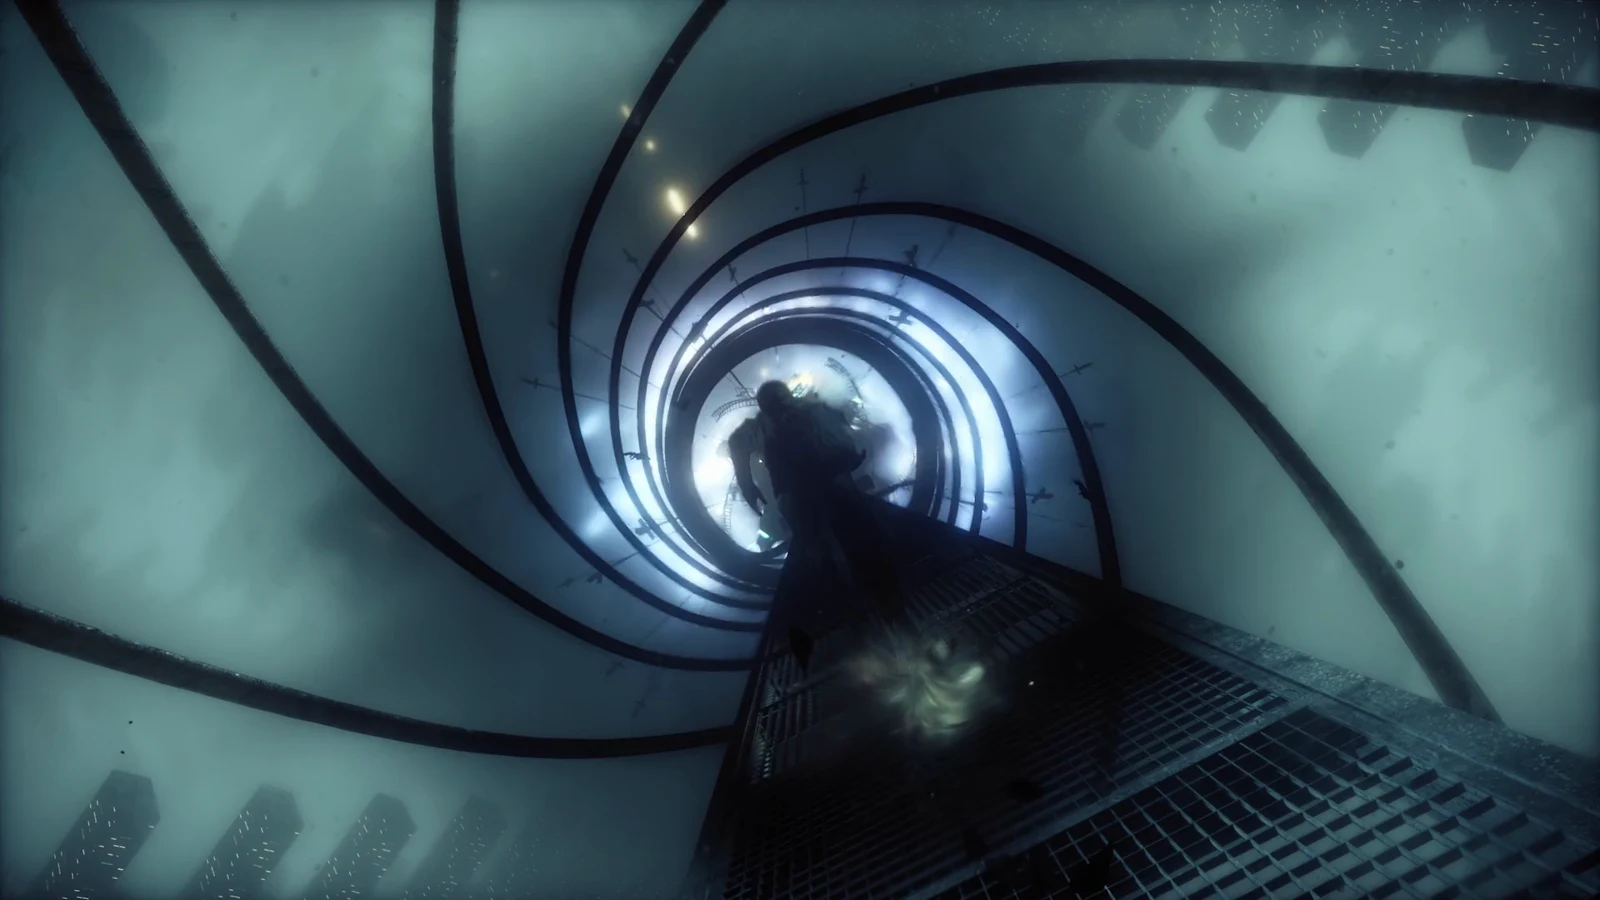
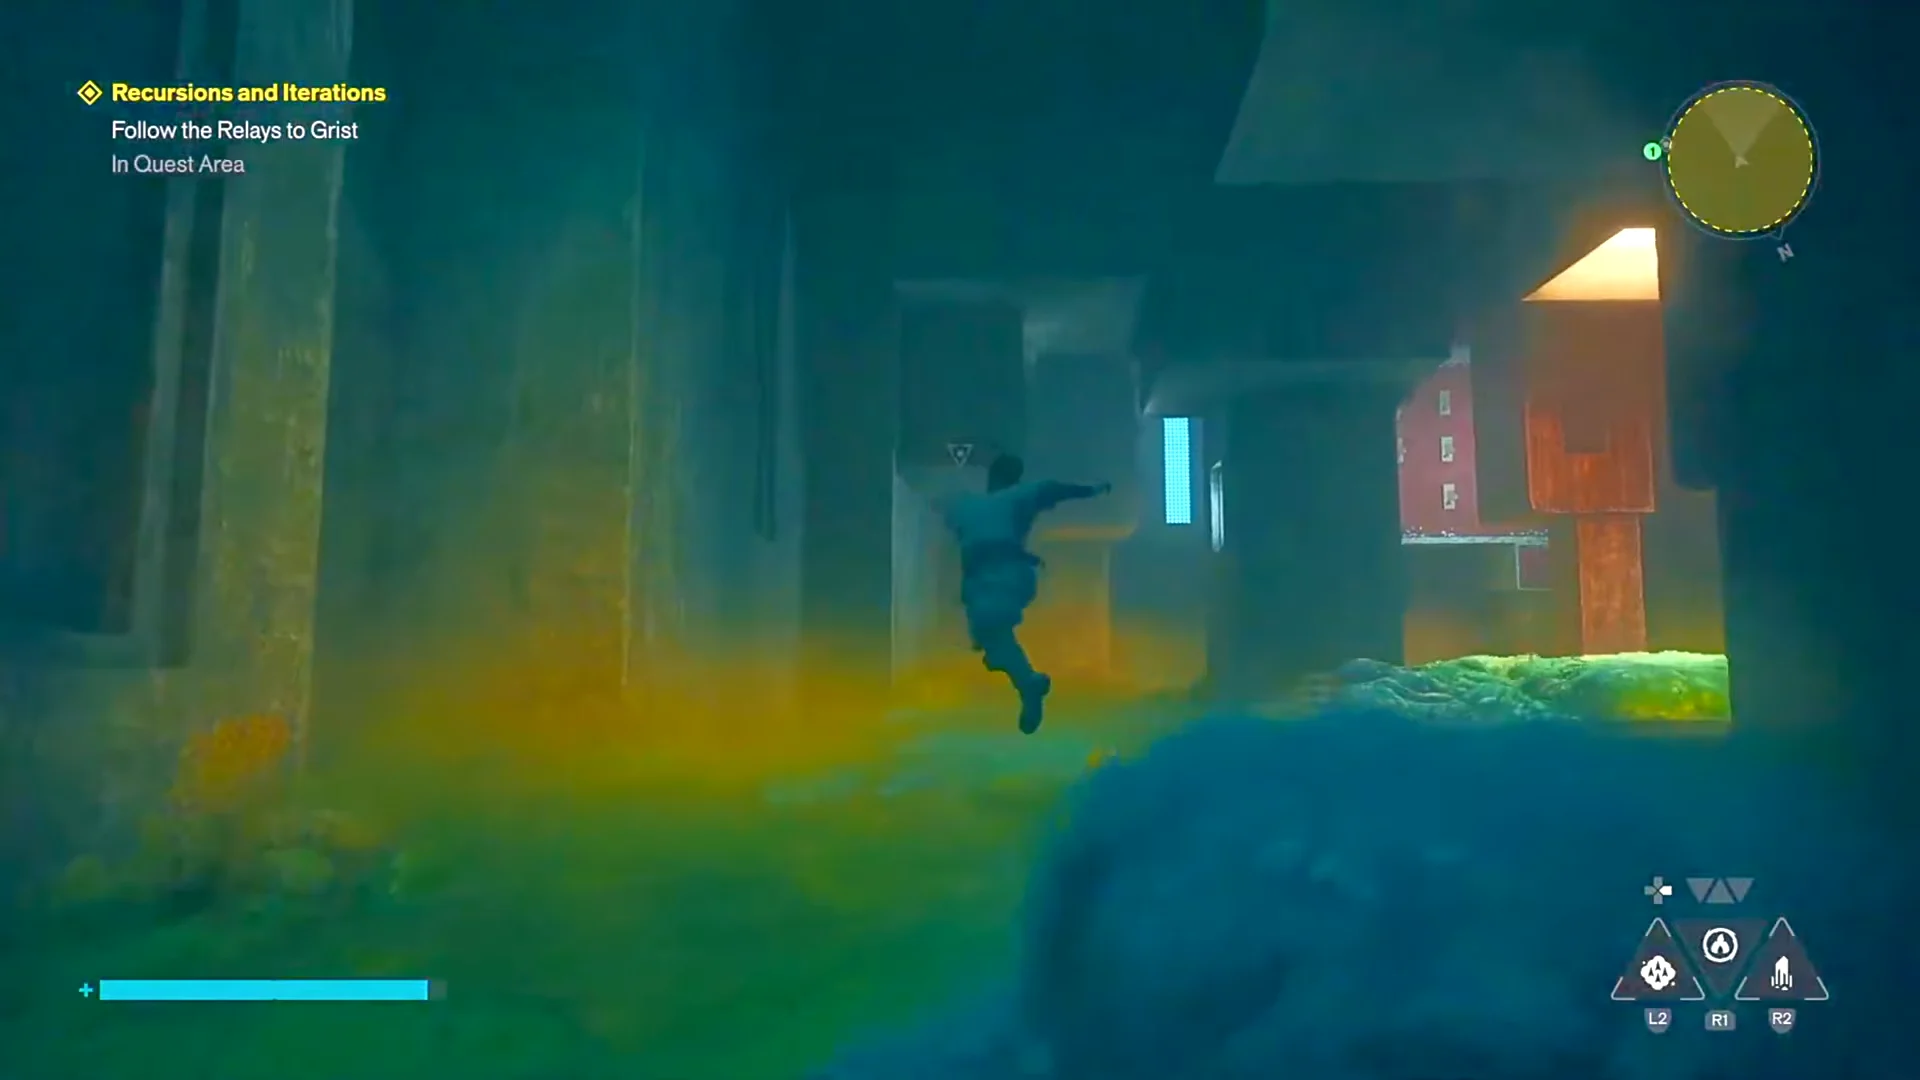
After Emily Pope sends you below the Sinkhole, the objective reads “Locate the Research Team” and the path through Underpass 1, 2 and 3 works normally. Then you reach a ledge overlooking a distorted void with the objective marker clearly on the far side. No amount of double-jumping or dodging closes that gap. It is a deliberate navigational softblock, not a missed platform.
Zoe flags a report about the Subway Fault at roughly the same moment, and that is the hint. Jesse Faden’s Faults are part of the traversal progression, so the ability you need to keep going is locked behind one of them. Unlock the Halfway Trail fast travel door on that ledge before you leave, because you will be coming straight back to it.
A vision of Jesse also appears in the Underpass near an island of orange pipes, which starts The Underpass Fault. That one cannot be entered until the Evacuation Zone Fault is done first, so treat the subway as the priority.
Route from the Oldest House lobby down to the Underpass
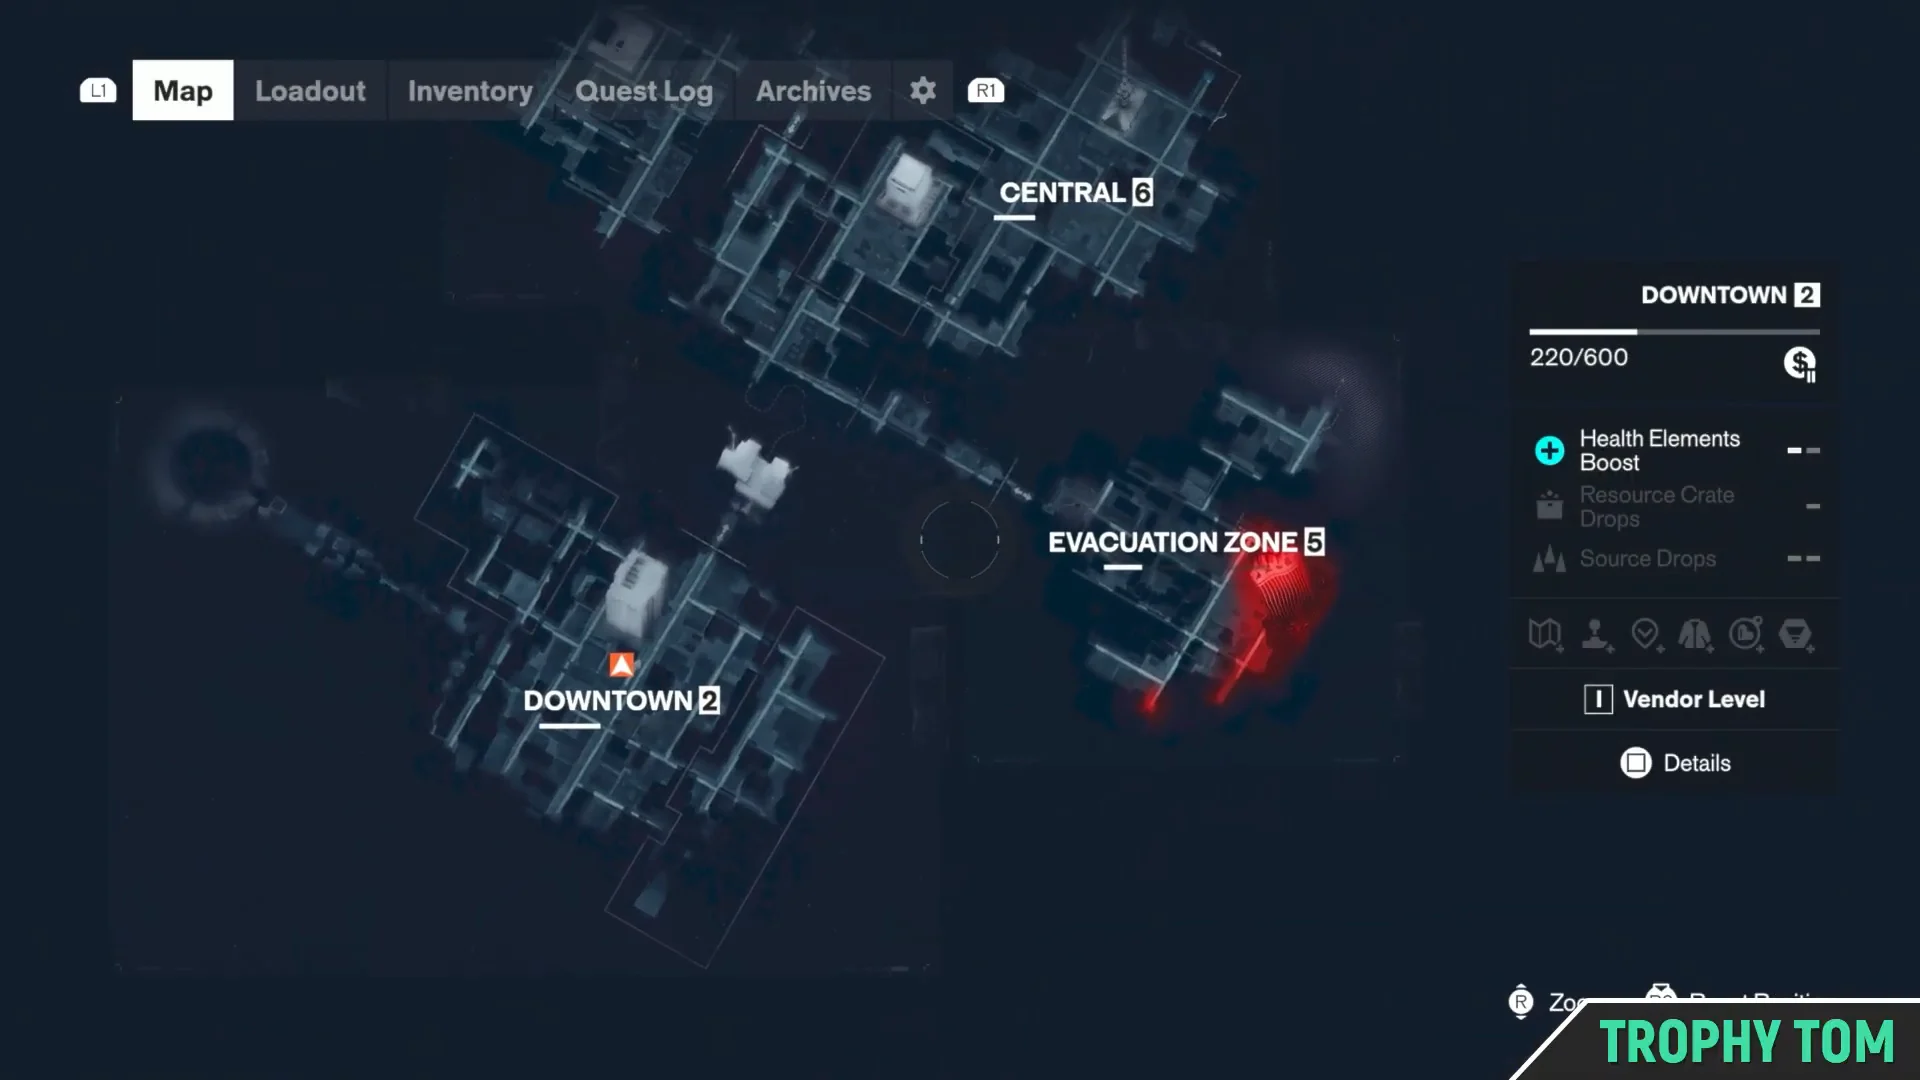
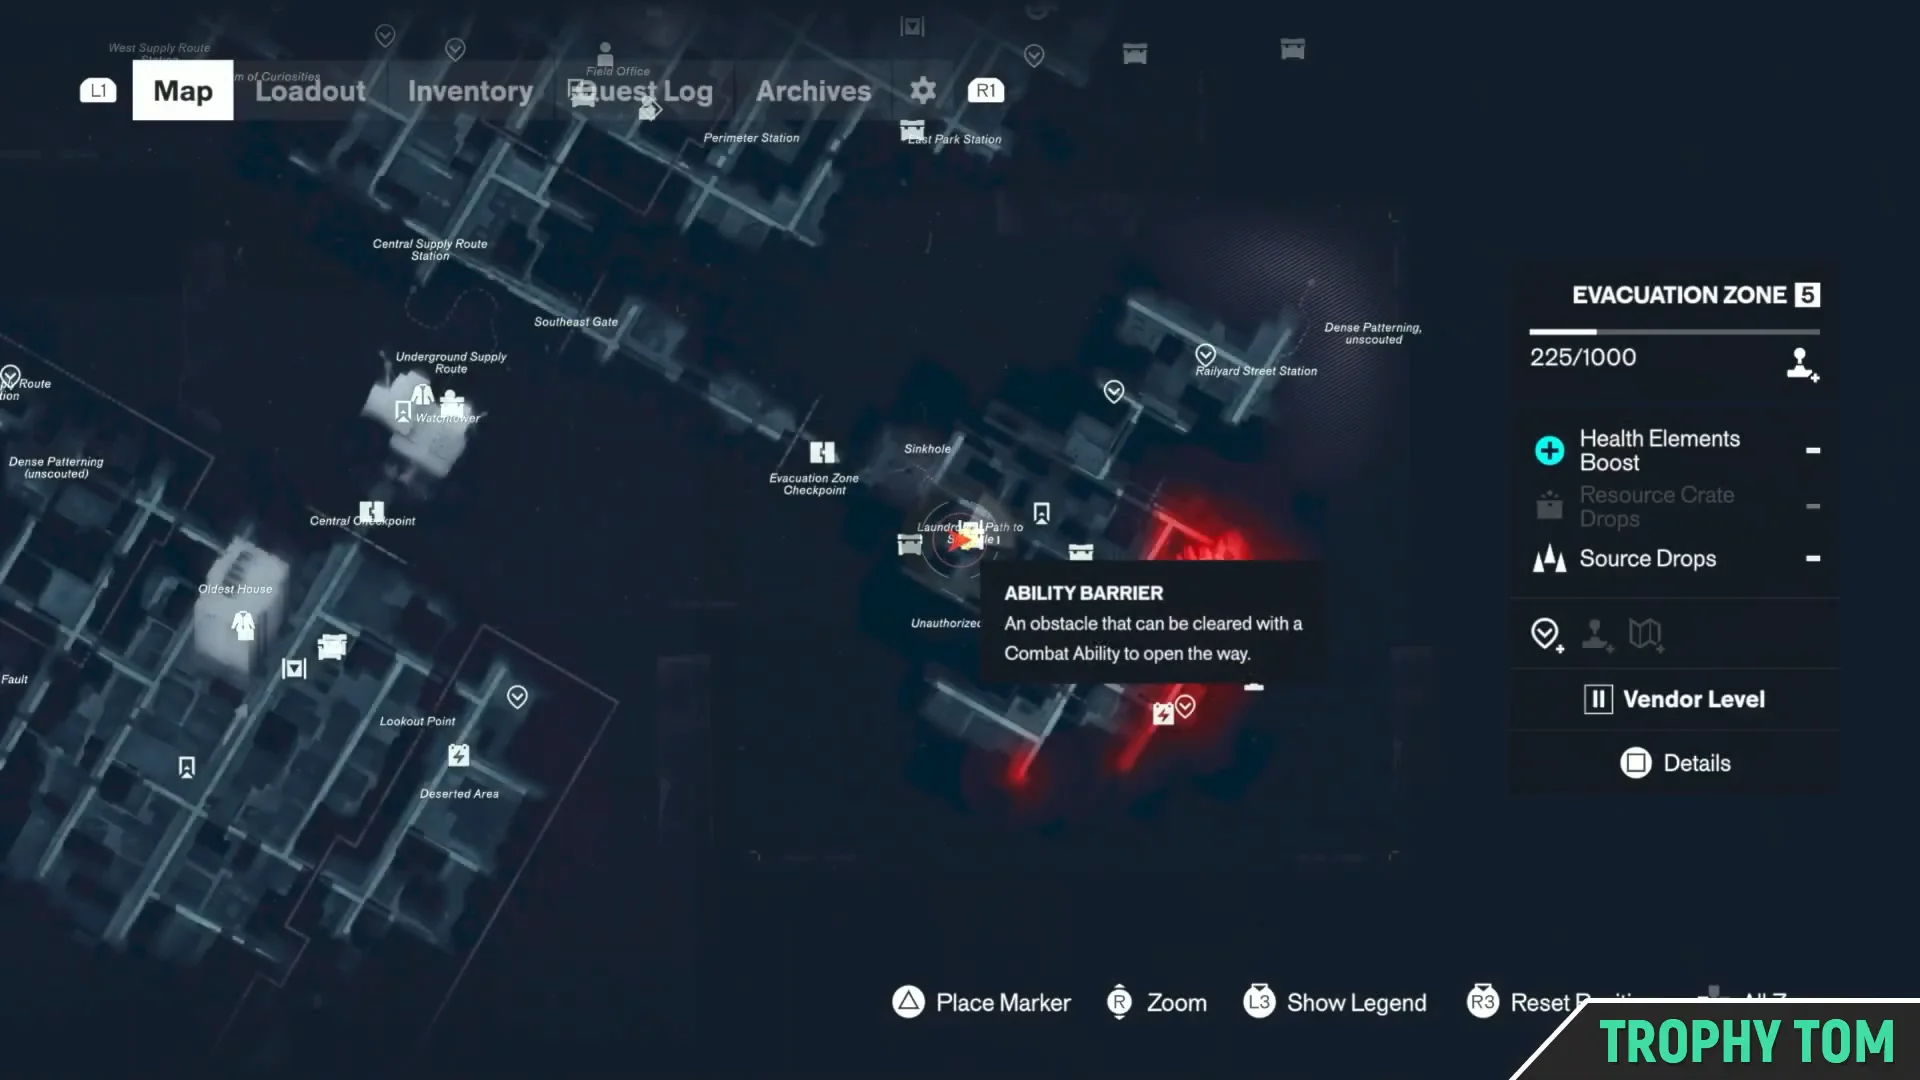
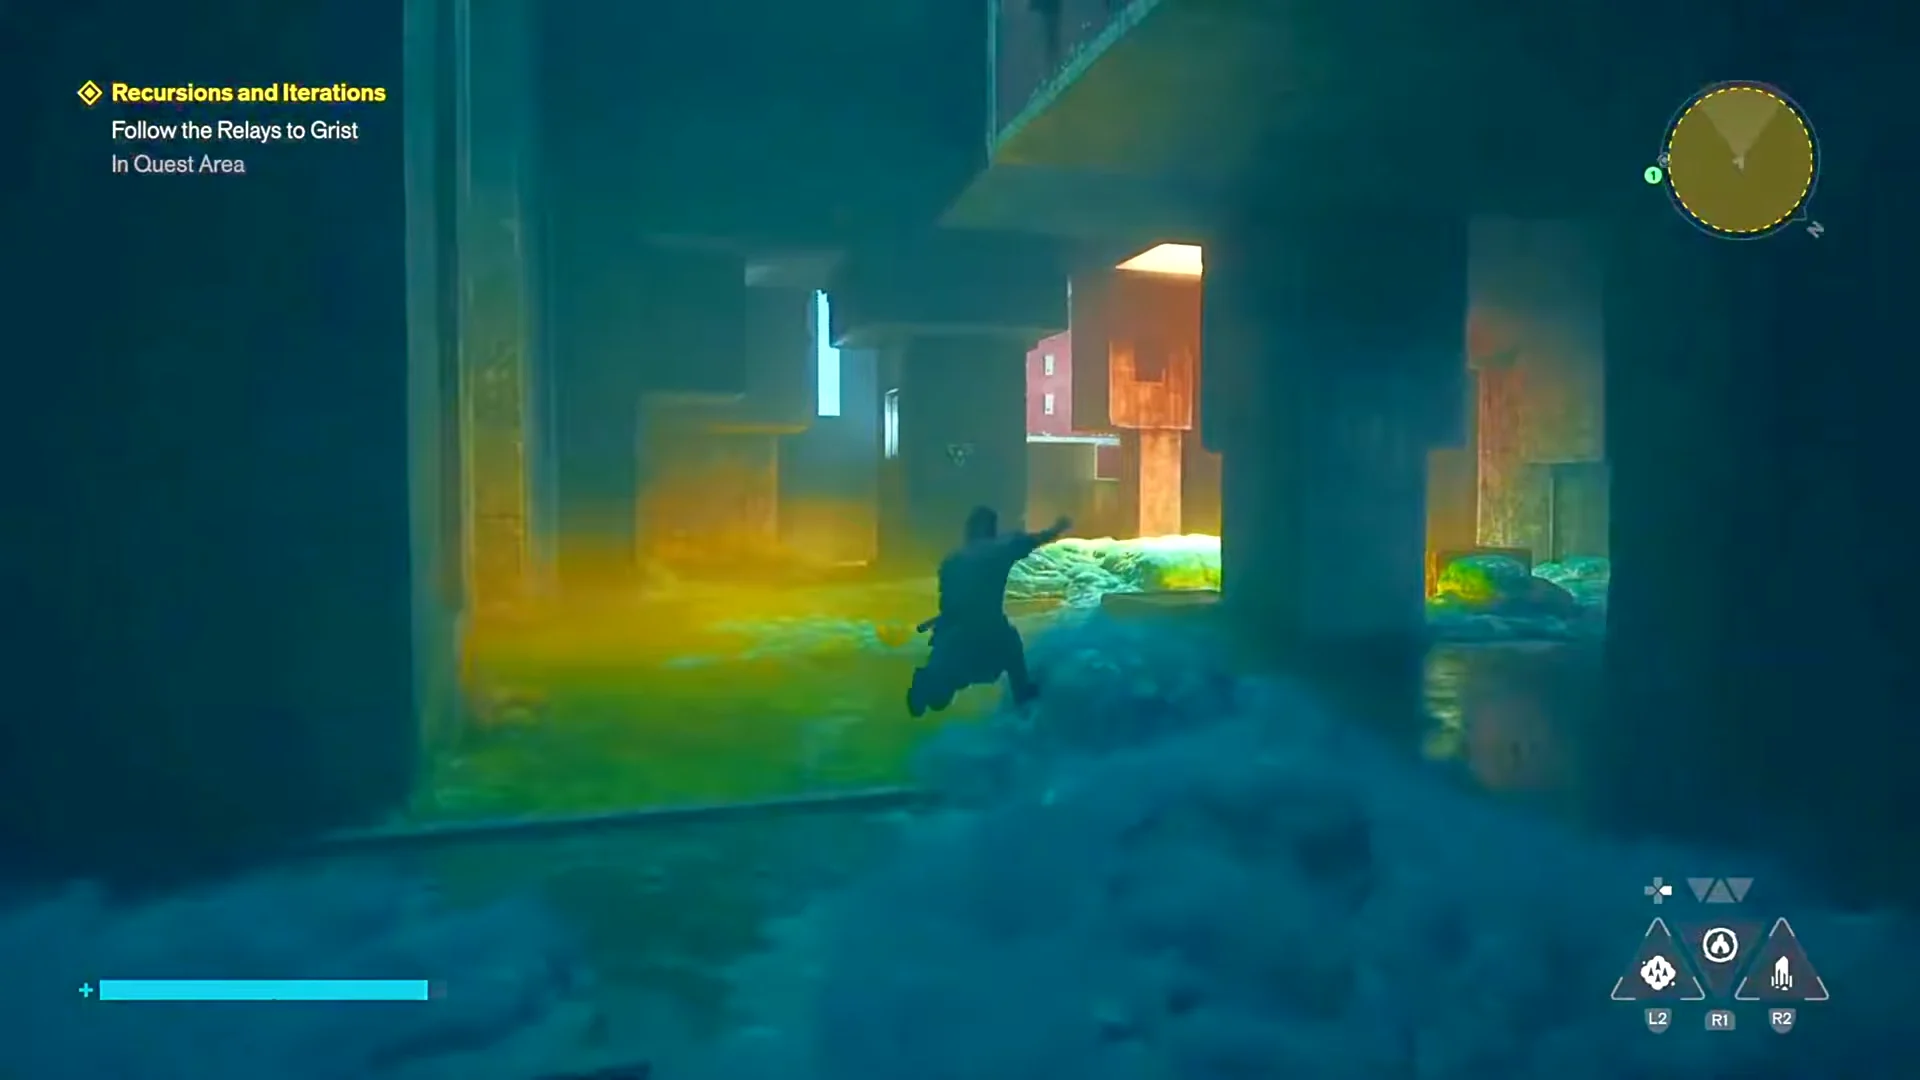
Four fast travel doors open across this stretch, and all of them save real time later:
- The Spire — the deserted camp with the research equipment in Underpass 2.
- Halfway Trail — the ledge at Underpass 3, right before the impassable gap.
- Patterned Metro Tunnels — your exit from the subway in Evacuation Zone 6.
- Research Stations — unlocked at the second research site once you are across the chasm.
The Subway Fault: How to unlock Reach
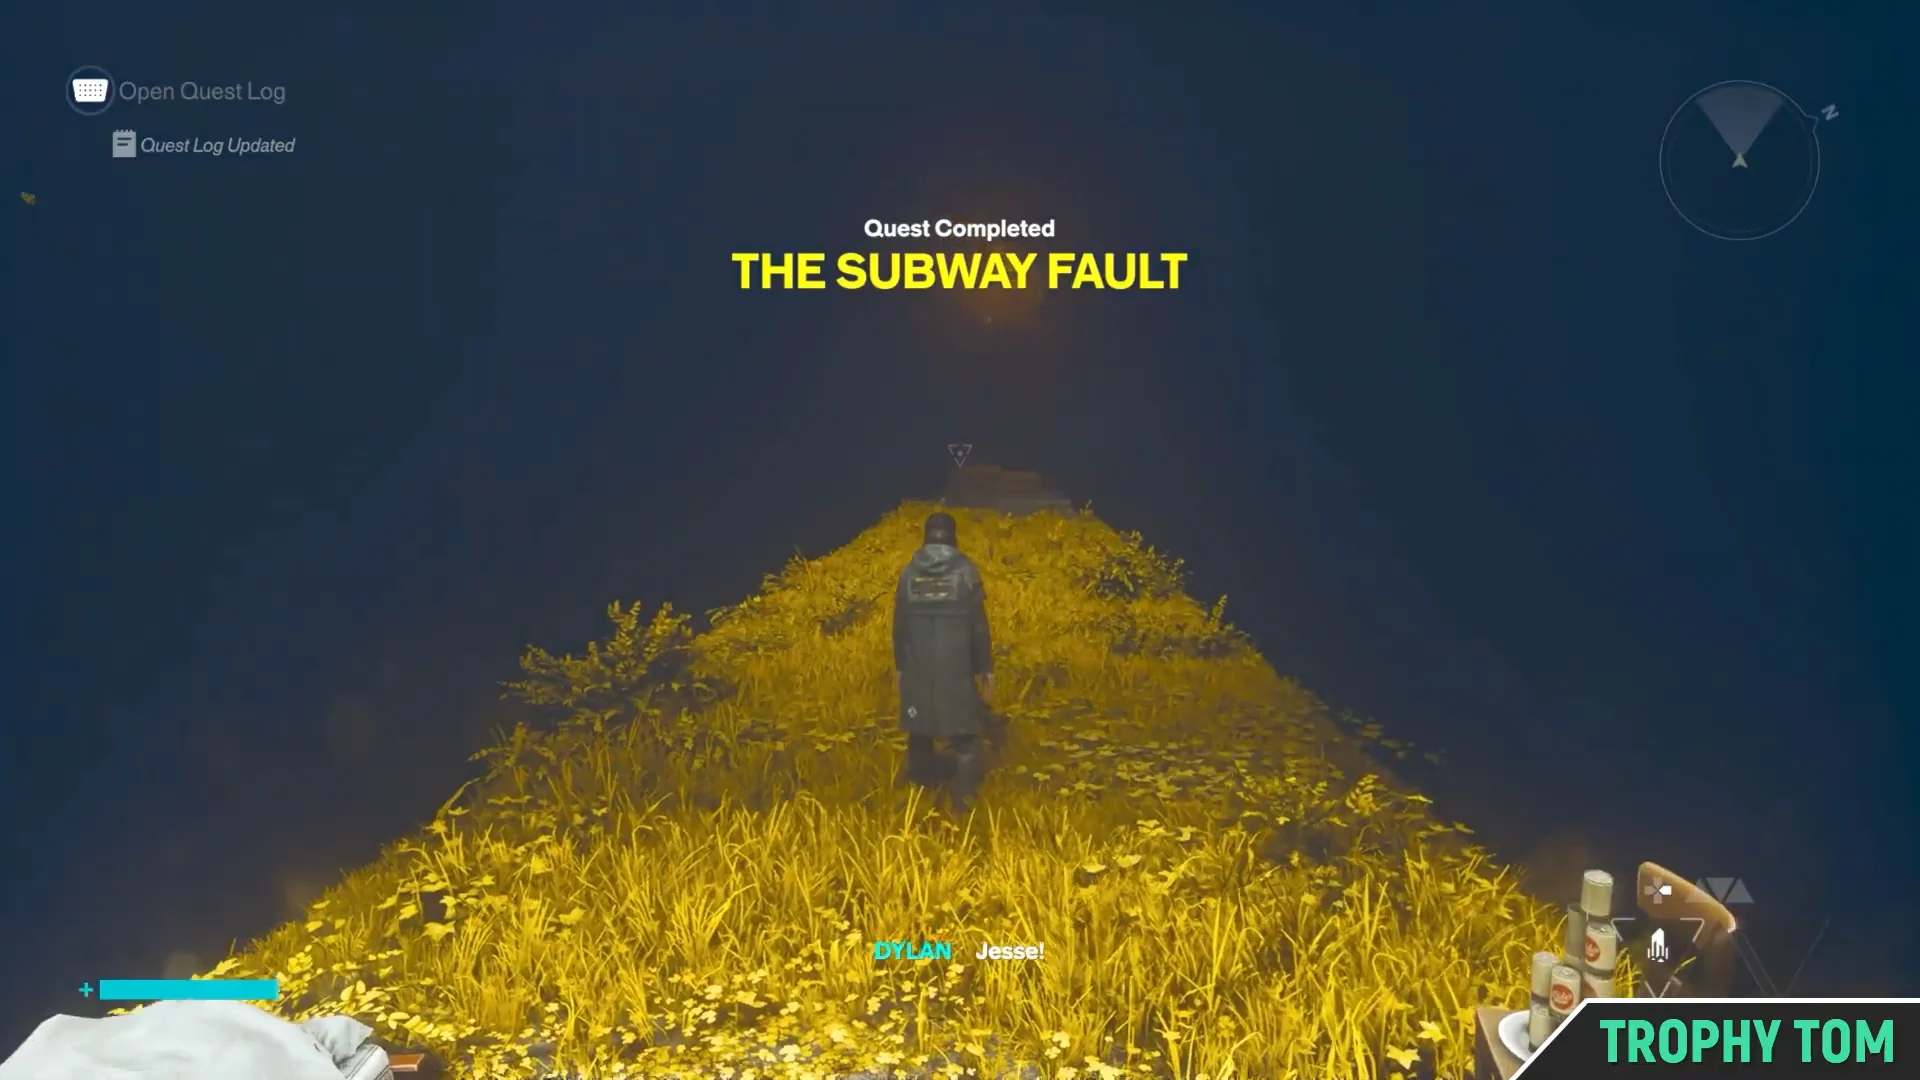
Fast travel back to Evacuation Zone: Main Street. The Board speaks on the rooftop and the quest The Subway Fault appears, pointing you at the subway entrance down at street level. The station stairs are marked by a blue-green distortion.
The three research sites and how to tell them apart
Past the chasm, the mission stops being a traversal problem and becomes a timeline problem. The same research camp exists three times across the floating pillars, each one showing a different version of what happened to the team. They look nearly identical, so use their fixed landmarks rather than the layout to work out where you are.
| Site | Landmark | What happens there |
|---|---|---|
| Site 1 | Cable car station and generator consoles | Team found dead, later Ayad alive, power puzzle, chasm crossing |
| Site 2 | Research Stations fast travel door | Schultz’s team disintegrates, Grist Research Log #3, route to the tower |
| Site 3 | Far camp past the pillars | Grist alive, her tracking device on the table, the ledge jump |
On the first pass, visit the sites in sequence. At Site 1, report the dead researchers; at Site 2, report the anomaly after Schultz and the others fall into corpses before you; then reach Site 3, where the team is alive and Dr. Grist is available to speak with. Before leaving, take Grist’s Tracking Device from the folding table. That acquisition changes the objective to “Track the Time Fluctuations”.
How to restore the power at the first research site
Return to Site 1 with the tracking device and speak to Ayad beside the console. He explains that the facility has lost power, then indicates the tape on the floor. Leave the tape alone at first and inspect the yellow wires running from the console; they guide you to the main generator room, which contains four power cores, three of them inactive.
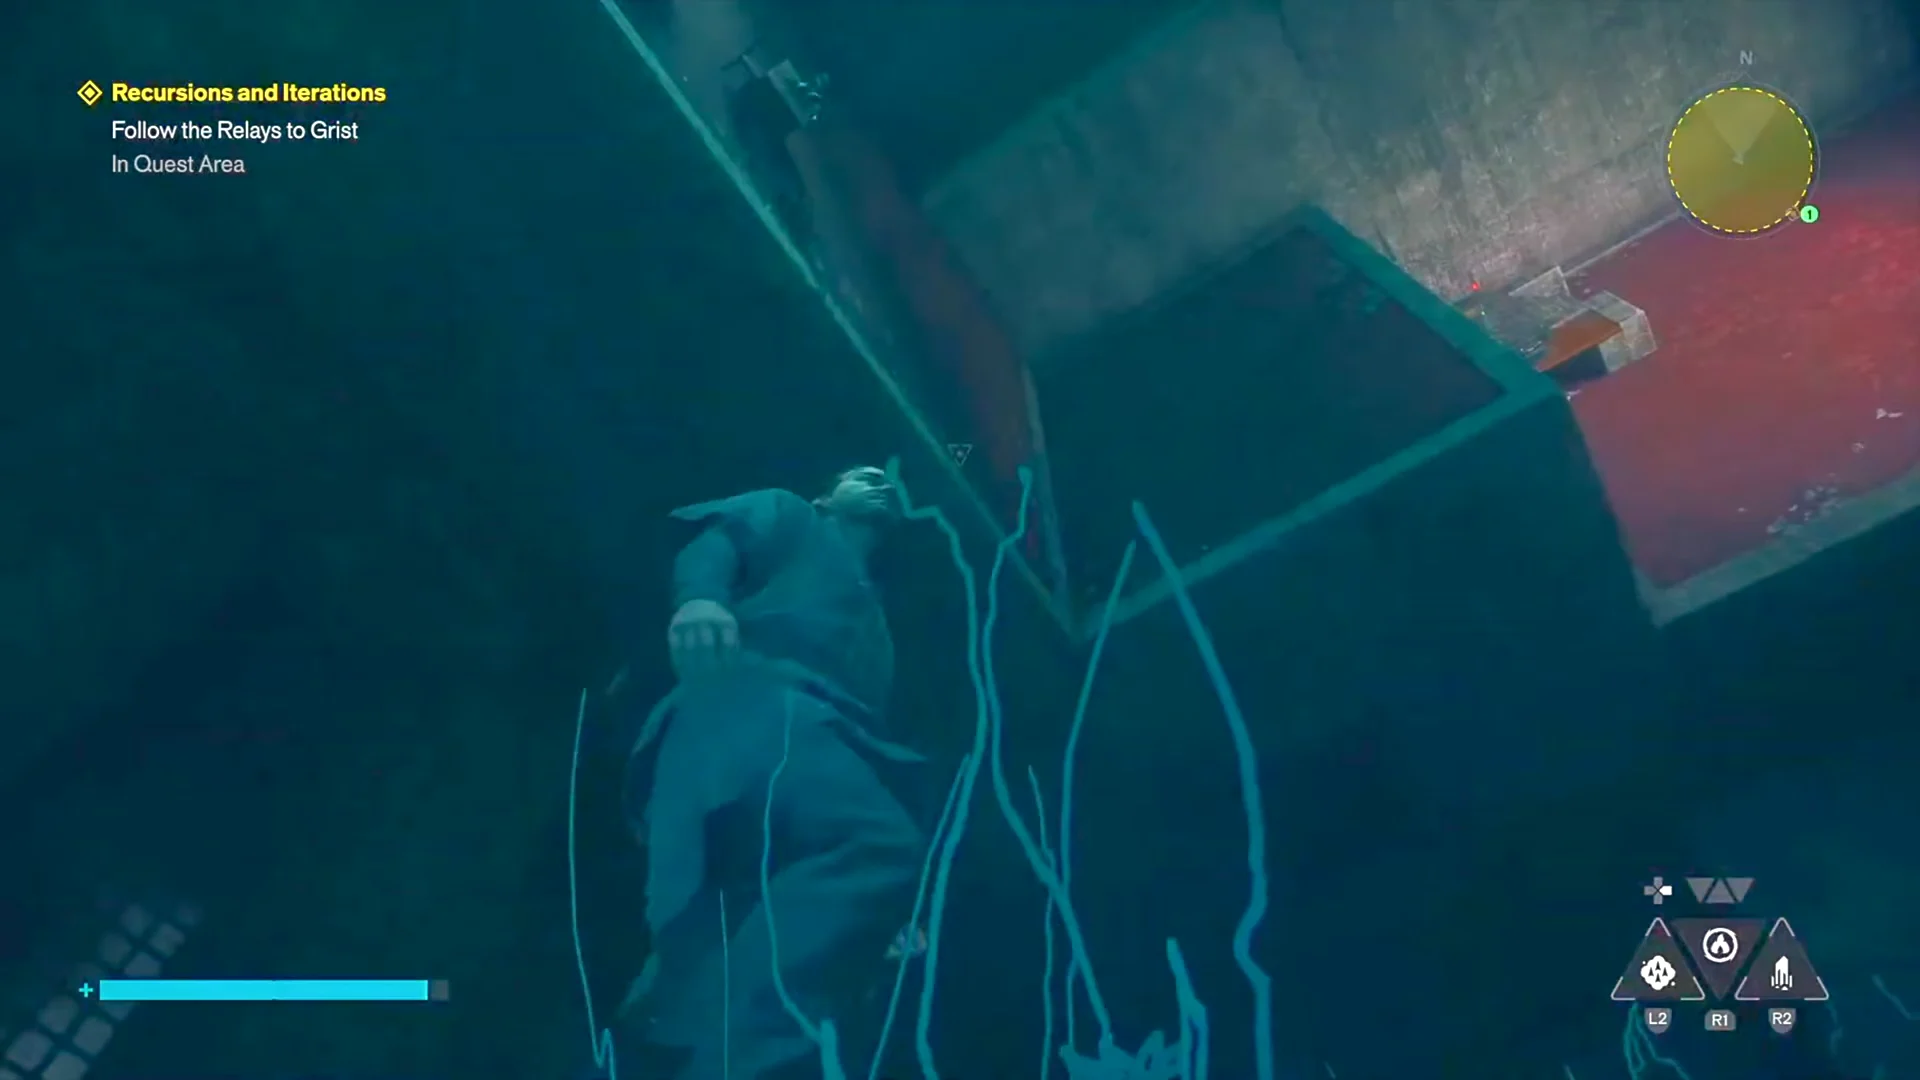
Use Reach on the anomalies along the way to cut the return trip short. Reorienting gravity turns walls into direct paths back to the generator room and is often the difference between making the timer and losing the charge.
Completing the circuit makes all the cabling glow yellow, confirming that the puzzle is finished. Go back to Ayad, who is collapsed and dying beside his own corpse—a grim sight, but the intended result.
Locate Grist, then defend the transmission tower
Cross the chasm and place the final probe relay
The tree bursting into white blossom is the confirmation. Pope and Zoe come over the radio to confirm the data is coming through from beneath the Oldest House, the “Quest Completed” banner reads RECURSIONS AND ITERATIONS, and you receive the Prime Candidate Restraint Suit outfit along with a Living Shard. If the tree has not bloomed, the relay is not seated in its mount yet — interact again until the activate prompt fires.
From here the Underpass still holds separate business, including Jesse’s Fault and the region’s Resonant near The Spire, so check the quest name in the corner before chasing the nearest marker.