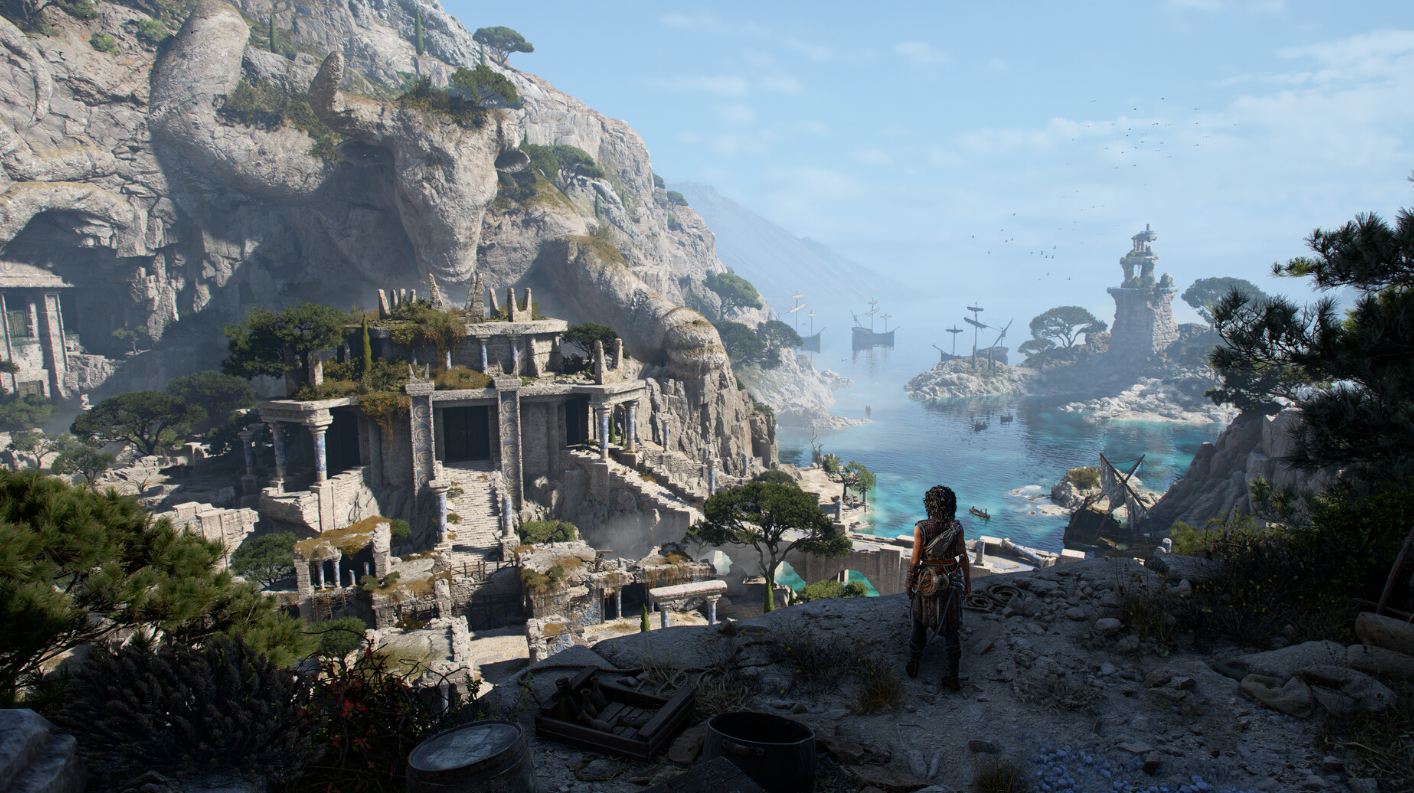
After the ambush at the temple entrance reveals Irene as the traitor, Sophia and Faro are forced away from the main door and have to take an alternate route into the mountain. The whole detour hinges on Sophia’s book, which holds the clues for finding the hidden cave and later cracking the door that seals the mountain temple in Chapter 10 Parallel Paths.
Quick answer: Align the two rightmost masts by the river cross to spot a stone marked with three white dots, follow the rope there into the symbol cave, then reveal all six stela symbols and set the door rings to Snake (inner), upwards arrow (middle), and the H shape (outer) before using Splitting Light.
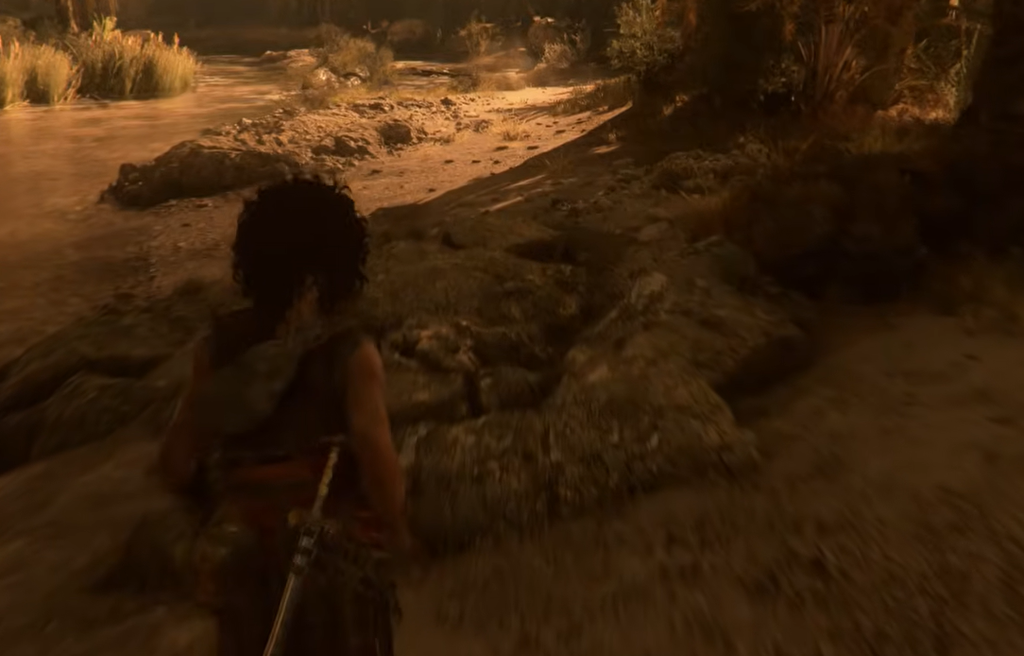
Find the hidden cave using Sophia’s book
Open Sophia’s book first. She notes that you need to find the mast, which then shows you where the rope is. The following page holds a code made of symbols and arrows that matters later in the cave.
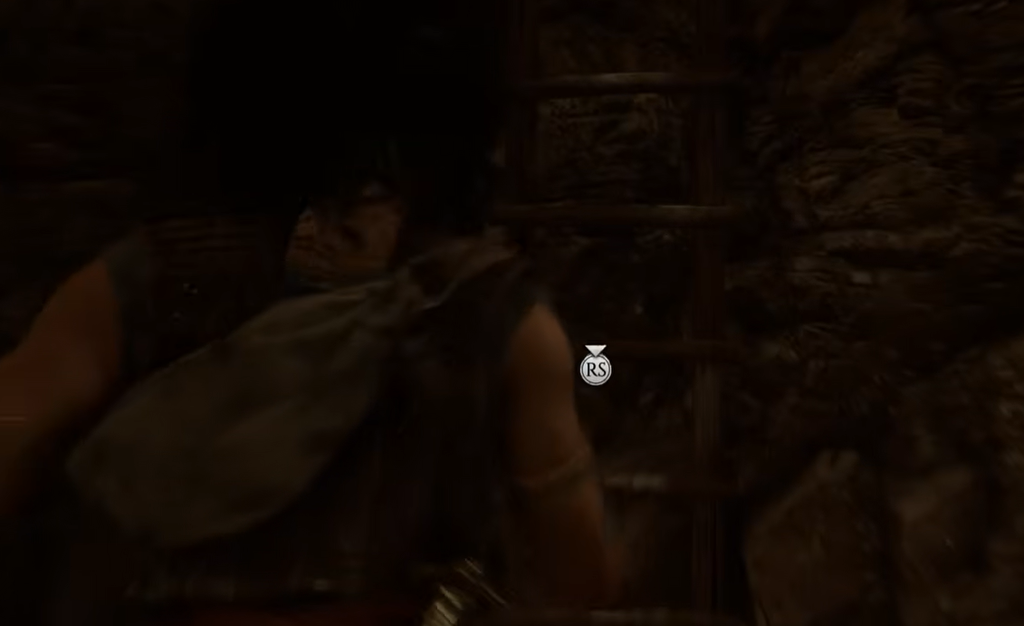
Navigate the symbol cave
The cave is a small maze, but the symbols and arrows recorded in Sophia’s book mark the way. Each symbol in the book has an arrow beside it, and those symbols are painted on the cave walls. Whenever you spot a wall symbol that matches one in the book, the arrow next to it tells you which direction to walk.
Following the trail keeps you turning consistently to the right through the early junctions, past an area bathed in sunlight, then a turn to the left. Faro warns that it is easy to get lost even with the book, so double-check each symbol against the page before you move. When you reach the end, you emerge outside at the door leading into the mountain temple.
Reveal all six stela symbols
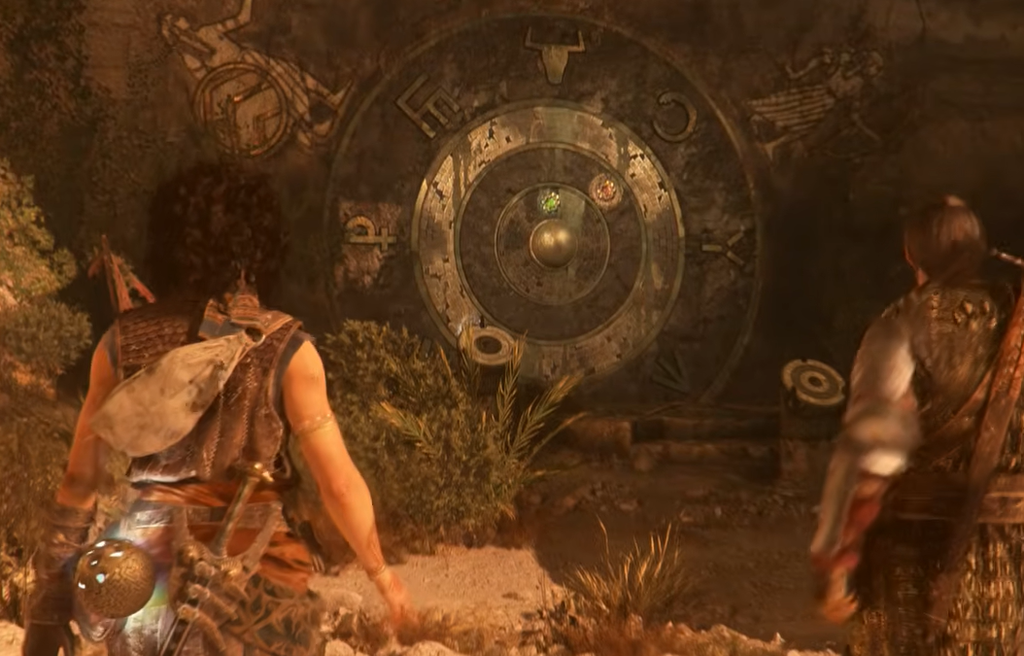
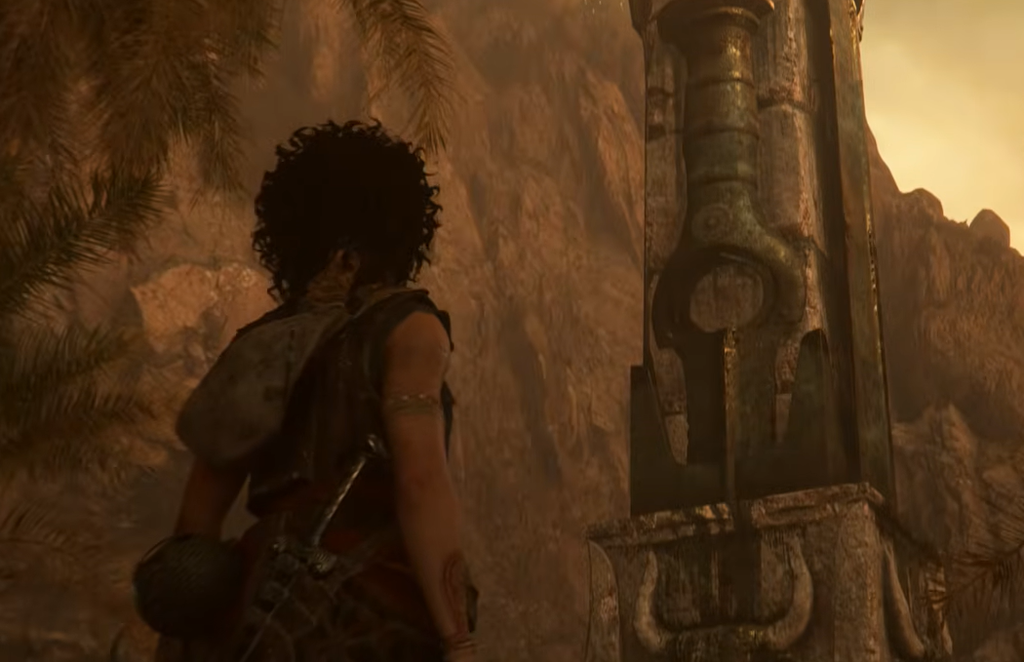
The door will not open with the Sphere alone. You need to find six stelas around the area and use the Sphere’s Reveal Light ability on each one so Sophia can note its symbol in the book. Some stelas sit in daylight already, while others need light routed to them through reflectors.
Solve the mountain temple door code
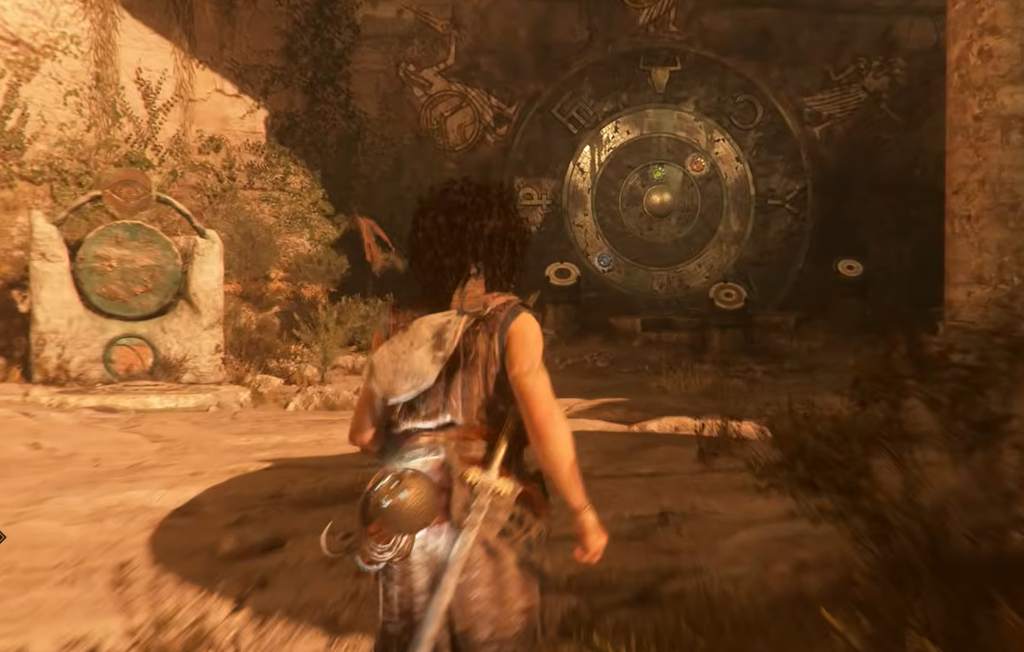
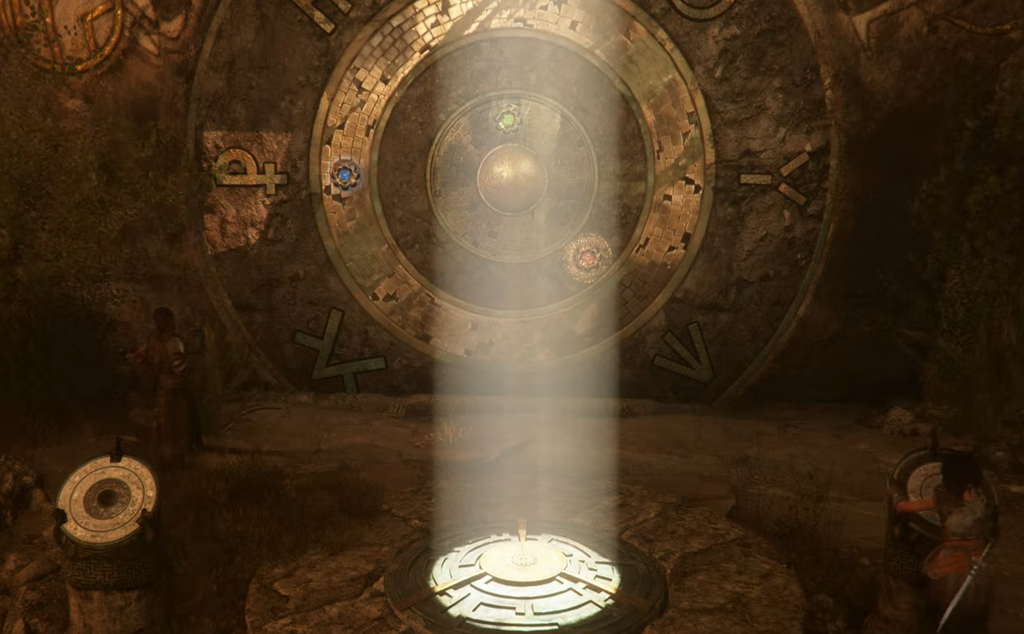
With all six symbols noted, Faro aims the light at the door. Three pedestals stand in front of it, and each one rotates a different ring so you can line the gemstones up for the Sphere’s Splitting Light ability. The dark ring on the top of each pedestal shows which ring it controls.
| Pedestal | Ring it moves | Correct symbol | Warrior pair |
|---|---|---|---|
| Left | Inner ring | Snake / serpent | Sword and shield |
| Middle | Middle ring | Upwards arrow | Bow and arrow |
| Right | Outer ring | H shape (combined L and E) | Spear and shield |
The three warriors above the door each wield a weapon that matches one stela symbol. Pair each weapon with its partner drawing in Sophia’s book to work out which symbol belongs on which ring. If you would rather skip the trial and error, use the pedestals to set the rings exactly as listed above.
Once the rings are aligned, stand on the marked spot in front of the door and use Splitting Light so the red, green, and blue beams strike their matching gemstones. The red beam pairs with the upwards arrow, green with the serpent, and blue with the H shape.
How to confirm the objective is done
When the three colored beams land on the correct gemstones, the door grinds open. Head inside and use Daedalus’s Key on the door ahead. The objective updates from “Find a way inside the mountain” to “Explore Daedalus’ workshop,” which confirms this stretch of Chapter 10 is complete.
If the door refuses to open, the usual cause is a ring set to the wrong symbol or a missing stela. Double-check that all six symbols are filled in on the book’s right-hand page, then re-set each pedestal so the inner, middle, and outer rings read Snake, upwards arrow, and the H shape before splitting the light again.