How to Solve the Chapter 10 Mountain Temple Puzzle in Resonance: A Plague Tale Legacy
The exact symbol matches and light steps that open the mountain temple door during Parallel Paths.
The exact symbol matches and light steps that open the mountain temple door during Parallel Paths.
by AllThingsHow Staff
The mountain temple door in Chapter 10, Parallel Paths, is the wall you have to open before Sophia and Faro can reach Daedalus’ workshop. It looks like a light puzzle, but the real work is collecting six hidden symbols and then lining up three colored gemstones with the correct ones so you can hit them with the Sphere. Get the pairings right and the door slides open.
Quick answer: Reveal all six stela symbols with the Sphere’s Reveal Light, boost Faro onto the central pedestal so he holds the beam on the doors, then use the three pedestals to align the red gemstone with the upwards arrow, the green gemstone with the serpent, and the blue gemstone with the combined ‘L’ and ‘E’ symbol. Finish by aiming Splitting Light at all three.
How to reach the mountain temple door
Before the door puzzle begins, you have to navigate the approach and a symbol maze. The objective on screen at this point reads “Find a way inside the mountain.”
Open Sophia’s book first. She notes that you need to “find the mast” to see “where the rope is,” and the next page holds a code of symbols and arrows you will use inside the cave.
Follow the river until you reach a wooden cross with cloth on it in the middle of the water. Stand by the cross and line up the two rightmost masts opposite you so they form a triangle at the top. A distant stone with three white dots appears through the gap, pointing the way forward.
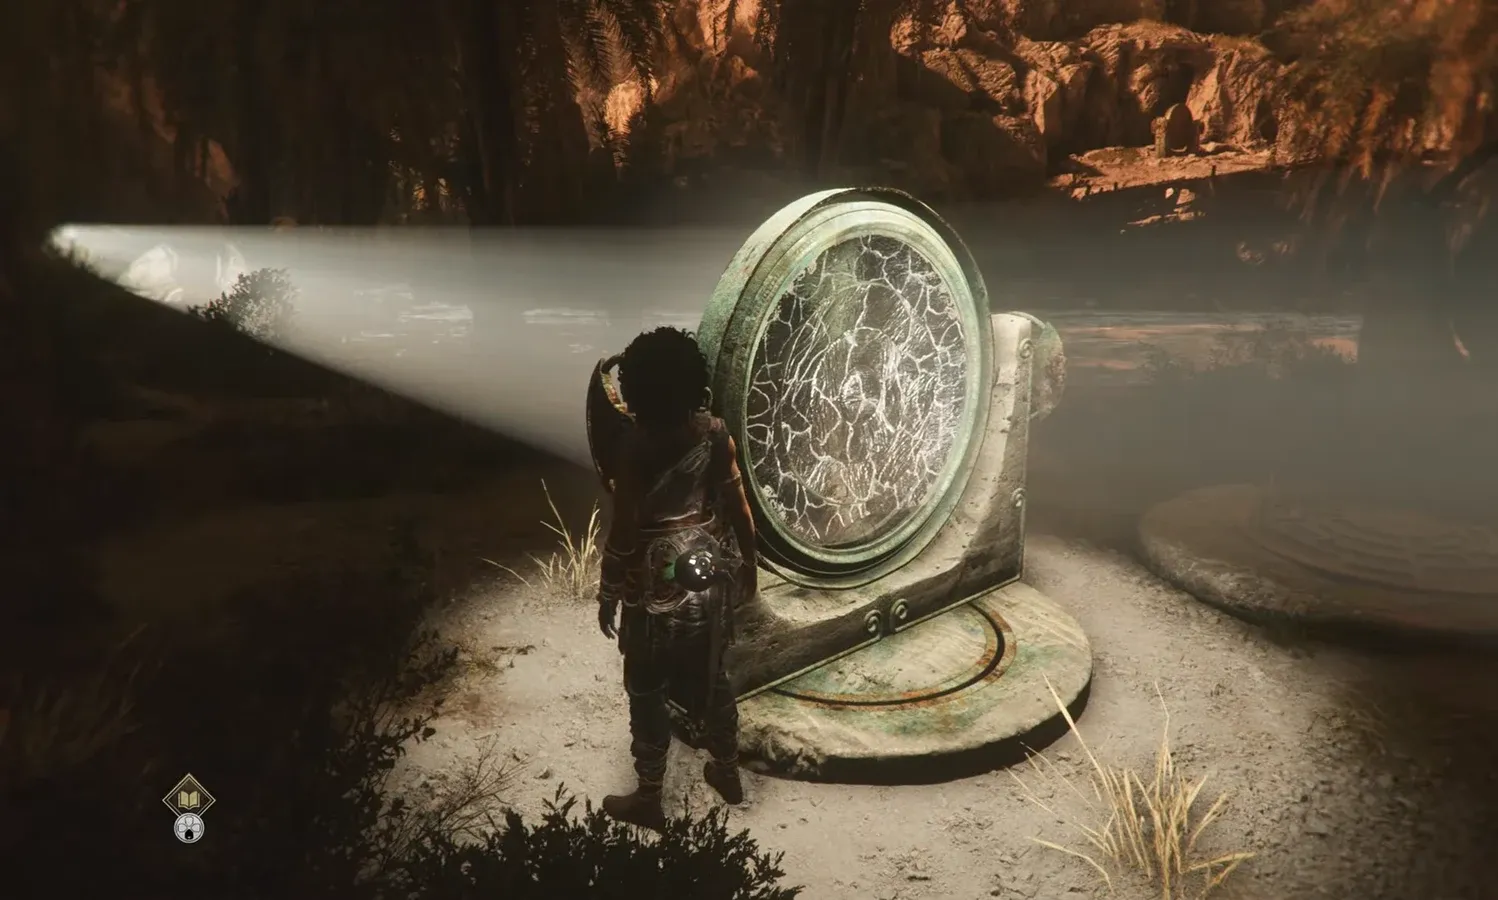
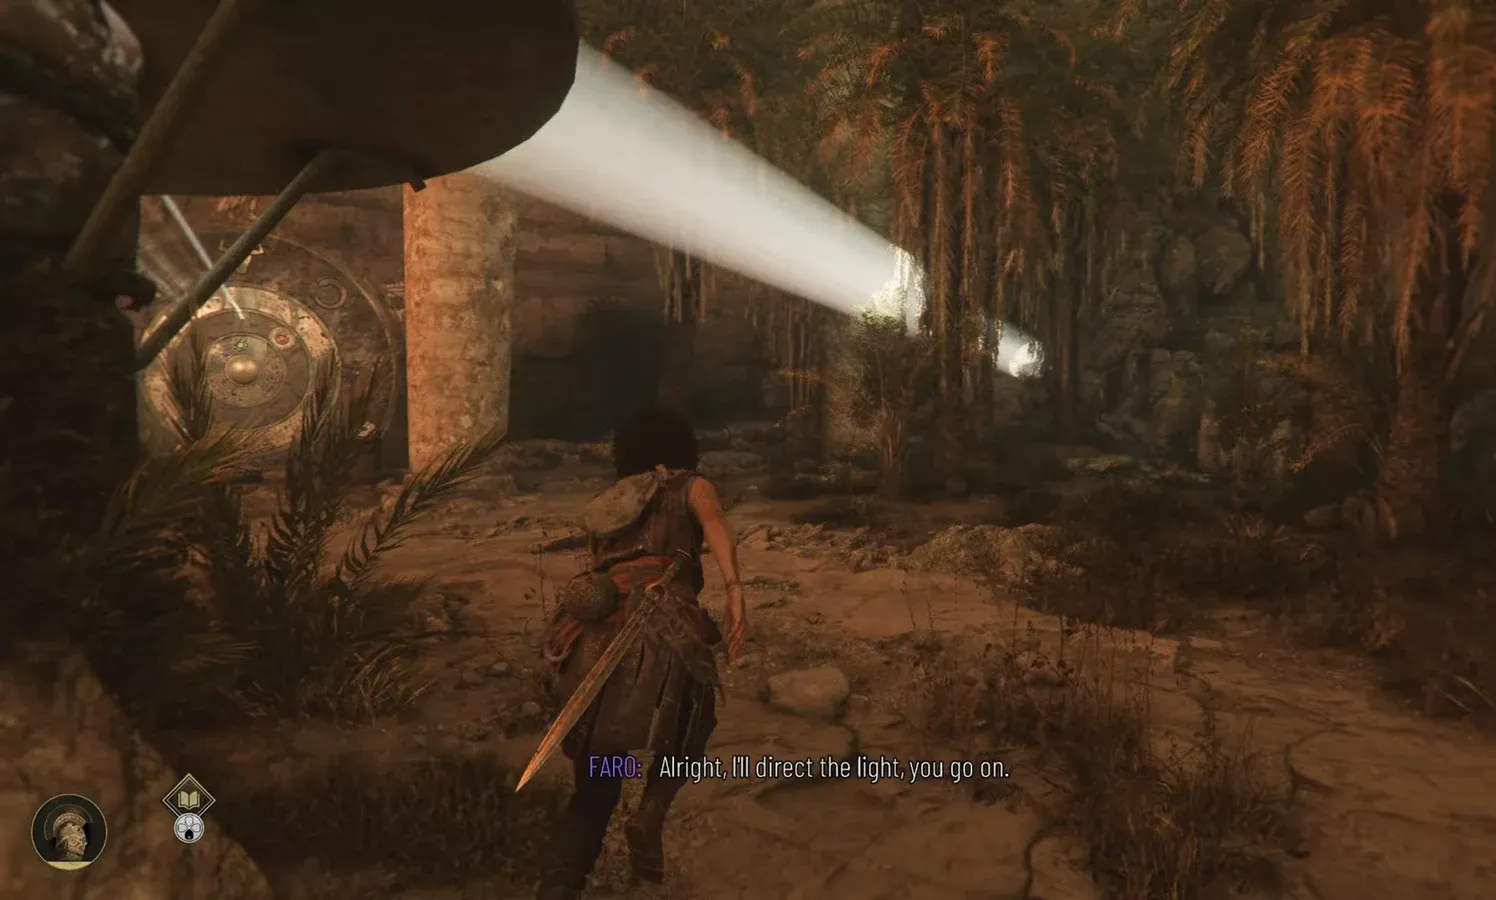
00:34A light reflector inside the cavern that Sophia turns and aims to carry the beam outward. Image credit: Asobo Studio. Shown at 00:34 in 100% Guides’s video.
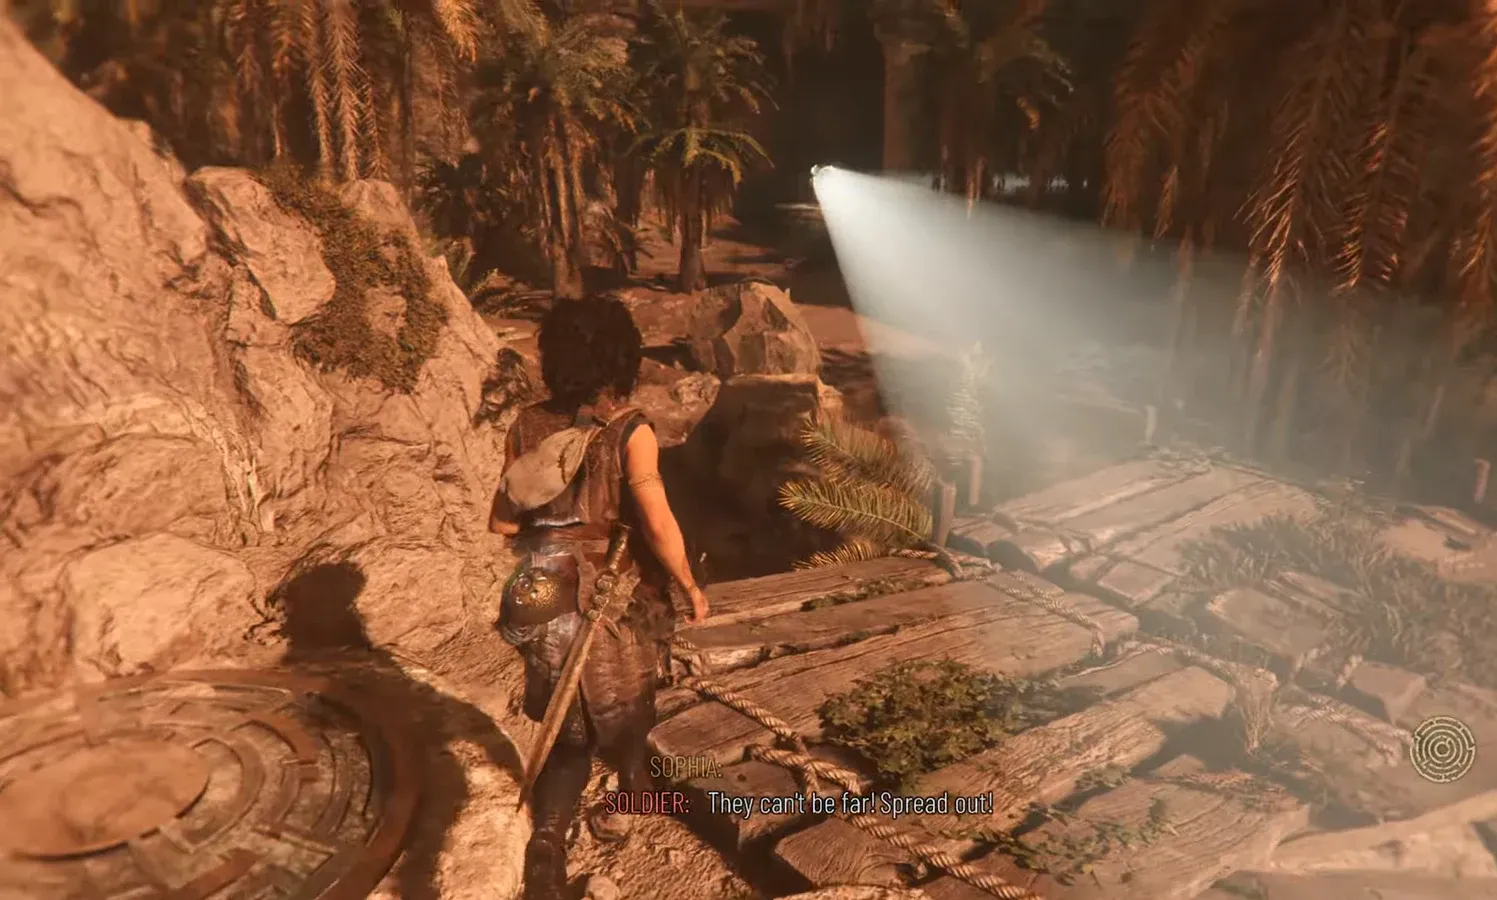
At the three-dot stone, grab the Resonance Point from the floor and follow the rope laid on the ground. It leads through a cave with two ladders, then a zipline, and past a ruined campsite to the symbol maze.
Inside the maze, match wall symbols to the ones in Sophia’s book. Each book symbol has an arrow beside it that tells you which way to turn when you spot the same mark on the wall. Follow those arrows until you emerge outside at the temple door.
Reveal all six stela symbols with Reveal Light
The door will not open by placing the Sphere alone. There are six stelas around the area, and each hides a symbol you expose with the Sphere’s Reveal Light ability. Some stelas are already lit; others need a light beam routed to them first.
Use Reveal Light on the stela beside the door to expose an upwards arrow symbol, which Sophia notes in her book. Then sweep the area for two more stelas already sitting in light and record their symbols. Three of the six are available straight away.
Find the waterfall with a cave beneath it on the right side of the area. Inside, turn on the lantern and move it so its light passes through a lens. This begins the chain that lights the remaining stelas.
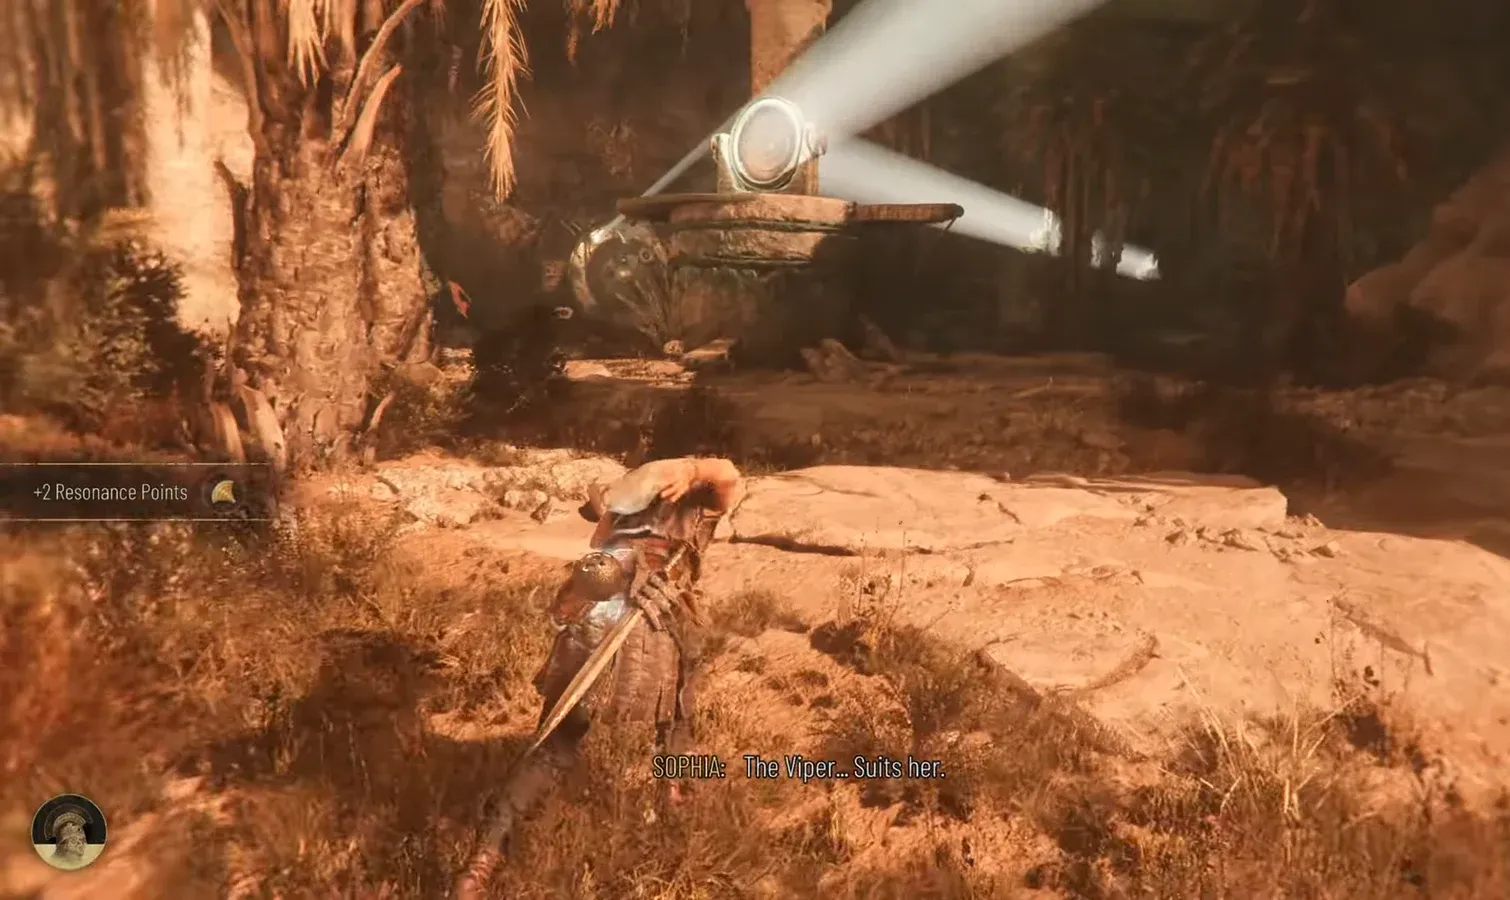
Interact with the large pedestal in front of the door to boost Faro up. He takes over holding the light lens so you are free to finish the puzzle. Head right of the pedestal toward the beam, wait for Faro to redirect it, and collect the final symbol from the last stela.
01:08Grabbing a Resonance Point near the pedestal area while working toward the sixth stela. Image credit: Asobo Studio. Shown at 01:08 in 100% Guides’s video.
Match the door gemstones to the warrior symbols
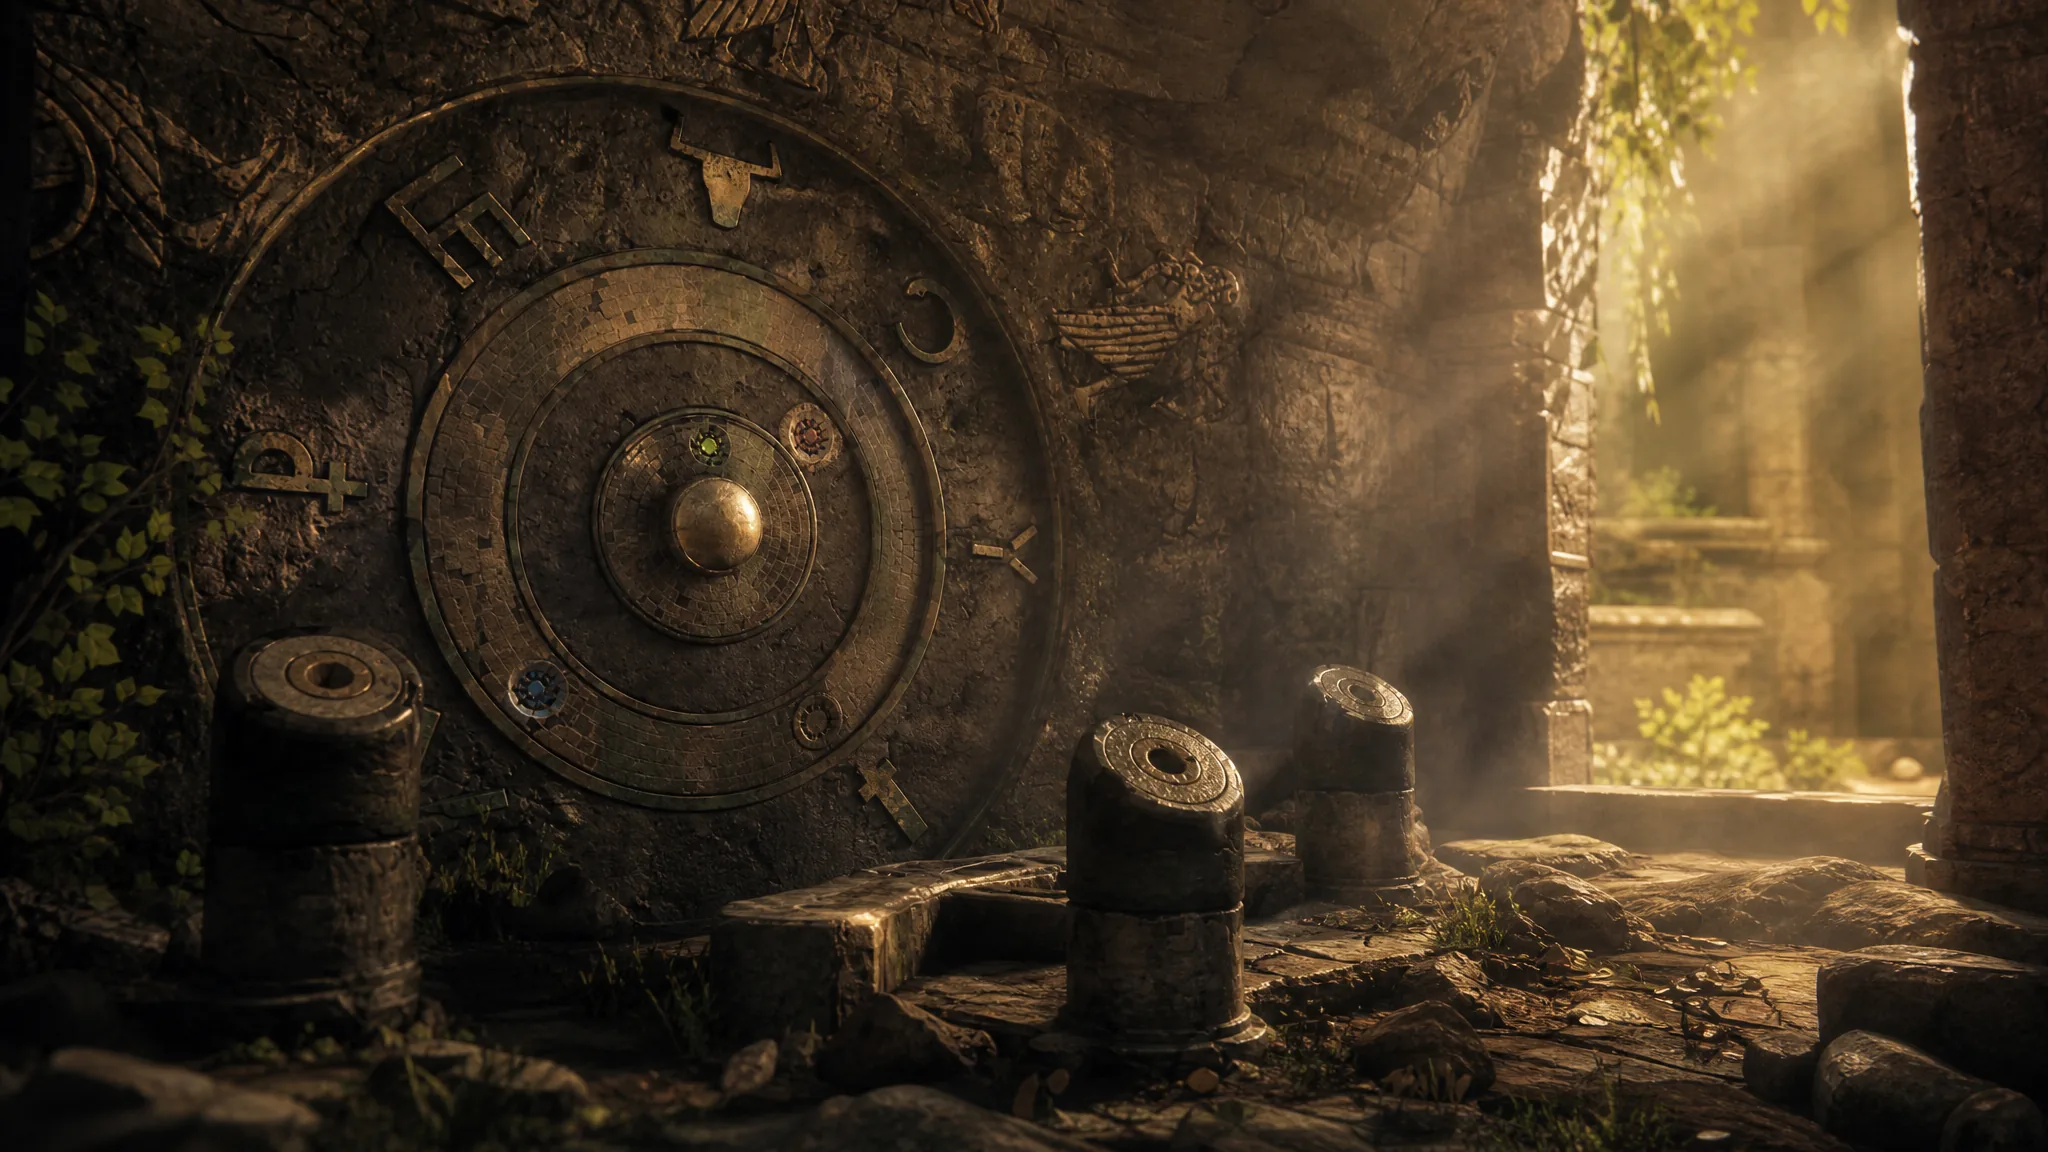
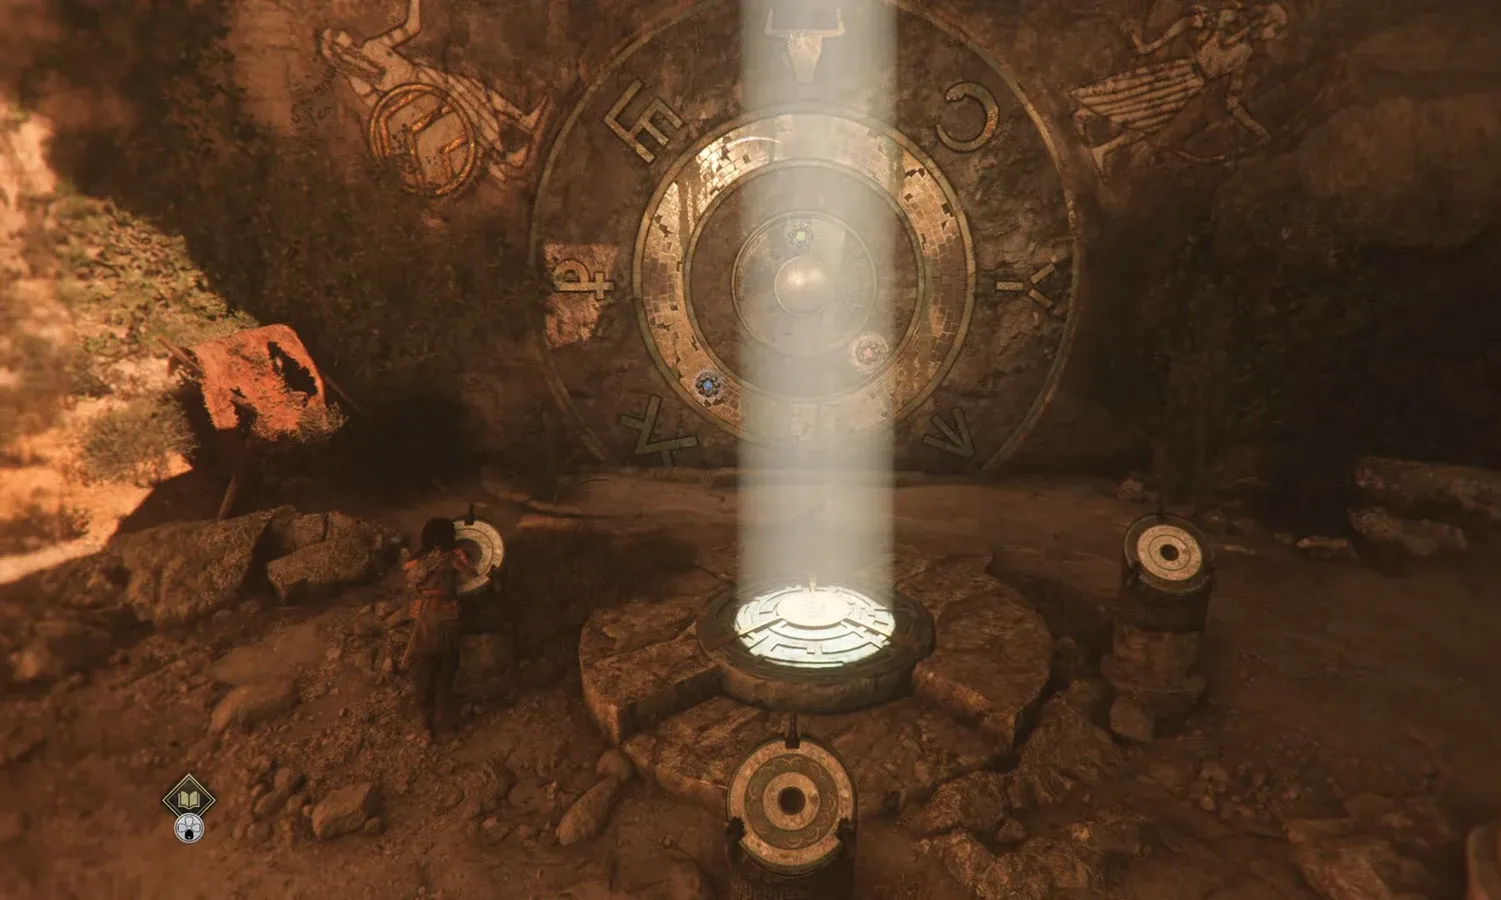
With Faro aiming the beam at the doors, three colored gemstones become the target. They start in awkward spots, so you use the three pedestals in front of the door to rotate the rings and reposition each gemstone against the correct symbol.
01:22The large circular door with its three pedestals, ready to be rotated while Faro holds the beam. Image credit: Asobo Studio. Shown at 01:22 in 100% Guides’s video.
Only three of the six symbols matter now. Three warriors are carved above the door, each holding a weapon tied to one symbol. Those are the pairings you need.
Weapon above door
Symbol
Gemstone to align
Bow
Upwards arrow
Red
Sword
Serpent
Green
Spear
Combined ‘L’ and ‘E’ (upside-down E with an L from the top)
Rotate the pedestals to move each gemstone onto its matching symbol. Put the red gemstone on the upwards arrow, the green gemstone on the serpent, and the blue gemstone on the combined ‘L’ and ‘E’ mark.
01:40Turning a pedestal to rotate the door rings and reposition a gemstone under its symbol. Image credit: Asobo Studio. Shown at 01:40 in 100% Guides’s video.
Position the gemstones so the beam can reach all three. This part takes a little trial and error, since the rings also affect where the light lands. Adjust each pedestal until every gemstone sits in the beam’s path.
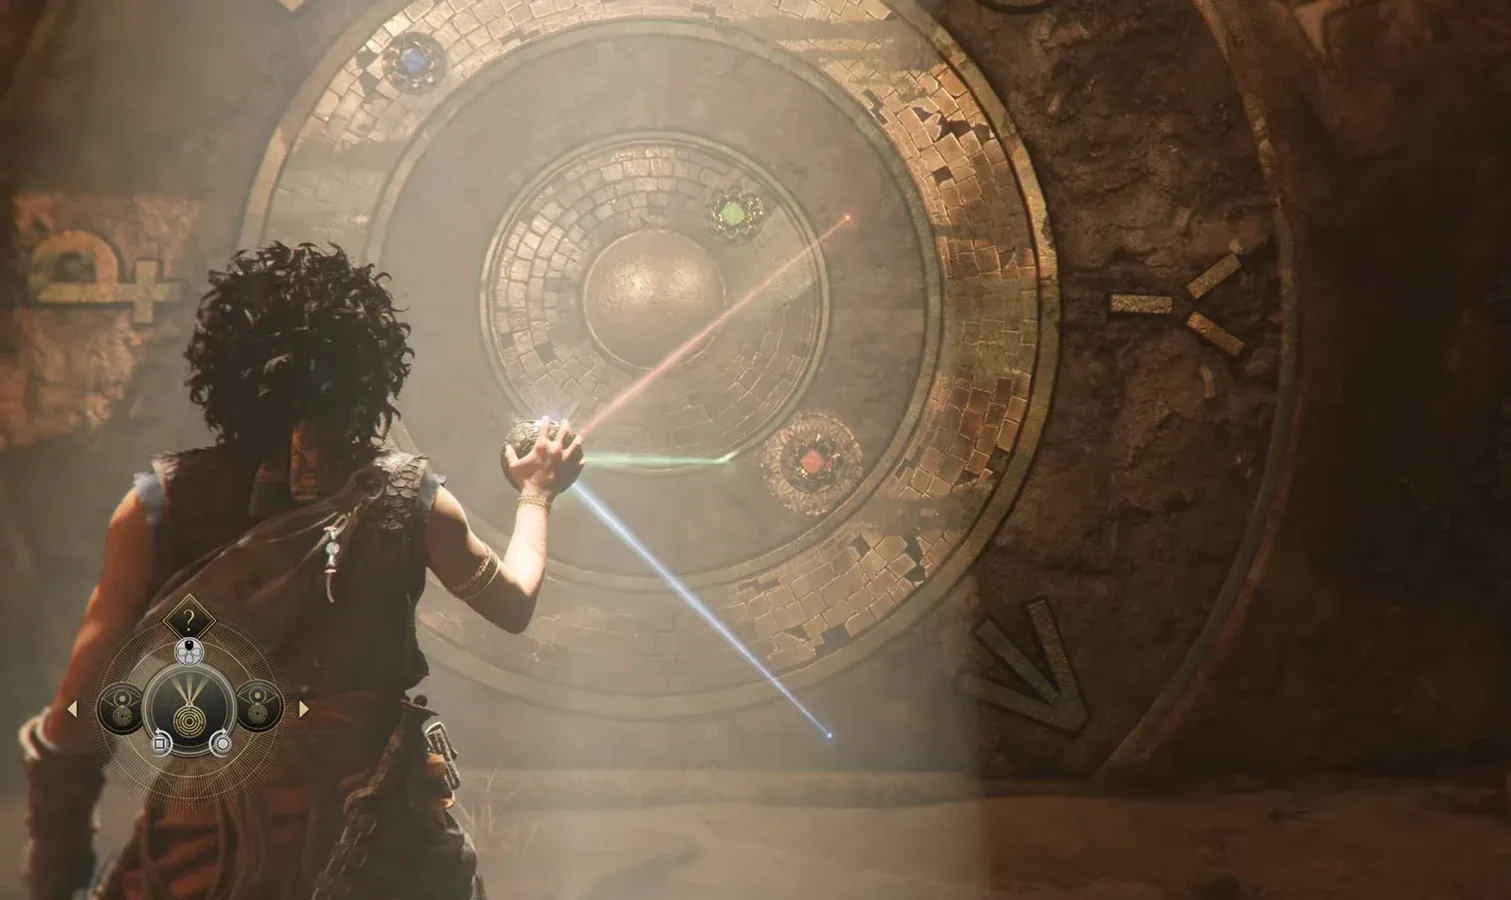
Use the Sphere’s Splitting Light ability to split the beam into red, green, and blue and aim each color at its matching gemstone. When all three take their color, the mechanism releases and the door grinds open.
02:00Splitting Light being aimed so each colored beam hits its matching gemstone to open the door. Image credit: Asobo Studio. Shown at 02:00 in 100% Guides’s video.
Once inside, open the next door with Daedalus’s Key. Reaching this door and starting to explore Daedalus’ workshop confirms the puzzle is finished.
You know the puzzle solved correctly when the circular door pulls apart and the objective advances to exploring the workshop. If the door does not respond, the usual cause is a gemstone still off its symbol or a beam that is not reaching all three at once. Re-check the three pairings above, confirm Faro is still holding the light on the doors, then split the beam and aim again.