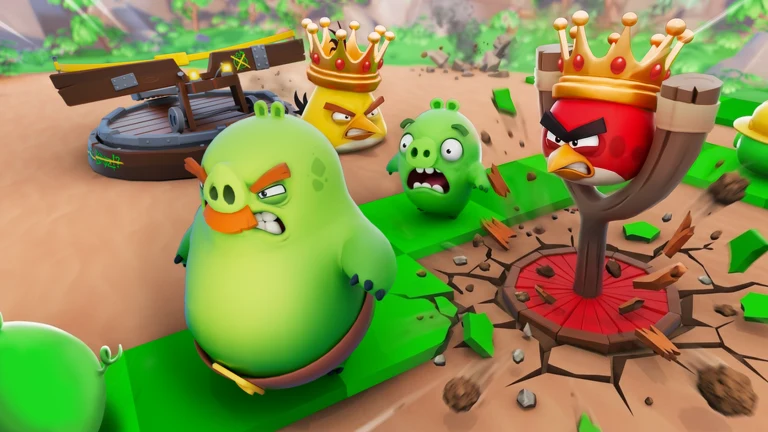
In Angry Birds Tower Defense, your units are bird towers that you place beside a pig path to protect the Nest Egg. Each match gives you a hotbar of five unit slots. You start with two slingshots, and the other three slots stay locked until you reach the required level. If you want to know what each slot costs, how many copies you can place, and when the rest of the roster opens up, these are the numbers that matter.
Quick answer: Both starting slingshots cost 150 coins and cap at four placements each. Slots 3, 4, and 5 unlock at levels 5, 7, and 12, and you earn that XP by finishing chapters.
Starting units: Red and black bird slingshots
Your first two hotbar slots hold a slingshot loaded with Red and a slingshot loaded with the black bird. They are your only tools in the early chapters, so you need to know how they’re priced and how far they scale.
| Slot | Unit | Cost | Placement limit |
|---|---|---|---|
| 1 | Slingshot (Red) | 150 coins | 4 |
| 2 | Slingshot (black bird) | 150 coins | 4 |
Each slot shows a counter such as 4/4. The first number is how many of that unit you have on the map, and the second is the cap. When the two numbers match, that slot is full and you can’t place another copy of that unit, even with coins to spare. With only the two starting slingshots, you can field at most eight towers in a match.
The cap shapes how you should spend. Coins pile up quickly once both slingshots are maxed. Late in a run, it’s normal to sit on more than 3,000 coins that can’t buy any more slingshots. Placement matters more than quantity at that point, so put your eight towers where they cover the most track instead of spreading them evenly.
Locked unit slots and the levels that open them
Slots 3, 4, and 5 start locked. While a slot is locked, it shows a map icon, a padlock, and a number. That number is the player level you need before the slot opens.
| Slot | Status at start | Required level |
|---|---|---|
| 3 | Locked | 5 |
| 4 | Locked | 7 |
| 5 | Locked | 12 |
You level up by completing chapters. Each finished chapter awards experience points, and that XP is used to unlock new bird towers, upgrade the ones you already have, and customize your roster. There’s no shortcut that skips a chapter, so the order is fixed. Clear chapters, gain levels, then fill the slots as each level requirement is met.
Every bird tower has its own special power, which is why the extra slots matter. The two slingshots handle early waves on their own. Later chapters bring bigger, messier pig groups and new enemy types, and a wider mix of towers covers gaps that two slingshot types can’t. To see which slots are still closed, look at the hotbar. Any slot still showing the padlock and a level number isn’t available yet.
Reading the battle HUD while placing units
Every placement decision in a match comes from a handful of on-screen numbers. Your coin total sits next to the hotbar, and the Nest Egg’s health shows as a value out of 100. The wave counter shows where you are in the stage, for example 7/7 on the final wave of a seven-wave beach map. The Towers button gives you access to the defenses you’ve already set up.
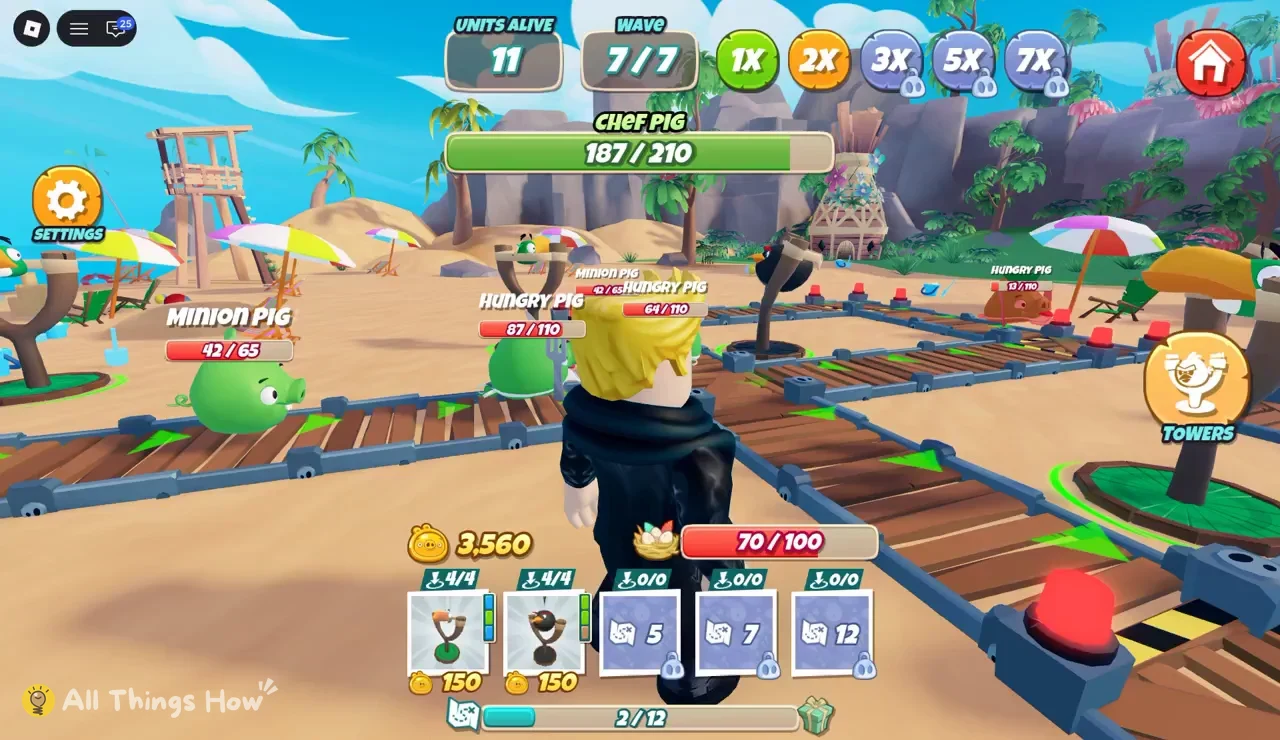
The UNITS ALIVE counter at the top of the screen counts enemy pigs still on the map, not your bird towers. A reading of 11 means eleven pigs are still walking toward the nest.
The track itself helps you place towers. Green arrows painted along the path show which way the pigs travel, and red circular pads mark the corners. Corners are where pigs slow down and bunch up, so slingshots placed within reach of a bend get more time to hit each pig than ones placed beside a straight run.
Nest Egg damage carries across the whole stage. It doesn’t reset between waves. If the egg is sitting at 70 out of 100 going into the last wave, every pig that gets through costs you from that lower total.
Pig health your units have to chew through
Each pig shows a name and a health bar above its head. The boss also gets a larger bar at the top of the screen. These are the maximum health values on the beach map’s final wave.
| Enemy | Role | Max health |
|---|---|---|
| Minion Pig | Standard enemy | 65 |
| Hungry Pig | Standard enemy | 110 |
| Chef Pig | Wave boss | 210 |
Minion Pigs go down fastest. Hungry Pigs take nearly twice as much damage, so a few of them arriving together can soak up shots and let others slip past. Chef Pig has close to double a Hungry Pig’s health and needs focused fire from several slingshots at once. That’s another reason to cluster your capped slingshots around one stretch of track rather than spacing them out along the entire path.
Game speed, co-op squads, and reward chests
A speed panel at the top of the screen sets how fast the match runs. Your towers don’t change between speeds, only the pace of the waves does.
- Speed options are 1X, 2X, 3X, 5X, and 7X.
- Co-op squads hold up to four players defending the same nest.
- A progress bar at the bottom of the screen tracks a reward chest milestone, shown as a count like
2/12.
Higher speeds are useful once your towers are placed and capped, since there’s nothing left to buy. Drop back to 1X when you still need to place units, because pigs reach the nest faster at higher settings and you get less time to react. In co-op, each player brings their own hotbar, so a squad can cover more of the path than one player limited to two capped slingshots.
The game is free to play on Roblox and runs from its official experience page.
Until you hit level 5, your whole lineup is eight slingshots at 150 coins each. Spend early to reach the cap quickly, place them near the corners where pigs bunch up, and keep clearing chapters so slots 3, 4, and 5 open on the way to level 12.