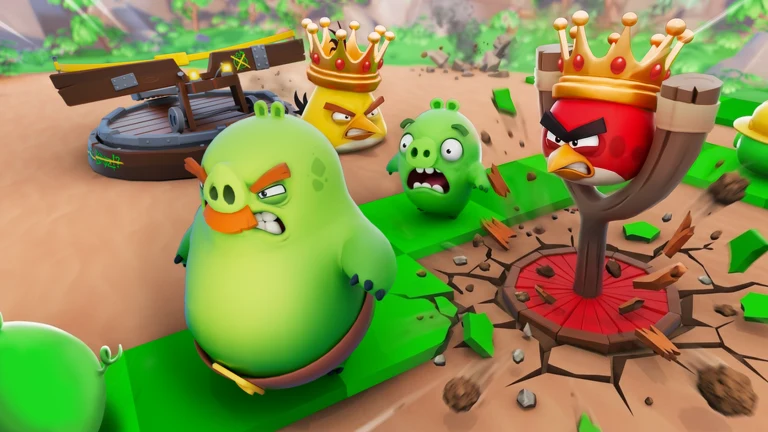
Angry Birds Tower Defense is Rovio’s multiplayer take on the tower defense genre, built for Roblox. Piggies march down a fixed path toward the eggs, and you place bird “towers” along that path to stop them. Your first matches come down to three things. You need to read the screen, spend your gold on the right spot, and keep an eye on the wave counter and your health.
Quick answer: Join the game on Roblox, start a match, and place Red for 150 gold beside the green arrows on the track. Then watch the wave counter and keep your health at 100/100.
Where to play Angry Birds Tower Defense
The game runs inside Roblox, so the only thing you need is a Roblox account and the app or a browser. Open the game’s page, press play, and you load straight in. You can play alone or team up with friends in co-op, and everyone defends the same path together.
Angry Birds Tower Defense HUD explained
The match screen packs a lot into its edges. Learning where each readout sits saves you from guessing mid-wave. Here’s what each element on a typical match screen does. The example values come from an early beach stage with wooden tracks.
| HUD element | Example reading | What it tells you |
|---|---|---|
| WAVE | 2/5 | Current wave out of the stage total |
| UNITS ALIVE | 6 | Pigs still on the map |
| Speed buttons | 1X to 7X | How fast the match runs |
| SKIP TO NEXT WAVE | 0/1 | Votes to call the next wave early |
| Health | 100 / 100 | Your defense’s remaining health |
| Gold | 10 | Coins available to spend on towers |
| TOWERS (trophy icon) | Button | Opens the towers menu |
| SETTINGS (gear icon) | Button | Opens game settings |
| Red house icon | Button | Returns you home |
The two numbers that matter most moment to moment are gold and health. Gold decides whether you can place another tower. Health shows how much punishment your defense can still take before the stage falls apart.
How to place Red, your first tower
Red is the starting bird in your loadout. Placing him costs 150 gold, and that price is printed right on his tower card at the bottom of the screen. The card also carries a 3/3 counter, which tracks the placement limit for that tower.
-150 pops up and your gold counter drops by the same amount. Red then stands beside the track and starts attacking pigs that walk into his circle.Spending 150 gold can leave you with almost nothing. On the early beach stage, a fresh placement leaves just 10 coins in the bank. Place towers where they’ll hit the most pigs, because you won’t have spare gold for a second try right away.
Minion Pigs, waves, and your health
The first enemy you’ll face is the Minion Pig. Each one has a name tag and a health bar over its head, and a fresh Minion Pig shows 26 / 26. As your towers land hits, that number falls, so a pig reading 7 / 26 is close to going down. Some Minion Pigs wear cosmetic touches like a purple party hat, but the name tag and health number are what you should read.
Pigs arrive in waves, and the WAVE counter shows how far through a stage you are. A reading of 2/5 means you’re on the second of five waves. UNITS ALIVE counts how many pigs are still walking the track. When that number climbs faster than your towers can bring it down, your defense needs more coverage.
Your health starts at 100 / 100. The goal of every stage is to clear each wave while keeping that number as high as possible, because the pigs are heading for the eggs and anything that slips past is a problem.
Game speed and Skip to Next Wave
The row of buttons at the top of the screen controls match speed. You can pick 1X, 2X, 3X, 5X, or 7X, and matches start at 1X. Higher speeds get you through easy early waves quickly. Dropping back to 1X gives you time to think when gold is tight and you’re deciding where the next tower goes.
SKIP TO NEXT WAVE works as a vote. The tracker reads 0/1 in a solo match, meaning one vote calls the next wave in early. In co-op, the tracker shows how many players have agreed. Only skip when your towers are clearly handling the current wave, since an early wave stacks more pigs onto the track at once.
Tower loadout slots and unlocks
Your tower loadout sits along the bottom of the screen, and it starts mostly closed off. A new player sees five slots in this state.
- One active slot holding Red
- One open slot marked with a “+”
- One locked slot marked 5
- One locked slot marked 7
- One locked slot marked 12
The numbers on the locked slots are the thresholds that open them. The “+” slot is free to fill once you have another bird to put there. As more slots open, you can bring more kinds of birds into a single match, and each bird has its own special power.
This lays the groundwork for a longer cycle. Stages are arranged in chapters, each bringing new settings and pig enemies. Complete a chapter to gain experience points, then use them to unlock bird towers and improve the ones you have. At first, Red and close attention to the green arrows are all you need. In later chapters, you’ll need to figure out which birds work best together and where to place each one along the track.