

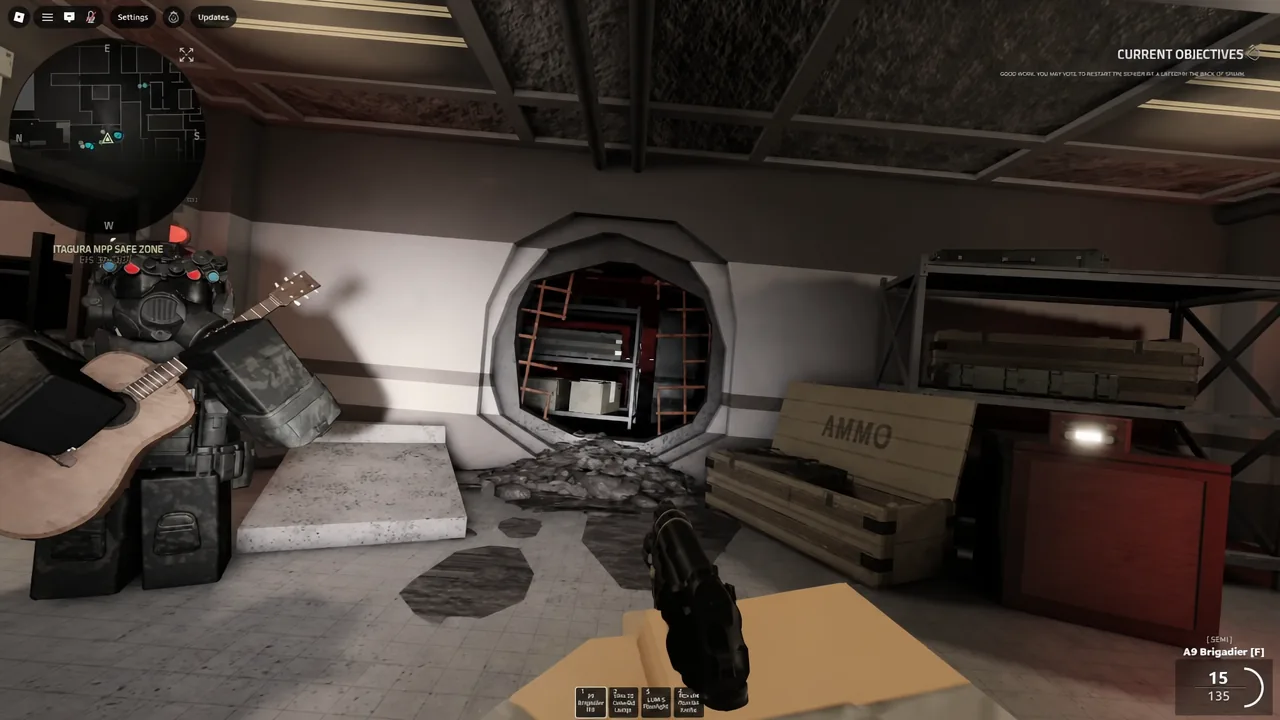
Neutrusphyria sits at the end of the reworked Tunnels run in Examination, and getting there is less about combat skill than about knowing one specific wall in the Showers and how the symbol spawns behave underground. Some players call it Tresolvia or Trancyvia, but the route is the same either way. The whole thing starts in the Itagura NPP Safe Zone and ends at a terminal deep in the first layer of the Tunnels.
Quick answer: Leave the Itagura NPP Safe Zone, move through Storage & Utility past Yurp’s Workplace to the Showers, shoot the black cross/arrow symbol on the shower wall several times to load into the Tunnels, collect four symbols from the nine possible spawn points on the first layer, enter them on the keypad in the yellow pump room, then grab the red keycard off the floor and use it on the terminal.
Before you start the Neutrusphyria run
This is not an early-game objective. You need to already be comfortable clearing the Tunnels rework, because the symbol hunt happens in live, hostile territory with almost no light. A private server makes the run considerably less chaotic, which is also what the game itself recommends for general play.
Graphics settings matter more than they sound. The symbols you are hunting are dark markings in dark corridors, and on low graphics they are easy to walk straight past. Setting graphics to 7 or higher is the baseline the game asks for.
Route from the Itagura NPP Safe Zone to the Showers
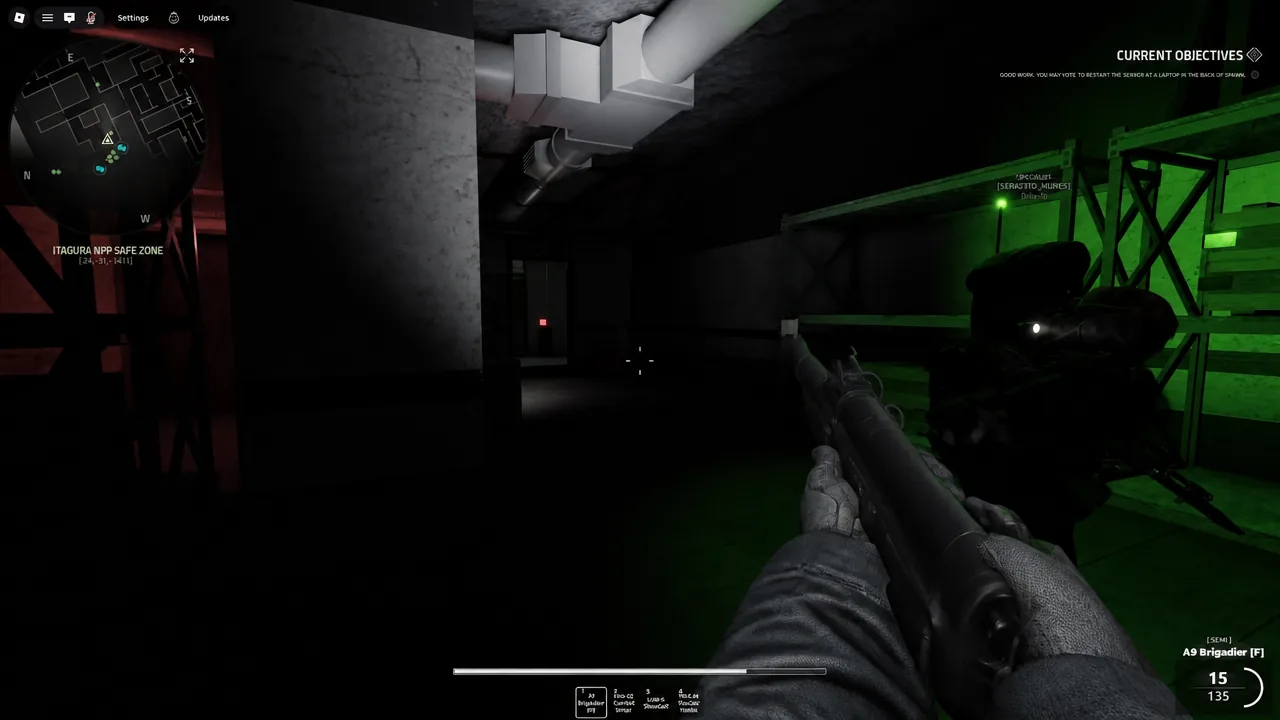
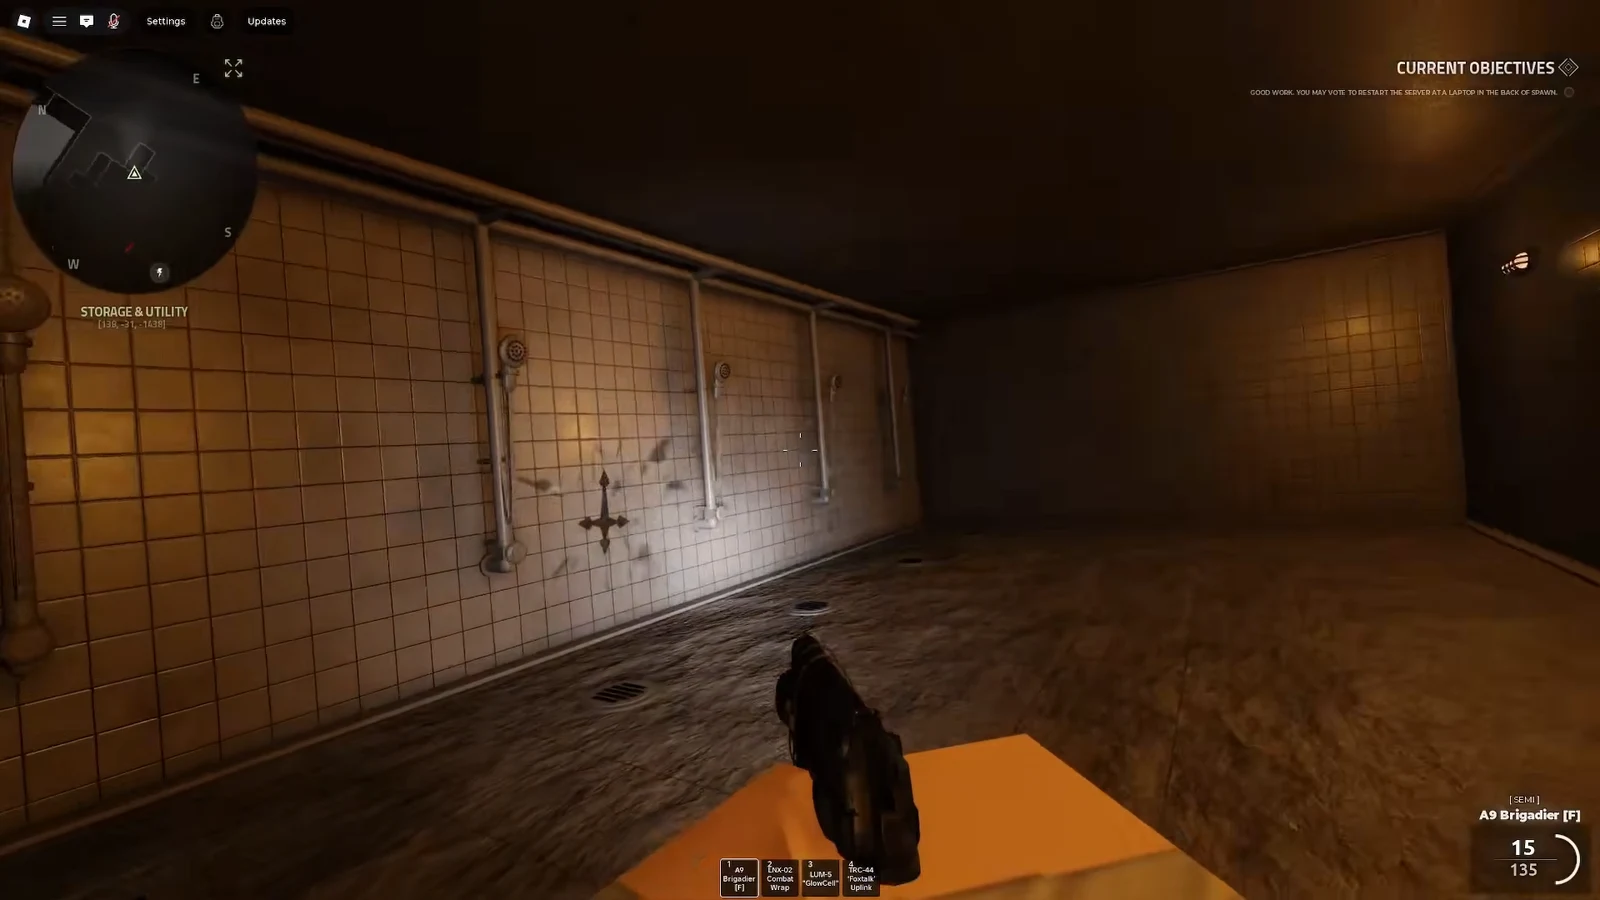
Shoot the shower wall symbol to open the Tunnels
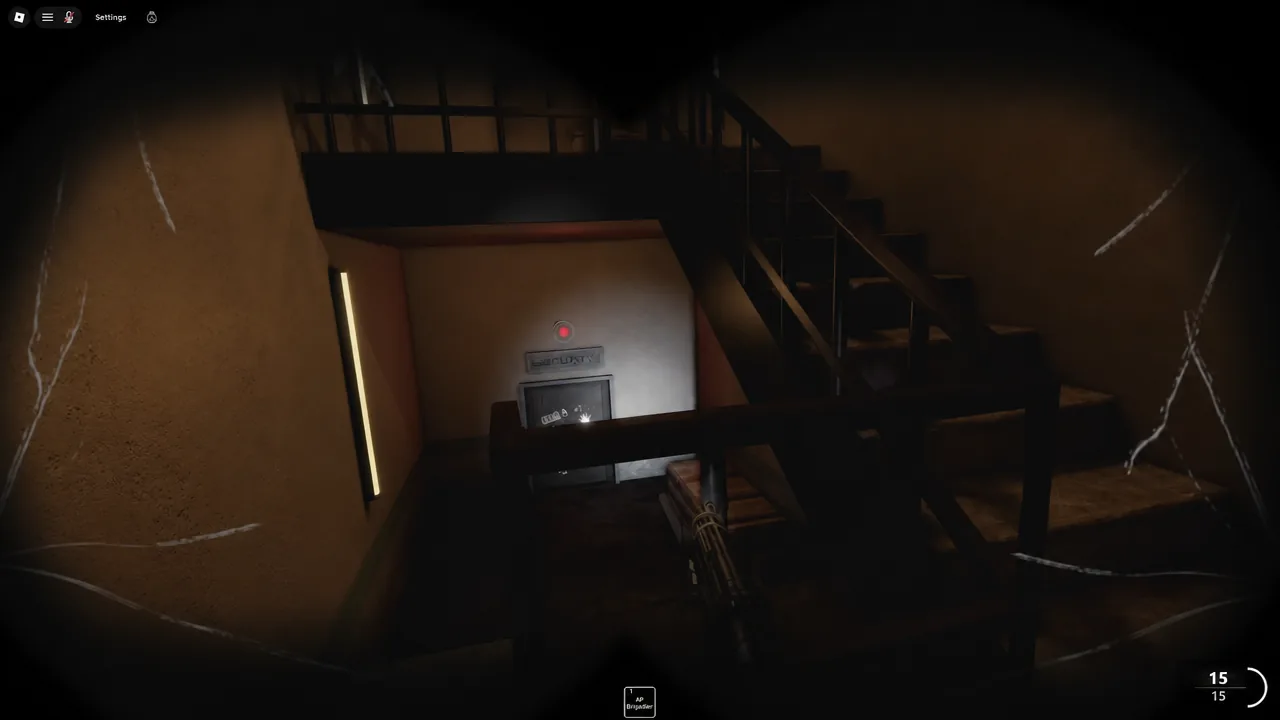
Inside the Showers there is a black cross/arrow symbol marked on the wall. Shooting it once does nothing obvious, which is where most players give up and wander off. You need to keep shooting it.
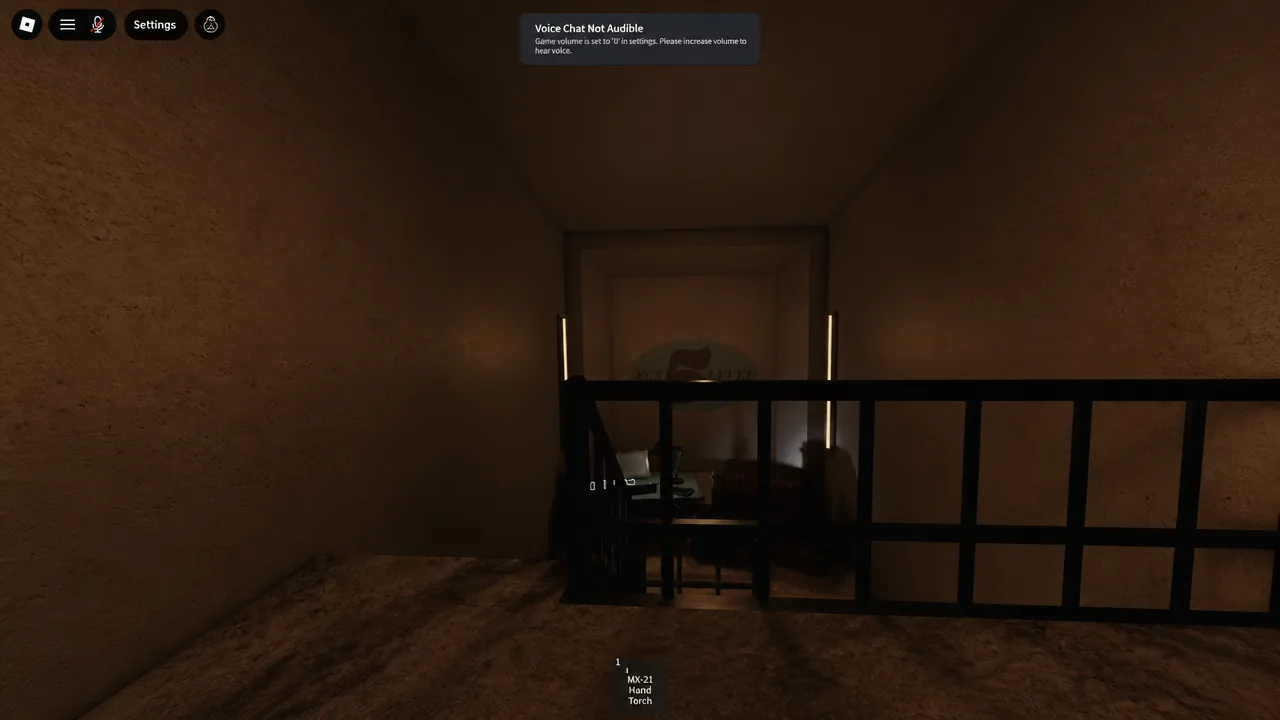
If the transition does not happen, you are almost certainly shooting the wrong marking or stopping too early. Reposition so your shots are actually landing on the symbol and keep going.
Collect the four symbols in the Tunnels first layer
You spawn into the Tunnels with nothing useful in hand. There is a case at the spawn point holding gear, including a pistol, and you should open it before you take a single step into the dark.
The core mechanic is straightforward once you stop expecting a treasure hunt. Four symbols are needed in total, but only one exists in the world at any given moment, and it can appear at any of nine spots on the first layer. Collect the active one and the next spawns somewhere else in the rotation.
| Detail | What it means for the run |
|---|---|
| Symbols required | Four, collected one after another |
| Spawns at once | Only one active symbol at a time |
| Possible locations | Nine points across the Tunnels first layer |
| Key landmarks | Auxiliary Control and Feedwater Control |
| Starting gear | Case at the Tunnels spawn, pistol included |
Because the spawns rotate, splitting up to cover several locations at once gains you nothing. The efficient approach is to learn a loop that touches all nine points and run it repeatedly, using Auxiliary Control and Feedwater Control as your orientation anchors when the corridors start blending together.
Enter the symbols on the yellow pump room keypad
Common reasons the Neutrusphyria run stalls
- Not enough shots on the shower symbol. A single hit will not open the Tunnels; the wall marking needs repeated fire before the transition triggers.
- Searching for multiple symbols at once. Only one is live at a time, so sweeping several locations simultaneously just wastes the trip.
- Skipping the gear case at the Tunnels spawn. Heading into the first layer without picking up the pistol leaves you with no answer to anything you run into.
- Going to the terminal without the red keycard. The computer needs the card, and the keycard sits on the floor rather than in an obvious container.
Examination is still openly a work in progress, and the Tunnels have already been reworked once, so exact room dressing and spawn behavior can shift with updates. The shape of the run tends to hold, though: Showers wall, four rotating symbols, yellow pump room keypad, red keycard, terminal. Learn the loop through the first layer and the rest is repetition.





